The latest stage of the gradual eco-refurbishment of our house was insulating the dormer roof. Here's a video about it, with some photos and an explanation below:
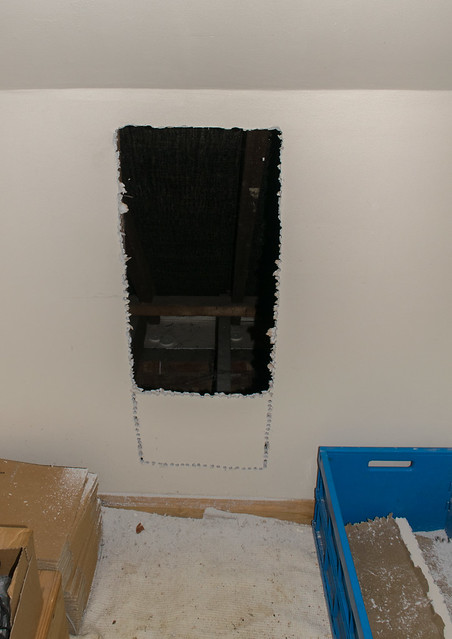
The dormer roof contained an inaccessible cavity, between the roof, the lounge ceiling and the bedroom wall (below the window). So the only way in was to make a hole in the wall...
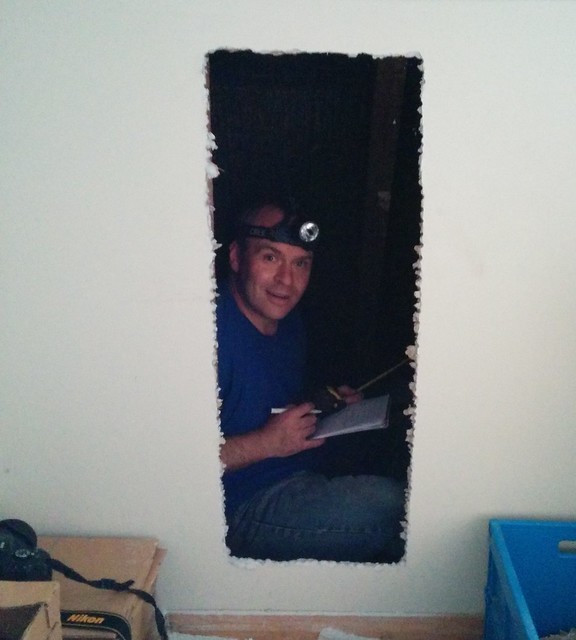
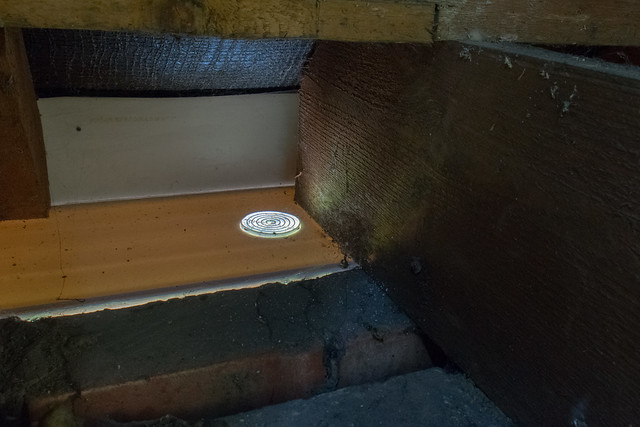
It wasn't the easiest place to work, and I needed a head torch at all times to see what I was doing:
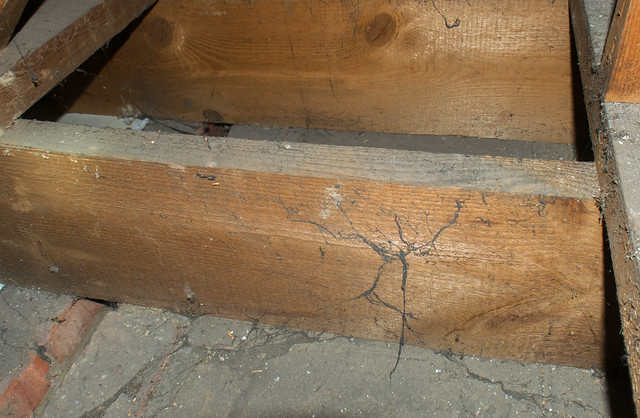
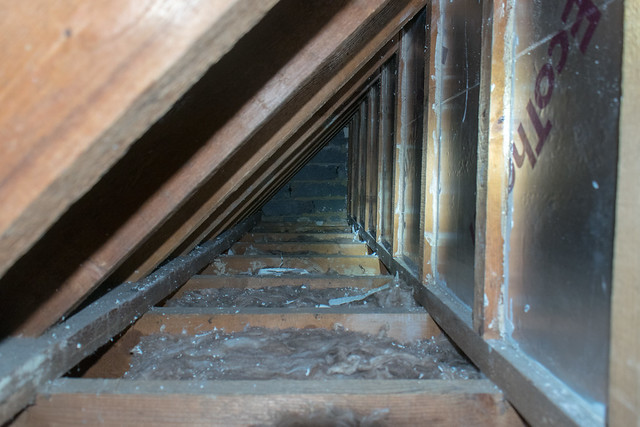
Here's how the cavity looked before I started, with no insulation whatsoever against the bedroom wall:

And none over the lounge ceiling either:
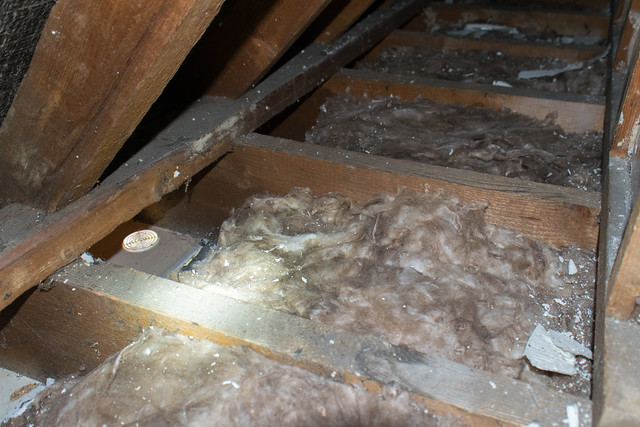
Worse still, there was a completely open gap between all the joists, running from the front to the back of the house between the ground and first floor:
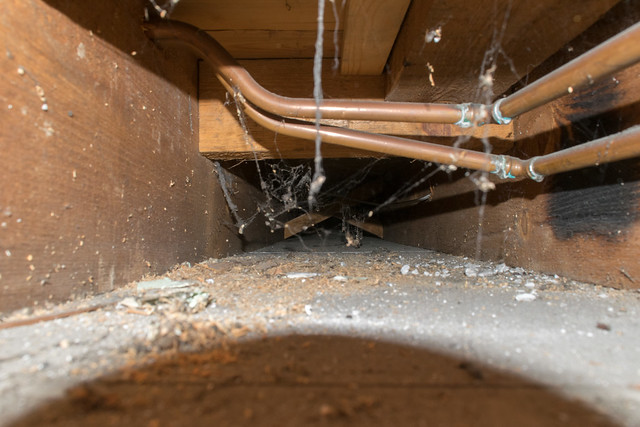
Consider that this space is ventilated by the soffit vents shown below, and you'll realise that the result on a windy day was cold air blowing above the lounge ceiling, making the whole downstairs of the house rather chilly!
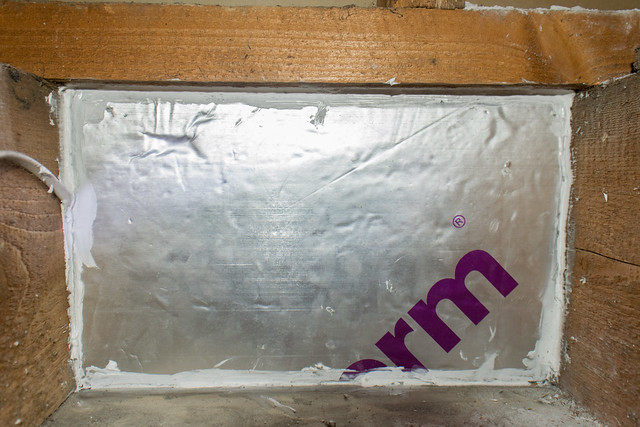
So, the first priority was to block up these gaps - it's a warm space, with the heat from the lounge below, so doesn't need ventilating. I used 50mm Ecotherm rigid insulation boards, made of polyisocyanurate, cut to size and then glued in place. I tapped a nail into the joist each side first, so I didn't end up pushing the board too far along the gap.
Once each gap between the joists was sealed, I then put in 200mm of Knauf glass fibre insulation, made from recycled glass. I could have fitted a tiny bit more in before reaching the top of the joists, but 200mm was the closest fit available for the space I had:
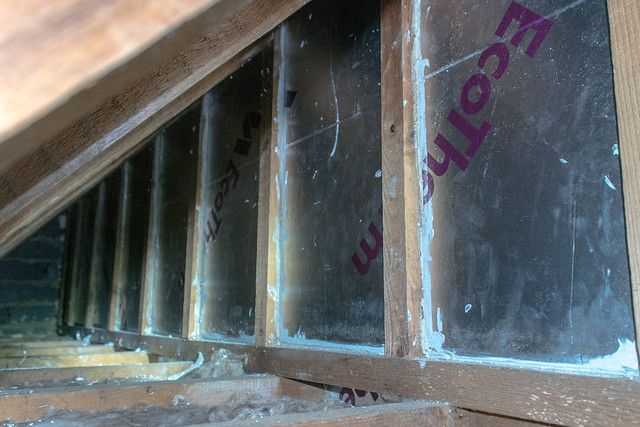
Up against the bedroom wall, I used the 50mm Ecotherm insulation boards again. It was quite a laborious process, measuring the spaces, coming out of the cavity, cutting several pieces to size, going back in again, using a sharp knife to trim the boards if they didn't quite fit, then glueing round the edges to make sure they didn't move.
A typical wood saw was OK for cutting the boards, but don't expect to use it for cutting wood ever again, as it will be blunted! A sharp bushcraft knife did a great job of final trimming to fit, and remained surprisingly sharp throughout.
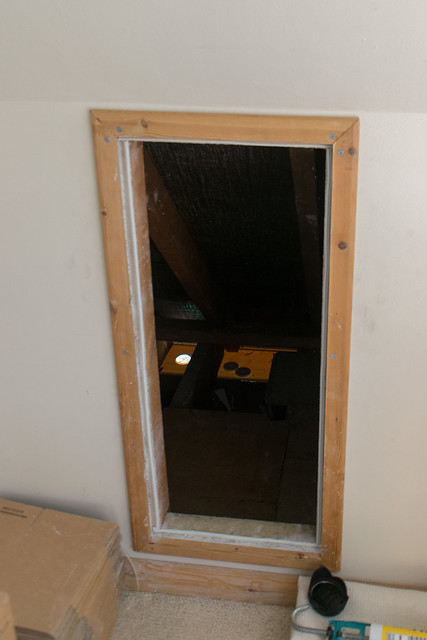
Here's how it looked once it was all done:
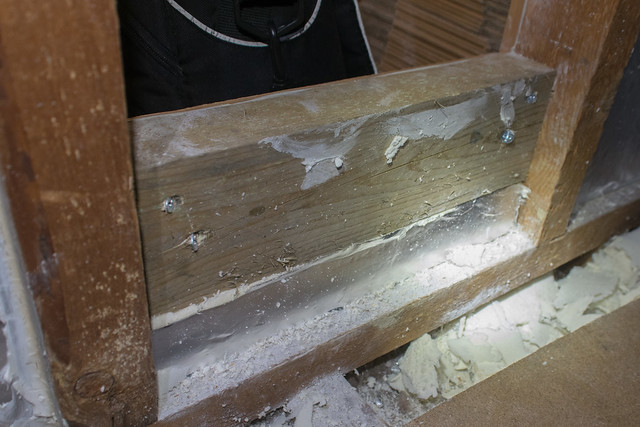
When I made the hole in the plasterboard to get through the wall, I'd enlarged it to the edges of the wood behind it at the sides and top, but not at the bottom as I wanted to keep clear of the skirting board. So once I was done I screwed in a new piece of wood there:
On the other side, I then trimmed the plasterboard back to leave a margin, and found some bits of wood to use as trim round the edge. I then added a draught-
proofing strip on the margin inside the plasterboard.
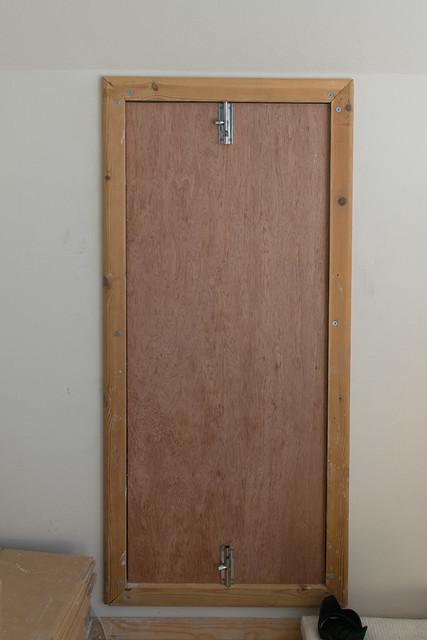
After that I cut out a plywood panel to fit the gap, and glued/screwed a 50mm insulation board on the back of it:
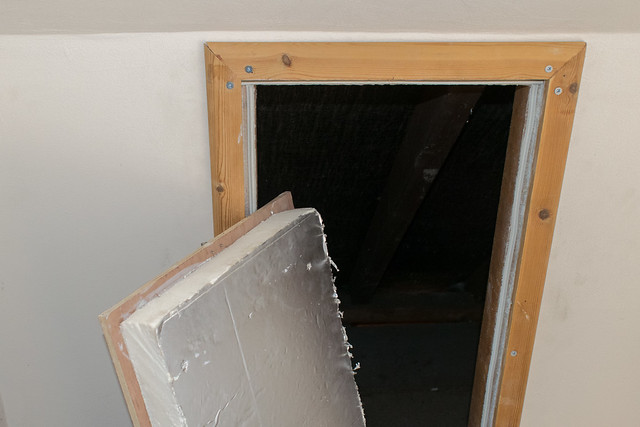
Finally, the plywood is held in place be a couple of bolts. I'd wondered about using hinges, but decided it wasn't worth the bother and would also have made it harder to get a tight-fitting insulation board on the back.
It just needs a lick of paint now to finish the job! Oh, and I need to do the same at the other side of the house.... well, at least just doing one side stopped the draught above the lounge ceiling!
The ground floor of the house is now much warmer - the difference was immediately noticeable! I'd strongly recommend anyone with an uninsulated cavity like this to investigate doing something similar.
Mike
Related posts:
- Insulating the cavity walls
- Insulating the loft
- Flat roof insulation
- Insulating the dormer roof
- Sweeping the chimney
- Installing the wood stove
- Plumbing and testing the wood stove
- Installing solar water heating
- Installing off-grid solar PV (part 1)
- Installing off-grid solar PV (part 2)
- Off-grid solar PV upgrade to 750W
- Off-grid solar PV upgrade to 1250W

No comments:
Post a Comment