This is the latest part of our "eco refurbishment", insulating the loft. The existing insulation was between 2 and 6 inches, i.e. very unevenly distributed, and not thick enough. I wanted to upgrade it to 12 inches thick, but also have boards over the top so we could use the space for storage.
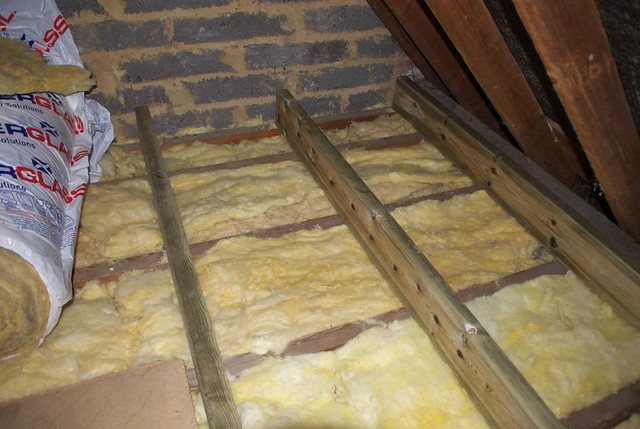
So, the first step was to top up the insulation between the joists to bring it to 6 inches throughout, and then screw down some more 2x6" joists at right angles:
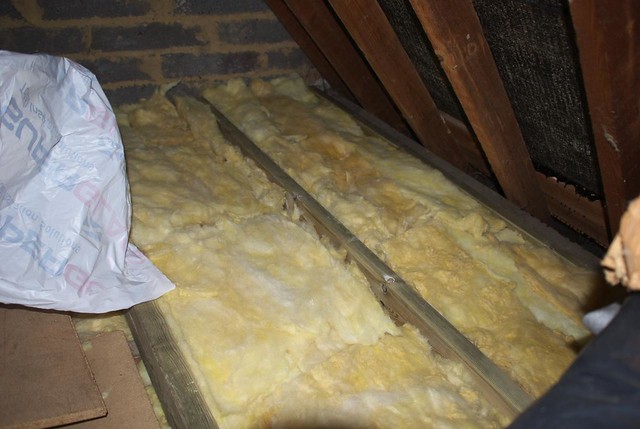
Step two was to insulate between these joists, so adding another 6 inches:
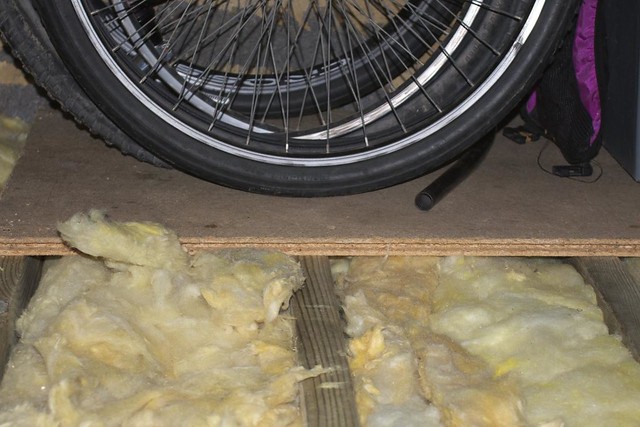
The final step was to screw down boards on top, and replace all the random stuff we store up there:
That's just one bit - I did it in sections so I always had somewhere to leave tools and sit while I was working. It was a pretty unpleasant job, being hot, confined and handling glass fibre. Cutting up the boards with a small circular saw made plenty of dust to add to all that as well! Let's just say I'm glad it's done and that the boards are now down over the whole floor.
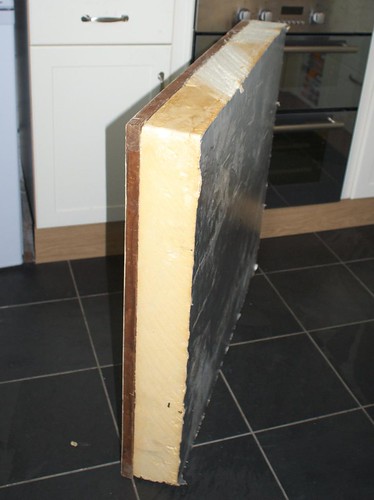
There was one last job, which was to insulate the top of the loft hatch panel, which is just a thin board nailed to a frame. Our friends John and Helen (of the Recycled House) gave us a spare piece of insulation board, which I glued and screwed onto the loft hatch panel:
Although this is thinner than the glass fibre insulation, it should actually provide better insulation, as it's a more advanced material.
I do still need to put draught strip round the loft hatch, but that'll have to wait until I find it, as it went missing during the move!
Mike
Related posts:
- Insulating the cavity walls
- Flat roof insulation
- Insulating the dormer roof
- Sweeping the chimney
- Installing the wood stove
- Plumbing and testing the wood stove
- Installing solar water heating
- Installing off-grid solar PV (part 1)
- Installing off-grid solar PV (part 2)
- Off-grid solar PV upgrade to 750W
- Off-grid solar PV upgrade to 1250W


No comments:
Post a Comment