Saturday 30 October 2010

Autumn has arrived in the woods

There's been a definite change in the woods this week, with the leaves changing colour and falling, letting more light in:

DSC_5071

It's very different to a few months ago, and soon we'll probably be looking forward to spring... Hopefully we'll have a a bit of snow first though!

As we were walking over to our coppicing site, we spotted boar prints in the track, which is strange, as normally they follow their own tracks in the wood. It seems to be really hard to take a picture that shows their prints properly, I guess it'd need to be in 3D! Anyway, here's my best attempt, which just about shows the little toe print at the side of the foot towards the back:
DSC_5056

The other large mammal in the wood was a horse, leaning in over the fence to get at the dead hedge we'd built from Hornbeam brash:
DSC_5070

It wasn't afraid to dig in to find those last few leaves!
DSC_5069

Here's the progress so far. After the two full log racks are two new ones we're filling. We think that once they're filled that might be a year's worth of home heating, leaving the surplus to sell or put to other uses.
DSC_5059

After this winter we'll have a much better idea of exactly how much wood we need to get us through a year, and then we can cut the right amount of coppice for our own needs and a bit more for friends we supply.

Mike

Click here to read the rest of this post.

Wednesday 27 October 2010

Sharpening the chainsaw in the woods

I often prefer to sharpen our chainsaws in the wood, as it's a pleasant setting for the task. All you need is a block of wood to sit the saw on, something to sit on, and somewhere to keep your tool box handy:

DSC_4975

To keep the saw steady I use this little red clamp with spikes on the bottom, and sit the saw on something to raise it up a bit:
DSC_4978

To help with sharpening, I use a "combi gauge", which has rollers to hold the file at just the right height to sharpen the cutters. You get different gauges for different chain types. The red plastic thing is a "magnetic file angle plate", which has lines printed on it at 25 degrees on one side and 30 degrees on the other, to help you keep the file at the  right angle. Being magnetic, it sticks to the side of the guide bar.
DSC_4979

The other part of the combi gauge is a depth gauge guide, which you use after sharpening all the cutters. It sits over the cutter and depth gauge like so:
DSC_4984

The depth gauge on the chain protrudes through the guide, with different settings for softwood and hardwood.
DSC_4985

Then you just file it flat with the guide, and the job's done!
DSC_4986

Obviously there's other things I've not taken photos of, such as de-burring the cutters and maintaining the guide bar, but that's done without any special tools.

Mike

Click here to read the rest of this post.

Monday 25 October 2010

Pollarding Hornbeam, and smoky sunbeams

We've made a lot of progress in the last few days, and we think we're about a third of the way through what we need to complete this winter, which is good, considering we're still in October. Some of the trees have been pretty chunky, like the Ash below, which means our racks of logs are filling up fast.

DSC_5031

We've done some more work on the Hornbeam pollards at the edge of the wood as well. We've got permission to fell stems into the adjacent field when necessary, providing we take account of the horses that are in there at the moment. There's some hefty stems to fell, like this pair which I brought down together:
DSC_5045

Hornbeam is extremely dense, so the logs from these stems weigh a lot! But they'll be useful for fuelling our stove in two years' time. It's hard to split though, but fortunately I've got a way of doing this. I chucked the logs back over the fence, and we used the brash to build up a bit of a dead hedge:
DSC_5048

However, the horses have decided they like Hornbeam leaves, so I think the top of the "hedge" will get eaten!
DSC_5047

Here's a couple of arty pictures I took, of sunbeams coming through the smoke from our brash fire:
DSC_5022

DSC_4999

I also couldn't resist getting some close-up pictures of a spider that was on top of one of the stakes we'd used to make the log racks:
DSC_5013

DSC_5009

And yes, I did encourage the spider to stay on the top until I had some good pictures! I moved it to a safe place afterwards though...

Here's the current view from our reference photo point, followed by the same view before we started:
DSC_5050

DSC_4902

We're definitely making progress!

Finally, here's what happened to some of the Ash that we felled last year and passed on to a friend who's an expert woodworker:
DSC_5036

Nice eh?

Mike

Click here to read the rest of this post.

Thursday 21 October 2010

Forestry machinery videos

A few assorted videos taken of the past couple of weeks, including chainsaw sculpture, a hydraulic log splitter and electric secateurs.

This chainsaw sculpture demo was taken at Weald Woodfair, where a guy made a link chain out of a single log:


Here's a hydraulic log splitter in action, also at the Woodfair:

And here's a demonstration of electric secateurs, taken at the 2010 south east Coppice Conference. These are normally used for pruning in orchards or vineyards, but the sales guy was demonstrating that they worked on Hazel too:

Mike

Click here to read the rest of this post.

Monday 18 October 2010

Ash coppice and splitting Hornbeam

I'd like to start this post with some pictures of coppiced Ash, which creates the most interesting shapes I've seen from any coppiced tree. It looks like it's trying to climb out of the soil!

DSC_4953

DSC_4951

Ash is easy to split for firewood after felling, but Hornbeam isn't. If you've every tried splitting Hornbeam, you'll know why it is also know as "Ironwood"! So, as you might imagine, splitting a 2 metre length is not an easy task!

However, here's a way round the problem. Use your chainsaw to cut a notch in the end of the log:
DSC_4962

DSC_4964

Then drop in a metal wedge:
DSC_4966

Hit it hard with a sledge hammer, and there you go!
DSC_4968

A few more wedges banged in as the split travels along the log will finish the job easily, then it can go on the stack ready to be cross-cut after seasoning.

Speaking of stacks, we filled our second one and started another today:
DSC_4948

We've now cleared enough of a space to start felling edge trees into the wood:
DSC_4955

On this side they are mostly Hornbeam, and we're keeping them as pollards, felled a bit above waist height. We're hoping that it might be possible to lay the regrowth to form a hedge, but we'll have to wait and see. There's just one stem left to do on this stool, but it'll have to go into the field:
DSC_4971

Here's how the site looked at the end of today:
DSC_4974

And just in case you were wondering, we did cook some more sweetcorn on the cob, and this time also baked some vegetables and potatoes too!
DSC_4950
Mike

Click here to read the rest of this post.

Sunday 17 October 2010

A sunny Sunday in the woods

We both had an enjoyable and productive day in the woods today, expanding the clear area we're working on in Sweep Wood. At the start of the day trees were still hanging up a bit:

DSC_4934

DSC_4931

But by the afternoon there was enough space to fell 40 foot trees into:
DSC_4939

Sometimes it feels like we're making slow progress, but this is because we're processing every tree as we fell it, cleaning up Hazel stems, converting suitable chestnut into stakes for log stacks to be built over the coming weeks:
DSC_4942

and splitting logs that are destined for our wood burner, so that they can start seasoning immediately:
DSC_4940

The log stack that was built on Friday is nearly full already!
DSC_4944

As we had a fire going to dispose of excess brash, we took up a sweetcorn cob to try a method of cooking Tracy had read about recently. What you do is soak the whole cob in water for half an hour, the chuck it in the fire. We actually rested it on a forked bit of green Hazel, turning it occasionally:
DSC_4936

Once the husk starts to blacken, you take it out, and inside is perfectly cooked sweetcorn!
DSC_4937

Anyway, here's another update on the view, comparing before we started:
DSC_4899

to the end of today:
DSC_4946

Mike

Click here to read the rest of this post.

Saturday 16 October 2010

"Breaking in" to start coppicing

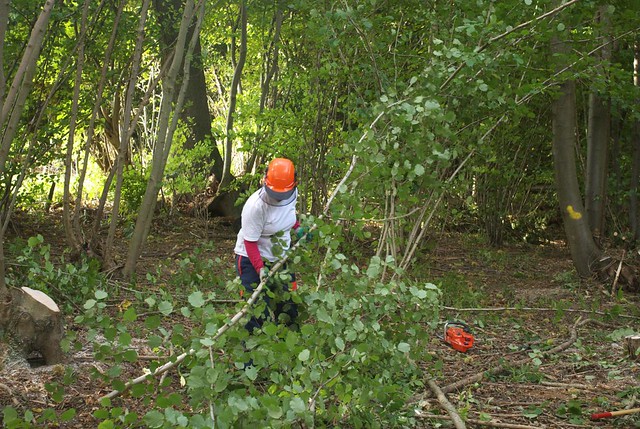
The first task when starting coppicing a new part of the woods is "breaking in", or creating a space into which you can fell trees. Obviously you start by taking out all the small trees in the area that you can, which this year means Hazel for us. Having done that, it's inevitable that you have to fell some larger trees that will hang up in other trees. However, you can often find gaps between other trees to fell into, if you're accurate with your chainsaw.

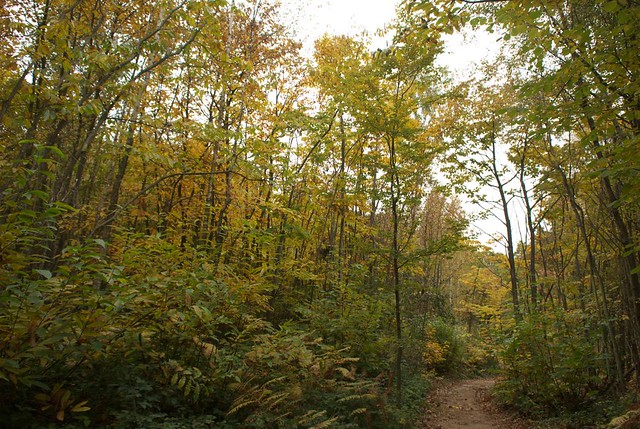
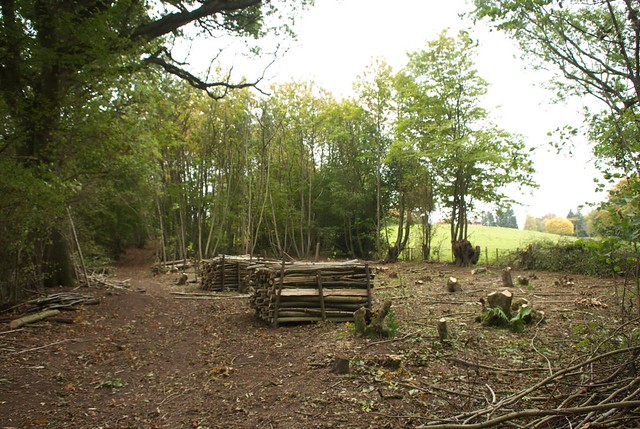
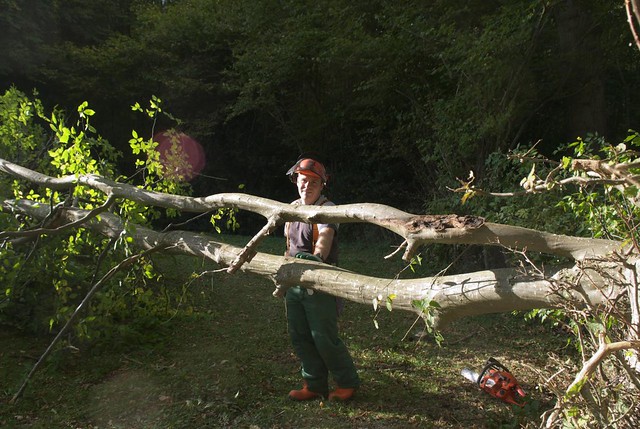
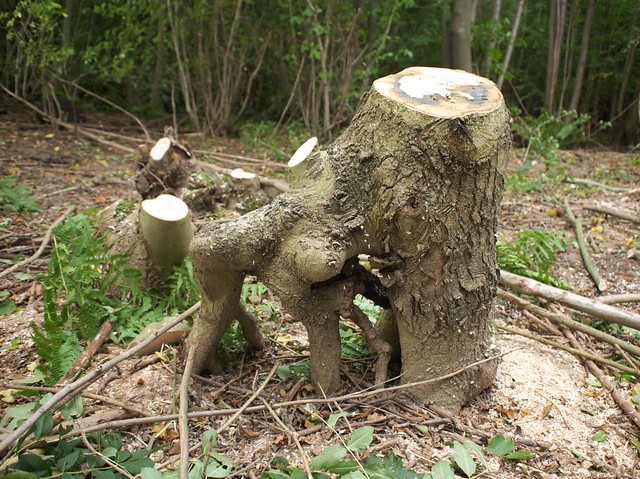
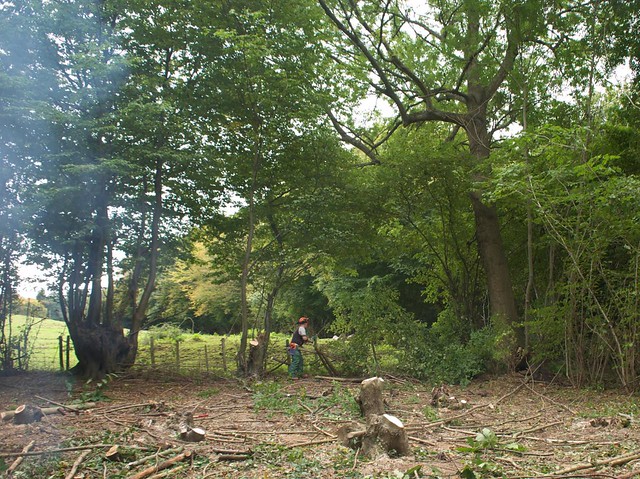
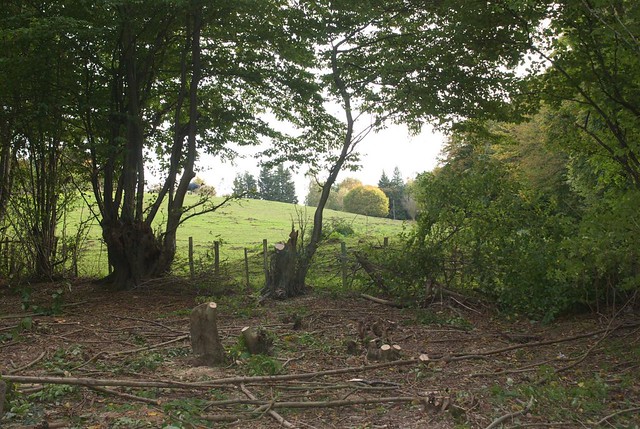
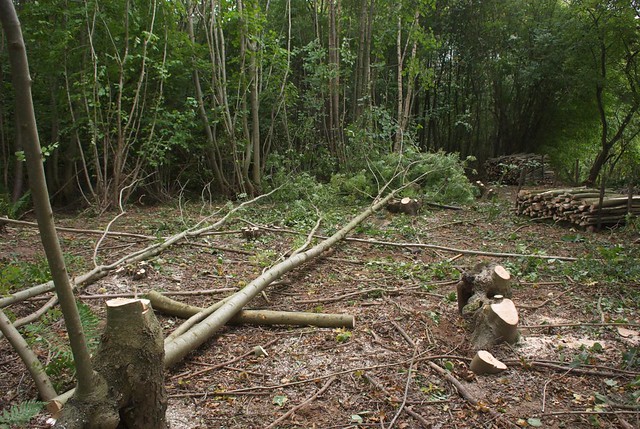
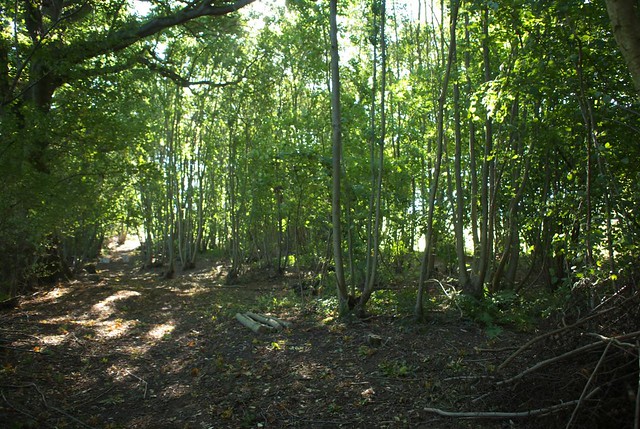
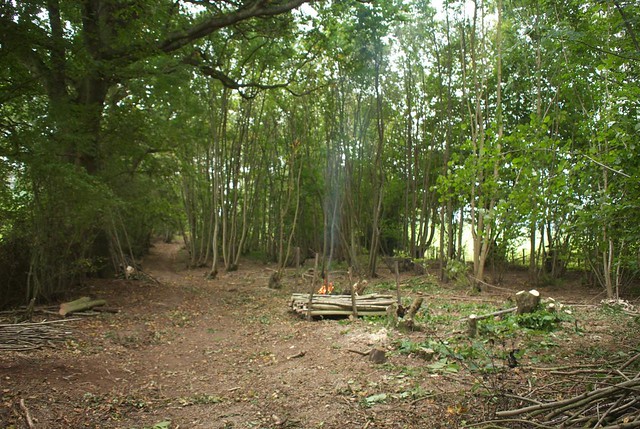
We're coppicing a strip between two fields this winter, and the picture below shows the lower edge of this strip. The trees to the right of the photo are staying. As you can see in the foreground, I've already felled some smaller Ash, which were relatively easy to slot between other trees as they came down. The two remaining Ash stems (about 40ft tall), left of centre, are leaning away from me as I took this picture, and there's a large oak behind me, so they can't come back this way. So, you'll see that to the back of the picture (just beyond my chainsaw) I've felled two Chestnut stems (they came towards the front of the picture). This created a nice space to fell the Ash into:

DSC_4918

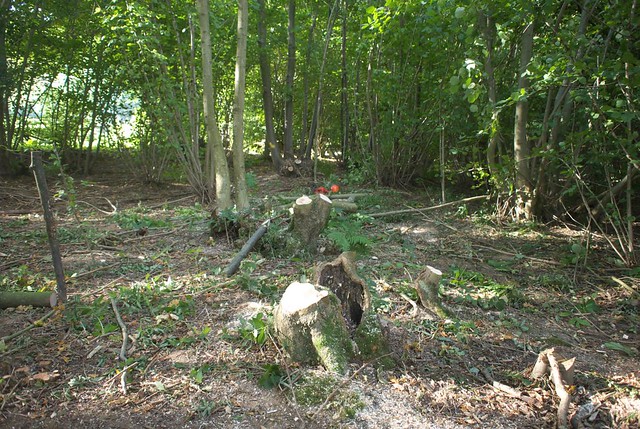
This "breaking in" is actually quite good fun, as it's a bit like figuring out a puzzle, and if you get it wrong then you pay by it taking longer to solve!

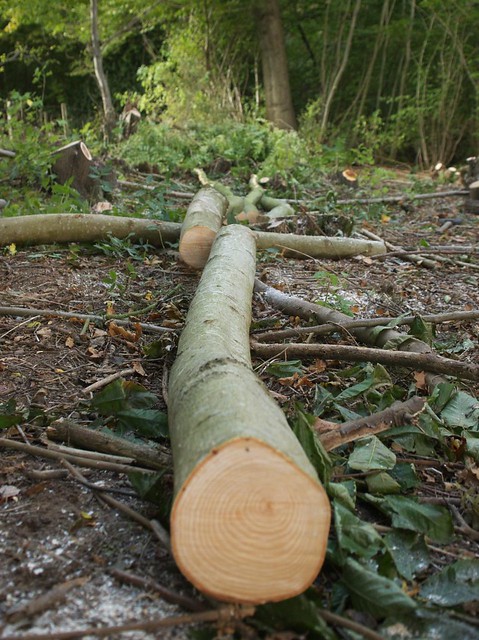
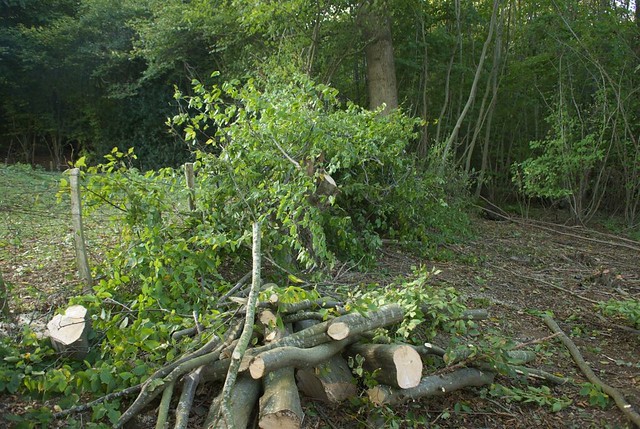
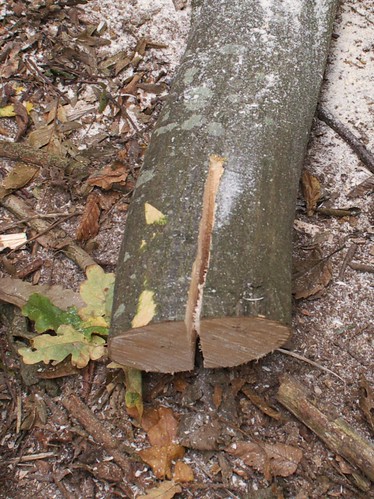
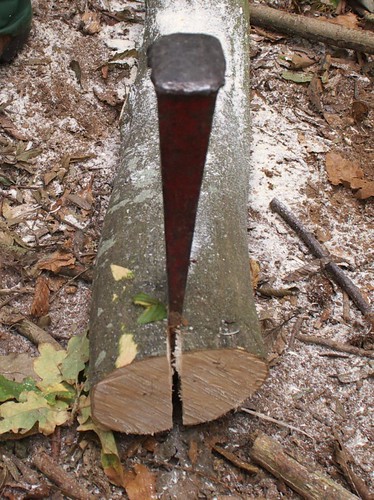
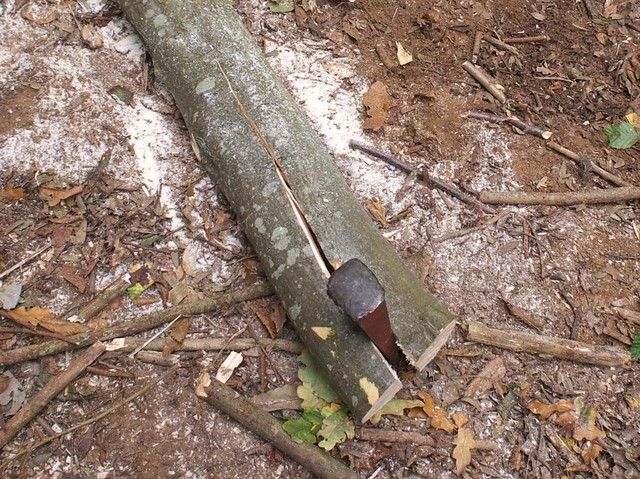
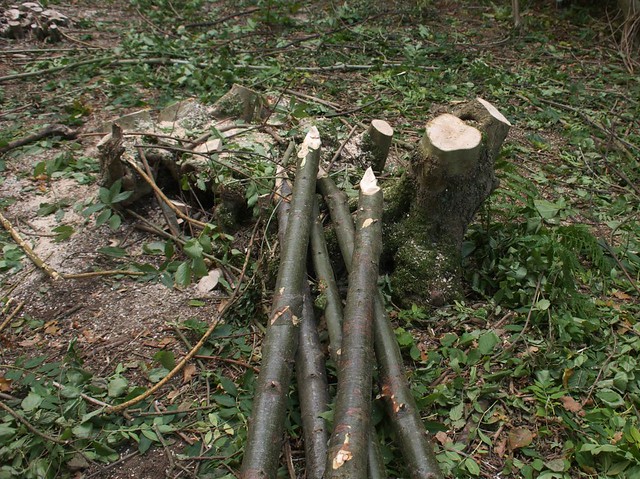
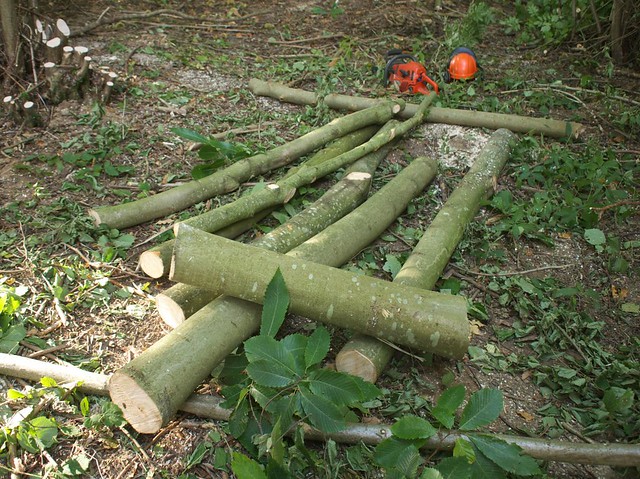
In this case I got it right, and each stem yielded a nice pile of logs like this:
DSC_4919

The big chunk on top is for a wood-working friend, who'll season it and use the heartwood to make tool handles.

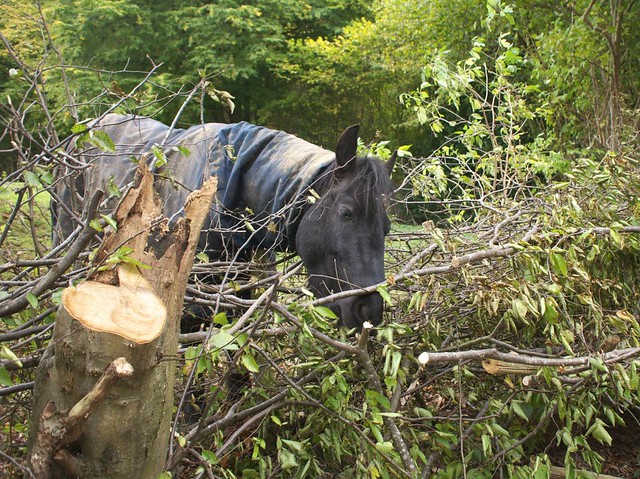
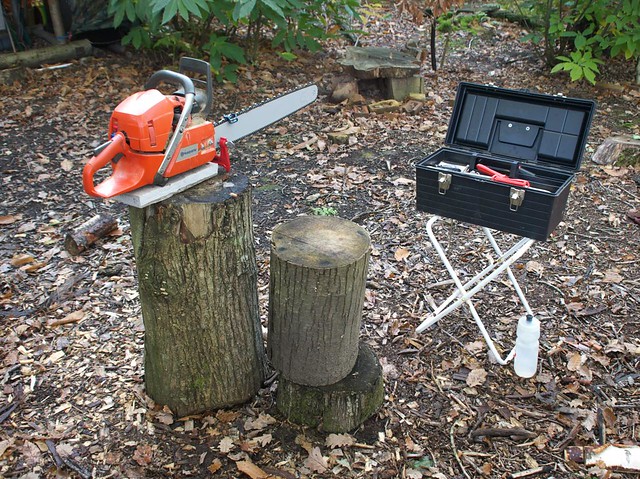
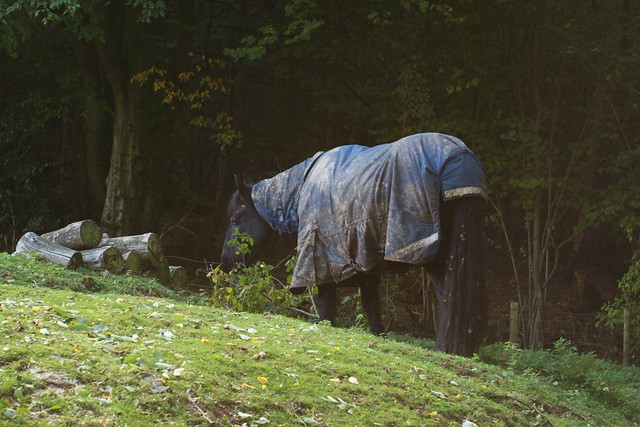
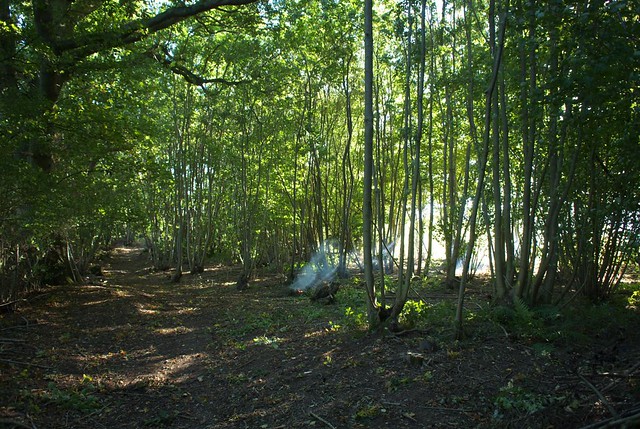
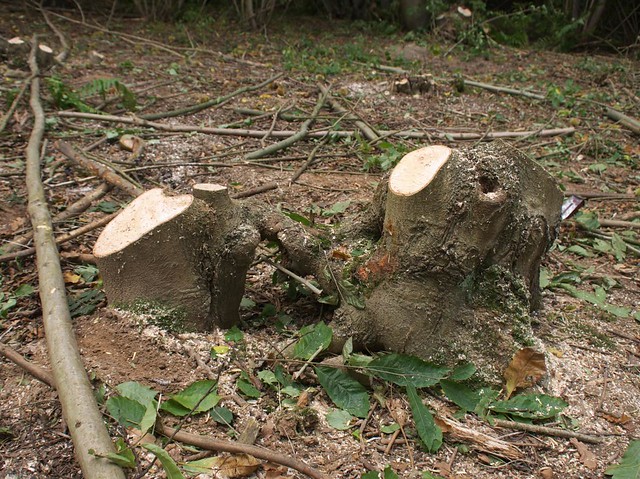
It feels like we're starting to make some visible progress now, after spending a while setting up log racks and collecting pieces for use at an allotment (more on that later...). Here's a picture of the area at the start:
DSC_4899

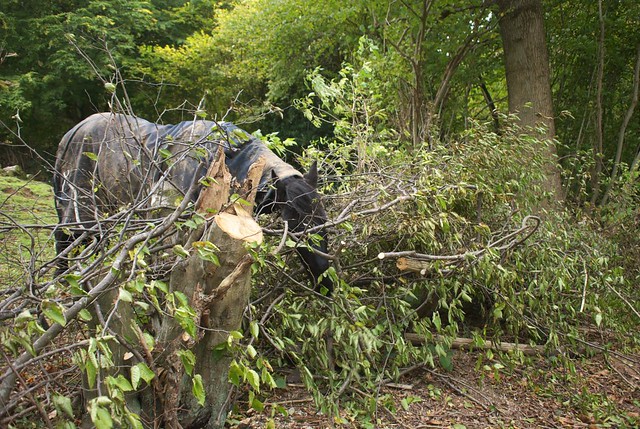
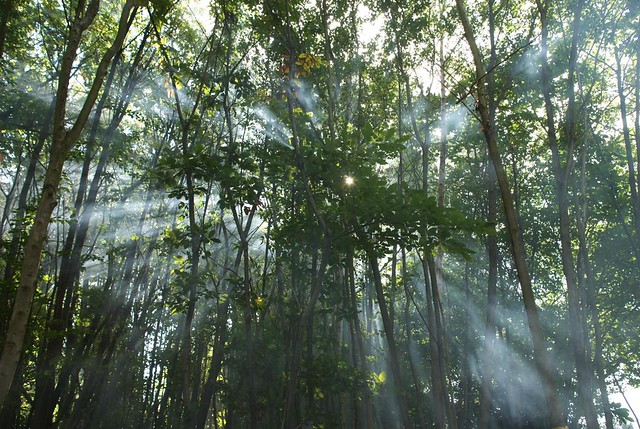
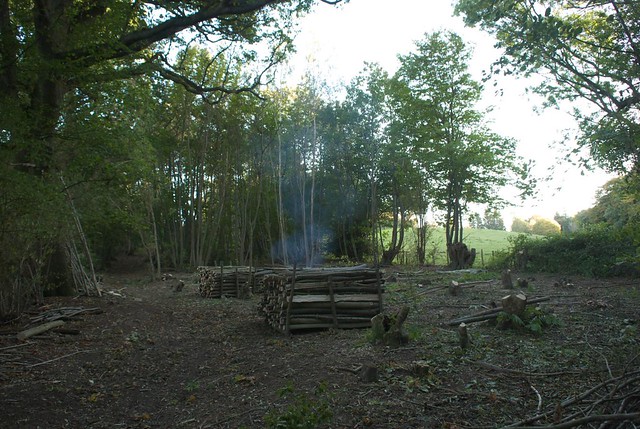
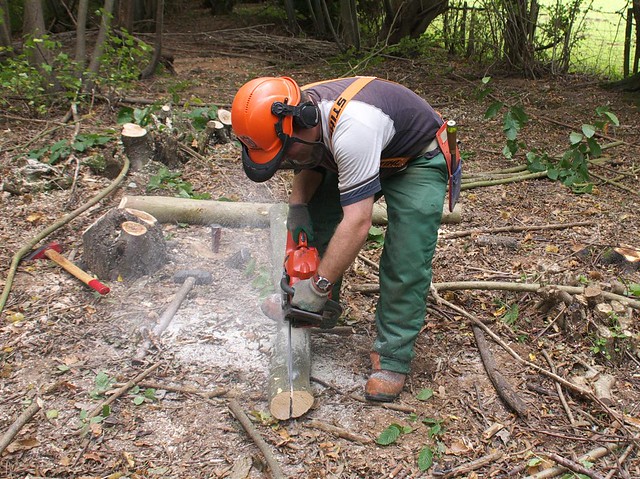
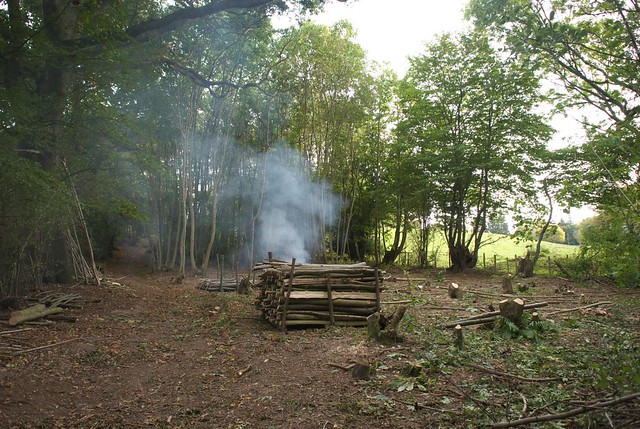
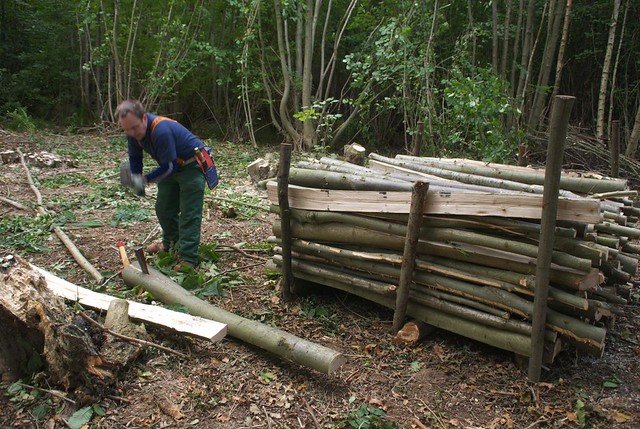
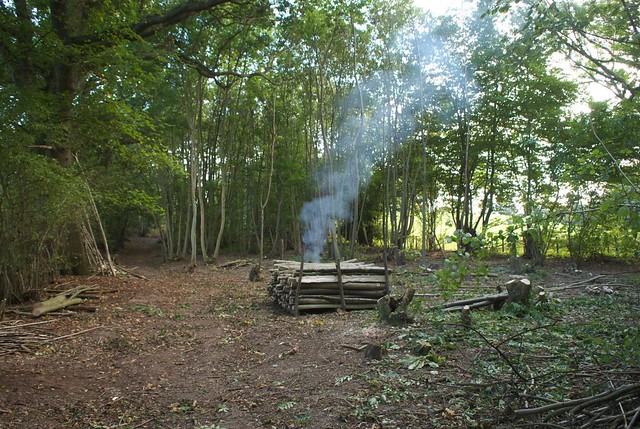
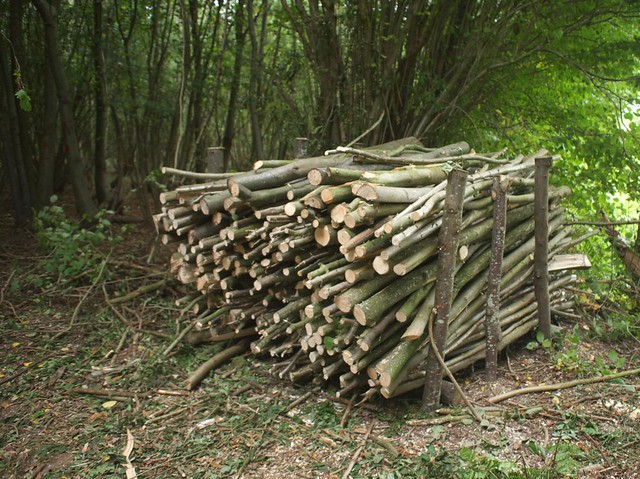
And here's a picture at the end of Friday:
DSC_4921

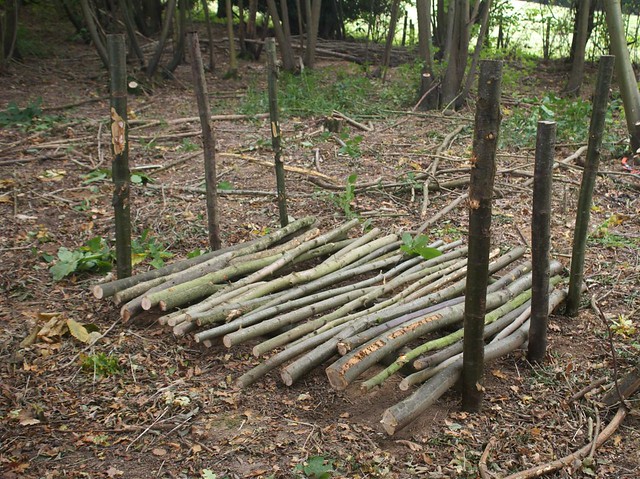
We've already filled one log rack:
DSC_4922

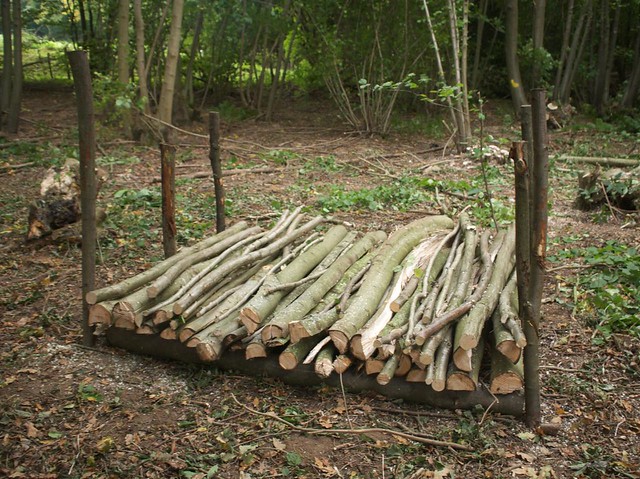
and built another which is only just started - if you're wondering why the stakes are all different heights, it's because we're reusing old ones from last year, but not all were in good enough shape, so there's a mix of heights:
DSC_4923

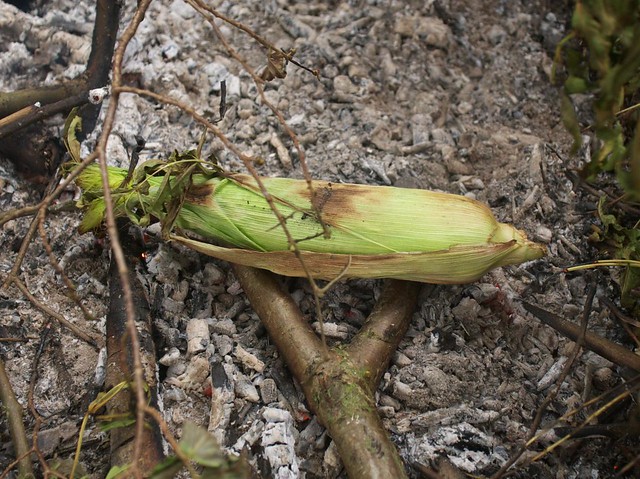
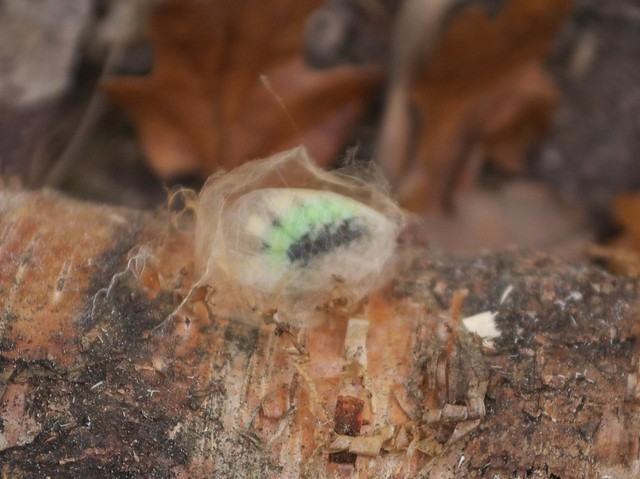
I also collected a few sacks of firewood from our store while I was up there - we do this on most trips to save diesel. There was one log I had to leave there though, as it had a caterpillar in a chrysalis on it:
DSC_4916

I'm not sure if it's meant to look like that, but I've put it in a safe, dry place to wait out the winter.

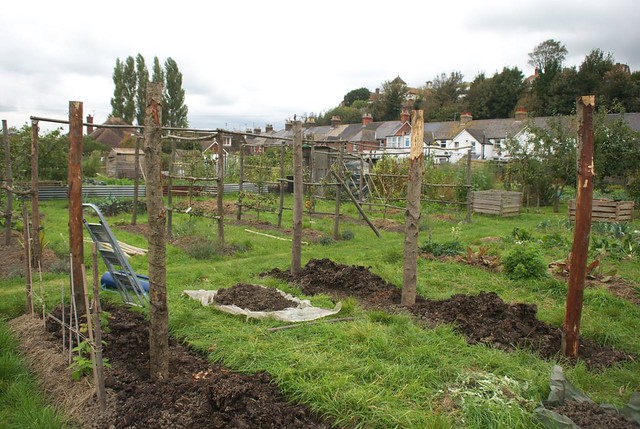
I stopped work at the woods a bit early and went to the allotments, where I was putting in Chestnut stakes for a friend there:
DSC_4924

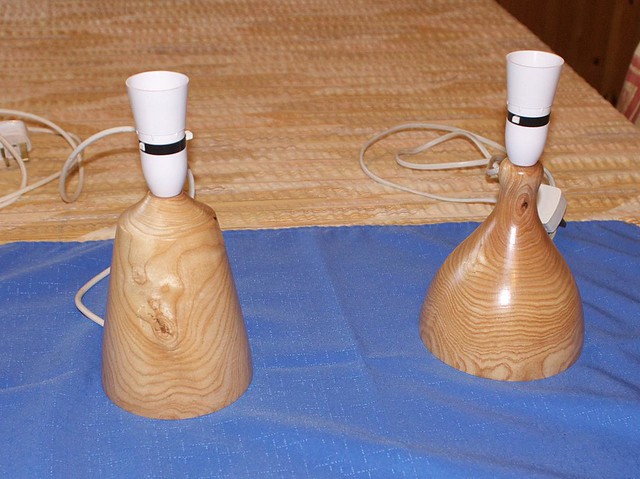
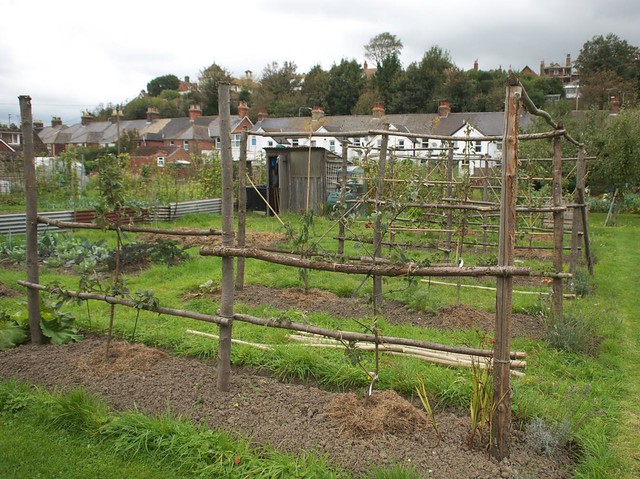
I also dropped off some Hazel poles to make a lattice between them. When they're done they'll look a bit like these:
DSC_4925

DSC_4926

They're ones we put in about 18 months ago, and I think they look a lot better with fruit trees growing up them!

Mike

Click here to read the rest of this post.