Showing posts with label pollard. Show all posts

Wednesday, 1 June 2011

A quick update

We've been pretty busy recently, helping a friend move house and building a firewood shelter in our garden at home, so not a lot of time for photos and posting to the blog... I'll start writing about how we're building the firewood shelter shortly, but for now here's a few pictures from the woods, taken this weekend.

While collecting materials for the firewood shelter we got our Suzuki and a trailer all the way into Sweep Wood for the first time:
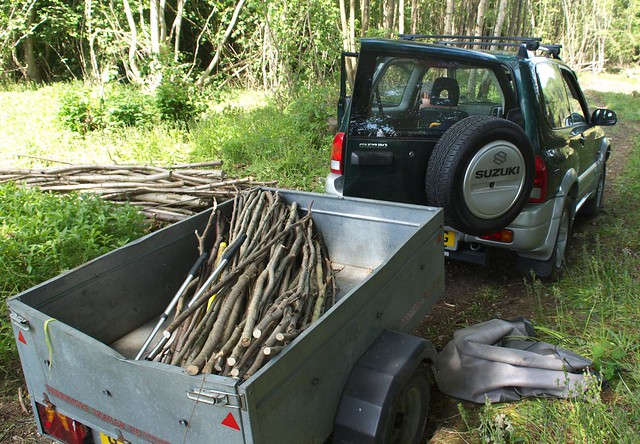
DSC_8053 Trailer full of Hazel

This included driving over the culvert, which worked just fine:
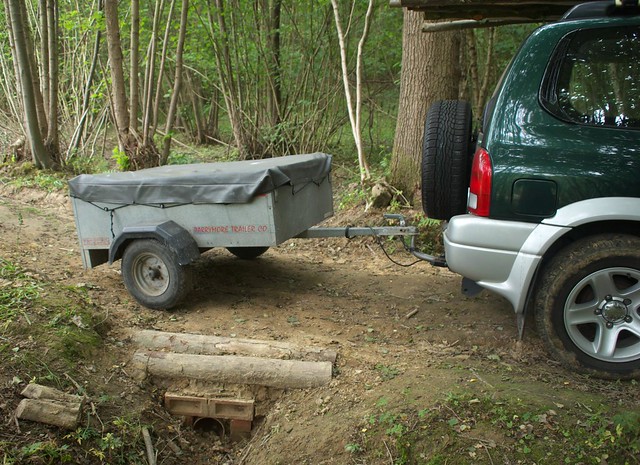
DSC_8077

The area we recently coppiced in Sweep Wood is growing very rapidly, despite the dry weather:
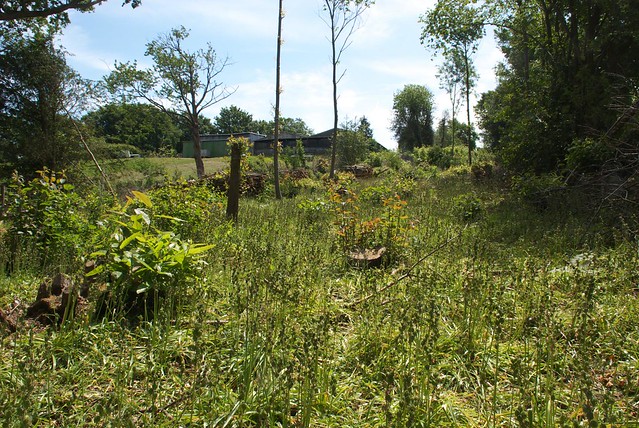
DSC_8058

There's another new plant there as well, Hogweed I think:
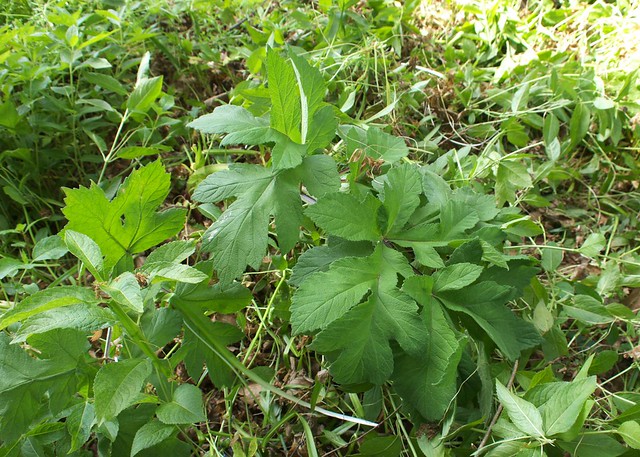
DSC_8054 Hogweed

The old Hornbeam pollards at the edge are recovering nicely - we'd like to lay this growth into a hedge in a few years:
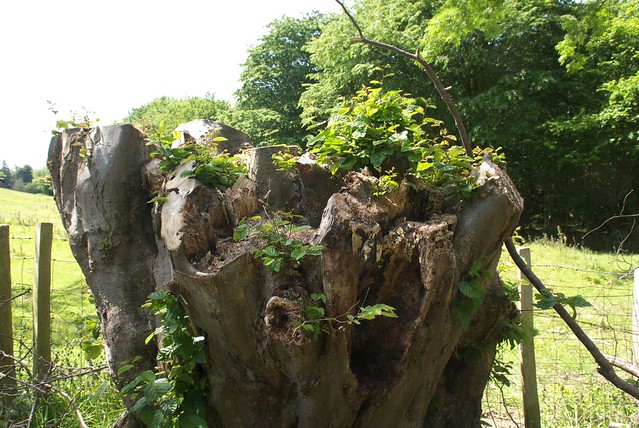
DSC_8057 Pollarded Hornbeam

And there's another pollard, which we created to set up a bench for felling, and then left as a handy bird table to leave food on:
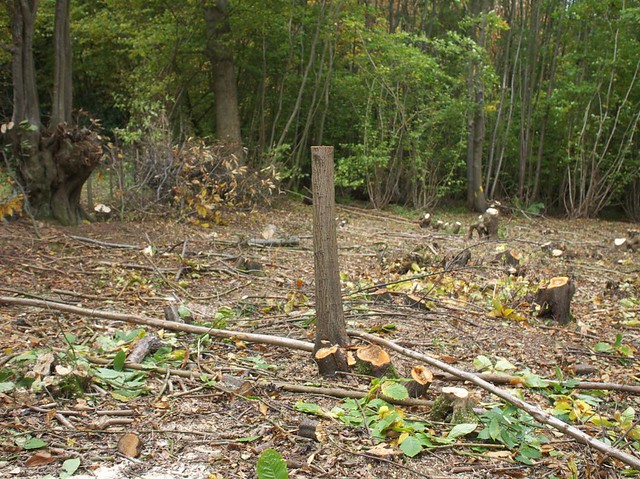
DSC_5080

now it looks like this, and will be an interesting looking tree soon I think:
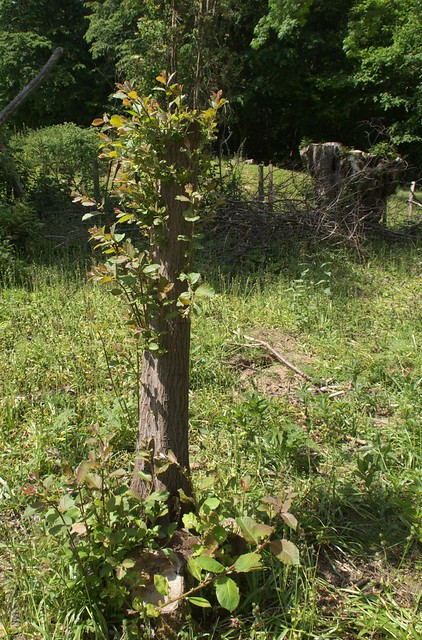
DSC_8056 Pollarded tree

That's all for now..

Mike

Click here to read the rest of this post.

Monday, 25 October 2010

Pollarding Hornbeam, and smoky sunbeams

We've made a lot of progress in the last few days, and we think we're about a third of the way through what we need to complete this winter, which is good, considering we're still in October. Some of the trees have been pretty chunky, like the Ash below, which means our racks of logs are filling up fast.

DSC_5031

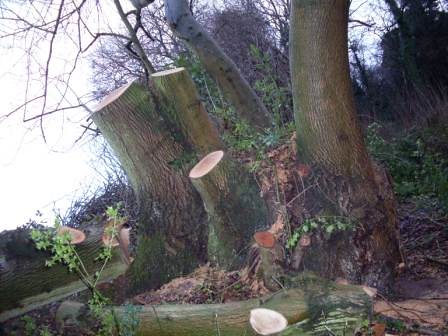
We've done some more work on the Hornbeam pollards at the edge of the wood as well. We've got permission to fell stems into the adjacent field when necessary, providing we take account of the horses that are in there at the moment. There's some hefty stems to fell, like this pair which I brought down together:
DSC_5045

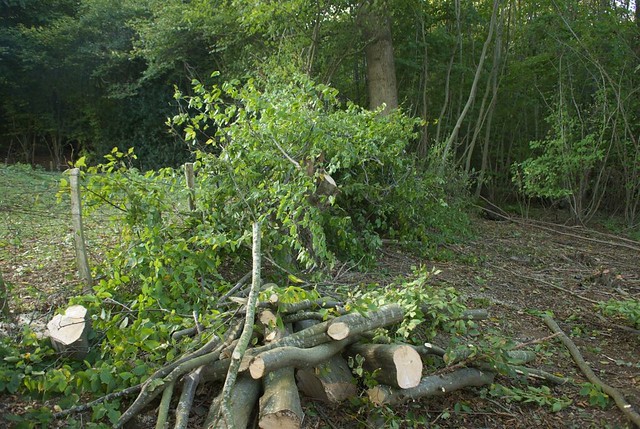
Hornbeam is extremely dense, so the logs from these stems weigh a lot! But they'll be useful for fuelling our stove in two years' time. It's hard to split though, but fortunately I've got a way of doing this. I chucked the logs back over the fence, and we used the brash to build up a bit of a dead hedge:
DSC_5048

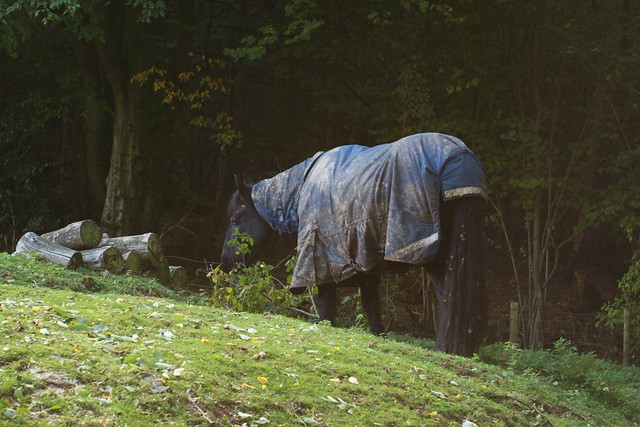
However, the horses have decided they like Hornbeam leaves, so I think the top of the "hedge" will get eaten!
DSC_5047

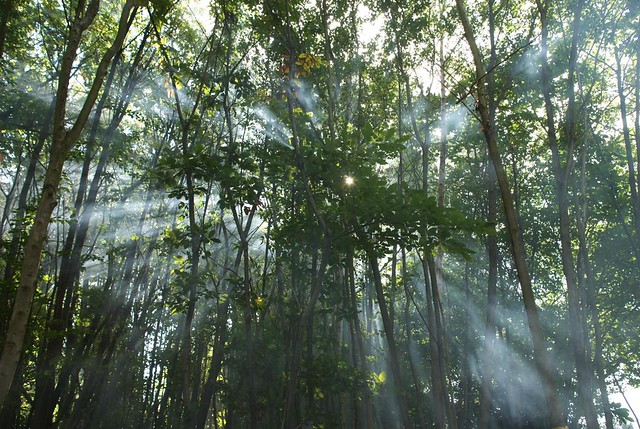
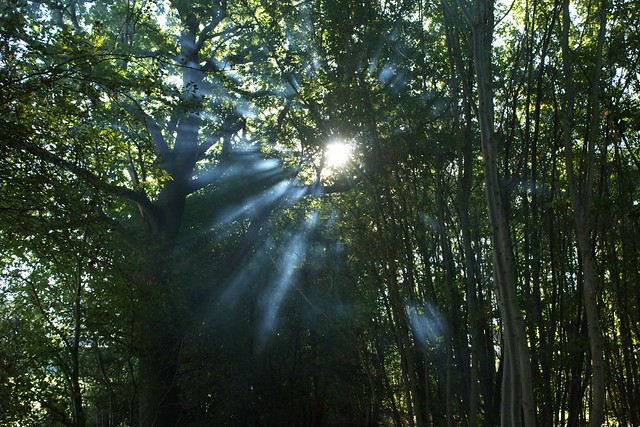
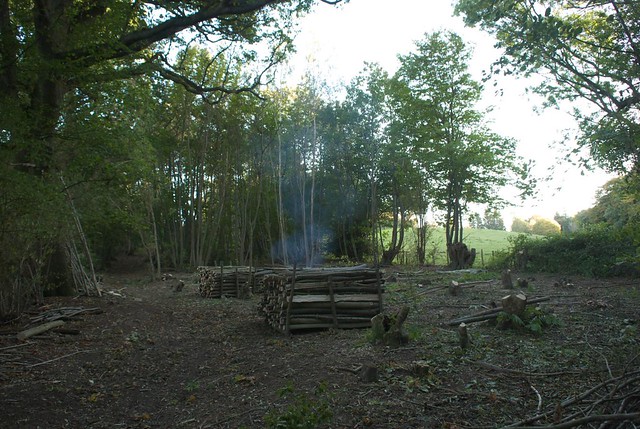
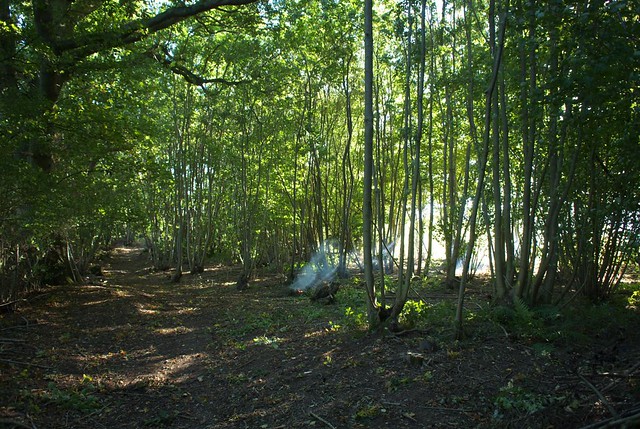
Here's a couple of arty pictures I took, of sunbeams coming through the smoke from our brash fire:
DSC_5022

DSC_4999

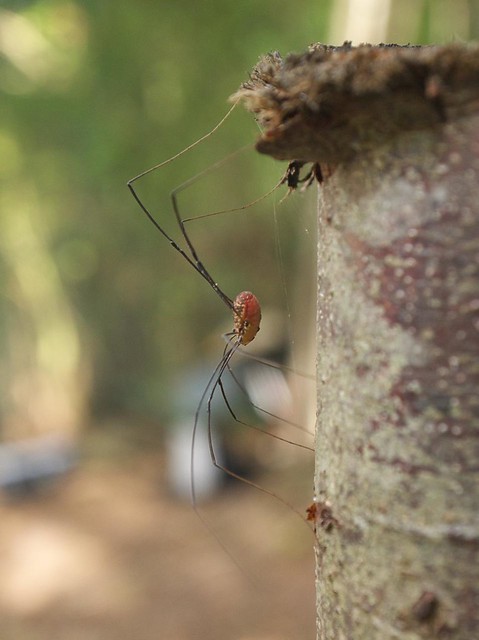
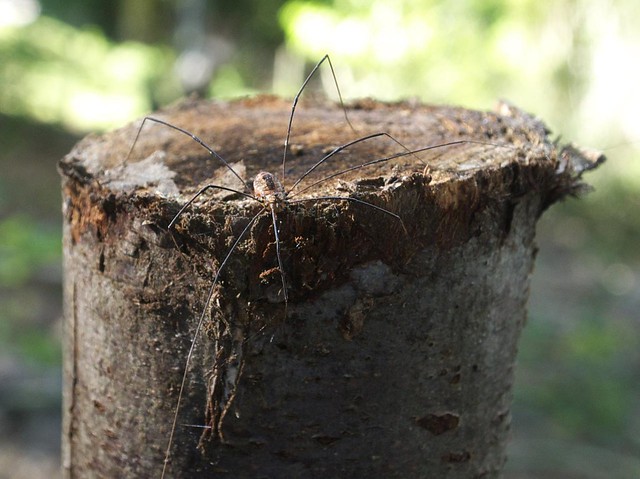
I also couldn't resist getting some close-up pictures of a spider that was on top of one of the stakes we'd used to make the log racks:
DSC_5013

DSC_5009

And yes, I did encourage the spider to stay on the top until I had some good pictures! I moved it to a safe place afterwards though...

Here's the current view from our reference photo point, followed by the same view before we started:
DSC_5050

DSC_4902

We're definitely making progress!

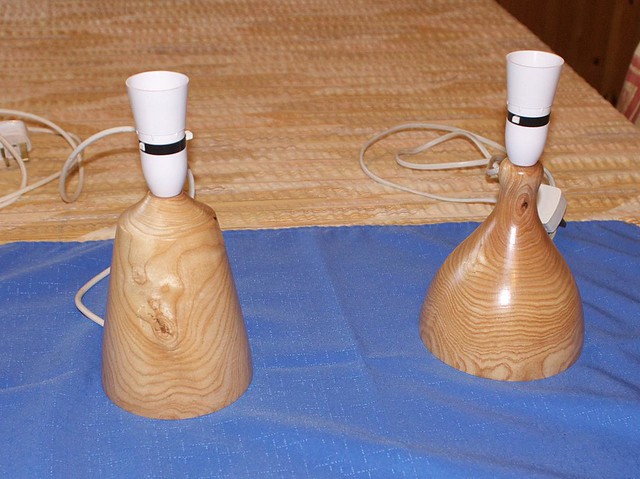
Finally, here's what happened to some of the Ash that we felled last year and passed on to a friend who's an expert woodworker:
DSC_5036

Nice eh?

Mike

Click here to read the rest of this post.

Sunday, 14 June 2009

Back to the woods...

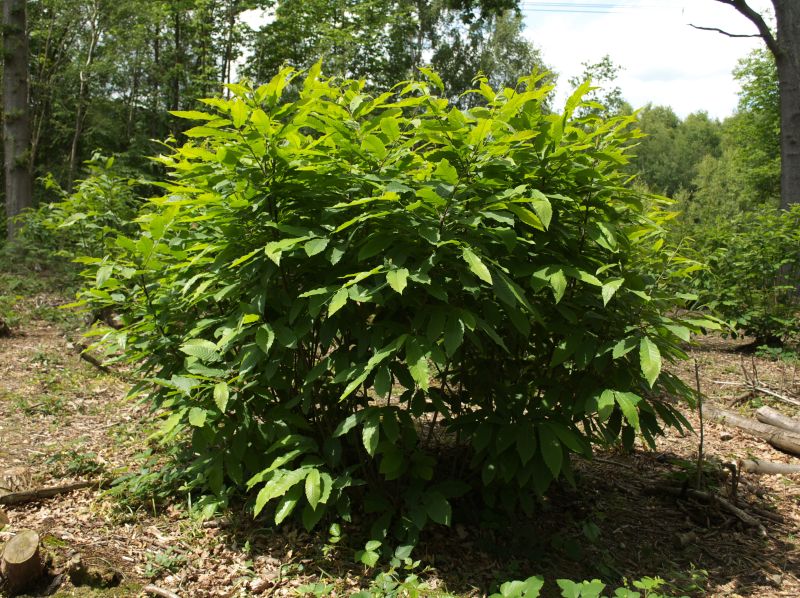
After five days in London, it's been great to get back into the woods with Tracy this weekend. The young coppice is growing like crazy now:
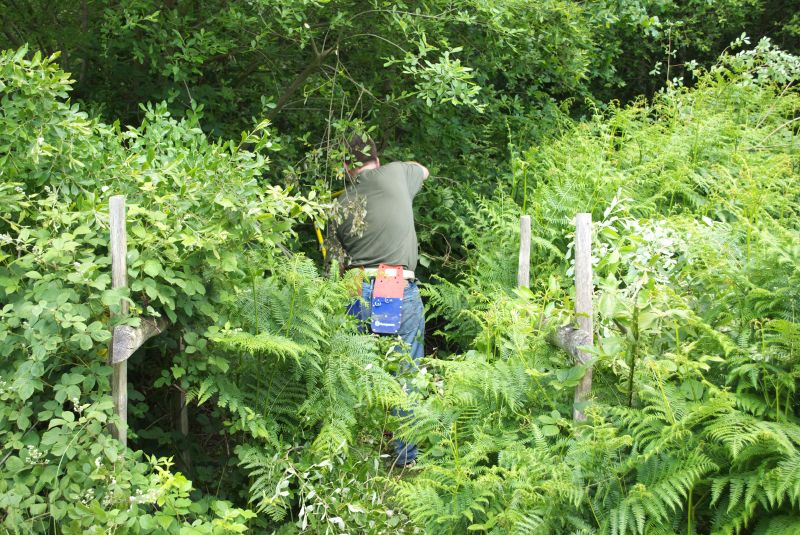
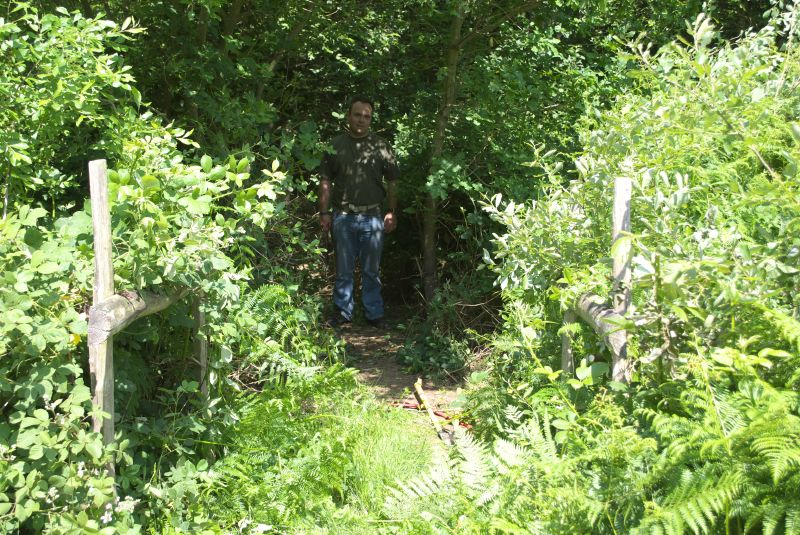
We did do a couple of jobs while we were there, mainly trimming back trees along the edges of the track up the wayleave, and also clearing the public footpath where it crosses the wayleave, which did look like this:
and now looks like this:
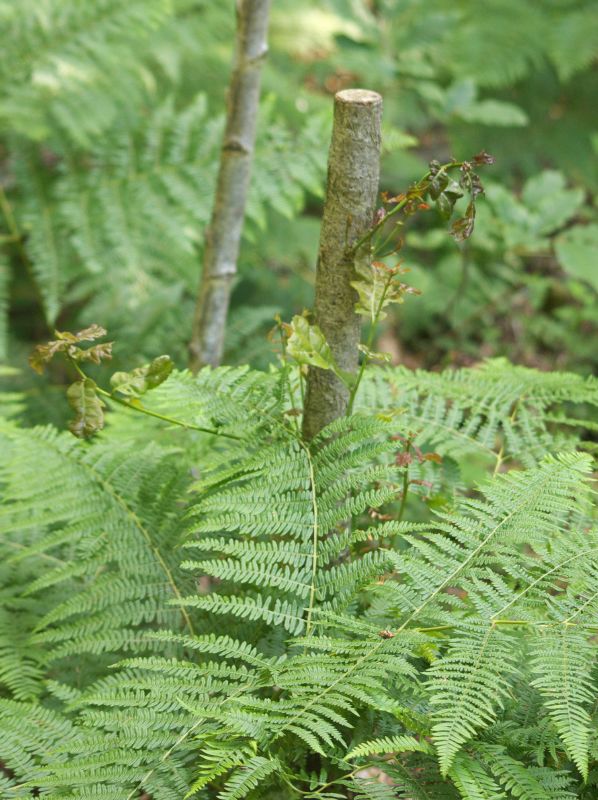
I was also pleased to see the young oak we pollarded is growing some better shoots now, and has avoided the attentions of grazing animals:
We've left some bracken growing around it to try to keep it somewhat hidden from them...

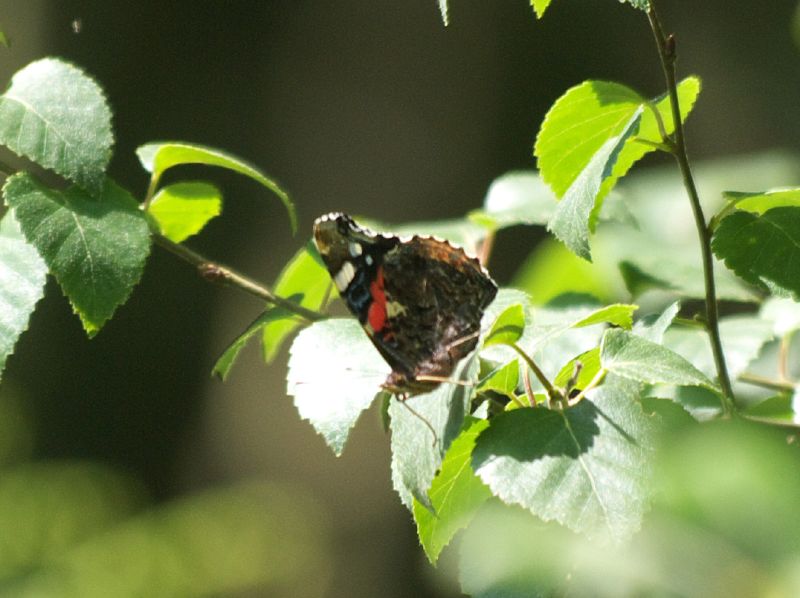
We saw our first Red Admiral butterfly this year today, though it wouldn't open its wings nicely for a photo.
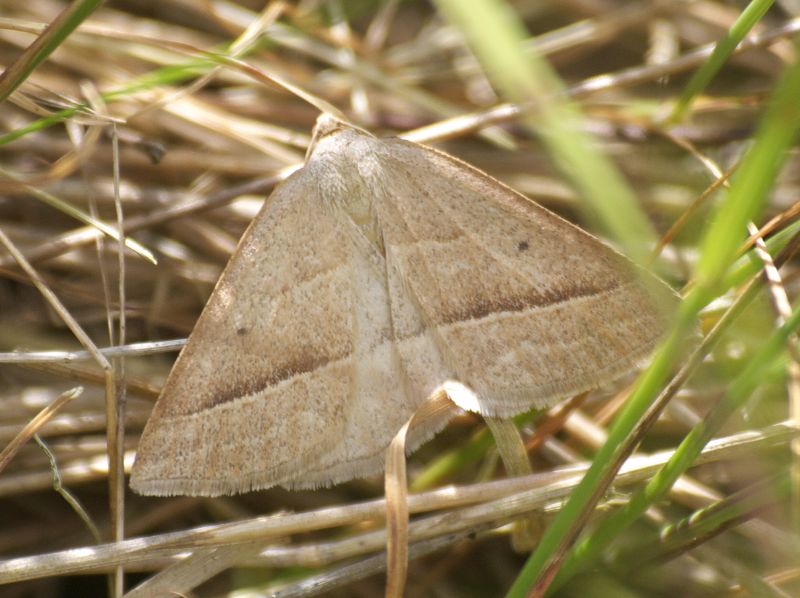
There was also this moth(?) that I've not been able to identify yet:
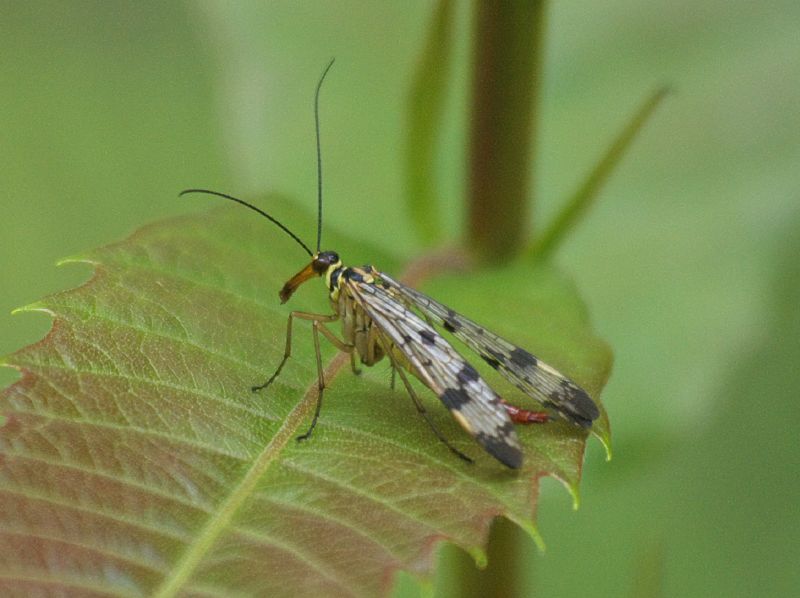
and here's a random weird insect to finish:
Mike

Click here to read the rest of this post.

Thursday, 7 May 2009

Clearing up from the weekend

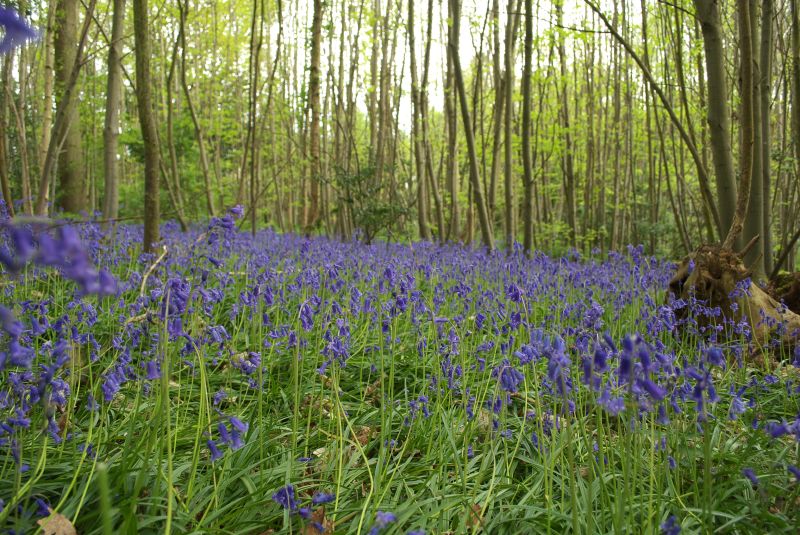
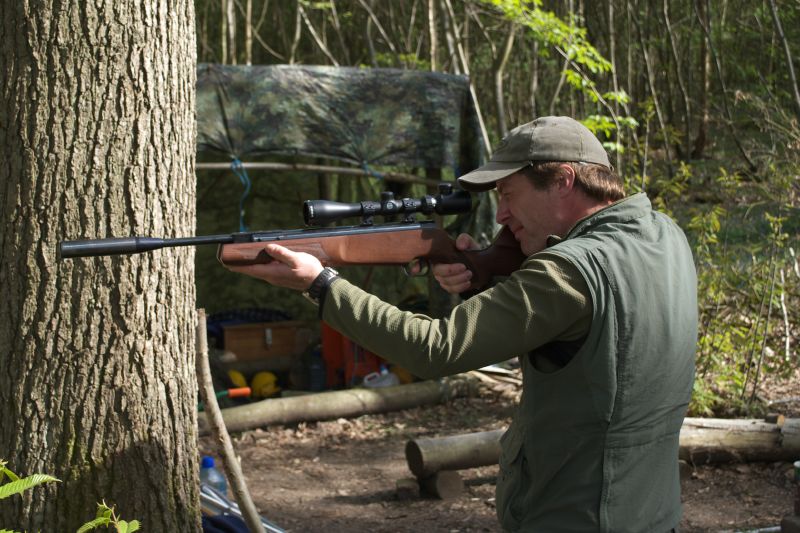
We had a very busy weekend, with all kinds of visitors to the wood. Although I've done a few posts, there's still some odds and ends I'd like to mention. I'll start with yet another bluebells photo though, this time form the top end of our wood, where I'd not been since the bluebells came out:OK, on to other stuff. I already mentioned the SWOG butterfly ID day, but what I hadn't mentioned was that our friends Rich and Penny camped in the wood the night before, as they live a fair distance away. I was very impressed that they didn't use a normal tent, they used a mosquito net tent, and rigged a tarpaulin over that - and a good job too, as it rained! Rich proved to be a natural with the air rifle:
and Penny hit the target first time too, but I'm not allowed to post the photo of her as she's pulling a funny face! :-)

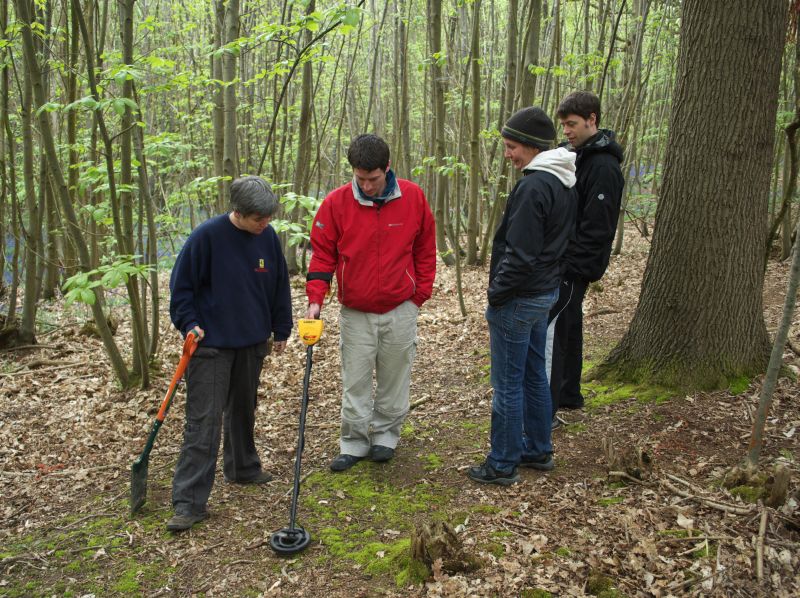
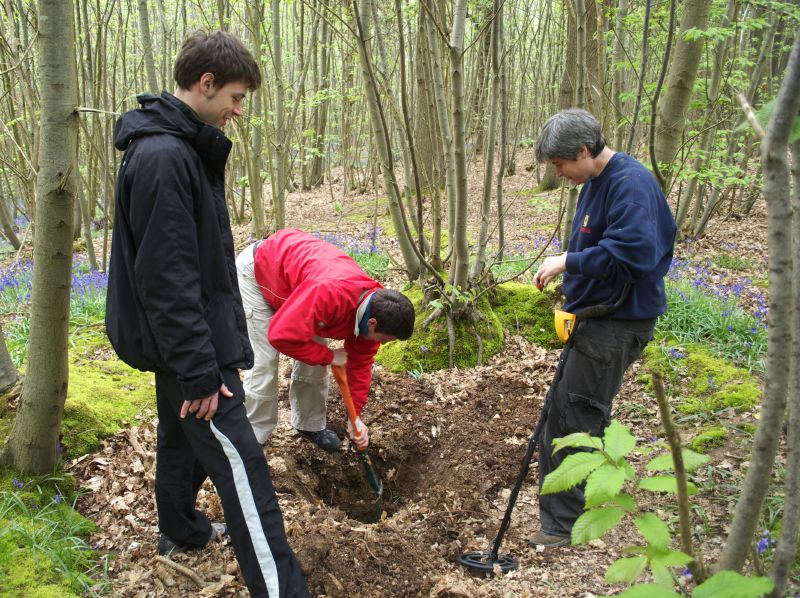
As you probably already know, Tracy found a WW2 bullet casing in the woods, but there was plenty of digging for other stuff with our friends Dave & Anna and Greg & Amy, who came for the day on Monday:Nothing yet in this hole - it's a strong signal, but must be deep, so it could be something big. Hope it's not a live WW2 bomb!

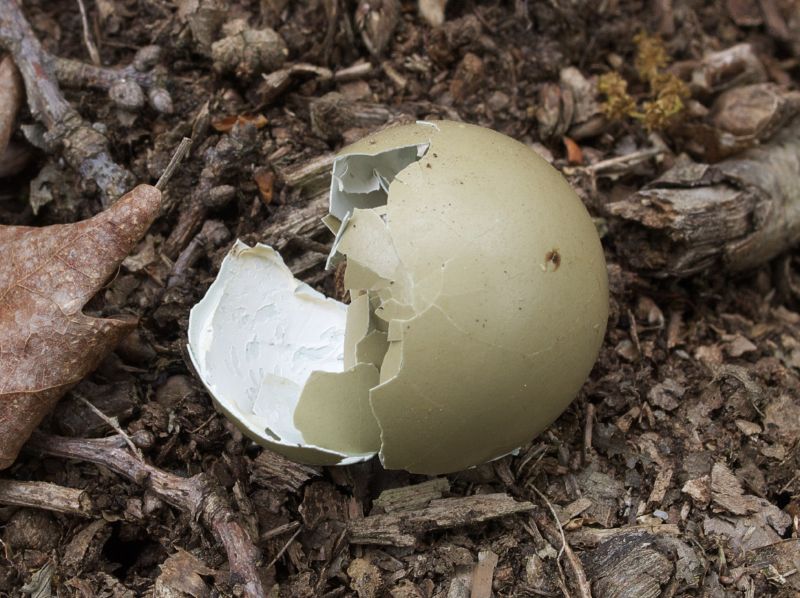
While we were walking round we saw this pheasant's egg, I assume a chick hatched from it:
and also saw another that someone had left on top of this stump. Looks like something attacked it, and it's not going to hatch now...
The pond is looking very green again
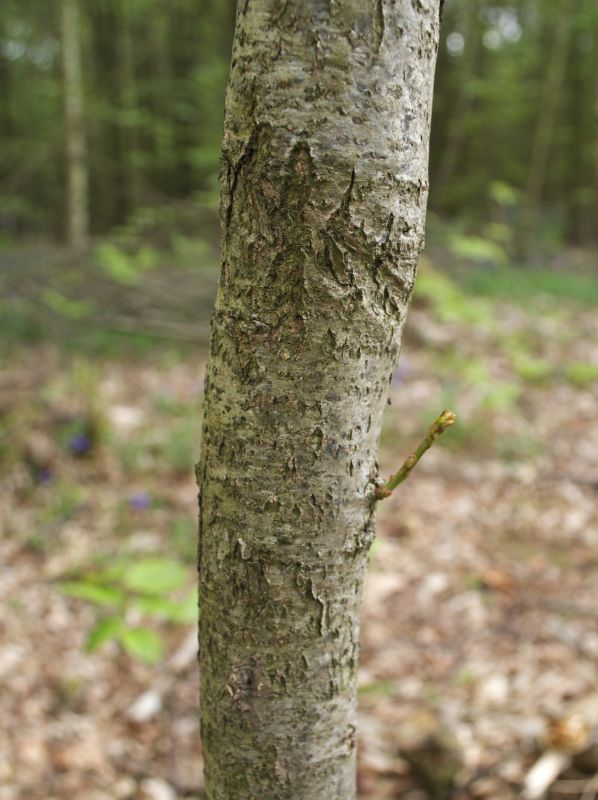
and I was pleased to see this hawthorn growing nicely. The spray of fresh shoots are coming out where I damaged a branch during felling in the winter. I'd cut the branch of cleanly after this, so I'm pleased to see that this has worked:
The same happened to a young oak last winter, and I was very annoyed, having missed it with at least ten trees and then hit it with the last one. Anyway, I'd pollarded it, hoping that it would regrow and that the shoots would be out of reach of the rabbits:
so I was delighted to see this on the side of it:
It's much slower growing than the chestnut or birch, but we're going to keep cutting them along the sides of the path every few years, so this oak should get enough light to keep growing. Who knows, as a pollard it may grow to be an interestingly shaped tree one day? I'll keep an eye on it.

Mike

Click here to read the rest of this post.

Friday, 6 February 2009

Restoring old pollards

Many ancient woodlands have old pollards - that need to be taken care of, so that they don't die.
Toby Allen has written an article for SWOG (Small woodland owners group) on how to deal with them, well worth a read!

Click here to read the rest of this post.
Thursday, 11 December 2008

Romney Marsh wind farm and a woodland update

The Little Cheyne Court wind farm, on Romney Marsh, is now being commissioned. Apparently it'll be finished by February, and until then the turbines will be operating intermittently as they are tested. Here's a video taken from an upstairs window in our house:

I'm pleased to see them working. Not everyone likes the view, but if we're going to tackle climate change and also get back to the UK being self-sufficient in energy, then this is the kind of thing we need.

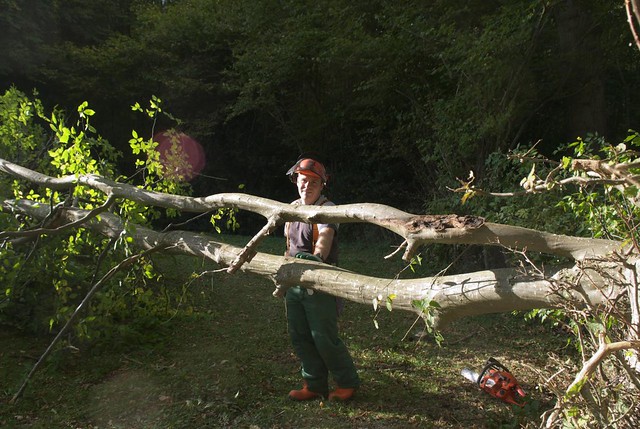
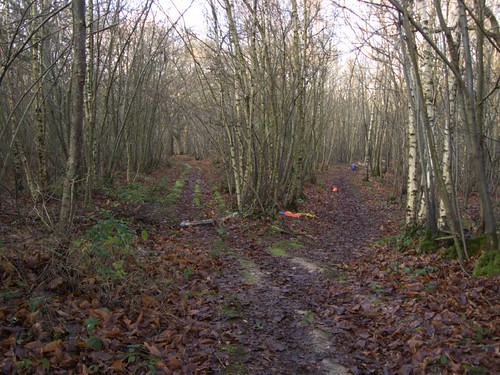
We drove up to the wood today, as we were bringing back a load of logs for a customer, so it was nice to find the track frozen solid:After processing some chestnut logs and loading the trailer, we got back to coppicing near the junction of the footpath and our main ride. We're trying to focus on a particular section at the moment, for no reason other than it would be nice to have it done! So, we've been working together rather than in different areas. The normal pattern is that I'll fell a tree, then Tracy will sned it while I'm measuring it into 2m lengths. Then she'll move the brash while I move the logs. Works well, and it's quick. Here's the area we're working on, it's just around the curve from the long straight stretch we did first:We had one frustrating moment today. We'd been carefully avoiding felling trees onto any of the small oaks, but the last birch I felled had a branch sticking out sideways that caught one of them as it came down, snapping it off about 2m up. This was a shame, but it's the kind of thing that happens sometimes. We made the best of it by pollarding the tree a few feet up. It'll be interesting to see if it regrows, and if the shoots are eaten by deer (they'll be too high for rabbits, which is why we cut it at this height).Here's a before and after shot at the junction. You can see the area we were working today down the right hand side of the fork.

Last week:
Today:
We're up again tomorrow, and there's no firewood deliveries to make so we can focus on the coppicing. We're hoping to cut all the way up to the junction on the right hand side...

Mike

Click here to read the rest of this post.
Saturday, 26 January 2008

Pollarding

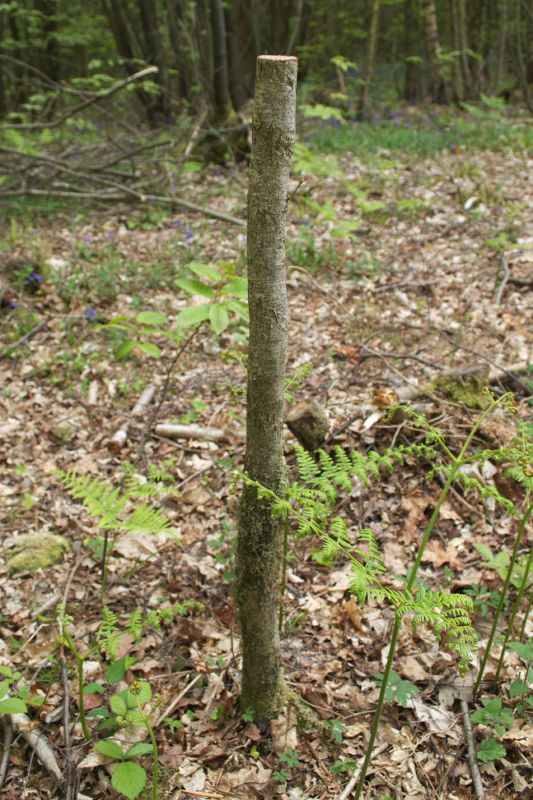
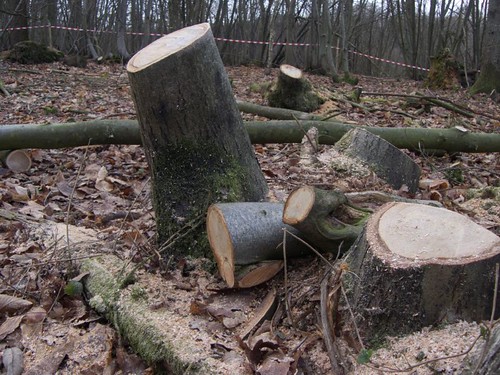
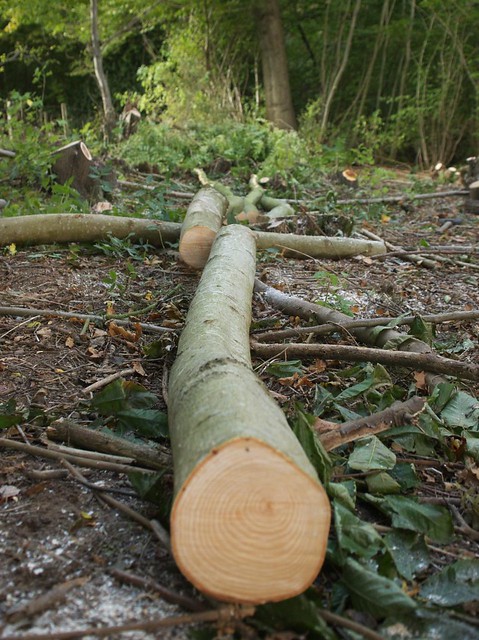
OK, so everyone knows we are coppicing our wood, which basically means felling the trees and cutting the stump off close to ground level, so that new growth comes up from the base in the spring, and gives several stems per plant. However, another alternative approach is pollarding, which is basically the same as coppicing, except you leave a length of trunk. Here's one we left like that today:
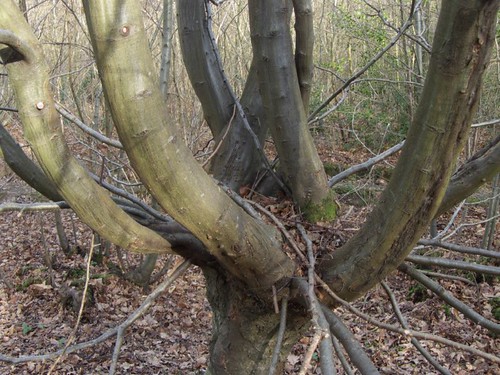
So why would you do that? Well, instead of the new growth coming out at ground level, it comes out at the top of the stem, and after its grown looks like this hornbeam (which is in Sweep Wood, next door to ours:
Here's a close-up:

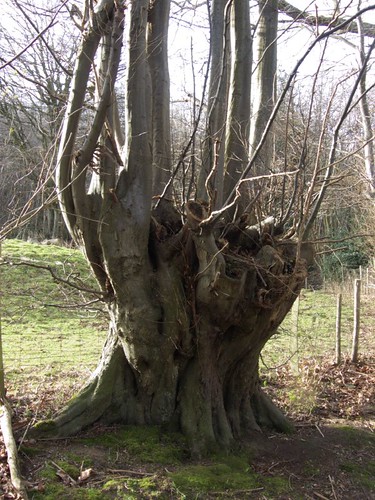
And if you keep doing it every time you cut it, you end up with something like this very old hornbeam pollard (again in Sweep Wood):

So what are the advantages of pollarding?

  • It makes the trees look cool! :-)
  • A pollarded tree can live to a great age, much longer than the same tree left to itself would.
  • Because the new growth starts at some distance off the ground, it is harder for browsing animals (deer and rabbits) to damage the new shoots.
  • When the older pollard stumps eventually die (while the newer ones are still alive), they can form an excellent wildlife habitat.
We're only making our pollards one or two feet high, as our main aim is for the future wildlife habitat, and also variety in the appearance of the wood. We're also just doing the odd one or two like this, to see how it works out.

Traditionally, chestnut is pollarded at a low height to mark the edge of each "cant" or "coupe" that has been cut. There's several old pollards in our wood like this, but the boundaries they once marked no longer seem to be in use.

Mike

Click here to read the rest of this post.