I just got back from a trip up north for work, here's a few photos I took while visiting family on the way back. My brother came over with his kids (Joshua and Chloe), and we went down to the lake in the park to feed the birds...
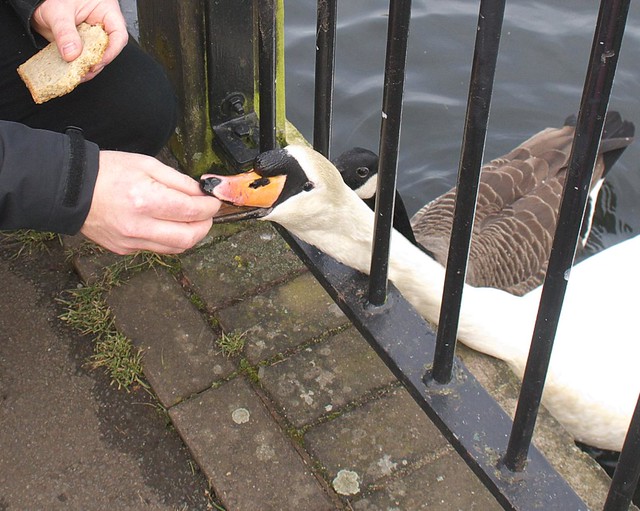
Some were right out of the water, ready to take food out of your hand, like this Canada Goose:
Joshua wasn't so keen on birds that big though, so went to sit on a bench:
Chloe got a bit upset when a Mute Swan nibbled her fingers while taking some bread, but I showed her that it was fine and they didn't actually hurt you:
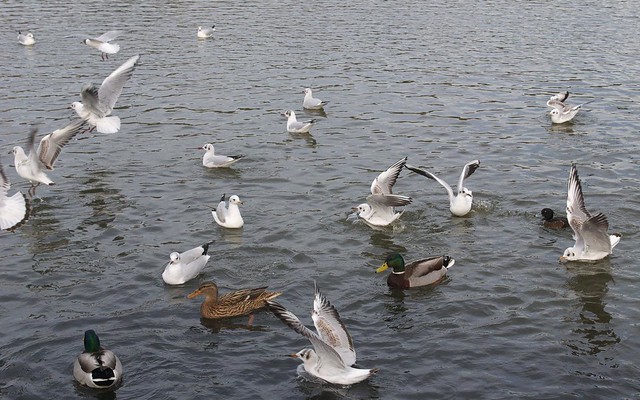
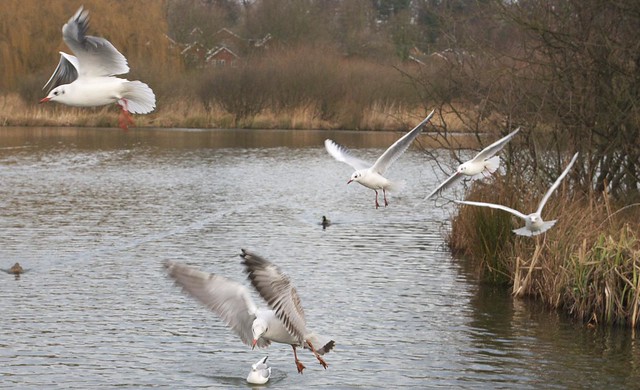
The rest of the birds (mostly Black Headed Gulls and ducks) waited in the water...
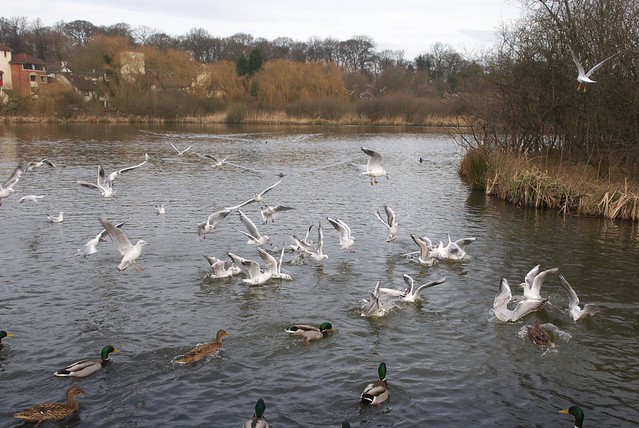
and then went crazy when some bread was thrown in for them:
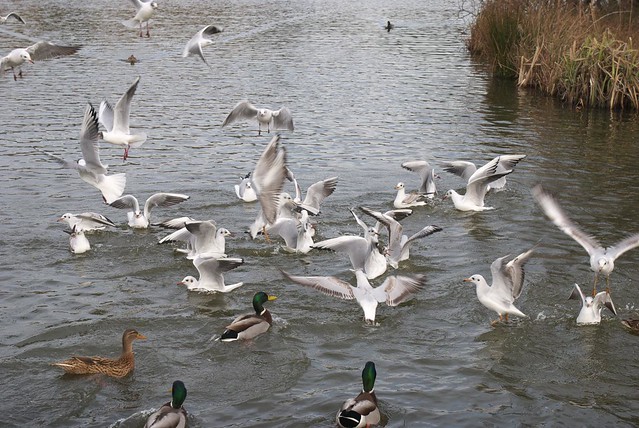
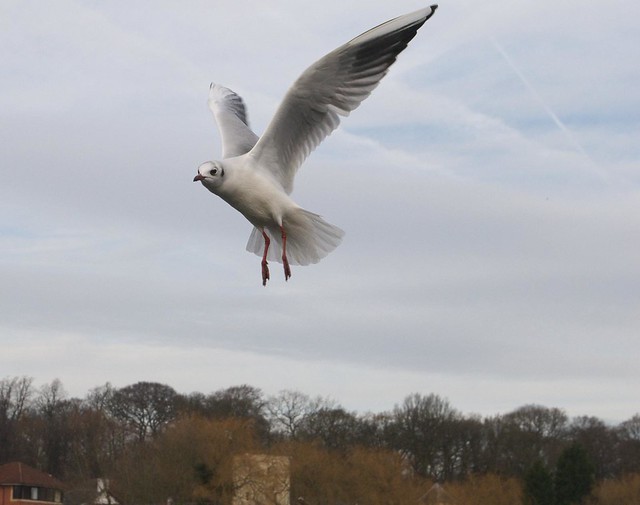
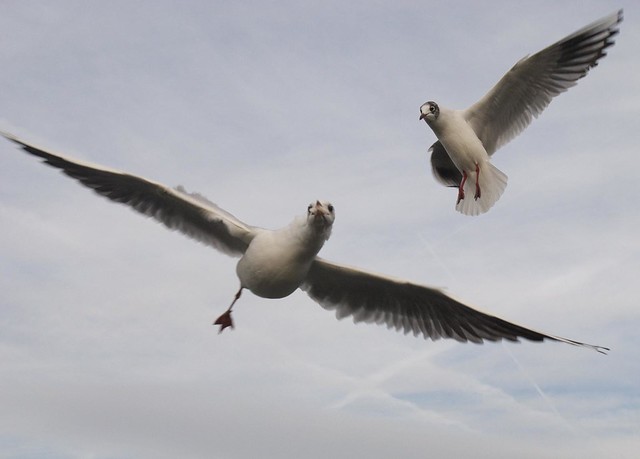
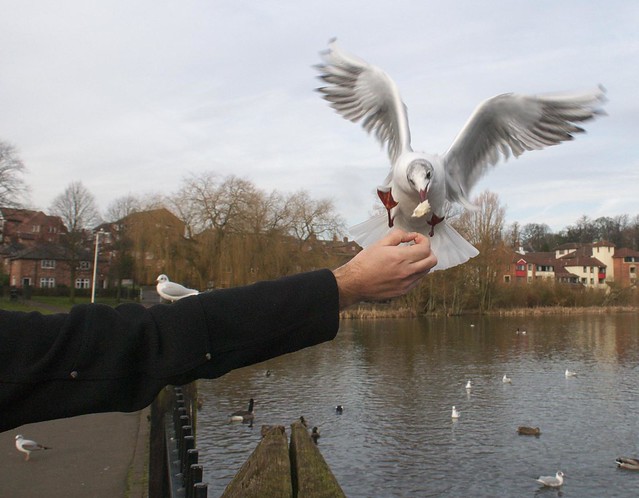
I got some nice pics of the gulls in interesting mid-flight positions:
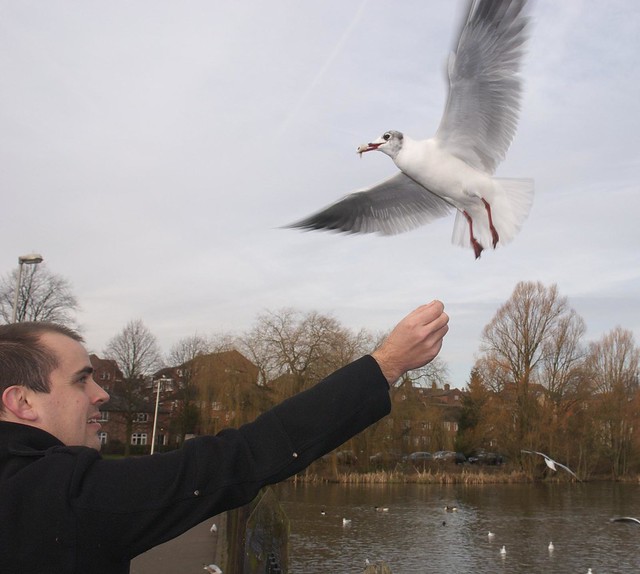
and we also found a few of them were brave enough (or hungry enough?) to take food from your hand:
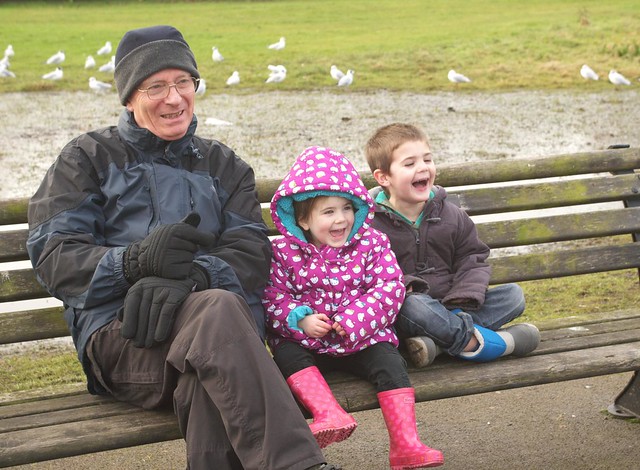
By this time my Dad and Chloe had joined Joshua on the bench and they were all enjoying the show!
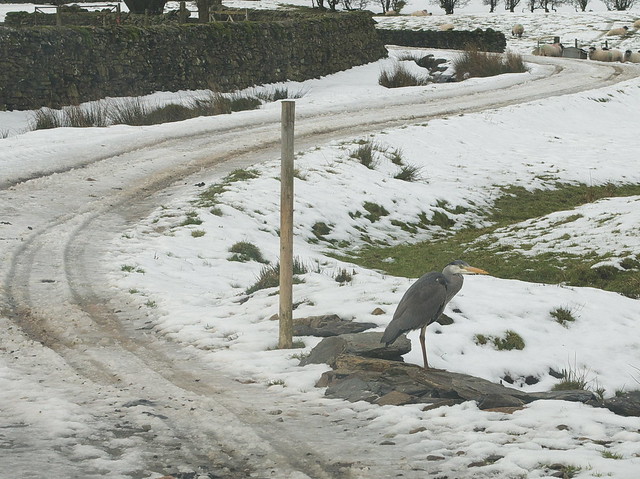
One final photo, which I took up in Lake District earlier in the week. A juvenile Grey Heron, looking very cold!
Ideally a flat roof should be a 'warm roof', i.e. using good insulation and a vapour barrier so that heat is kept in and moisture can not reach any cold spots to condense and cause problems. But what do you do if you can't or won't spend the money refitting an entire flat roof? This was our situation - the roof was only refitted a bit over five years ago, so has plenty of life in it yet. When it's time to renew it, we'll get the insulation done properly at that point. Until then, we needed to come up with another solution...
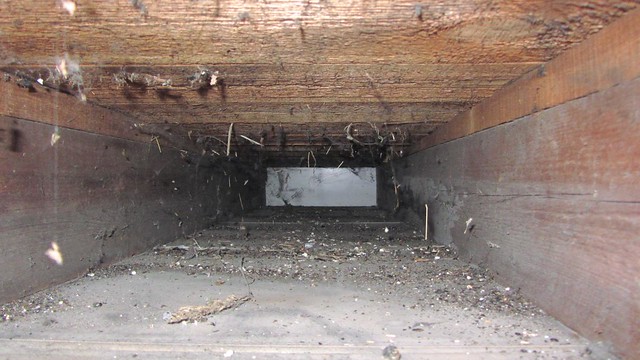
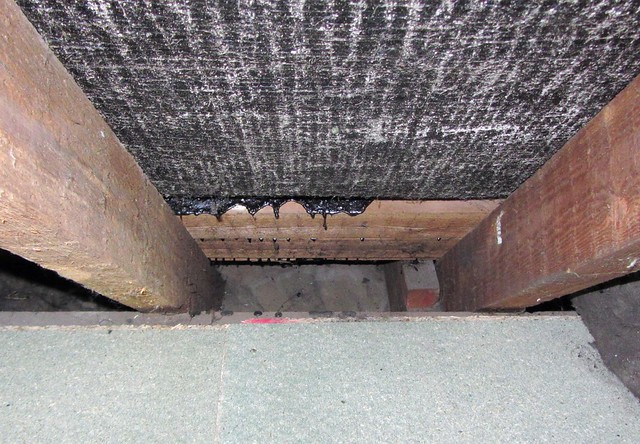
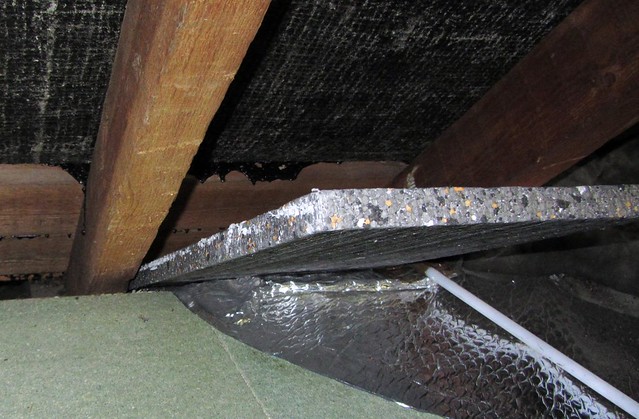
The sections of flat roof we have are above our dormer windows, and as such they link into the small loft that is higher than them. Above the windows they are not airtight at all, which is useful as it lets air flow through the roof space and loft, preventing any condensation forming. However, a few months ago I finally got round to investigating what was in the roof space, and I found this:
Yes, that's right - plasterboard, over 100mm gap, then the roof deck. So all that fresh air blowing through was chilling the plasterboard and therefore the bedrooms below. I knew it wouldn't be great, but I'd not realised there'd be no insulation in there at all! A further complication is that the access from the loft is obstructed by joists. You can just see the edge of one under the floorboard here:
The only thing to do was find something flexible that I could get in through the gap. It would never be perfect, but anything would be better than nothing! The other thing that was needed was to ensure that there was still a gap for air to flow after the insulation was installed.
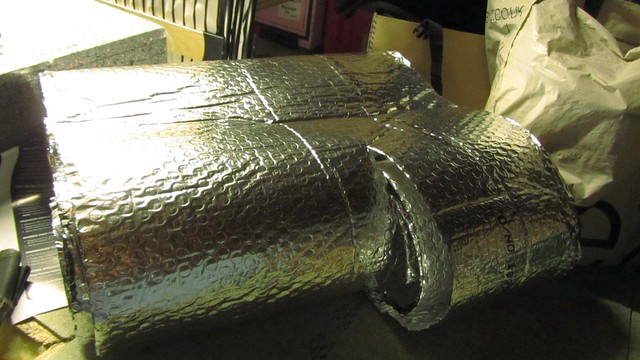
A quick trip to B&Q gave me some materials to experiment with. I found something a bit like tough bubblewrap coated with aluminium. This actually has an insulation value equal to about 50mm of polystyrene, so is quite useful.
This could easily be cut into strips and fed into the gaps:
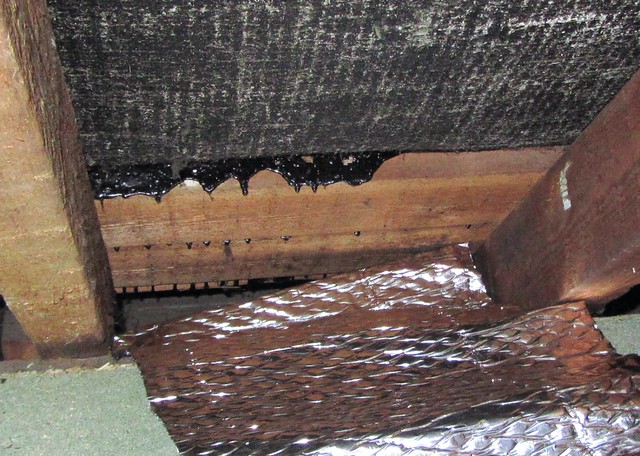
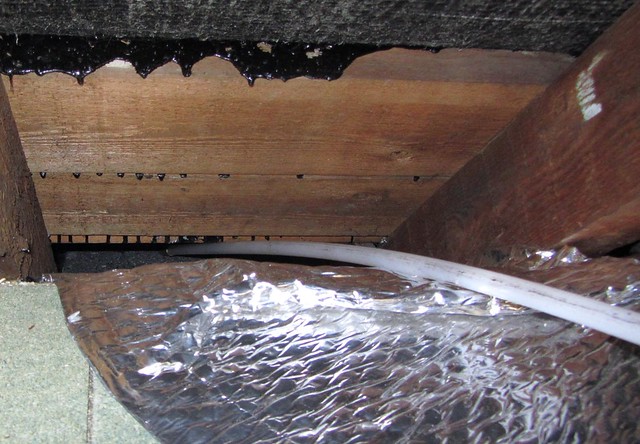
After a bit of work, it was lying down in the gap between the joists, though not lying completely flat:
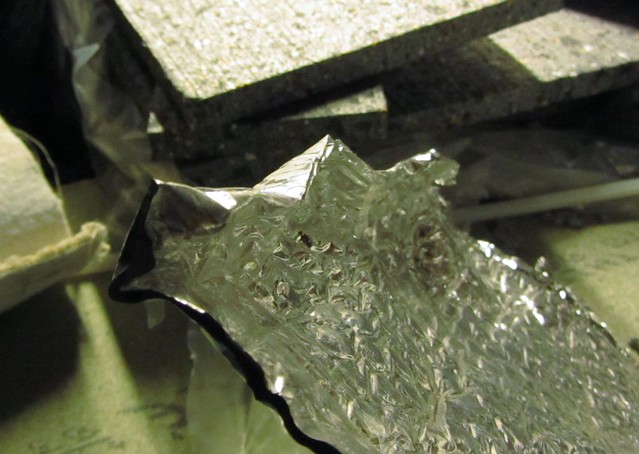
The next step was to feed in a 25mm polystyrene board on top of this. Polystyrene isn't as good an insulator as some of the fancier insulation boards (eco-therm, cellotex), but the important thing for me was that it's flexible:
I used one of my chimney sweeping rods to put some weight on it while pushing it to the end of the roof:
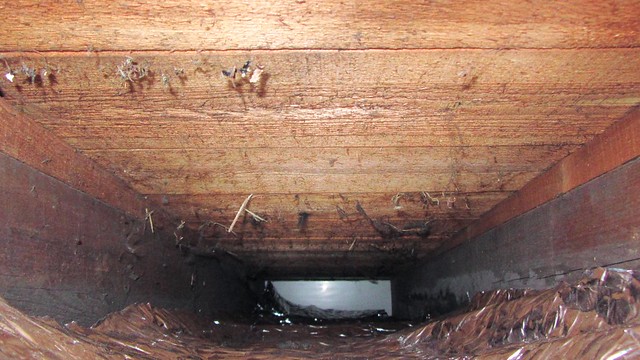
Once I had enough board in, it was all lying pretty flat:
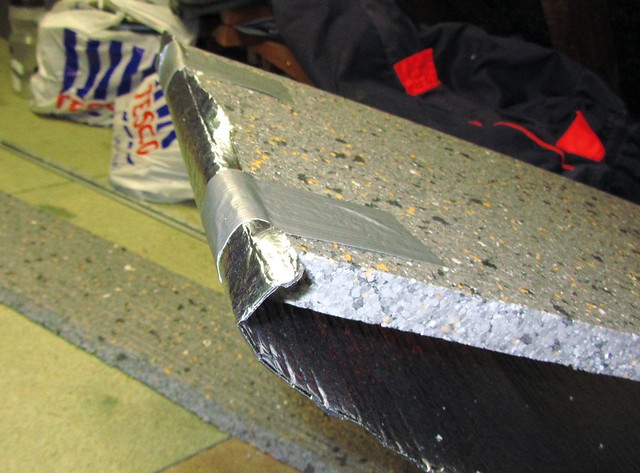
I came up with some improvements during the process, such as taping the end of the foil layer to make a ridge for the polystyrene board to push against:
For the sections that had easier access, I actually taped the first board onto the foil layer:
This also made it easier to pull it all back a tiny bit to ensure an air gap at the far end.
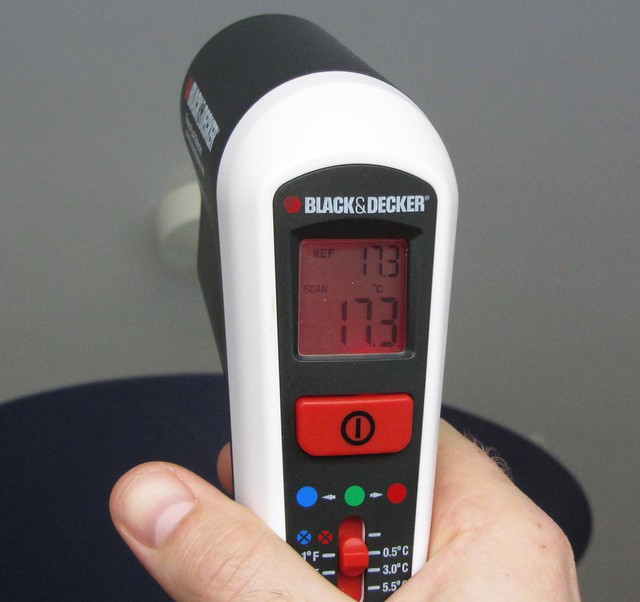
Before buying materials to do the whole roof, I did a couple of sections and then tested the results. I don't have access to a fancy thermal imaging camera, but a friend lent me this very handy Thermal Leak Detector, made by Black & Decker. Basically, you point it at a spot and it gives you a temperature readout. You can also set it to a reference temperature, for which it projects a green light at the spot it is measuring, and then the light changes to red or blue to show if the temperature has gone up or down. Anyway, here's the readouts with the room temperature at about 19C and the outdoors at about 2C, first with insulation and then without:
Quite a difference! So I quickly went on and insulated the rest of the flat roof, and the temperature was a couple of centigrade higher than normal the next morning, with similar weather and the same use of our woodburner.
If you want to see a bit more about the Thermal Leak Detector, here's a short video of it in action:
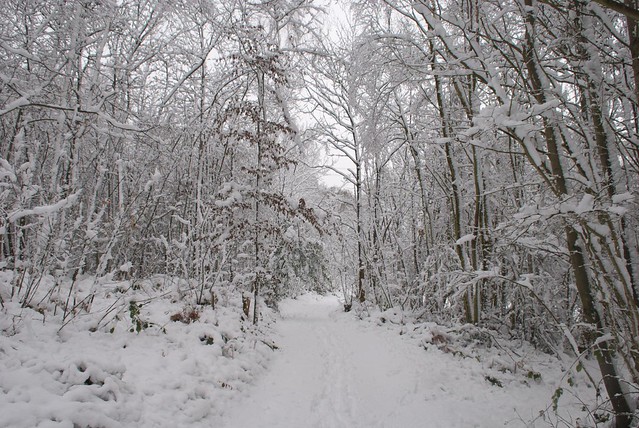
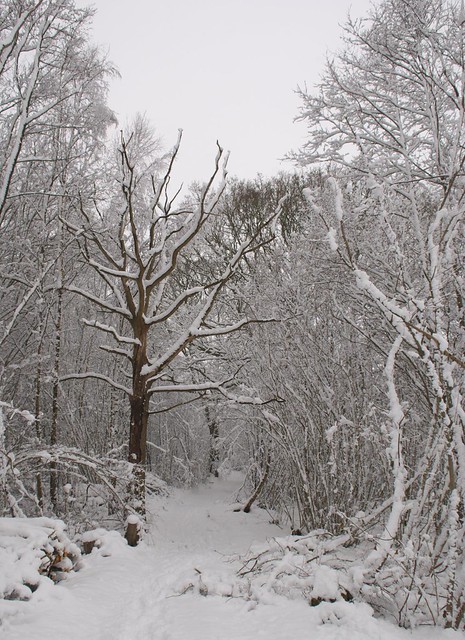
Yesterday I posted pictures of snow in Rye, and now here's some from the woods. I'm just going to post a selection of the ones I took, you can view the full set on Flickr (higher resolution there too).
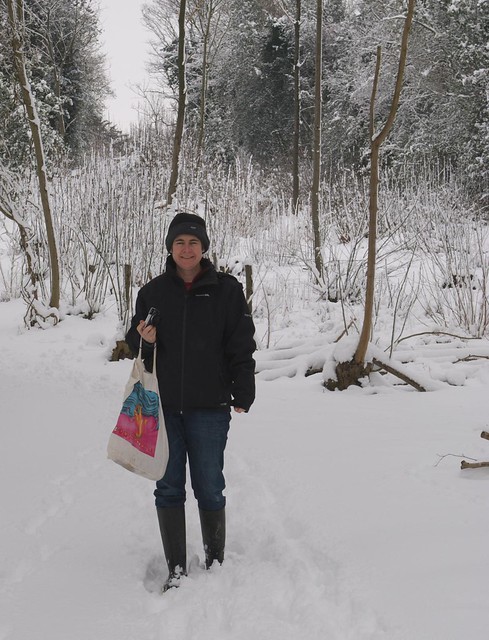
It was pretty chilly, but we were wrapped up warm, and took along some food for the birds...
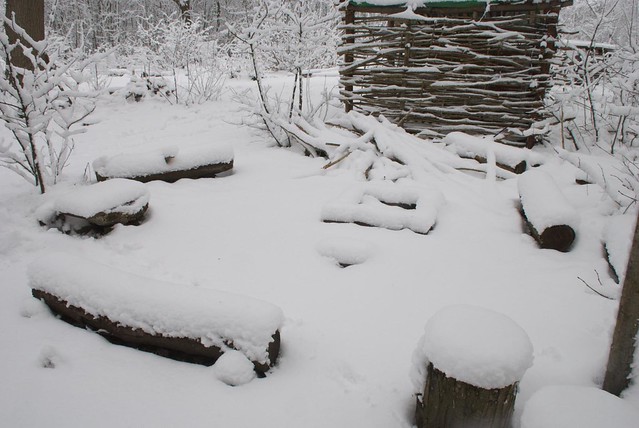
We didn't stop to sit round the camp fire...
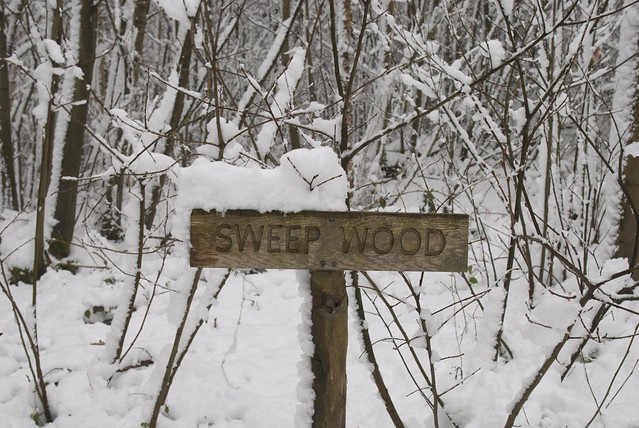
But we did get the same photo we've taken in the past, with snow on the Sweep Wood sign:
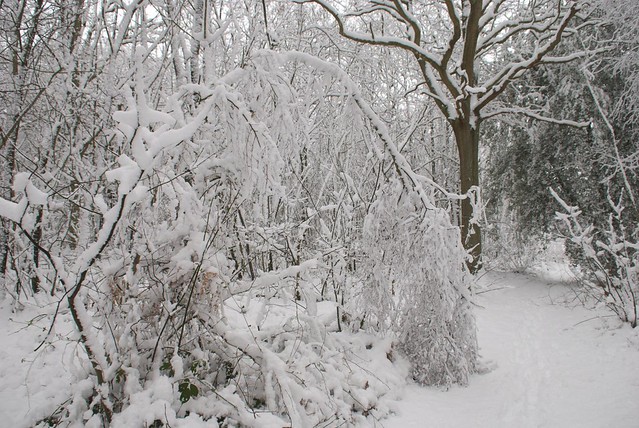
There were a few trees that had managed to catch enough snow to bend or fall, like this Birch and Hazel:
The wayleave had something of a blockage too...
Sadly our Alder Buckthorn had also fallen over:
So we grabbed a bow saw and did some emergency coppicing so it could go back into the ground. Hopefully it'll recover...
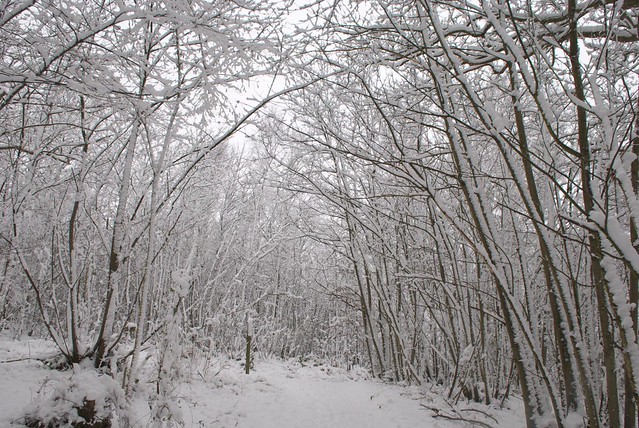
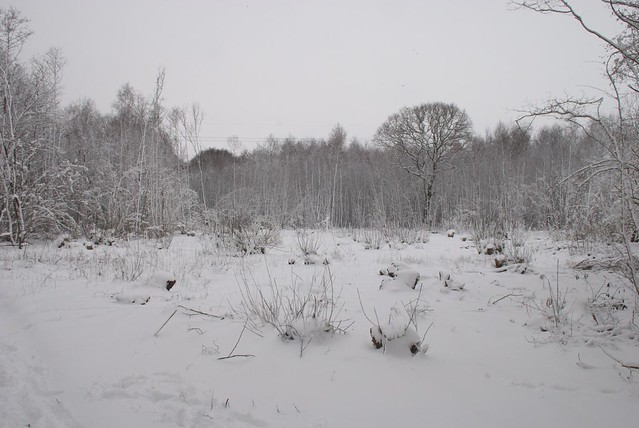
I'll finish of with some of my favourites from the pics I took:
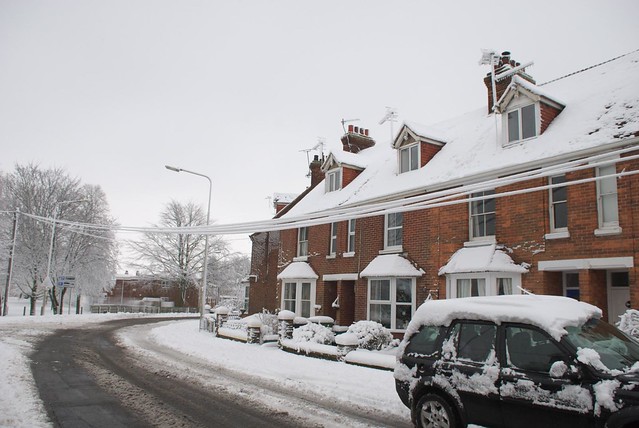
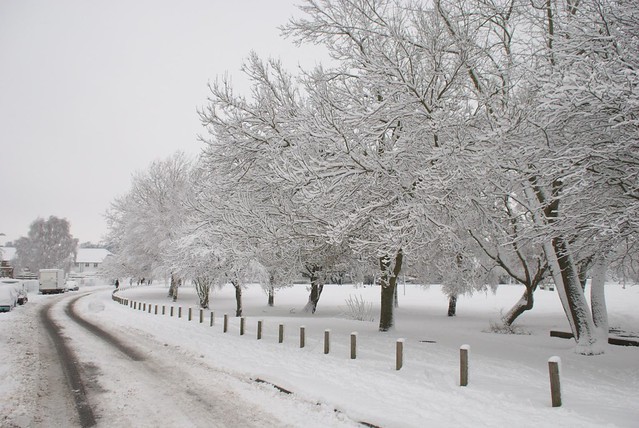
Ever since we moved to Rye in summer 2007, it's snowed every winter. The weather has not let us down this winter either...
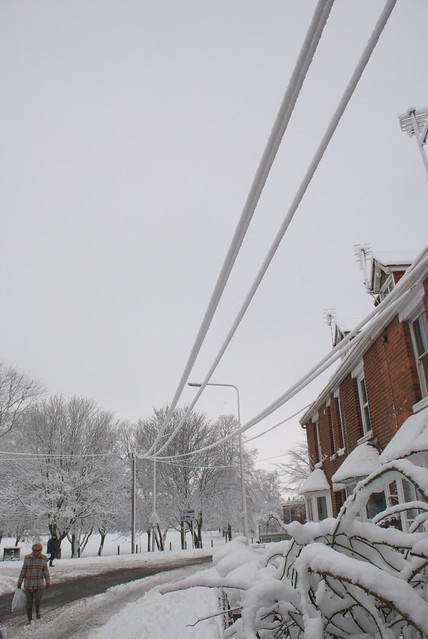
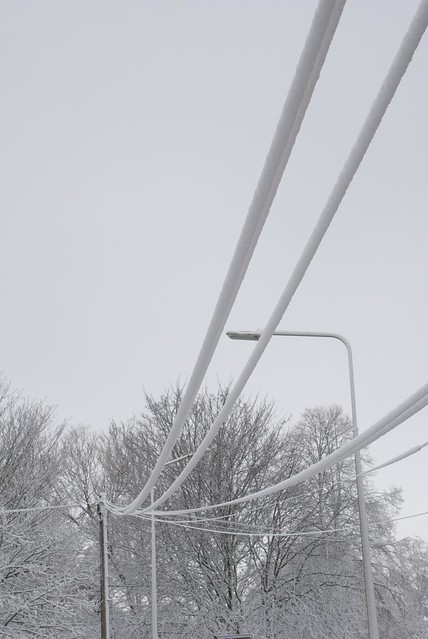
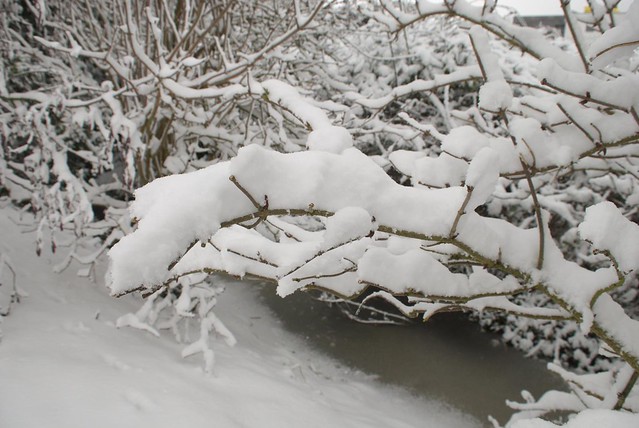
This time the snow has stuck to everything it can - check out these telephone wires sagging...
and these trees and shrubs too:
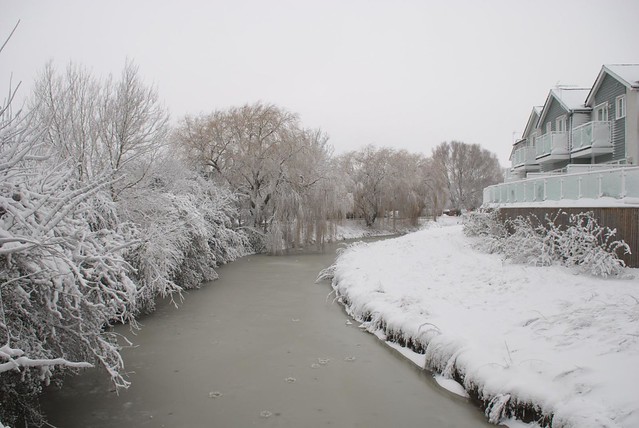
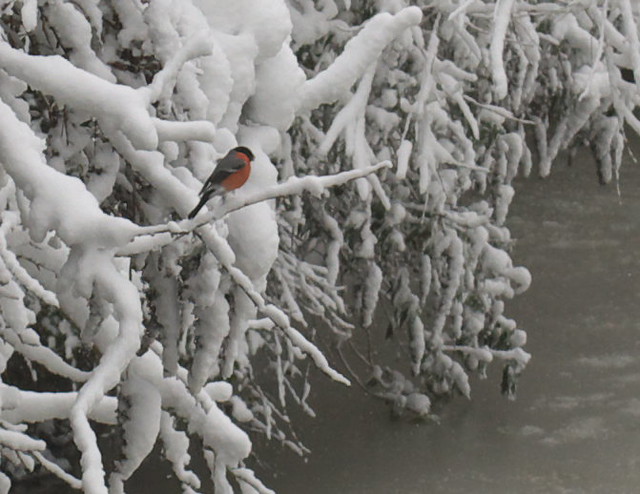
The river Tillingham was frozen over:
and I just about got a picture of this Bullfinch there:
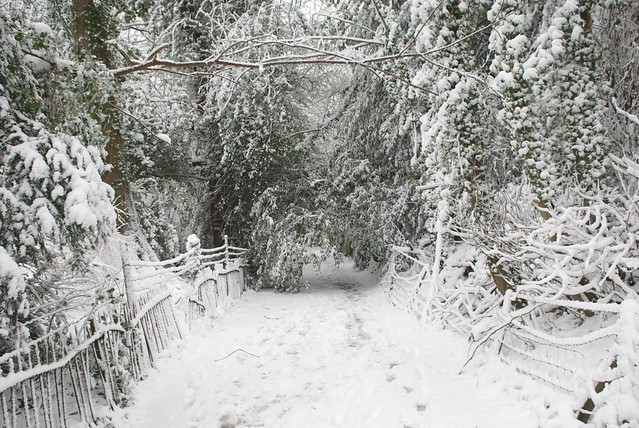
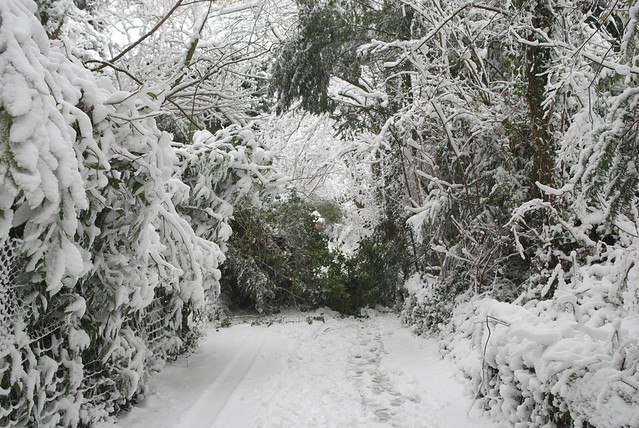
Then on to Deadmans Lane, which always looks good in the snow. This time though, the stickiness of the snow means that two branches from evergreens were down in the road:
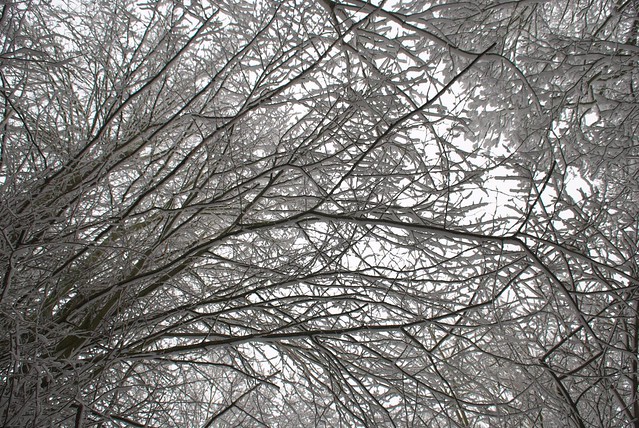
The broadleaf trees are fine, as with no leaves they can't collect much snow:
And finally Rye Hill, which is passable if you know how to drive in snow. But of course, not everyone does!