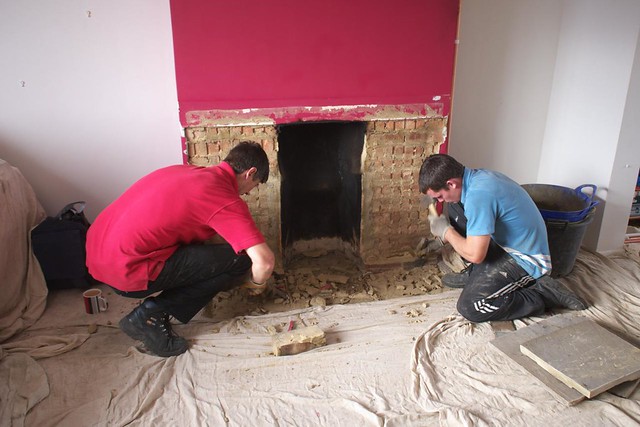
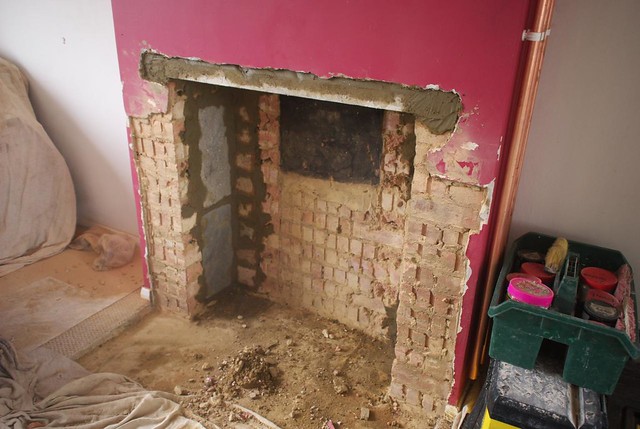
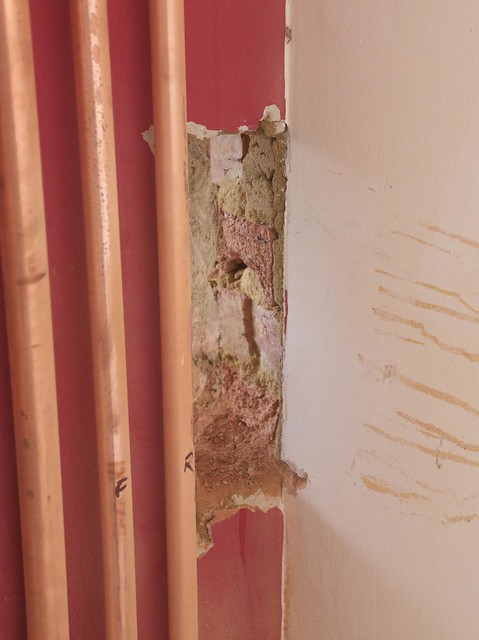
At the end of last week our wood stove was installed! It took a couple of days, and was done for us by The Barn Stoves and Fireplaces. It took a couple of days, as our fireplace needed enlarging first. Here's how it looked before they started:

The first job was to remove the cosmetic brick front, which pretty much came off in one piece, leaving it like this:
Then it was time to bring out a tool that looked like a big drill, but basically was just for knocking the wall apart:
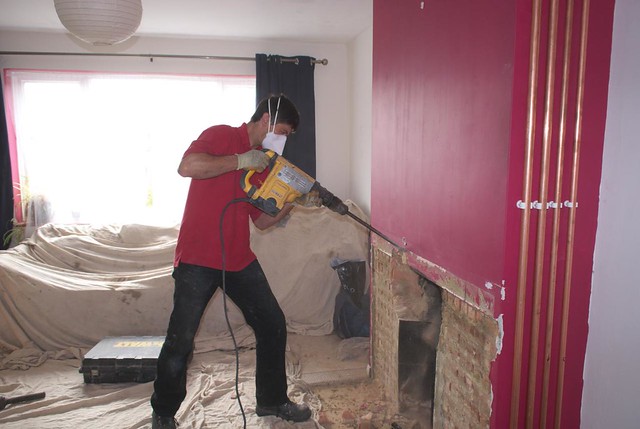
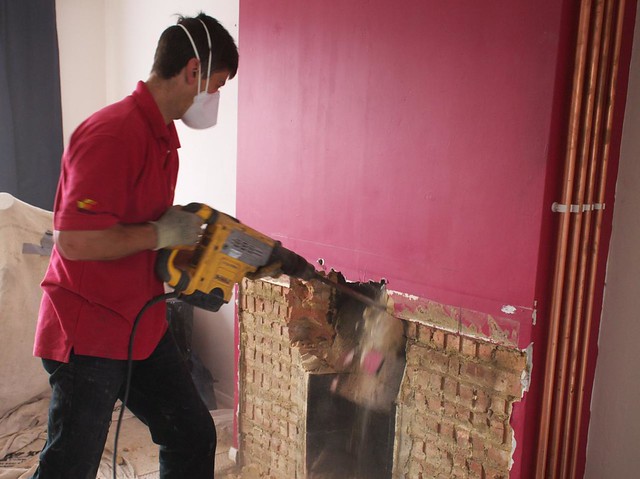
The guys made quick work of opening it up, though it did create a lot of dust. They'd put dust sheets everywhere, but you can never stop all of it...


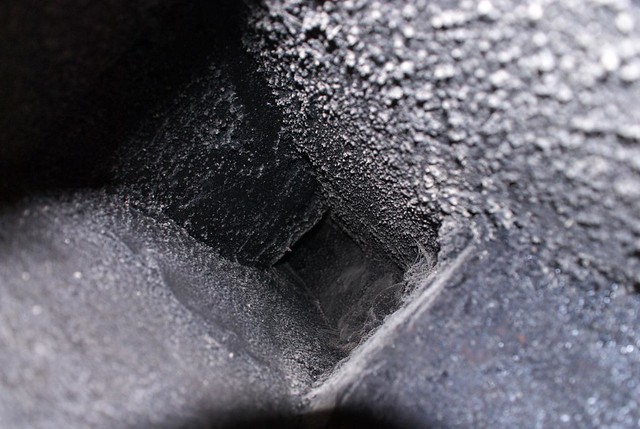
At this point I took the opportunity to get a photo up the chimney. It had just been swept, so what you see here is deposits caked onto the bricks I guess. This is why it'll be better after being lined, as the inside will be smooth and less likely to collect deposits.
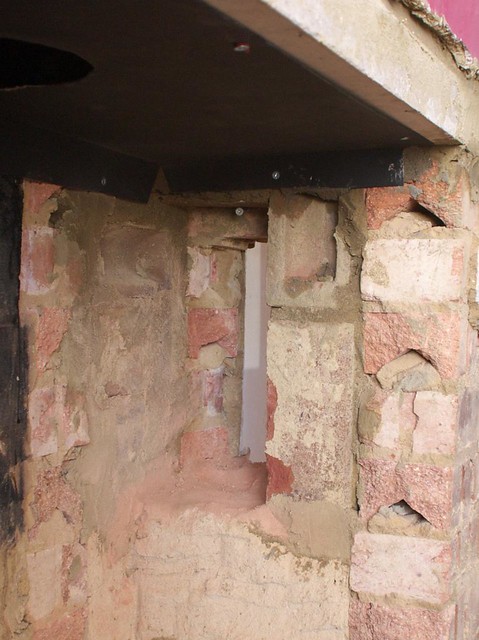
Before going any further, a steel-reinforced lintel was cemented in place, and some of the spare bricks from the cosmetic front were reused to fill in the gaps.
The last job of day one was to put in a new hearth - by law this has to extend a minimum distance from the front of the stove door, in case of hot embers falling out during refuelling.

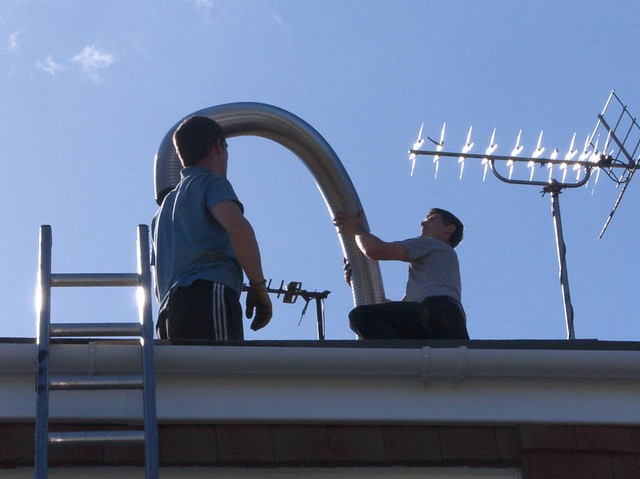
Day two arrived, and they guys slid the new flue liner down from the top of chimney:

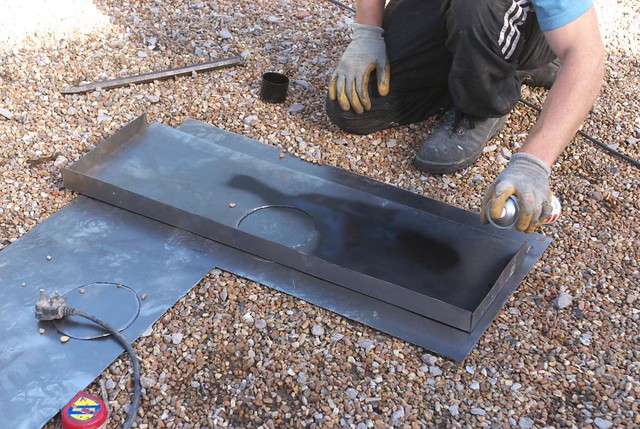
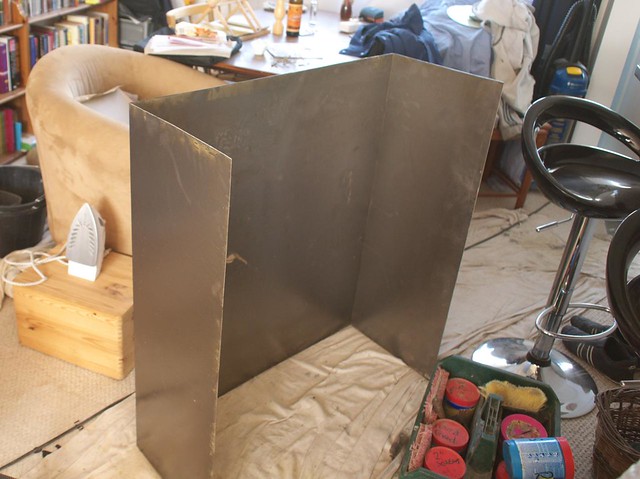
They also fabricated a steel box to line the inside of the fireplace:
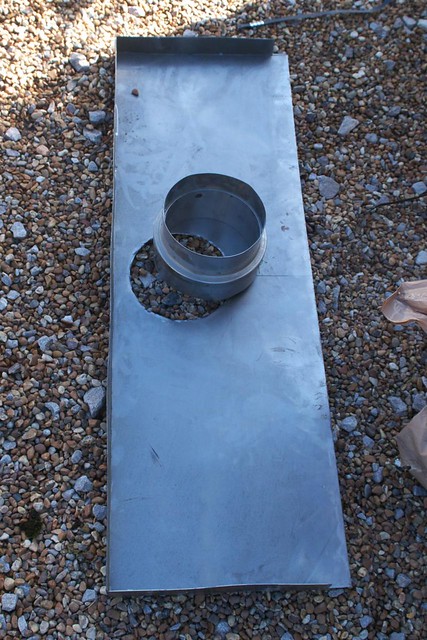
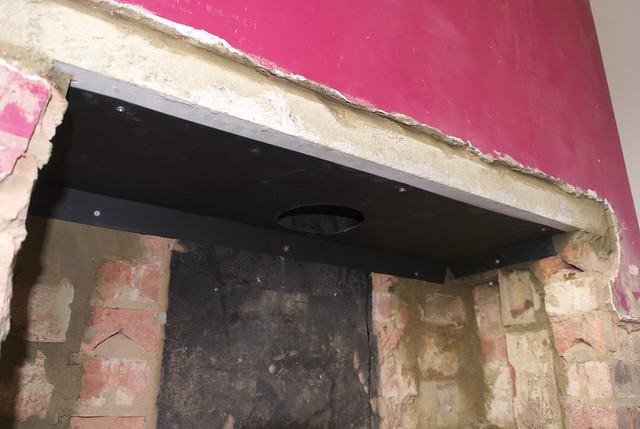
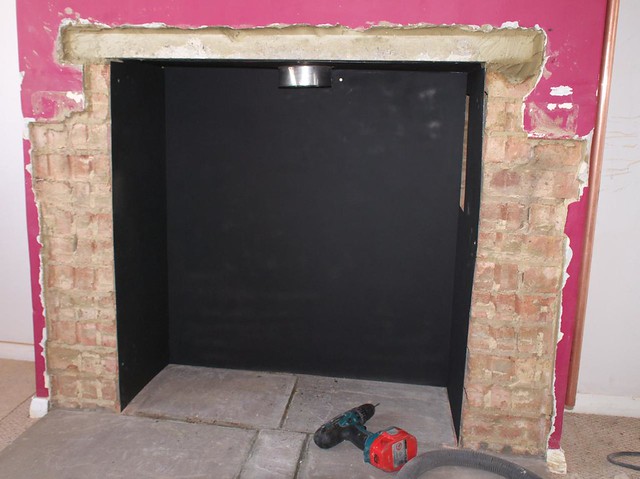
A slot was left to one side for the pipes to get out of the fireplace and connect to the rest of the central heating:
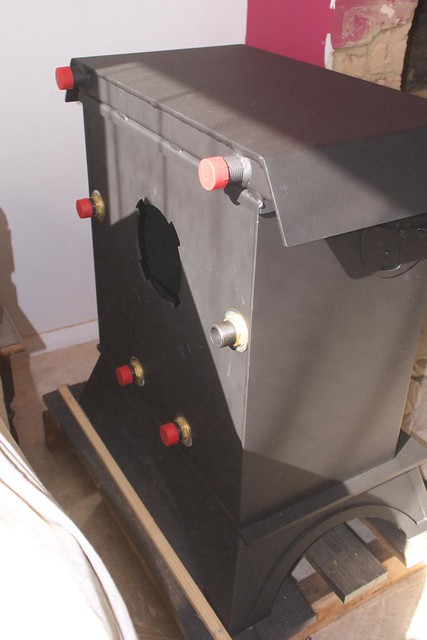
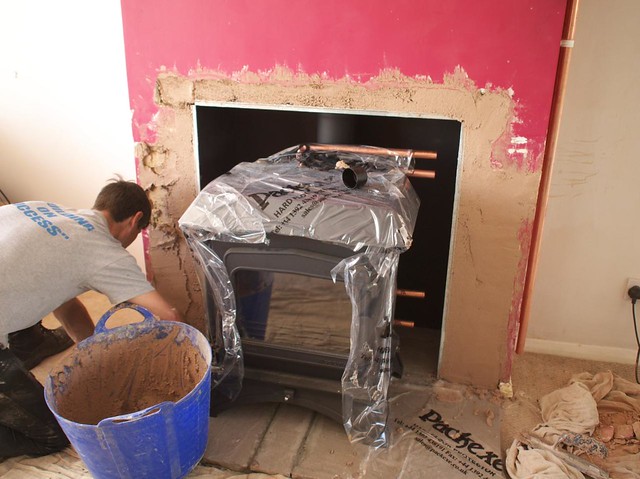
Here's the stove, a Woodwarm Wildwood 9kW. You can see the connections for the boilers on the back. It has a split-saddle boiler and also a roof boiler. The split saddle wraps round the back and sides, but has a gap for the rear flue exit, which is why there are six connections on the back:
The stove connects to a stove pipe, which was cut to the appropriate length:
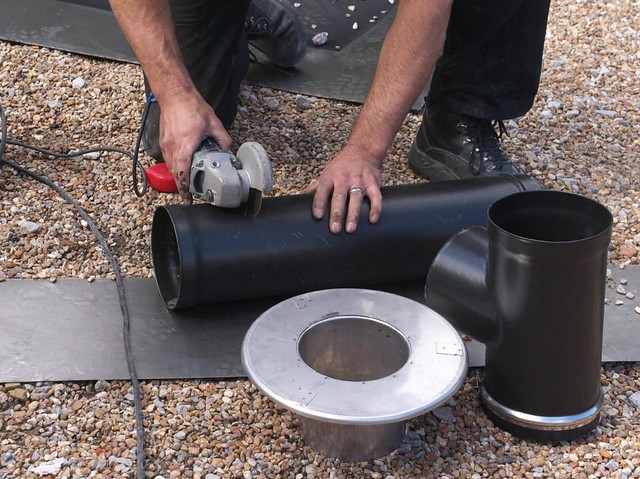
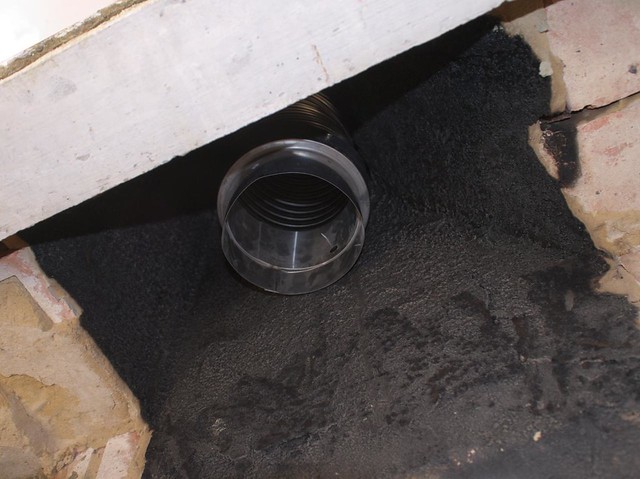
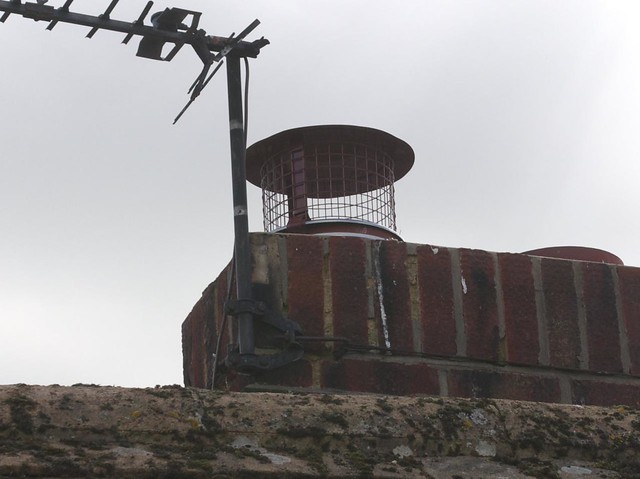
After this was connected up to the flue and sealed with a register plate at the bottom of the chimney, vermiculite was poured in from the top to fill the gap between the flue liner and the chimney, providing insulation, and then a rain/bird guard was put on the top:
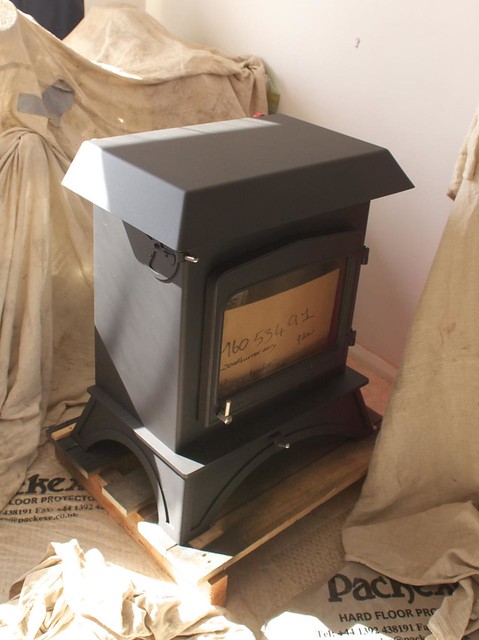
Then, at last, the stove could put moved into its place, and plastering done. You'll notice the plumber had added some pipes to the back of the stove, but I'll cover the plumbing in a separate post.
And here it is, all ready to go once the plumbing is complete:

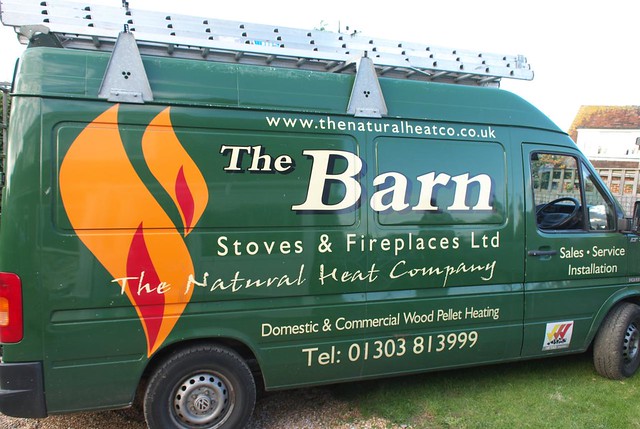
Last but not least, here's the van the guys from The Barn turned up in - you may well see it around the Rye area, as they do a lot of work here. I was very pleased with their work, and recommend them to anyone.
Mike
Related posts:
- Insulating the cavity walls
- Insulating the loft
- Flat roof insulation
- Insulating the dormer roof
- Sweeping the chimney
- Plumbing and testing the wood stove
- Installing solar water heating
- Installing off-grid solar PV (part 1)
- Installing off-grid solar PV (part 2)
- Off-grid solar PV upgrade to 750W
- Off-grid solar PV upgrade to 1250W

2 comments:
Nice post and useful to anyone planning to do the same, can I link to it from our website (www.ecodiy.org)?
Sure, feel free to link it. Mike
Post a Comment