Saturday 19 April 2014

Splitting long logs

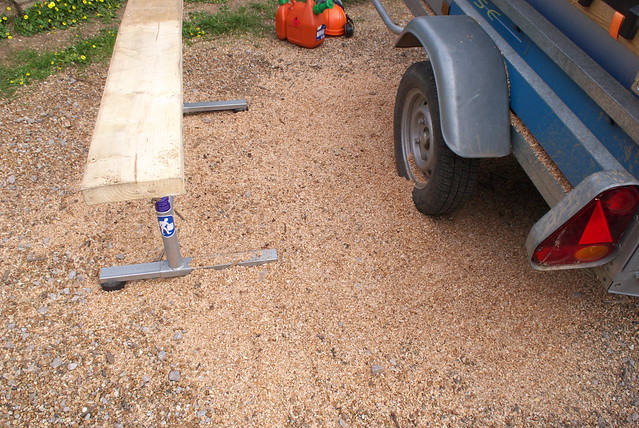
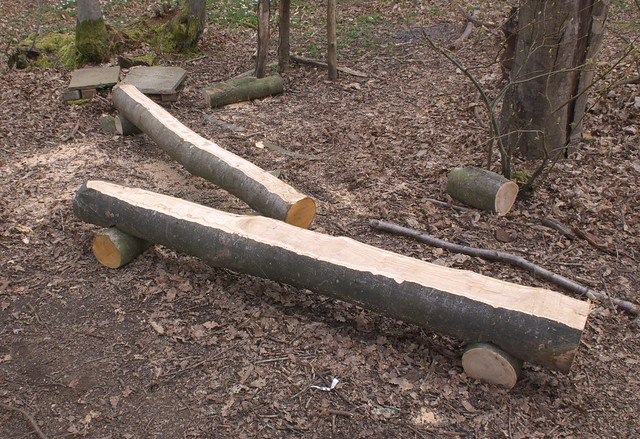
A few days ago someone asked me how I split logs while they're 2m (6'6") long. So I made a little video...


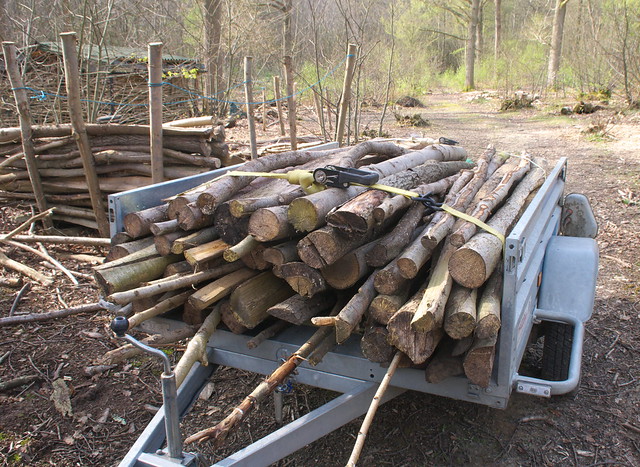
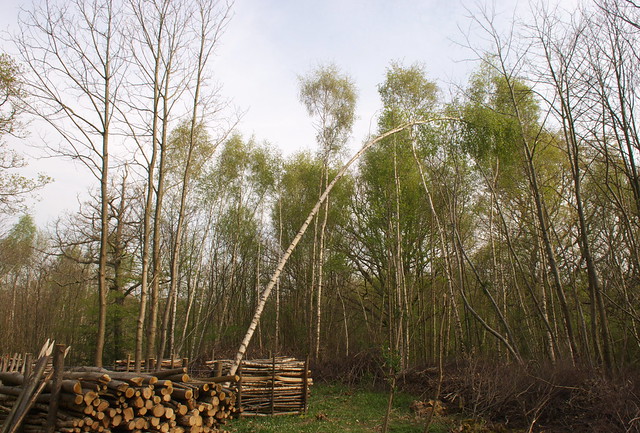
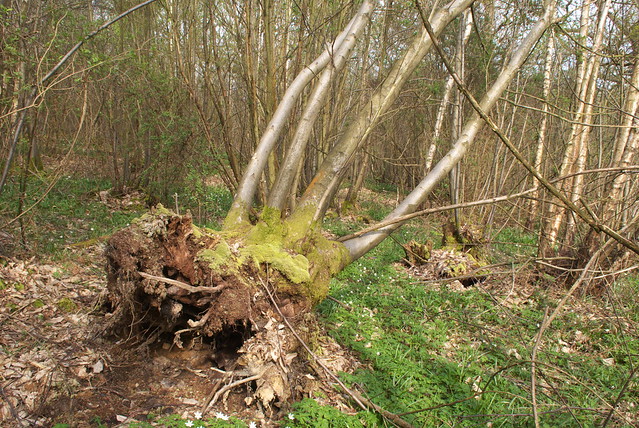
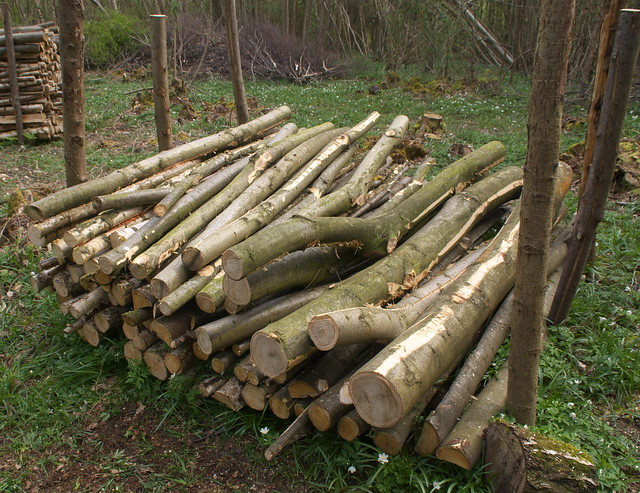
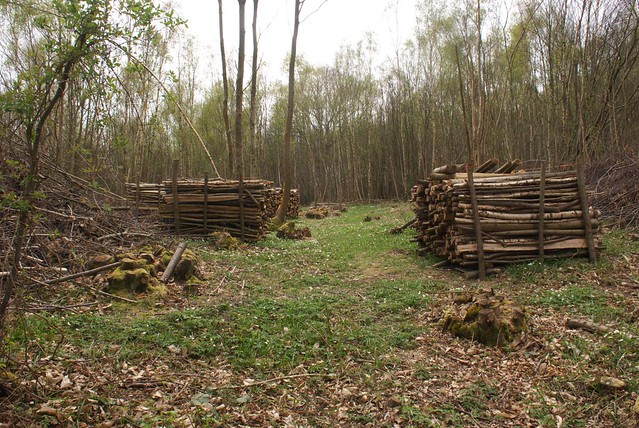
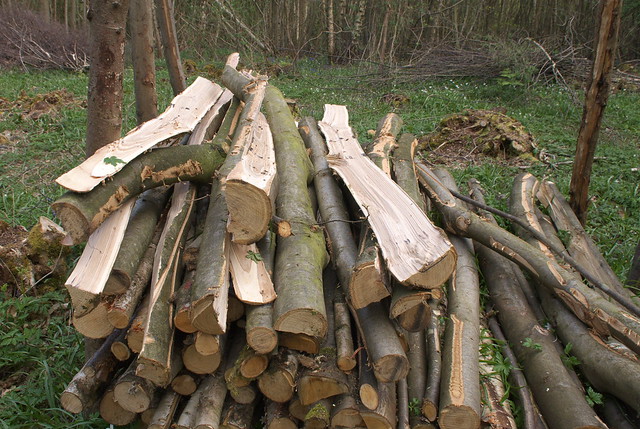
Convenient that I had some logs that needed splitting after clearing a bit of windblow last weekend - this is now all done:
DSC_8341 logs

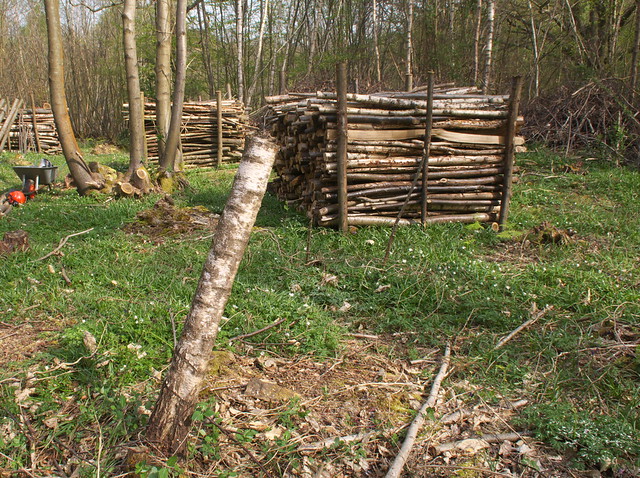
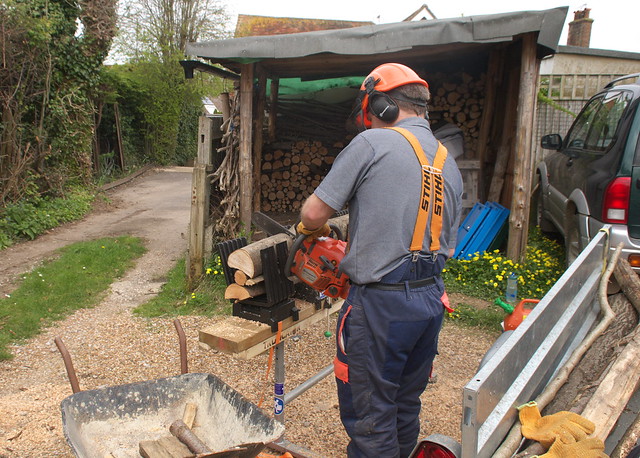
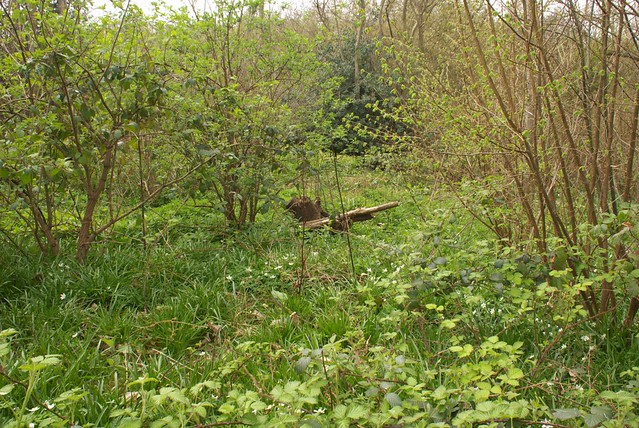
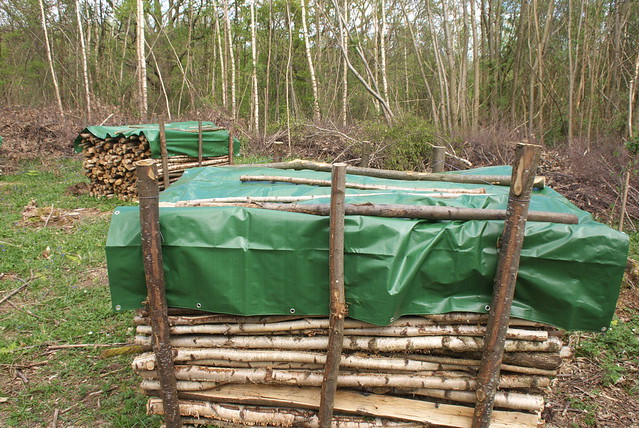
Also, now that we can cut logs up at home, I've covered last season's felled wood where it is, as most of it can sit there for another year now:
DSC_8343 covered logs

Mike

Click here to read the rest of this post.

Monday 14 April 2014

Making kindling quickly by hand with a froe

Here's how we make all our kindling. It's quick and easy, and quite a satisfying job to do too! I wrote about the method some time ago, but finally got round to making a video on how to do it:


All you need is a chopping block, an inner tube from a bike, a froe (or frow, depending how you spell it), and a wooden mallet. The inner tube is the key - it holds the log together while you finish the job of splitting it up, as you can see here:

Best not to use a fancy mallet, as it will get damaged hitting the froe. I'm using one I made myself, as in this video:


Mike

Click here to read the rest of this post.

Sunday 13 April 2014

Getting started on next winter's firewood and clearing windblow

With the spell of good weather we're having at the moment, I took the opportunity to get into the woods and start preparing logs for next winter, and clear up some more windblown trees. For the first time I took the logs home in 2m lengths, as we now have the Truncator to cut them up at home:

DSC_8269 Trailer of logs

Back in the area I coppiced last autumn, the birch I'd left to grow bigger didn't really work out due to the storms...
DSC_8270 Windblown tree

There was also a sweet chestnut stool knocked over there too:
DSC_8273 windblown coppice stool

They were dealt with pretty quickly, I decided to pollard the birch a few feet up, and coppice the sweet chestnut in the hope it will recover in some form:
DSC_8275 pollarded tree

DSC_8278 Sweet Chestnut coppice stool

There was still some space in one of the racks for the logs produced from the work:
DSC_8276 logs

The stools I coppiced back in the autumn are showing some new growth now:
DSC_8286 Sweet Chestnut coppice regrowth

The blubells are picking up too, as the wood anemone start to fade...
DSC_8289 bluebells

... much to the delight of the bees of course!
DSC_8287 bluebells and a bee

Once I got back home, we got the Truncator out and Tracy helped me process the logs - I chainsawed the logs in the Truncator, then Tracy took them for stacking while I loaded the next lot from the trailer to the Truncator.
DSC_8302 truncator logging

DSC_8303 truncator logging

We reckon for the volume of logs produced, it had saved about 60-90 minutes compared to our old method of processing and transporting logs, and was much easier on our backs, as there was not much need to pick stuff up form the floor and all the logs ended up in a wheelbarrow.

So we're now started on the road to next winter's firewood...
DSC_8307 logs

Of course, the side effect of using the Truncator at home is that the saw chips are all over the drive... Next time I'm going to try putting a tarp down to collect it, and see if anyone wants it for animal bedding.
DSC_8308

Oh, and if you missed it, I also uploaded a video of how to make a simple log bench in five minutes!

Mike

Click here to read the rest of this post.

Chainsaw sculpture - making a bench in under 5 minutes

Here's a quick video to show a really simple way of making a log bench. We've been using these in the woods for years, and I needed to make a couple of new ones this weekend to accommodate groups of children on school visits to the woodland:


Here's the two finished products, which only took about 5 minutes each to make with the chainsaw. You can vary the height of them by using different size 'feet'.
DSC_8296 log benches

Mike

Click here to read the rest of this post.

Sunday 6 April 2014

Springtime in the woods - flowers and butterflies

We took advantage of the sunshine yesterday to go for lunch in the woods with my parents, who were visiting for the day. Although I saw solitary Bluebells a couple of weeks ago, there's a liberal scattering now visible!

DSC_8181 Early bluebells

The Wood Anemones are also looking good, now at the height of their flowering:
DSC_8190 Wood Anemone

Between them and the Bluebells, the woodland is completely green now!
DSC_8195 Wood anemone in woodland

In the wayleave there are also Violets in flower, to the delight of various insects:
DSC_8197 Insect feeding on Violet flower

There's a good number of Primroses too - these were near the roadside:
DSC_8200 Woodland primrose

Also scattered amongst the Wood Anemones over in Sweep Wood are Lesser Celandine and an occasional Daffodil:
DSC_8250 Celandine and Wood Anemone

DSC_8255 Daffodil and Wood Anemone

The butterflies are also out in force now, here's a Small Tortoiseshell:
DSC_8212 small tortoiseshell butterfly

a Comma:
DSC_8216 Comma butterfly

and a Peacock:
DSC_8229 Peacock butterfly

The birds are busy too - we saw some scouting out nesting sites, and the pheasants are strutting around making a lot of noise as usual for the time of year:
DSC_8232 Pheasant in woodland

The trees all come into leaf at different times - Oak is still some way off, but Hornbeam is coming out now:
DSC_8241 Hornbeam coming into leaf

Hawthorn is well on the way:
DSC_8242 Hawthorn leaves

Hazel is just starting:
DSC_8248 Hazel leaves

and in the warmer spots in Sweep Wood there are even some Sweet Chestnut leaves appearing, but in most parts of the woods they are not started yet:
DSC_8264 Sweet Chestnut leaves

Here's a view of an area we coppiced in 2010/11, with ground cover growing like crazy:
DSC_8260 coppice woodland

And here's the area we cut in autumn 2013 - we spotted a few butterflies making the best of the new sunlight in this area already!
DSC_8244 coppicing

Finally, Tracy had her class visit the woods this week, so their dens/shelters are now in a better state of repair:
DSC_8234 woodland shelter

DSC_8235 woodland shelter

DSC_8236 woodland shelter

One group even got as far as making some miniature clay pots for the den's 'kitchen'!
DSC_8238

We're looking forward to some more sunny days so we can spend time in the woods, now the wet weather has passed...

Mike

Click here to read the rest of this post.

Friday 4 April 2014

Off-grid solar PV upgrade: 750W to 1,250W

Yesterday we upgraded our solar PV - again! I'll go through some of the pictures first, then get into technical stuff later for those that are interested... Here's the finished system, installed next to our existing solar thermal (hot water) installation - as we were working above the flat roof, it was a lot easier than last time, no scaffolding required!


As before, my friend Rich gave me a hand with it, here he's fitting in one of the roof hooks that hold the rails on which the panels are mounted. Thanks again to Midsummer Energy for being very helpful in the supply of Grace Solar mounting equipment for the panels.

Once the hooks are in, they look quite neat. For more detail on the fitting process, see the blog post on the work we did last July.

The only tricky bit was the route up, on a ladder past the existing solar panels. Easy enough to climb, but not so easy to get the solar panels up there!

I chose to mount the panels one above the other, as this will minimise afternoon shading from the chimney.

The fiddly bit was actually doing the wiring - there's now five pairs of wires coming in, but I've also added blocking diodes - the row of components bolted to the top bus-bar here:

Anyway, that's it for the summary, now for the detail...

Why the upgrade?

Three reasons:
  1. I had to go up on the roof to fix the chimney cowl after the wind in December, and while I was up there I realised there was space for one or two more panels...
  2. When I set up the original system, I knew there would be a bit of spare capacity in the Morningstar Tristar MPPT controller, as it can handle nearly 900W on a 12V system, and I only had 750W installed. However, what I hadn't thought about enough was that while the Suntech panels I've used output 250W each under 'standard test conditions', under what they call 'nominal operating cell temperature' (NOCT) conditions it's only 183W each. This is because the panels are less efficient when hot, and also allows for not having the sun directly overhead. This meant there was a lot more spare capacity than I originally thought.
  3. Finally, I saw a couple of identical panels to the ones I already have on ebay for a good price, so that was the final prompt to get installing!
Power advantages
Our Tristar MPPT controller will handle up to 882W on our system with the way I have it set up, though this falls as the battery temperature rises. So, when the panels do output at their rated power, the controller will be shifting the voltage to dump the excess power. However, this only occurs in rare conditions, usually on a cool day with patchy cloud - as the sun appears between clouds you get 'cloud edge effect', where in addition to the direct sun you also have reflected light from the edges of the clouds round the sun, with the result that the panels sometimes even generate more than their rated output for a short time! In practice though, our five panels can output 915W under NOCT conditions, so there's only a bit of power going to waste.

Where the advantage really comes in is on the duller days and during the winter - at these times all the extra power produced will be harvested, allowing us to run more of the house off-grid for more of the year. At the sunnier times of year, the boosted capacity will also enable us to run the washing machine off grid more often, and also power a slow cooker, thus saving us some gas (our normal cooking energy source). I'm even considering an electric chainsaw for solar-powered firewood production!

The need for blocking diodes
One downside of the location of the additional solar panels is that one of them will get shaded by the chimney from mid afternoon, and the other from late afternoon. Because of the way solar panels work, if you shade even a small part of them, the power generation drops dramatically (all 60 cells on each of our panels are in series - so shade one, and the current is limited for all of them). When you have panels in parallel, this can even mean that some of the power from the unshaded panels could feed backwards through the shaded panel, thus losing some power and potentially even damaging the panel.

To avoid this problem, I added some blocking diodes. A diode acts like a one-way valve, allowing electricity to flow in only one direction. I used Schottky barrier diodes, as these drop a smaller amount of voltage than normal diodes, so reducing the losses. The model I picked is the VT4045BP from Vishay Semiconductor, which can handle 40A and a reverse voltage of 45V - a lot more than our panels will ever generate. I reckon that typically about 1% of the system power will be lost in the diodes, but the avoided shading losses should more than make up for this. You can see the diodes bolted to the upper busbar in this picture:


So, it's all happily running now, I just need to sit back and watch the kWh flow in! :-)

Mike

Related posts:

Click here to read the rest of this post.