Showing posts with label solar panel. Show all posts

Friday, 4 April 2014

Off-grid solar PV upgrade: 750W to 1,250W

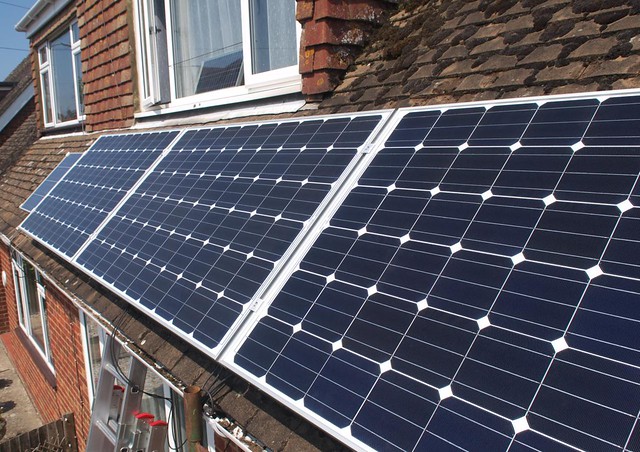
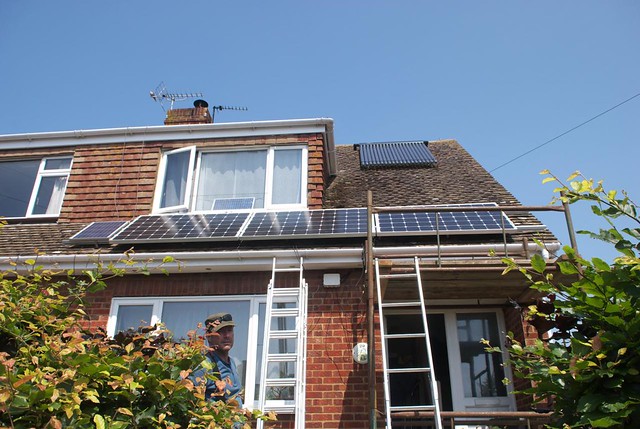
Yesterday we upgraded our solar PV - again! I'll go through some of the pictures first, then get into technical stuff later for those that are interested... Here's the finished system, installed next to our existing solar thermal (hot water) installation - as we were working above the flat roof, it was a lot easier than last time, no scaffolding required!


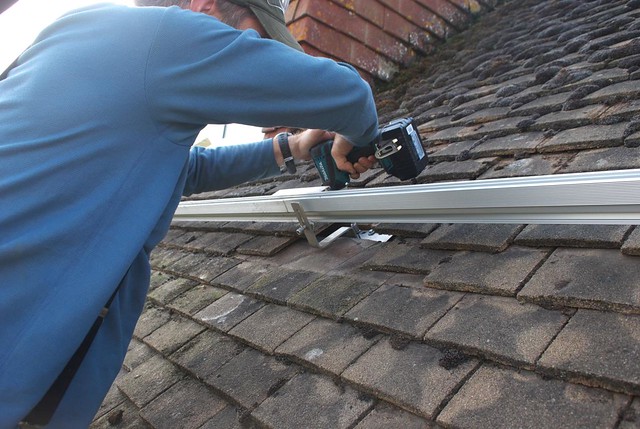
As before, my friend Rich gave me a hand with it, here he's fitting in one of the roof hooks that hold the rails on which the panels are mounted. Thanks again to Midsummer Energy for being very helpful in the supply of Grace Solar mounting equipment for the panels.

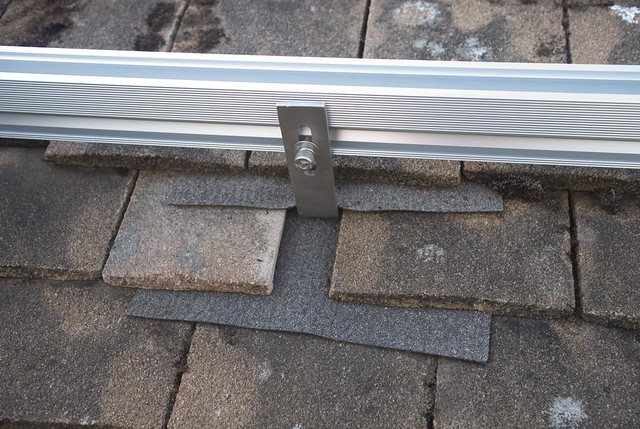
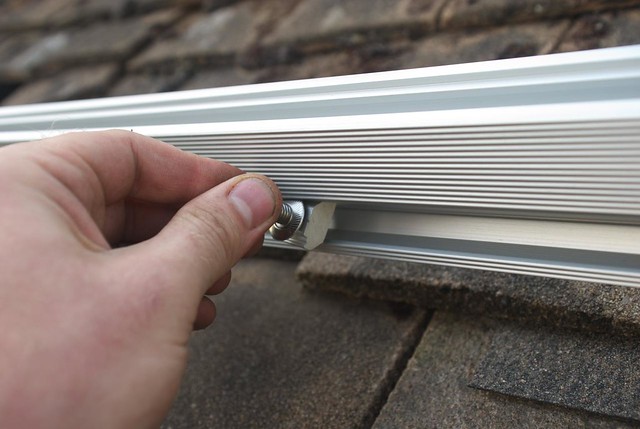
Once the hooks are in, they look quite neat. For more detail on the fitting process, see the blog post on the work we did last July.

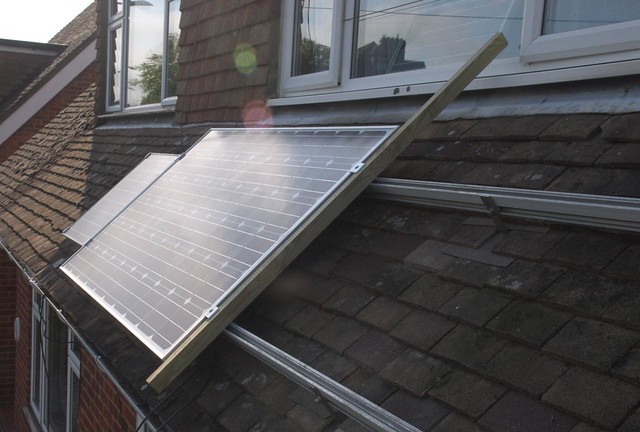
The only tricky bit was the route up, on a ladder past the existing solar panels. Easy enough to climb, but not so easy to get the solar panels up there!

I chose to mount the panels one above the other, as this will minimise afternoon shading from the chimney.

The fiddly bit was actually doing the wiring - there's now five pairs of wires coming in, but I've also added blocking diodes - the row of components bolted to the top bus-bar here:

Anyway, that's it for the summary, now for the detail...

Why the upgrade?

Three reasons:
  1. I had to go up on the roof to fix the chimney cowl after the wind in December, and while I was up there I realised there was space for one or two more panels...
  2. When I set up the original system, I knew there would be a bit of spare capacity in the Morningstar Tristar MPPT controller, as it can handle nearly 900W on a 12V system, and I only had 750W installed. However, what I hadn't thought about enough was that while the Suntech panels I've used output 250W each under 'standard test conditions', under what they call 'nominal operating cell temperature' (NOCT) conditions it's only 183W each. This is because the panels are less efficient when hot, and also allows for not having the sun directly overhead. This meant there was a lot more spare capacity than I originally thought.
  3. Finally, I saw a couple of identical panels to the ones I already have on ebay for a good price, so that was the final prompt to get installing!
Power advantages
Our Tristar MPPT controller will handle up to 882W on our system with the way I have it set up, though this falls as the battery temperature rises. So, when the panels do output at their rated power, the controller will be shifting the voltage to dump the excess power. However, this only occurs in rare conditions, usually on a cool day with patchy cloud - as the sun appears between clouds you get 'cloud edge effect', where in addition to the direct sun you also have reflected light from the edges of the clouds round the sun, with the result that the panels sometimes even generate more than their rated output for a short time! In practice though, our five panels can output 915W under NOCT conditions, so there's only a bit of power going to waste.

Where the advantage really comes in is on the duller days and during the winter - at these times all the extra power produced will be harvested, allowing us to run more of the house off-grid for more of the year. At the sunnier times of year, the boosted capacity will also enable us to run the washing machine off grid more often, and also power a slow cooker, thus saving us some gas (our normal cooking energy source). I'm even considering an electric chainsaw for solar-powered firewood production!

The need for blocking diodes
One downside of the location of the additional solar panels is that one of them will get shaded by the chimney from mid afternoon, and the other from late afternoon. Because of the way solar panels work, if you shade even a small part of them, the power generation drops dramatically (all 60 cells on each of our panels are in series - so shade one, and the current is limited for all of them). When you have panels in parallel, this can even mean that some of the power from the unshaded panels could feed backwards through the shaded panel, thus losing some power and potentially even damaging the panel.

To avoid this problem, I added some blocking diodes. A diode acts like a one-way valve, allowing electricity to flow in only one direction. I used Schottky barrier diodes, as these drop a smaller amount of voltage than normal diodes, so reducing the losses. The model I picked is the VT4045BP from Vishay Semiconductor, which can handle 40A and a reverse voltage of 45V - a lot more than our panels will ever generate. I reckon that typically about 1% of the system power will be lost in the diodes, but the avoided shading losses should more than make up for this. You can see the diodes bolted to the upper busbar in this picture:


So, it's all happily running now, I just need to sit back and watch the kWh flow in! :-)

Mike

Related posts:

Click here to read the rest of this post.

Friday, 12 July 2013

Off-grid solar PV upgrade

Sorry there's been no posts for a while, but as you can see I've had a lot going on!

DSC_6678 Suntech solar panels

With the help of my friend Rich, I've upgraded our off-grid solar PV system, removing some of the panels we installed a couple of years ago and replacing them with some much larger models. Here's a video summarising what's been done:


And if you want more detail, here's a video of the installation of the new controller that's needed to handle the increased power - it's a Morningstar TriStar MPPT 60A.


And for those who are into technical stuff and software, here's a video showing what the software Morningstar provide can do to gather and display data on the controller's operation (best watched full screen in HD so you can see everything):


Here's the photos (some of which are in the first video above).

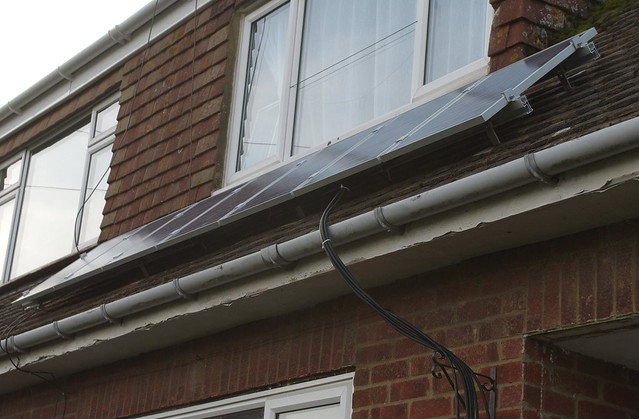
First, here's the original system. The reason for the upgrade is simply that prices of solar panels have dropped a lot, and doing an upgrade now meant that the same roof-mounting kit was still available to buy (just!) so I could extend the rails easily. I'm finding good homes for the old panels...
DSC_7183 Fitting solar PV

First we removed the old panels, which was easily done from a ladder:
DSC_6648 working on solar panels

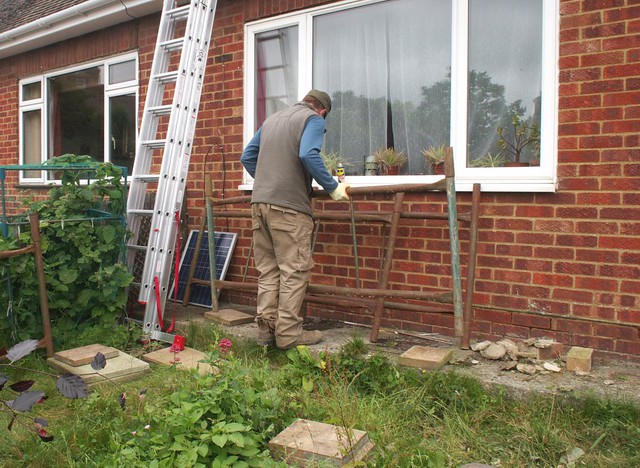
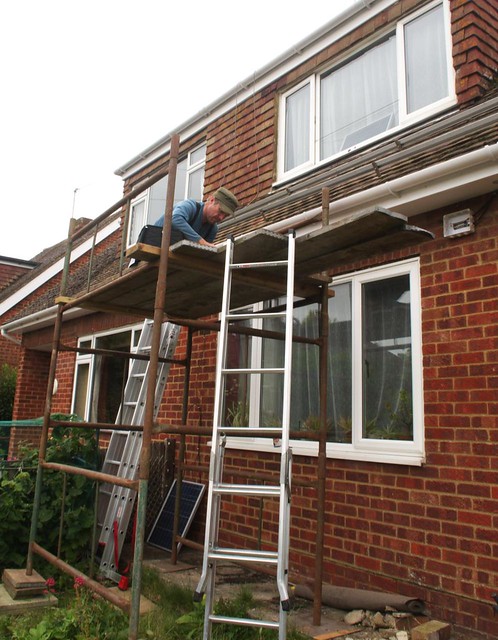
After that we set up the scaffolding that Rich had brought:
DSC_6650 scaffolding

DSC_6651 scaffolding

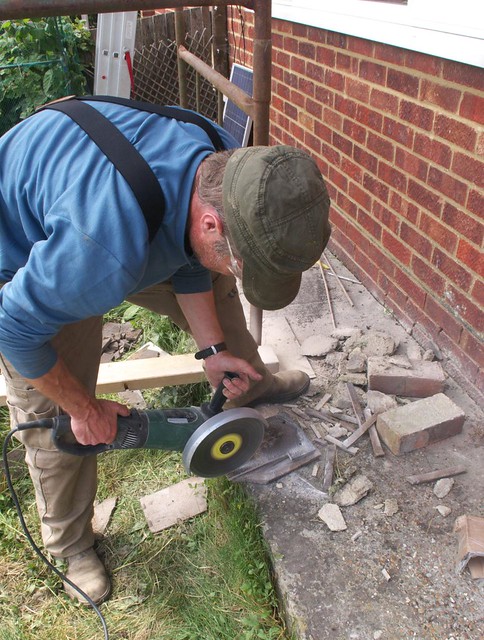
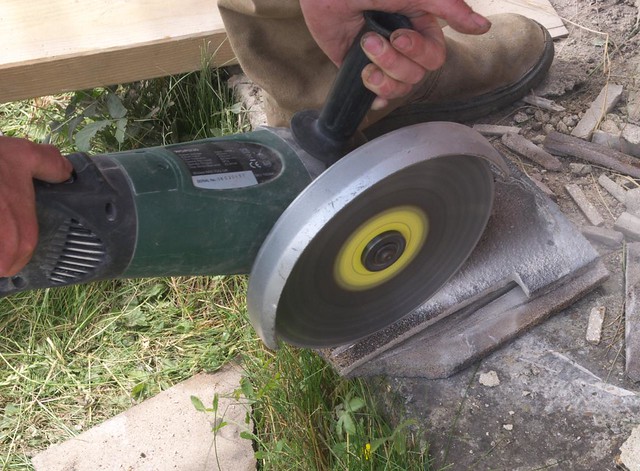
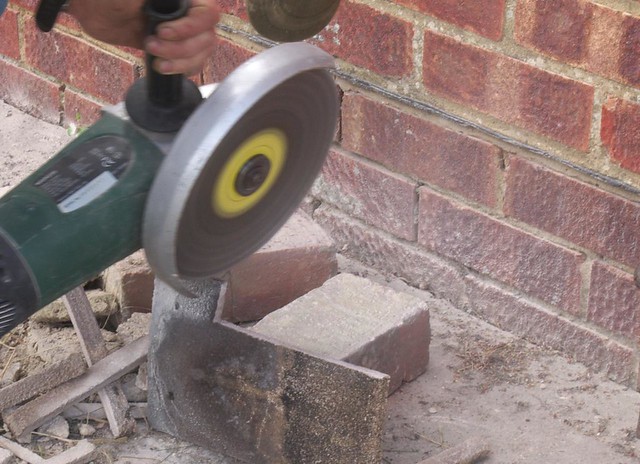
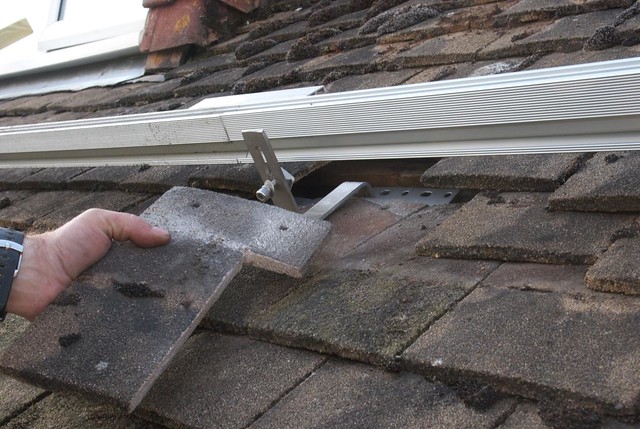
Then we removed the top mounting rail, shifting it up a bit, and extended both rails to the right, using the extra kit I managed to source from Midsummer Energy - thanks for the help guys! We'd also got some advice from Midsummer Energy on installation, so we removed the tiles we'd lightly ground using an angle grinder last time, and made some more aggressive cuts into them to fit round the mounting brackets:
DSC_6653 preparing tiles to roof mount solar PV

DSC_6654 preparing tiles to roof mount solar PV

DSC_6657 preparing tiles to roof mount solar PV

DSC_6660 roof mounting for solar PV

This enabled the tiles to fit much more neatly - some of the ones we did last time had broken since installation, probably due to the wind making the array flex and press on them.
DSC_6663 roof mounting for solar PV

We also put into practice some advice on adding a bit of felt just to ensure waterproofing, although in practice this area is under the panels so gets less wet anyway in the rain.
DSC_6675 roof mounting for solar PV

I'd also uncovered the manual for the mounting system on the internet, from Grace Solar in China. This included useful tips like how to slot in the connectors that the clamps screw into, without sliding them all the way along the rails - very useful to know! (see the video for more info)
DSC_6667 roof mounting for solar PV

The new panels are Suntech 250W monocrystalline, and as they weigh nearly 20kg each we had to come up with a way of keeping them in place while we got the next one ready. The solution was a piece of wood of the same thickness, which the mid-clamps could grip onto allowing the panel to be held while we moved the scaffolding and got the next one in place.
DSC_6662 roof mounting for solar PV

It wasn't long before all three new panels were up, and we've kept one of the old ones to run a small 12V system that's used for phone charging, running a laptop and powering the cockatiels' night light:
DSC_6676 solar PV

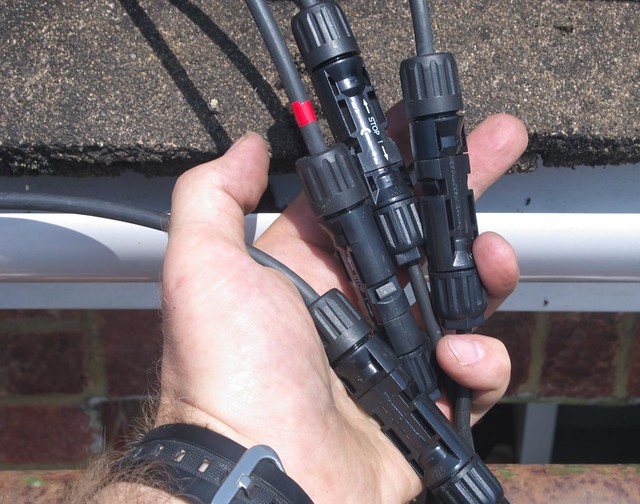
Wiring up the electrics was much easier than last time, partly because a lot of the wiring was already in place and could be reused, but also because the new panels came with MC4 connectors, so I was able to prepare cables and then just plug in!
DSC_6683 MC4 solar connectors

So, the system has been up and running for a week now, the fridge and freezer have been off-grid continuously during that time and we've even done two loads in the washing machine off-grid! The new controller gives me loads of data, and the Mastervolt inverter we've added now is pretty neat too, so I might write another blog post later with some extra technical details...

Mike

Related posts:

Click here to read the rest of this post.

Saturday, 31 March 2012

EWB Imperial - building a log bridge in the woods

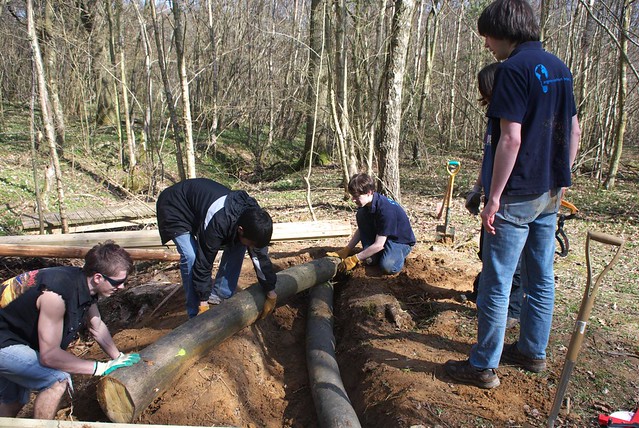
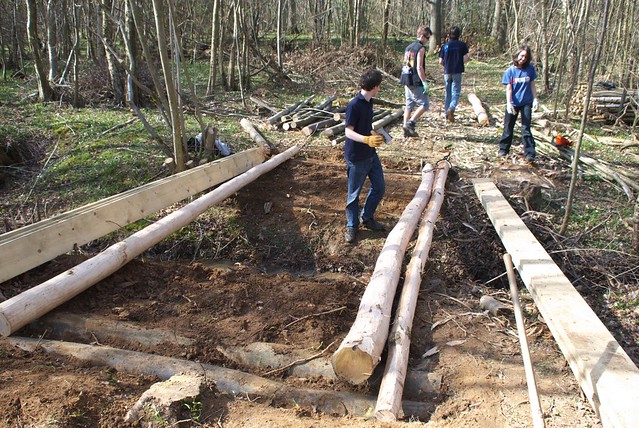
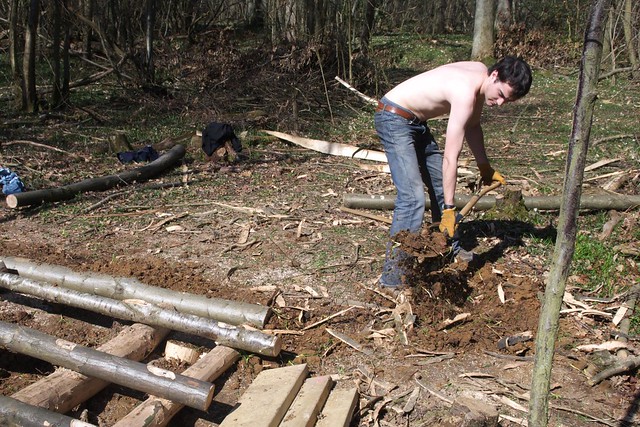
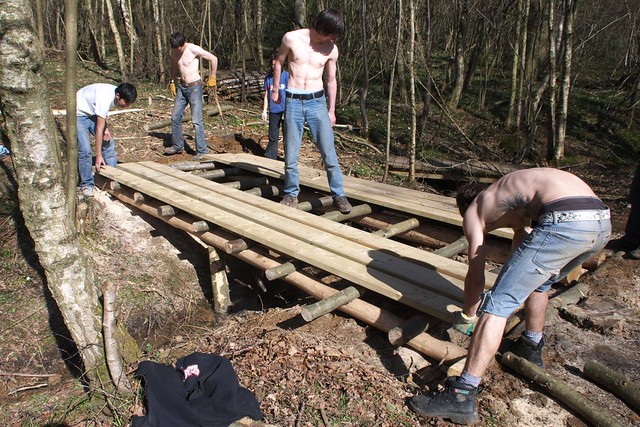
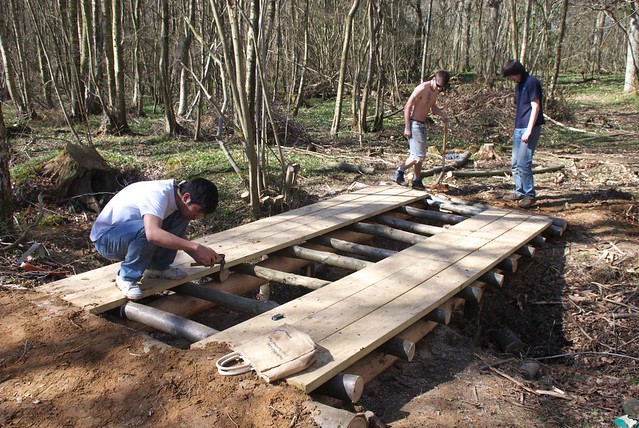
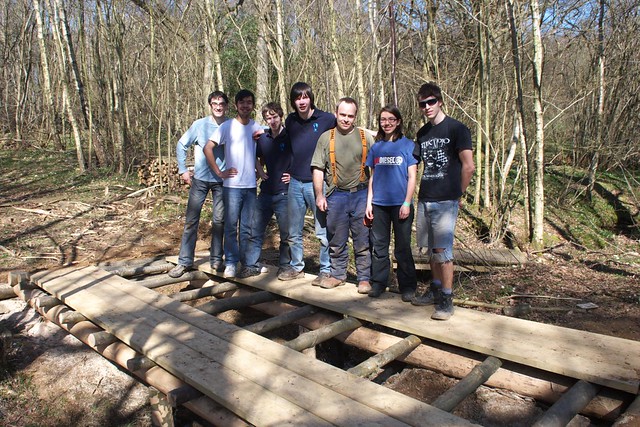
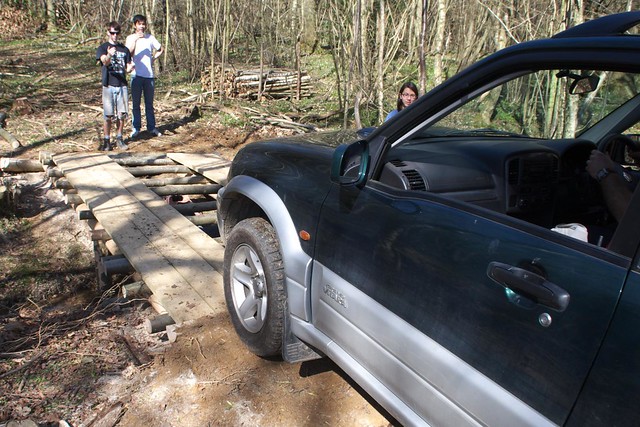
Last weekend members of EWB UK from Imperial College London came down for what's become an annual camping trip to our woodland. As always, there was a project to get involved with - this time building a bridge over a stream that can support a vehicle! During previous visits they built a firewood shelter and a foot bridge, so this year was a step up in scale.

I made a timelapse video of most of the bridge building, it's about 7 mins long (it's in 1080p HD, so put it full-screen). Take a look, and then read the rest of the post to see the pictures and description.


Here's the full team that came down this year:
DSC_3710 EWB Imperial members

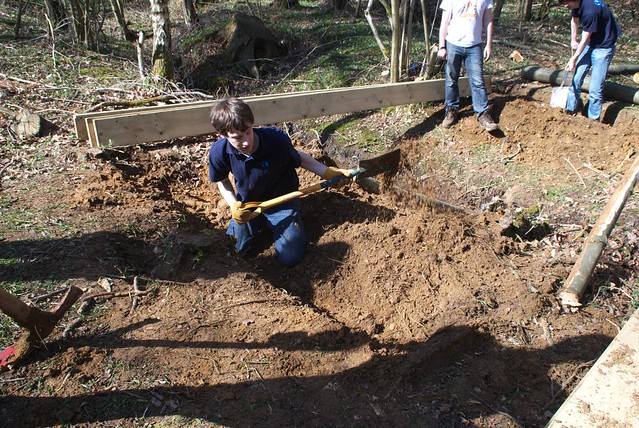
The bridge is needed to allow access to a new ride that I cut last winter. I saved some of the stems I'd cut to make parts of the bridge, and we felled a few others as required to complete it. The first steps were digging some foundations, which took quite a while:
DSC_3704 Building a log bridge

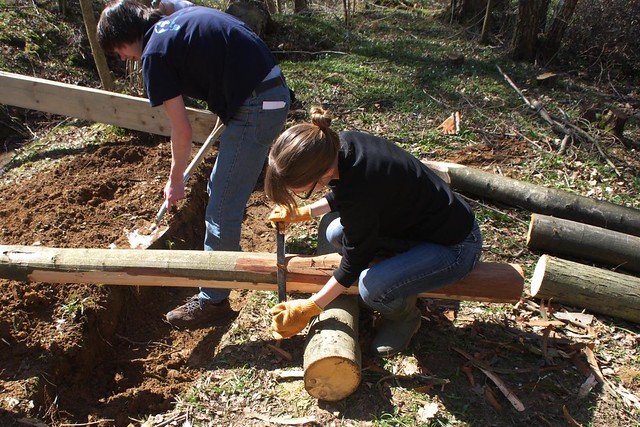
and peeling the long logs that were going to be used as the main supports:
DSC_3708 Building a log bridge

We put some chunky logs into ditches that had been dug on each side of the stream:
DSC_3718 Building a log bridge

and then got the main supports in place, bolting them down later on:
DSC_3723 Building a log bridge

In the centre of the stream we also drove in some stakes (see the timelapse video above), and I used the chainsaw to cut a notch in the top of them for the main supports to rest in:
DSC_3726 Building a log bridge

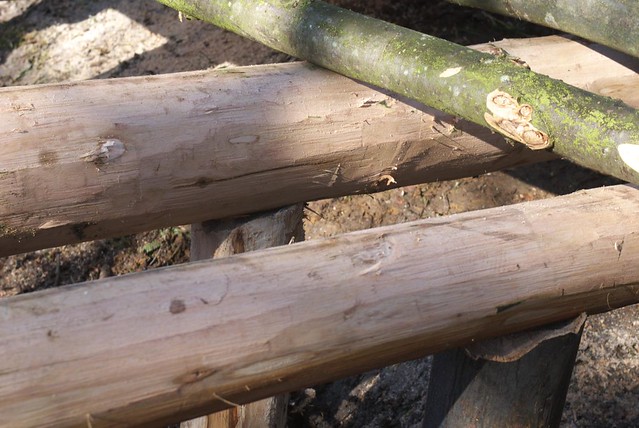
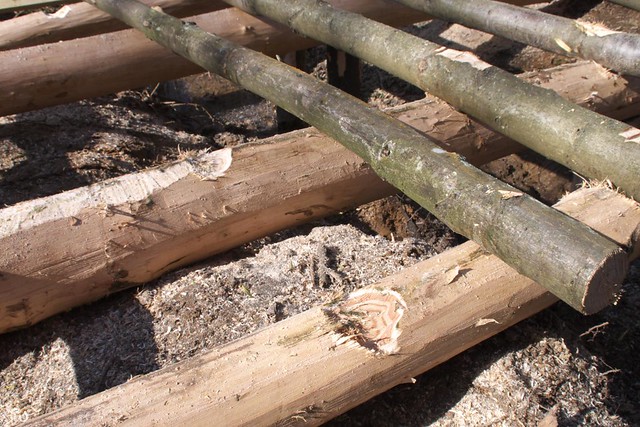
On top of the main supports went some crossbeams (all of this was Sweet Chestnut, by the way), and again I cut some notches for them to sit in:
DSC_3731 Building a log bridge

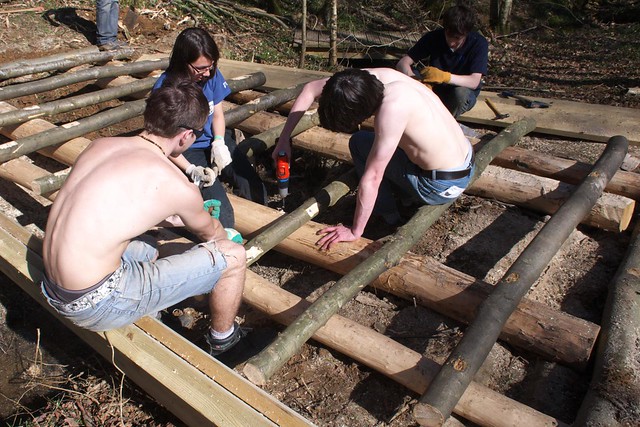
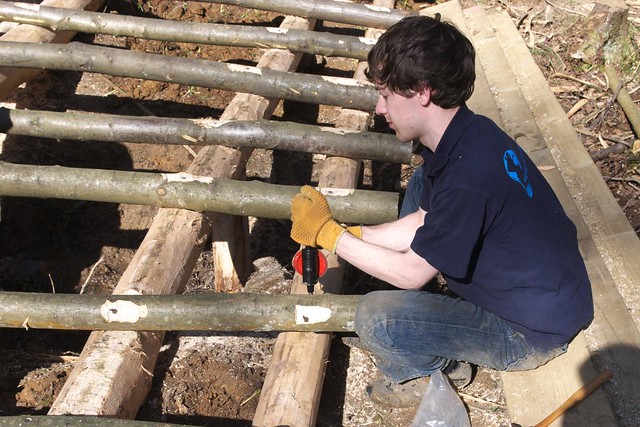
Then there was a lot of drilling and nailing...
DSC_3737 Building a log bridge

Some of it by hand:
DSC_3738 Building a log bridge

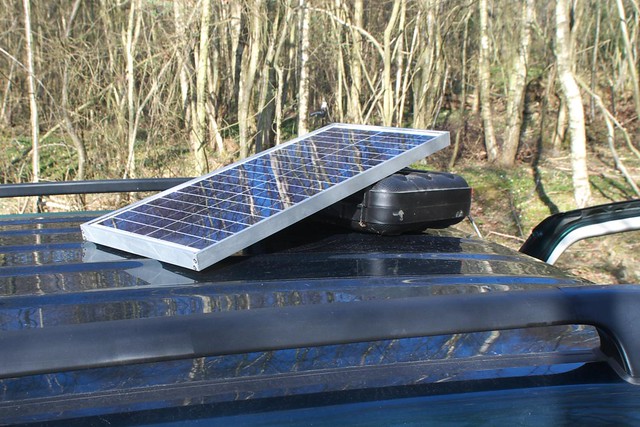
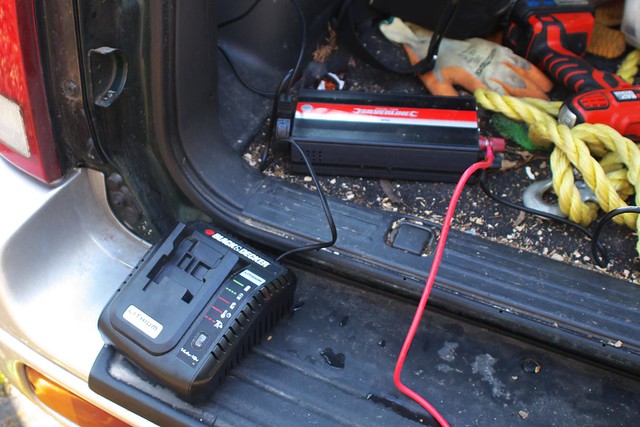
though we did have a solar panel and inverter on hand to recharge the electric drill:
DSC_3727 solar panel

DSC_3729 inverter and battery charger

Once that was finished, it was time to start making the ramps to lead on and off the bridge and also lay down some planks (the only bit of wood that was bought in for this):
DSC_3739 Building a log bridge

DSC_3744 Building a log bridge

The planks were also nailed down, and it was starting to look like it might be OK to drive on...
DSC_3746 Building a log bridge

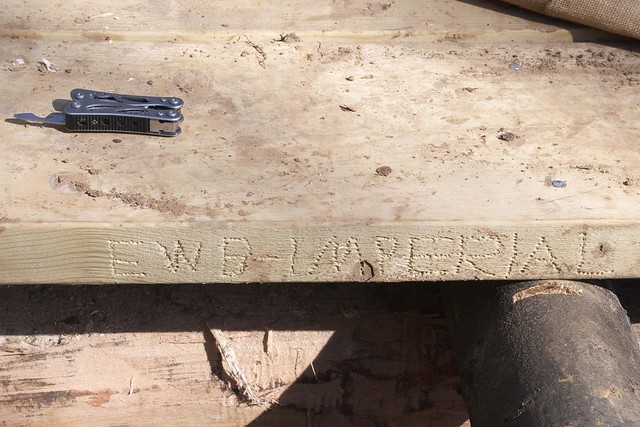
Of course, there's a signature on the side of the bridge:
DSC_3747 EWB signature

We posed for a photo or two:
DSC_3754 EWB Imperial members

DSC_3753 EWB Imperial members

and then it was time to put it to the test...
DSC_3758 Car approaching log bridge

There were some creaking noises, but it was rock solid!
DSC_3760 Car on log bridge

A job well done - thanks to everyone who came from EWB Imperial to help with this!

Mike

Click here to read the rest of this post.

Monday, 11 April 2011

Eco-refurbishment - installing off-grid solar PV (part 2)

Our off-grid solar PV is now up and running! Part 1 covered installing the panels on the roof, this post is all about wiring them in. This started with screwing a waterproof junction box to the wall and then fixing a dual busbar inside it:

DSC_7203

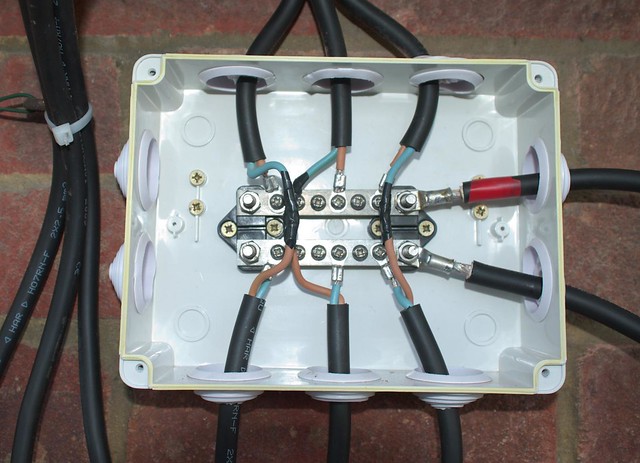
The next step was to wire in the PV panels. As I was setting this part of the system up at 24V, I wired the panels in pairs, as you can see below, with each PV cable having one wire screwed to the busbar and the other soldered to a wire from the opposite cable. The solder joints are then wrapped in heatshrink and PVC tape, to avoid any accidental short circuits. The wires coming out the right hand side of the junction box take the combined output of all six panels into the house.
DSC_7290

Before you ask, yes there are seven panels on the roof, but only six wired into the junction box. That's because one of the panels feeds straight into an existing 12V system I have set up which is used for DC supplies to charge small electronic appliances and also to power a night light for our cockatiels!

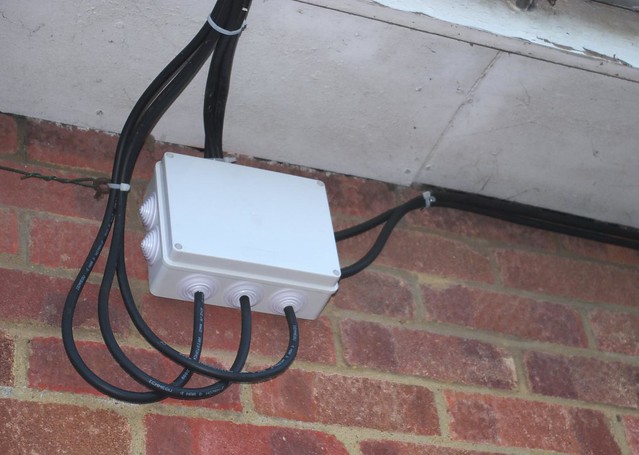
Anyway, here's the junction box with all the wires neatly bundled up:
DSC_7292

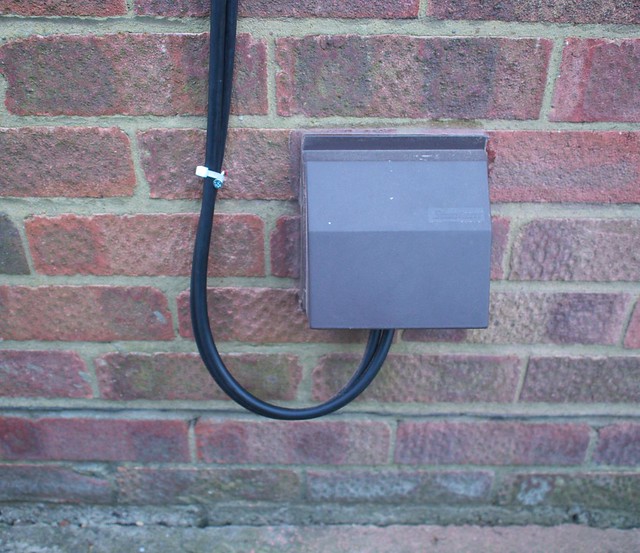
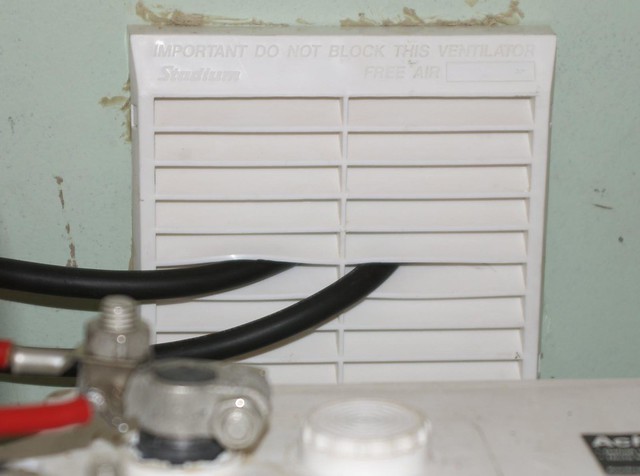
At the other end of the pair of cables heading off to the right, they disappear into an air vent...
DSC_7296

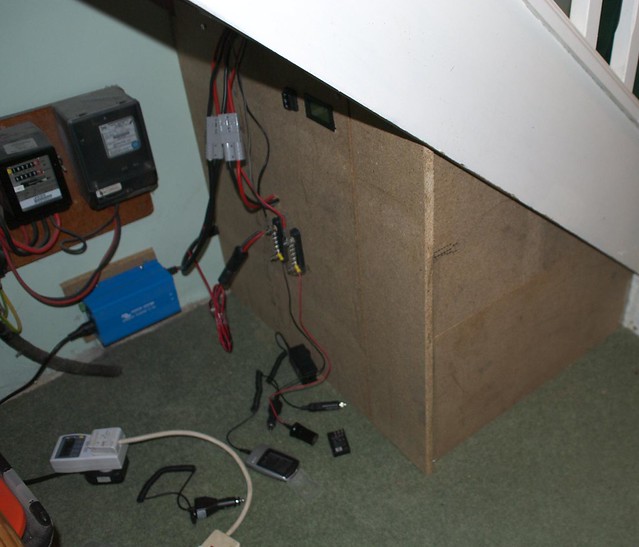
only to emerge inside the house, under the stairs. We had this vent put in by the cavity wall insulation installer, in preparation for this use.
DSC_7359

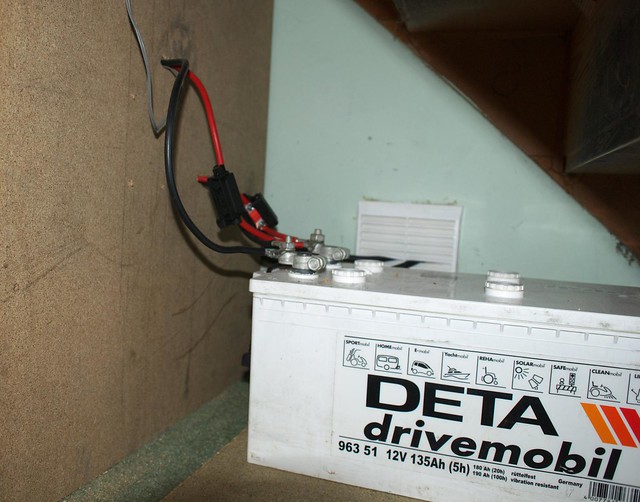
Once inside the cables head through a gap in the board on the left, going past the battery:
DSC_7364

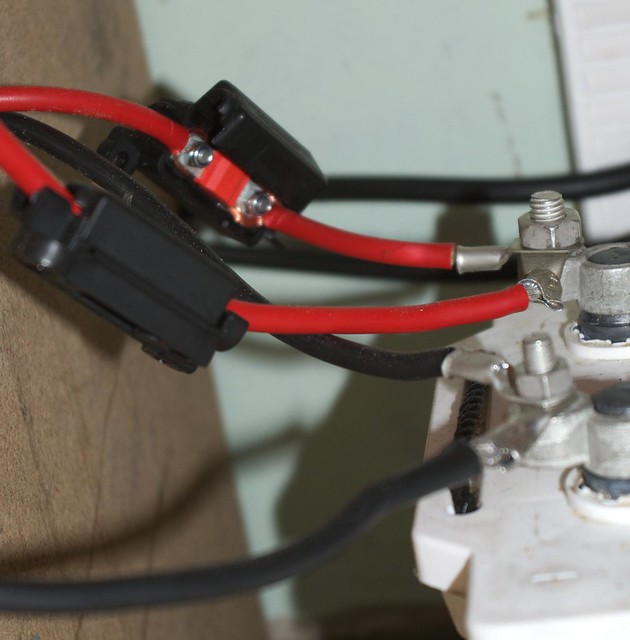
I had bought two batteries second-hand from a friend, but it turns out one of them is dead, so I'll be running the system on 12V rather than 24V. More on that later... While we're looking at the battery, here's some detail on the wiring. There's a pair of wires going to the charge controller, and another pair going straight to an inverter. The little black pods are fuse holders, the rear one's open and you can see the red fuse inside it:
DSC_7362

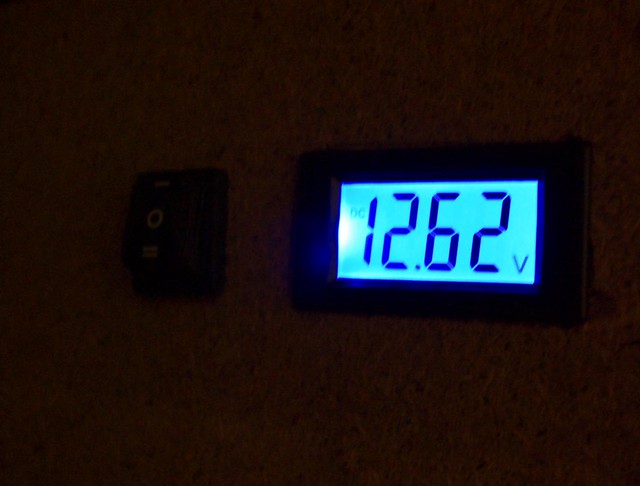
Round the other side of that board is a neat little display I found, wired up to a switch so that when the switch is set to "1", it displays the battery voltage.
DSC_7369

That photo doesn't really do it justice though, as it glows in the dark!
DSC_7366

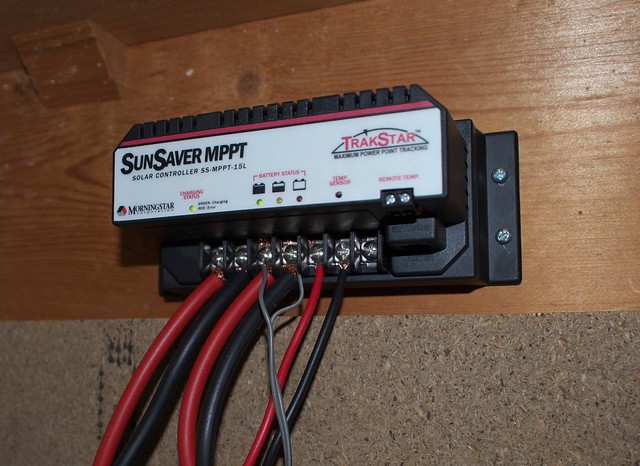
OK, on to the key component in the system - the charge controller, a Morningstar SunSaver MPPT. This performs several key tasks:
  • It uses a Maximum Power Point Tracker (MPPT) to allow the solar PV panels to operate at the voltage at which they will deliver the most power, and then converts this to whatever voltage the battery requires. This is done dynamically, as the MPP changes according to light levels. The other advantage of this feature is that it can take an input voltage up to 70V, which is why it didn't matter that I'd wired the panels for 24V operation, but then ended up using a 12V battery. In fact, using a higher voltage reduces current losses in the cables, so this is a good thing to do anyway.
  • It can auto switch to 12V or 24V. So, if I do decide to run a 24V system later on, it will work just fine (though I'd have some other bits of wiring to do on the load side of the system).
  • It prevents the battery being overcharged, and actually goes through a 4-stage charging process to ensure that the battery is kept in good health.
  • It prevents any loads connected to it from running the battery down so low that it is damaged.
  • It includes protection against short circuit and excessive voltage on all of its connections.
With all that, you're probably not surprised to hear it cost as much as two of the 40W solar panels on the roof!
DSC_7373

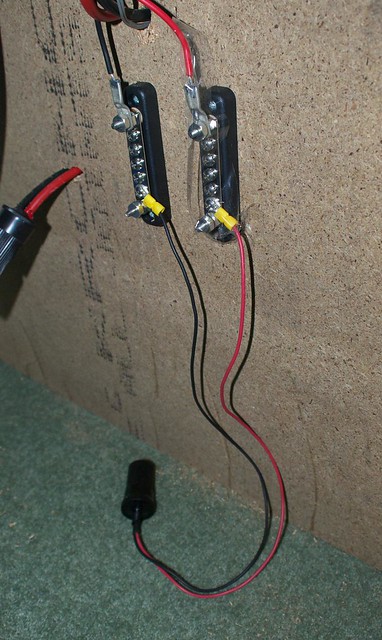
The load connections from the charge controller go to a pair of busbars. I'll make a plastic cover for one to prevent short circuits later on, for now it just has some tape over it to prevent accidents. Connected to the busbars is a 12V socket, like you'd find in a car, and plenty of room to add some more. This means anything you can get a car adaptor for, you can plug in here.
DSC_7376

For mains appliances I've got a Victron 180W pure sine inverter. Because this can draw more power than the charge controller can handle, it's connected directly to the battery. This isn't a problem, as the inverter also can detect when the battery voltage is too low, and disconnect itself.
DSC_7378

I've had this inverter for some time, so it was just a case of screwing it to the wall and plugging it in. I got a pure sine version so it can run all kinds of electronics with no problems. Modified sine inverters are cheap, but won't work with everything... I plan to get a much larger inverter later on, so we can run things like the fridge or freezer for a few days in the event of a power cut.

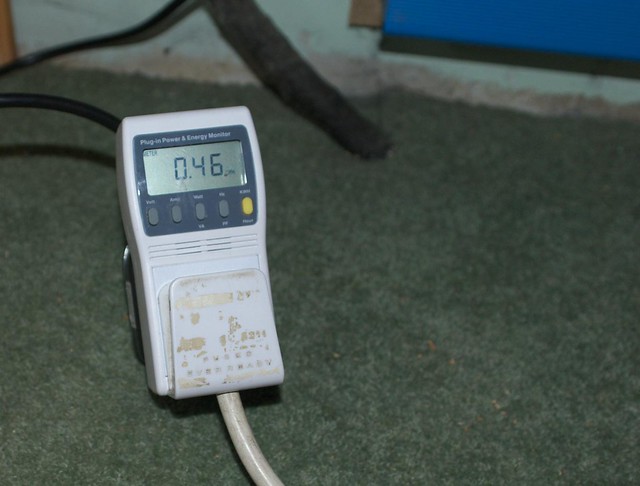
At the output of the inverter I've plugged in a monitor, to see how many kWh of electricity I've used from the system. My general plan is to use the power when the sun is out, and not when it's dark or cloudy. While this means I'm not getting the maximum amount out of it, it does mean the battery is always full, ready for any power cut that may happen.
DSC_7379

Finally, the battery is boxed into a small compartment under the stairs, with the air vent inside it. This is essential, as charging a battery produces hydrogen, and as we saw in Fukushima, hydrogen mixed with air in confined spaces is not a good idea... Keeping it sealed away with a vent should eliminate any explosion risk.
DSC_7381

So, what have I learned from all this? Several things:
  • How to use a hydrometer to check if all the cells in a battery are working - and to check second hand batteries before buying them, even from a trusted source (as they may not know they're dead).
  • How to do the basics of fitting roof tiles - after the PV was done, I went round the other side of the house and replaced a few low down cracked tiles myself.
  • That the ancillary components of an off-grid PV system can cost more than the panels themselves!
It certainly would have been easier to pay someone to fit the system, but doing it myself was much more satisfying (and cheaper). It also meant that I was able to make some decisions as I went along, and as I designed and built the system, I know exactly how to fix it if it goes wrong.

So, I'm writing this blog post with my laptop and router running off grid! Very satisfying! :-)

Mike


UPDATE: I've got two batteries now, wired in parallel.

Related posts:

Click here to read the rest of this post.