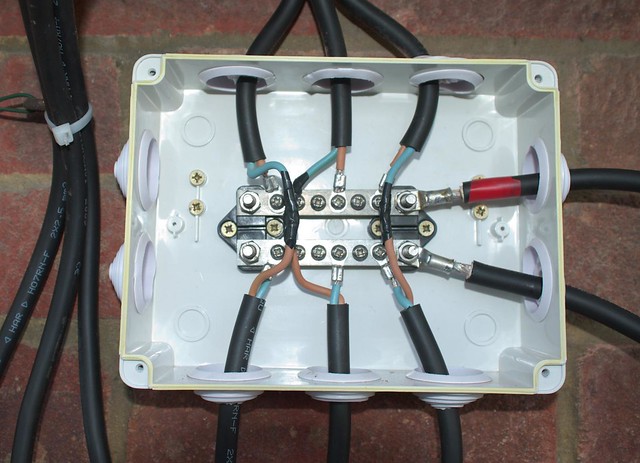
Our off-grid solar PV is now up and running! Part 1 covered installing the panels on the roof, this post is all about wiring them in. This started with screwing a waterproof junction box to the wall and then fixing a dual busbar inside it:

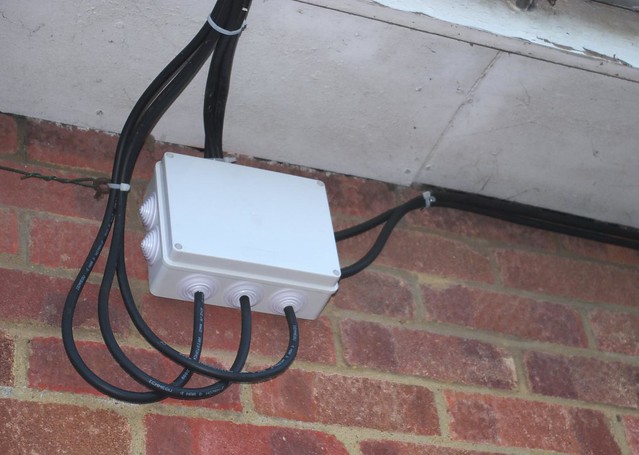
The next step was to wire in the PV panels. As I was setting this part of the system up at 24V, I wired the panels in pairs, as you can see below, with each PV cable having one wire screwed to the busbar and the other soldered to a wire from the opposite cable. The solder joints are then wrapped in heatshrink and PVC tape, to avoid any accidental short circuits. The wires coming out the right hand side of the junction box take the combined output of all six panels into the house.
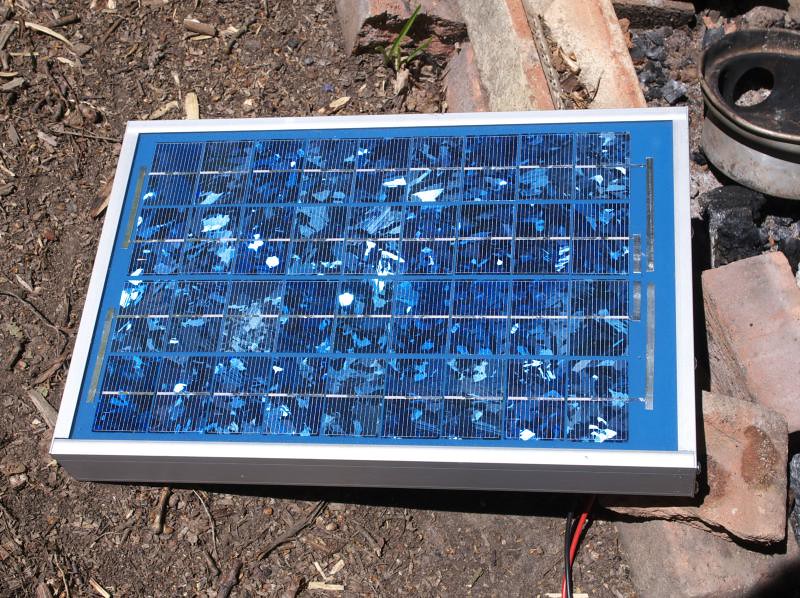
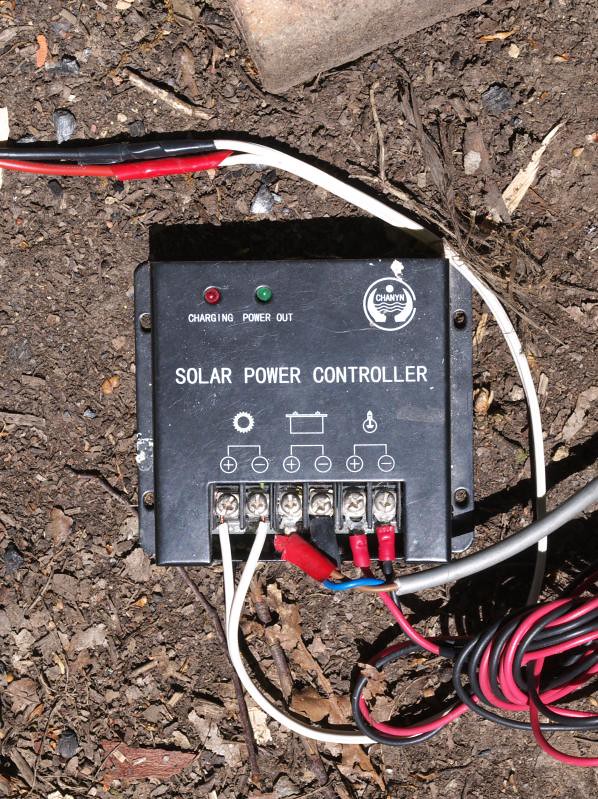
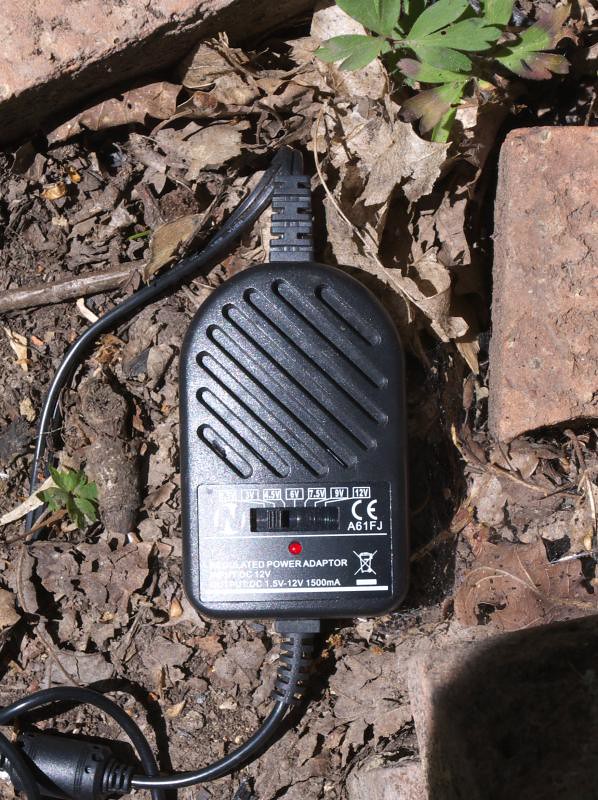
Before you ask, yes there are seven panels on the roof, but only six wired into the junction box. That's because one of the panels feeds straight into an existing 12V system I have set up which is used for DC supplies to charge small electronic appliances and also to power a night light for our cockatiels!
Anyway, here's the junction box with all the wires neatly bundled up:
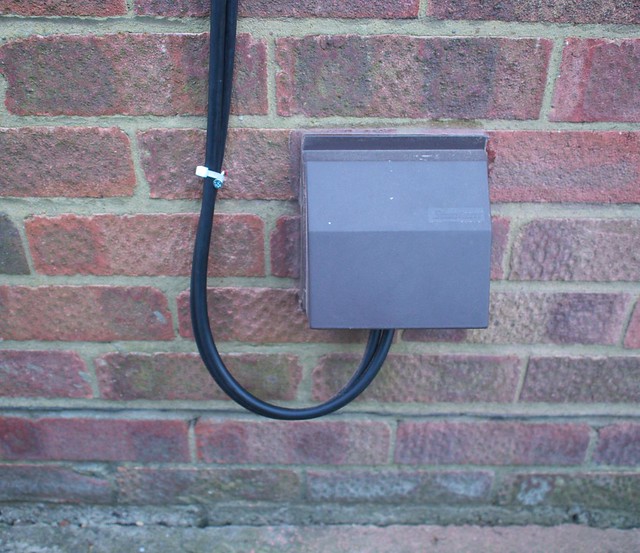
At the other end of the pair of cables heading off to the right, they disappear into an air vent...
only to emerge inside the house, under the stairs. We had this vent put in by the cavity wall insulation installer, in preparation for this use.
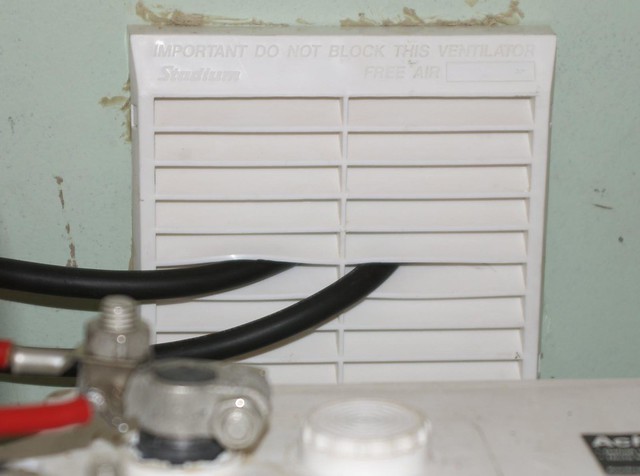
Once inside the cables head through a gap in the board on the left, going past the battery:
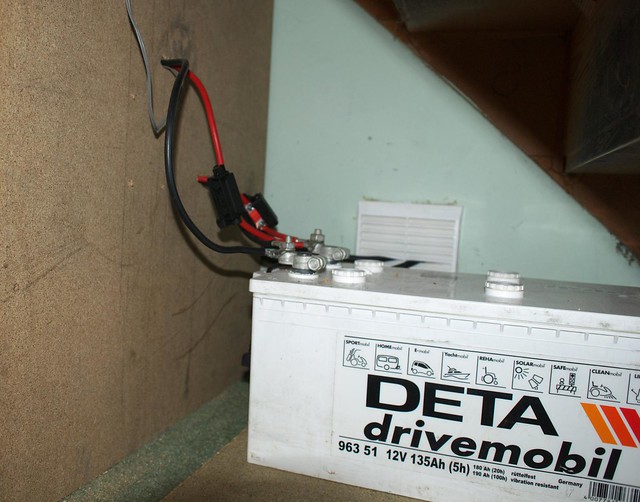
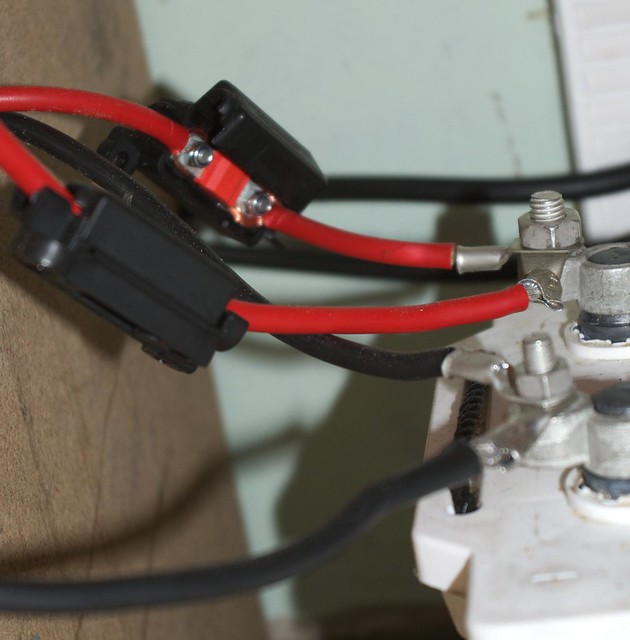
I had bought two batteries second-hand from a friend, but it turns out one of them is dead, so I'll be running the system on 12V rather than 24V. More on that later... While we're looking at the battery, here's some detail on the wiring. There's a pair of wires going to the charge controller, and another pair going straight to an inverter. The little black pods are fuse holders, the rear one's open and you can see the red fuse inside it:
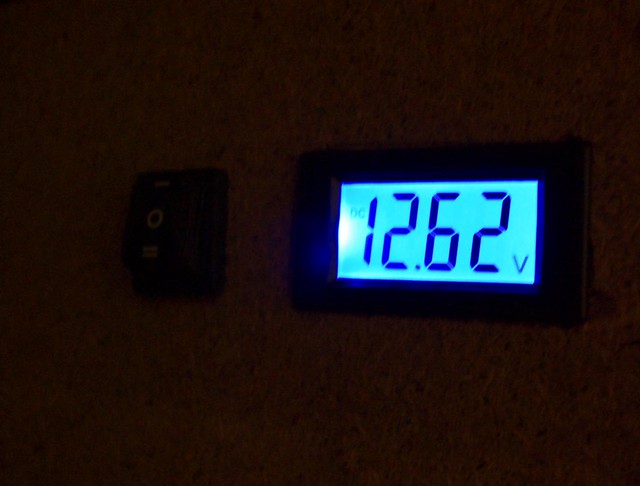
Round the other side of that board is a neat little display I found, wired up to a switch so that when the switch is set to "1", it displays the battery voltage.

That photo doesn't really do it justice though, as it glows in the dark!
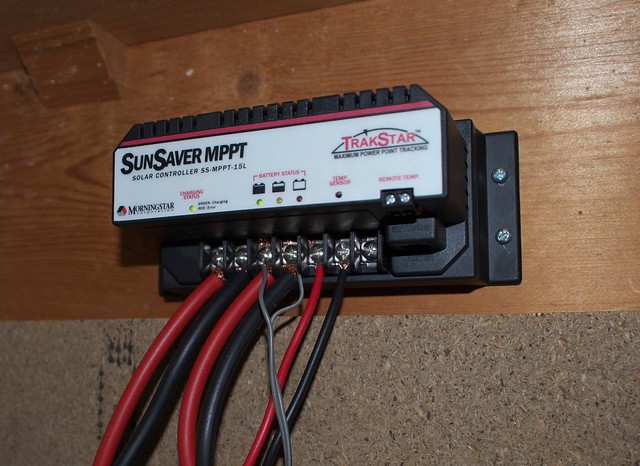
OK, on to the key component in the system - the charge controller, a Morningstar SunSaver MPPT. This performs several key tasks:
- It uses a Maximum Power Point Tracker (MPPT) to allow the solar PV panels to operate at the voltage at which they will deliver the most power, and then converts this to whatever voltage the battery requires. This is done dynamically, as the MPP changes according to light levels. The other advantage of this feature is that it can take an input voltage up to 70V, which is why it didn't matter that I'd wired the panels for 24V operation, but then ended up using a 12V battery. In fact, using a higher voltage reduces current losses in the cables, so this is a good thing to do anyway.
- It can auto switch to 12V or 24V. So, if I do decide to run a 24V system later on, it will work just fine (though I'd have some other bits of wiring to do on the load side of the system).
- It prevents the battery being overcharged, and actually goes through a 4-stage charging process to ensure that the battery is kept in good health.
- It prevents any loads connected to it from running the battery down so low that it is damaged.
- It includes protection against short circuit and excessive voltage on all of its connections.
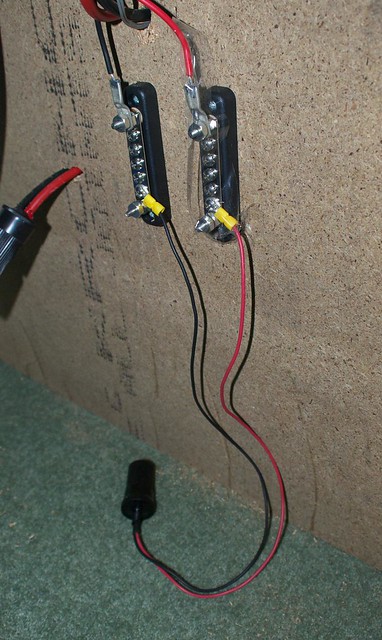
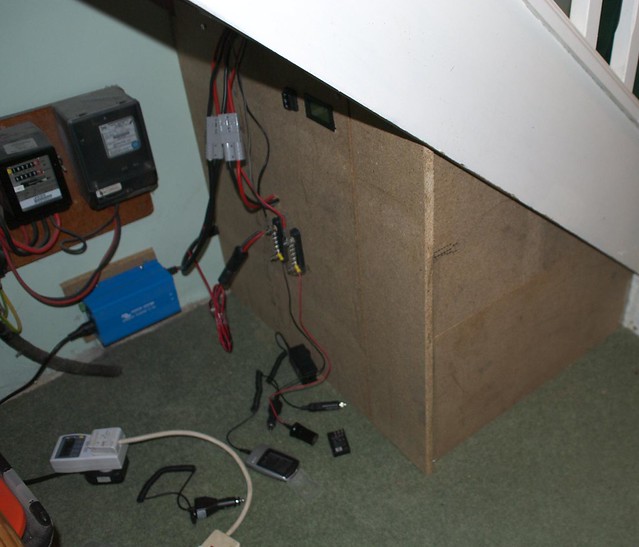
The load connections from the charge controller go to a pair of busbars. I'll make a plastic cover for one to prevent short circuits later on, for now it just has some tape over it to prevent accidents. Connected to the busbars is a 12V socket, like you'd find in a car, and plenty of room to add some more. This means anything you can get a car adaptor for, you can plug in here.
For mains appliances I've got a Victron 180W pure sine inverter. Because this can draw more power than the charge controller can handle, it's connected directly to the battery. This isn't a problem, as the inverter also can detect when the battery voltage is too low, and disconnect itself.

I've had this inverter for some time, so it was just a case of screwing it to the wall and plugging it in. I got a pure sine version so it can run all kinds of electronics with no problems. Modified sine inverters are cheap, but won't work with everything... I plan to get a much larger inverter later on, so we can run things like the fridge or freezer for a few days in the event of a power cut.
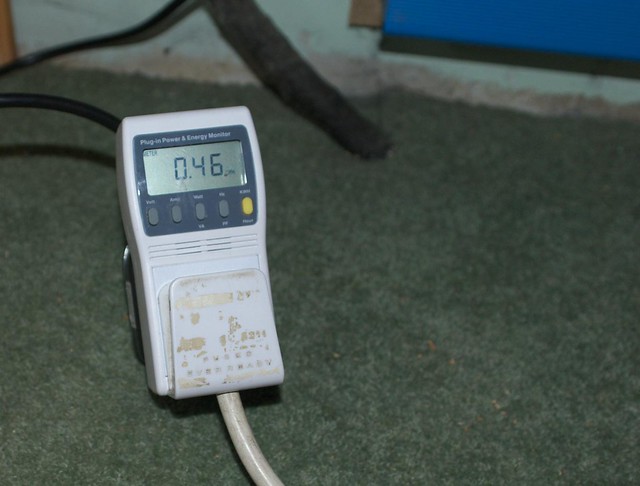
At the output of the inverter I've plugged in a monitor, to see how many kWh of electricity I've used from the system. My general plan is to use the power when the sun is out, and not when it's dark or cloudy. While this means I'm not getting the maximum amount out of it, it does mean the battery is always full, ready for any power cut that may happen.
Finally, the battery is boxed into a small compartment under the stairs, with the air vent inside it. This is essential, as charging a battery produces hydrogen, and as we saw in Fukushima, hydrogen mixed with air in confined spaces is not a good idea... Keeping it sealed away with a vent should eliminate any explosion risk.
So, what have I learned from all this? Several things:
- How to use a hydrometer to check if all the cells in a battery are working - and to check second hand batteries before buying them, even from a trusted source (as they may not know they're dead).
- How to do the basics of fitting roof tiles - after the PV was done, I went round the other side of the house and replaced a few low down cracked tiles myself.
- That the ancillary components of an off-grid PV system can cost more than the panels themselves!
So, I'm writing this blog post with my laptop and router running off grid! Very satisfying! :-)
Mike
UPDATE: I've got two batteries now, wired in parallel.
Related posts:
- Insulating the cavity walls
- Insulating the loft
- Flat roof insulation
- Insulating the dormer roof
- Sweeping the chimney
- Installing the wood stove
- Plumbing and testing the wood stove
- Installing solar water heating
- Installing off-grid solar PV (part 1)
- Off-grid solar PV upgrade to 750W
- Off-grid solar PV upgrade to 1250W