Ideally a flat roof should be a 'warm roof', i.e. using good insulation and a vapour barrier so that heat is kept in and moisture can not reach any cold spots to condense and cause problems. But what do you do if you can't or won't spend the money refitting an entire flat roof? This was our situation - the roof was only refitted a bit over five years ago, so has plenty of life in it yet. When it's time to renew it, we'll get the insulation done properly at that point. Until then, we needed to come up with another solution...
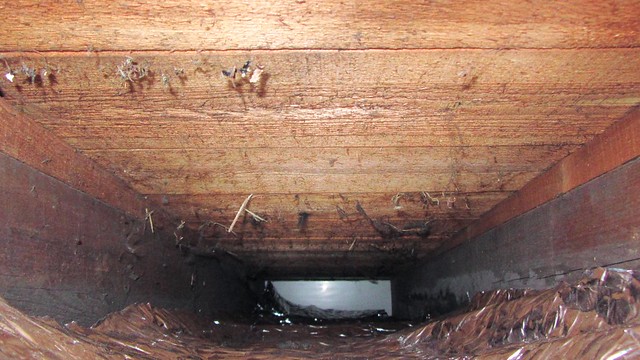
The sections of flat roof we have are above our dormer windows, and as such they link into the small loft that is higher than them. Above the windows they are not airtight at all, which is useful as it lets air flow through the roof space and loft, preventing any condensation forming. However, a few months ago I finally got round to investigating what was in the roof space, and I found this:
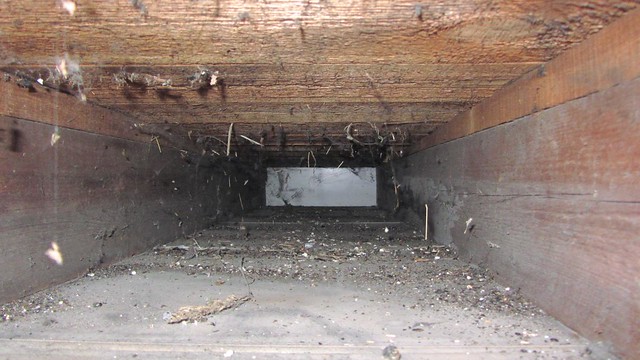
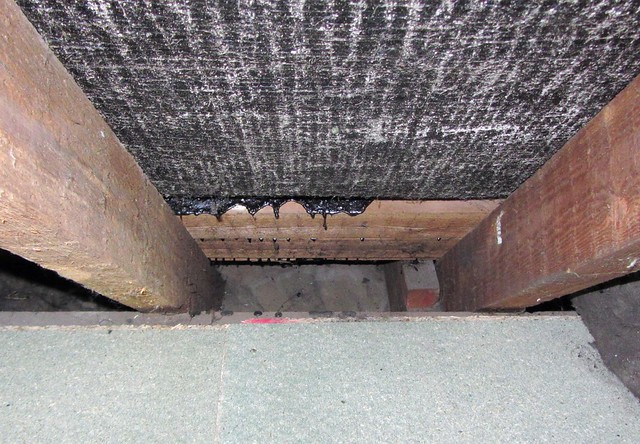
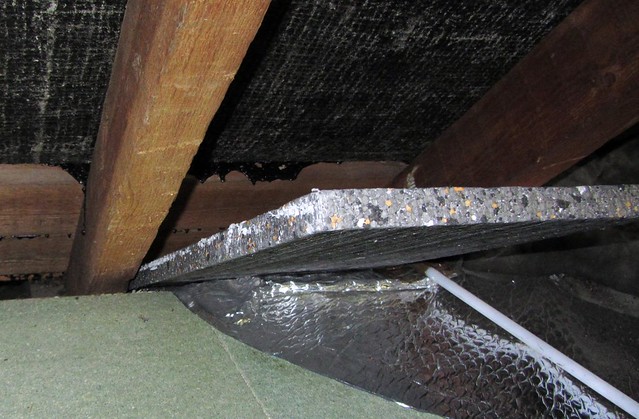
Yes, that's right - plasterboard, over 100mm gap, then the roof deck. So all that fresh air blowing through was chilling the plasterboard and therefore the bedrooms below. I knew it wouldn't be great, but I'd not realised there'd be no insulation in there at all! A further complication is that the access from the loft is obstructed by joists. You can just see the edge of one under the floorboard here:
The only thing to do was find something flexible that I could get in through the gap. It would never be perfect, but anything would be better than nothing! The other thing that was needed was to ensure that there was still a gap for air to flow after the insulation was installed.
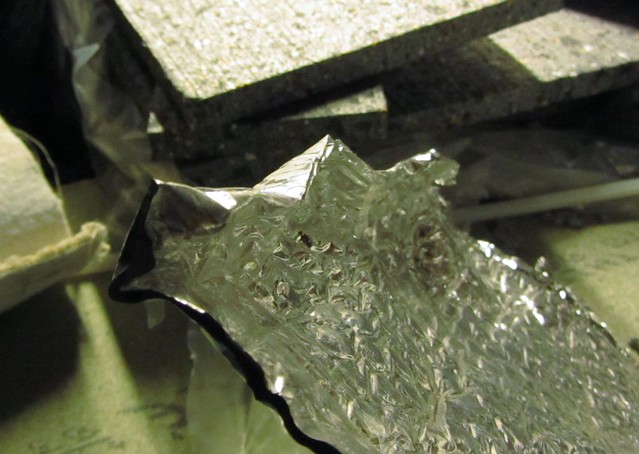
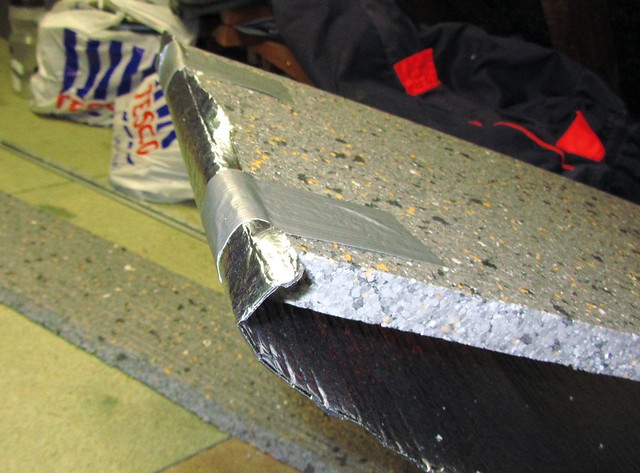
A quick trip to B&Q gave me some materials to experiment with. I found something a bit like tough bubblewrap coated with aluminium. This actually has an insulation value equal to about 50mm of polystyrene, so is quite useful.
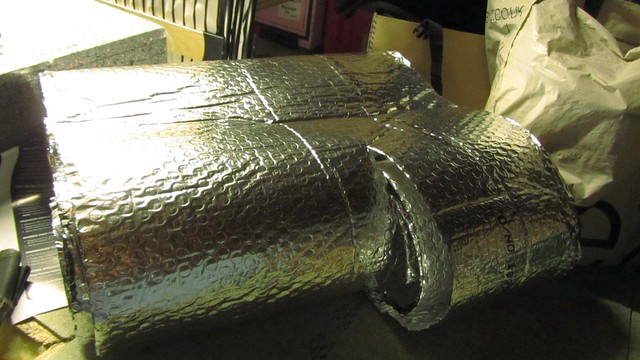
This could easily be cut into strips and fed into the gaps:
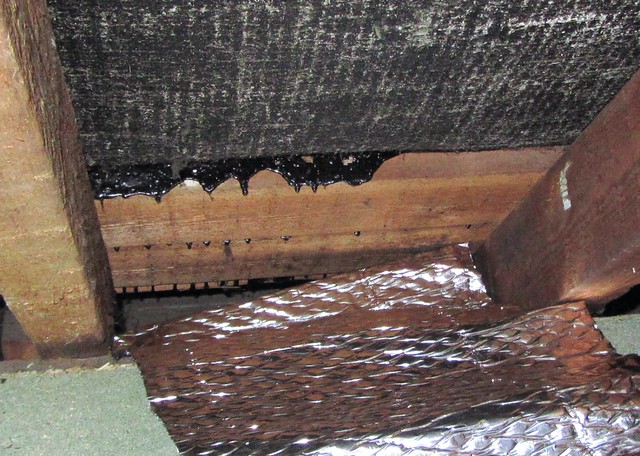
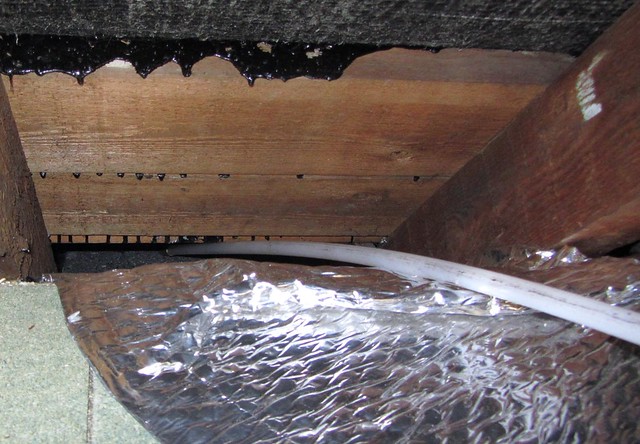
After a bit of work, it was lying down in the gap between the joists, though not lying completely flat:
The next step was to feed in a 25mm polystyrene board on top of this. Polystyrene isn't as good an insulator as some of the fancier insulation boards (eco-therm, cellotex), but the important thing for me was that it's flexible:

I used one of my chimney sweeping rods to put some weight on it while pushing it to the end of the roof:
Once I had enough board in, it was all lying pretty flat:

I came up with some improvements during the process, such as taping the end of the foil layer to make a ridge for the polystyrene board to push against:
For the sections that had easier access, I actually taped the first board onto the foil layer:
This also made it easier to pull it all back a tiny bit to ensure an air gap at the far end.
Before buying materials to do the whole roof, I did a couple of sections and then tested the results. I don't have access to a fancy thermal imaging camera, but a friend lent me this very handy Thermal Leak Detector, made by Black & Decker. Basically, you point it at a spot and it gives you a temperature readout. You can also set it to a reference temperature, for which it projects a green light at the spot it is measuring, and then the light changes to red or blue to show if the temperature has gone up or down. Anyway, here's the readouts with the room temperature at about 19C and the outdoors at about 2C, first with insulation and then without:
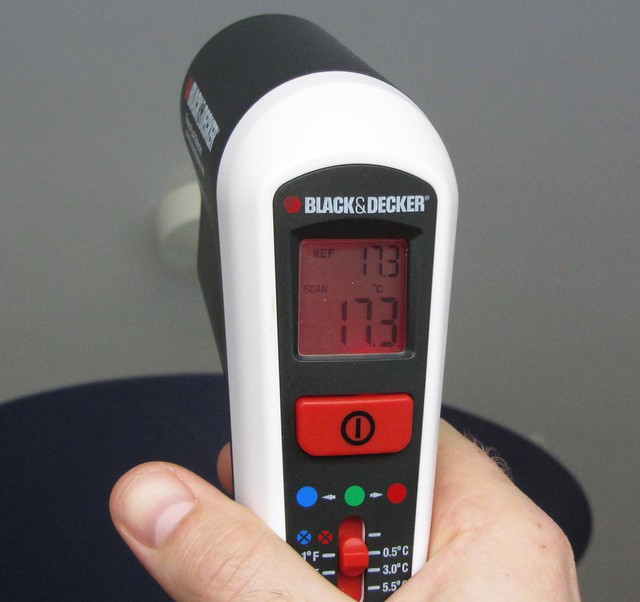
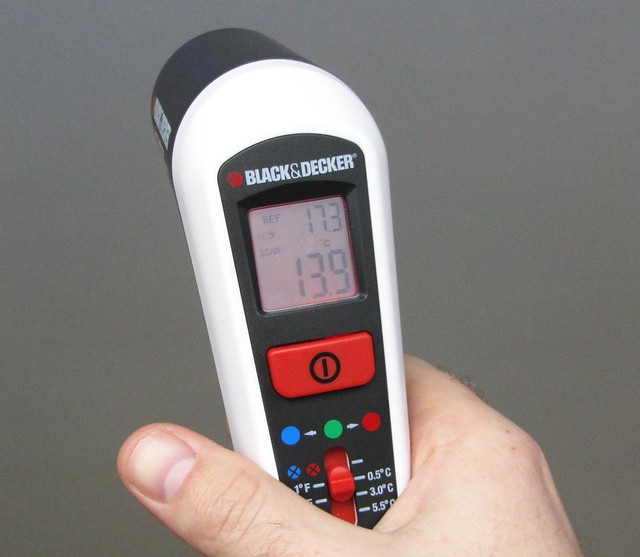
Quite a difference! So I quickly went on and insulated the rest of the flat roof, and the temperature was a couple of centigrade higher than normal the next morning, with similar weather and the same use of our woodburner.
If you want to see a bit more about the Thermal Leak Detector, here's a short video of it in action:
Mike
Related posts:
- Insulating the cavity walls
- Insulating the loft
- Insulating the dormer roof
- Sweeping the chimney
- Installing the wood stove
- Plumbing and testing the wood stove
- Installing solar water heating
- Installing off-grid solar PV (part 1)
- Installing off-grid solar PV (part 2)
- Off-grid solar PV upgrade to 750W
- Off-grid solar PV upgrade to 1250W

10 comments:
Ingenious! Our solution to similar problem was to insulate on top or the flat roof - OK till the roof springs a leek!! Like the bit telling me about the thermal leak detector which I didn't know about.
Chris (ecodiy.org)
Insulating on top of the roof is an accepted way of doing this - but in our case, this would still have left an icy gale blowing between the roof deck and the plasterboard...
Hi,
I hope you don't mind me messaging. I came across this blog post when scouring the internet around retrofitting insulating insulation on flat roofs - it looks the position of the flat roof and having access to the cavity through the loof is a very similar situation to yours.
Can I ask - did you find that the room with the flat roof, before the insulation, also became very hot during the summer as well? The room in question at our house is our son's room and it gets up to 23 degrees inside even though outside it's 18-19? It is a south-facing room and we haven't had a full check of the insulation situation (in the walls) but there is a small layer of glass fibre insulation.
Given the current crisis, we are thinking we may want to retrofit the flat roof ourselves to try and have a short-term solution until we are comfortable with a professional coming in.
Any advice you can give would be greatly appreciated (even 8 years on!)
Kane
Hi Kane. The room did indeed get hot, and it was the sloping ceiling bit that was worst. The insulation has improved the situation. The important thing is to maintain an air gap above the insulation for ventilation.
Cheers, Mike
Hi Mike,
Just wanted to say thank you for documenting your processes in doing all this! I insulated our dormer roof in a similar way to this a year or two ago using your guide as inspiration and in winter it was enough to change it from feeling distinctly cold upstairs to being sufficiently pleasant!
I believe my thermal gun recorded at least a 3 degrees improvement, although I can't quite remember now, it may have been more! I'm postive that it keeps the house cooler in summer too, which would make sense.
I now plan to cut through into the eaves and do something with the sloping ceilings to improve things further as I'm sure there is no insulation there in our 60s dormer bungalow!
Many thanks,
Andrew
Thanks Andrew, pleased to hear it made a difference! Cheers, Mike
Thank you so much for this!
Please would be able to tell me if you came across any electrical wiring when doing this and how you dealt with it in terms of the insulation? For example, any wiring down into the bedrooms for lighting etc.
I went up into the loft last night and discovered we have exactly the same situation as yours. Our bedrooms are getting colder now and this will be our first winter here. During the heatwave, all the dormer bedrooms were insanely hot, even the ceiling was hot to touch… Now I know why. Hopefully insulating in this way this will help.
Thank you so much for this! I discovered that we have exactly the same situation.
Did you come across any electrical wiring and how did you handle it in terms of installing the insulation? For example, any wiring down into lighting in the room below.
Hmm, there must have been some, but I didn't do anything differently, the insulation panels must have gone over it. Not ideal, but at some point I intend to have the roof completely redone with insulation, when it's due for replacement.
Hmm, there must have been some, but I didn't do anything differently, the insulation panels must have gone over it. Not ideal, but at some point I intend to have the roof completely redone with insulation, when it's due for replacement.
Post a Comment