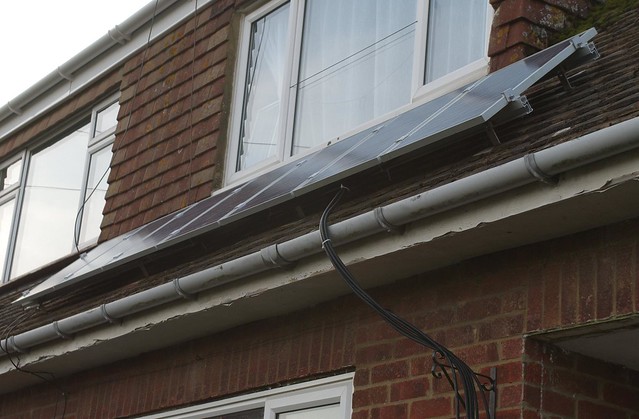
Yesterday we installed our solar PV panels on the roof!
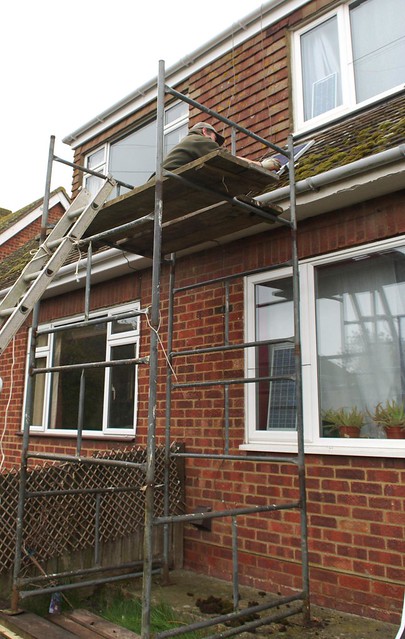
But let's start at the beginning... Our friend Rich came to help us do the work, as he's had past experience doing roofing work. We did a work swap, I helped him in his wood back in January, in return for his help yesterday. He also brought a lot of useful kit with him, like this scaffold tower:
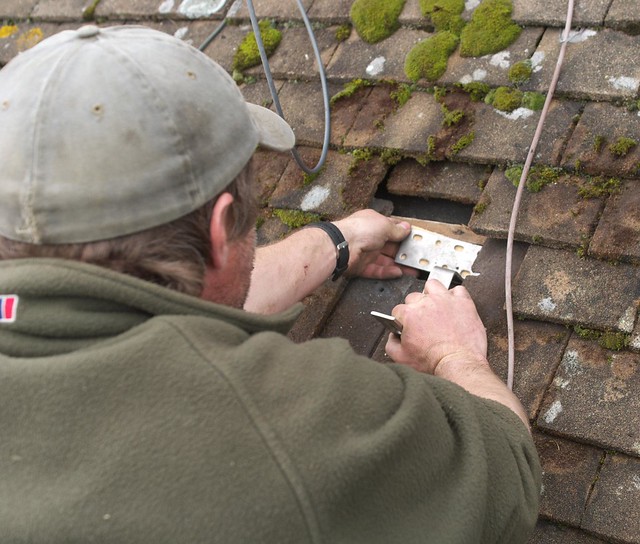
The process started by removing some tiles to find where the rafters were under the batons, as the brackets needed to screw onto these for strength.
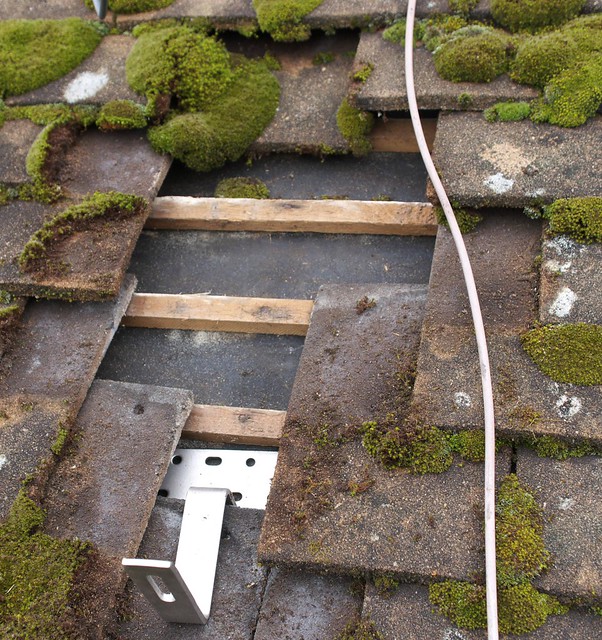
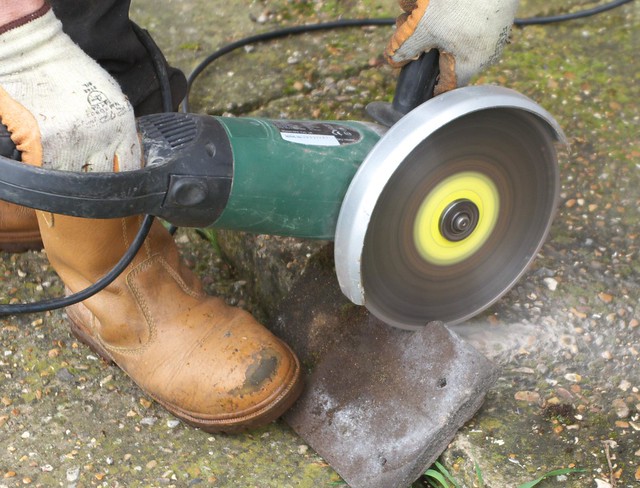
Having located these, we decided to grind a slot in the tiles so that they'd fit neatly round the brackets:
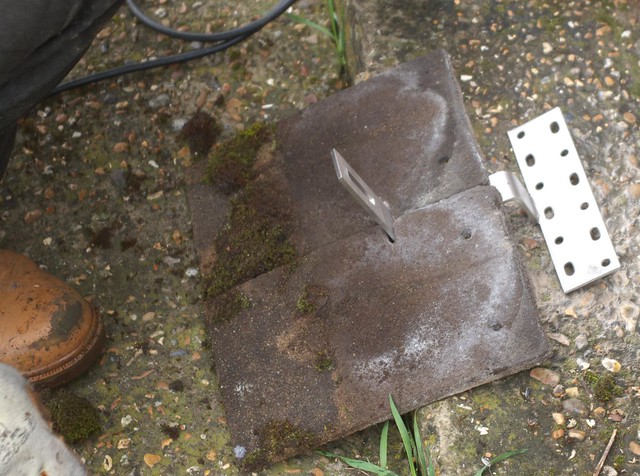
Then the brackets could be screwed down (with a small wooden spacer underneath to help them fit better):
and the tiles slotted back in:
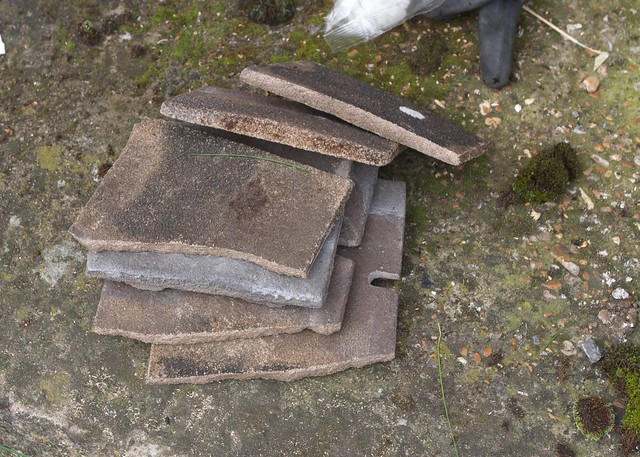
Of course, it wasn't all that simple, as soon as you put any weight on the bracket it put pressure onto the tiles at a single point, and some broke...
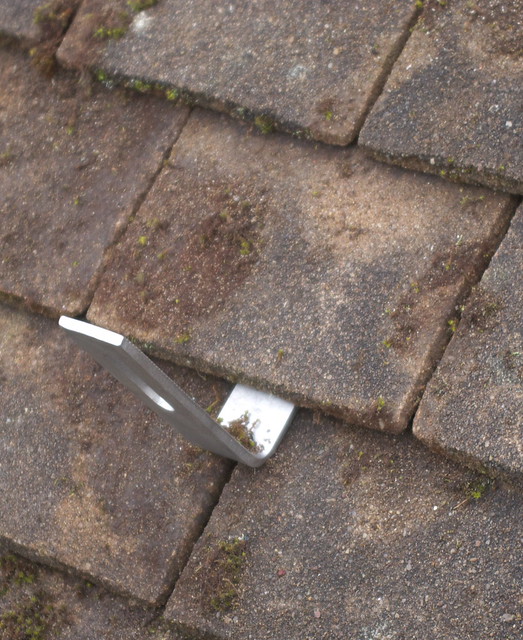
To resolve this we used more spacers underneath, bent the brackets slightly and also used the grinder to thin the tile a bit at that point, giving more clearance for the bracket:
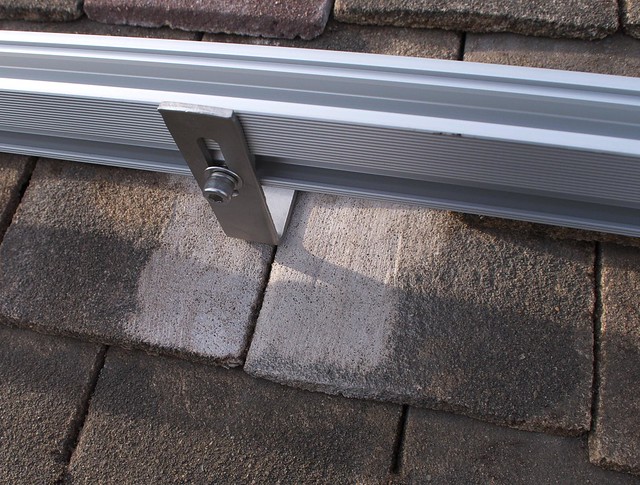
Here's the detail of how the rails fix onto the brackets:

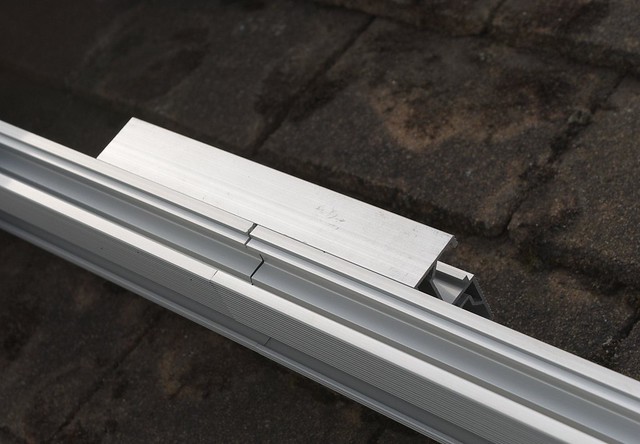
And here's an interlocking piece of aluminium to join two rails together (we had two 2m rails). There's a couple of allen key bolts to lock it in place.
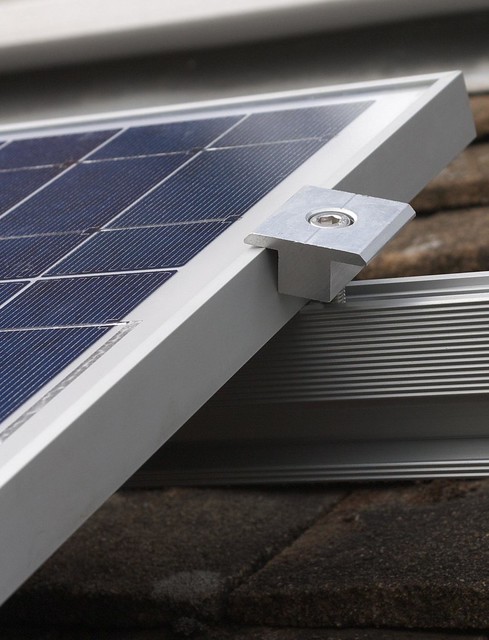
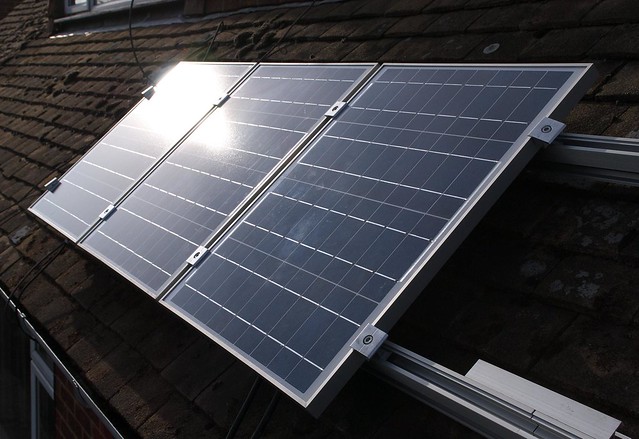
Then it was time to clamp down the panels. Here's a clamp with one panel in, and space for the next:
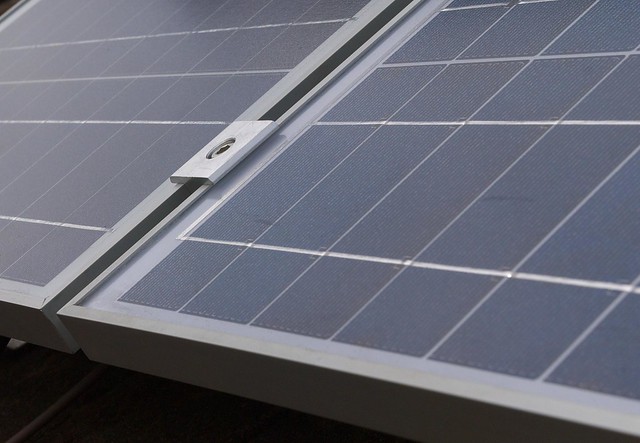
and here's one with both panels in and tightened up:
The first three panels in place:
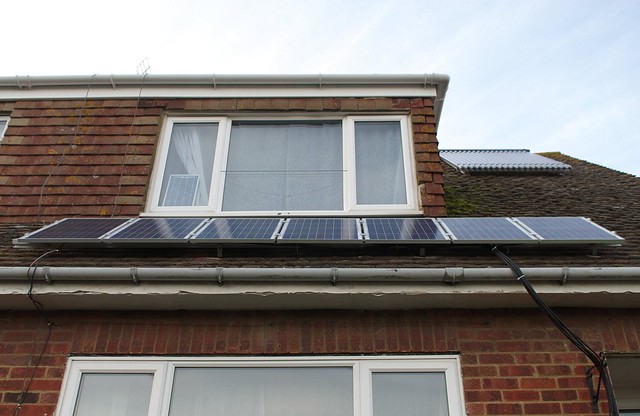
And here's the finished set, with the solar thermal tubes higher up the roof:
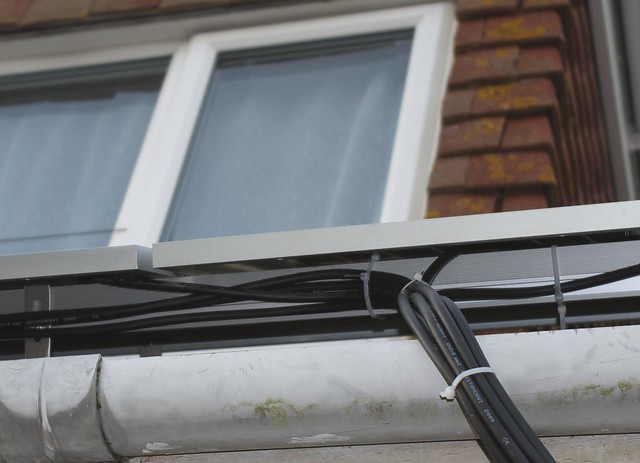
The wires from the panels are zip-tied in place under the panels:
Then they all come down in a bundle to connect into a junction box:
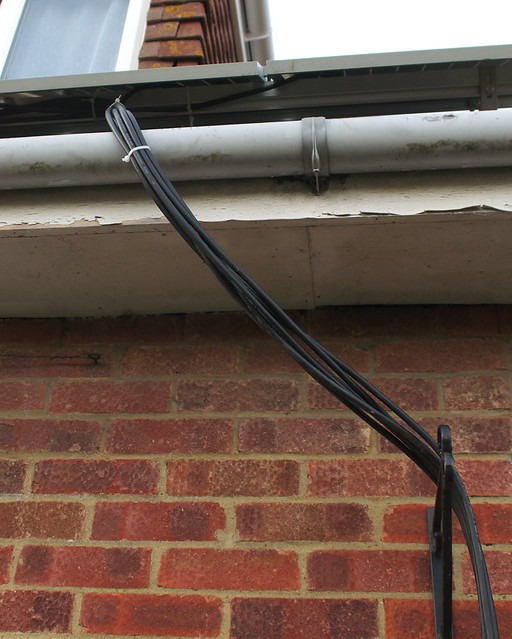
That'll come in Part 2 though, where I'll explain the wiring system.
Mike
Related posts:
- Insulating the cavity walls
- Insulating the loft
- Flat roof insulation
- Insulating the dormer roof
- Sweeping the chimney
- Installing the wood stove
- Plumbing and testing the wood stove
- Installing solar water heating
- Installing off-grid solar PV (part 2)
- Off-grid solar PV upgrade to 750W
- Off-grid solar PV upgrade to 1250W

6 comments:
Thanks for this Mike, I will link to it from our website if I may?
Certainly Chris, go ahead! :-)
Thanks Mike,
We are introducing your valuable and knowledge giving Blog to our readers.
Paderbornersj
sjpaderborn.wordpress com
Great, hope your readers like it.
Mike
Hello nice work, but the bracket you used was for a profile tiled roof, the one you should have used is a peg tile bracket. its a longer single line 2 part L shaped hook,the second part is an l shaped ally bracket bolted onto the first and the rail sits on that. fits better and you would have had no brakes.
Yeah, the brackets did not fit too well. But I'd talked to the supplier on the phone, described the roof and this was what they sent me, so I just had to get on with it. Fortunately we were able to bend the brackets a bit and cut the tiles so they worked, as we had no other option on the day.
I guess this is the trouble with doing it yourself - you learn some lessons, but as you're only doing it once you don't get to put your learning into practice...
Post a Comment