Last week we went up to the woods on a beautiful sunny day for dinner. The oaks are all out in leaf now and it looks fantastic!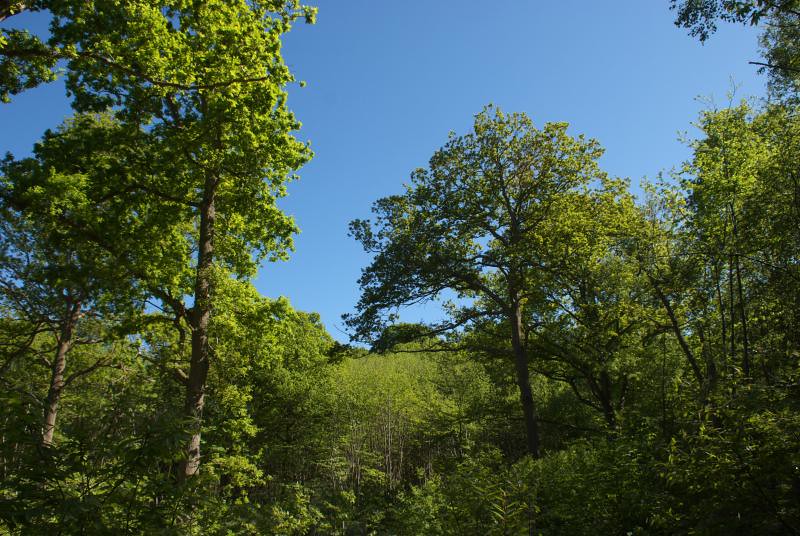
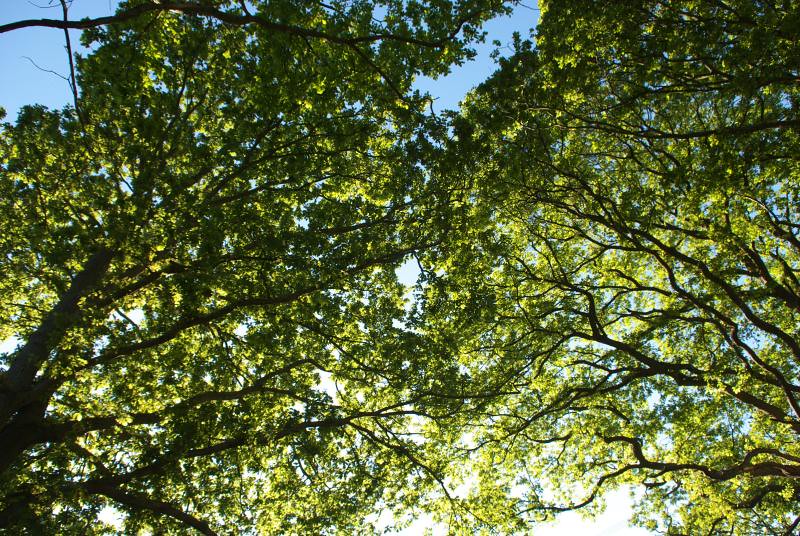
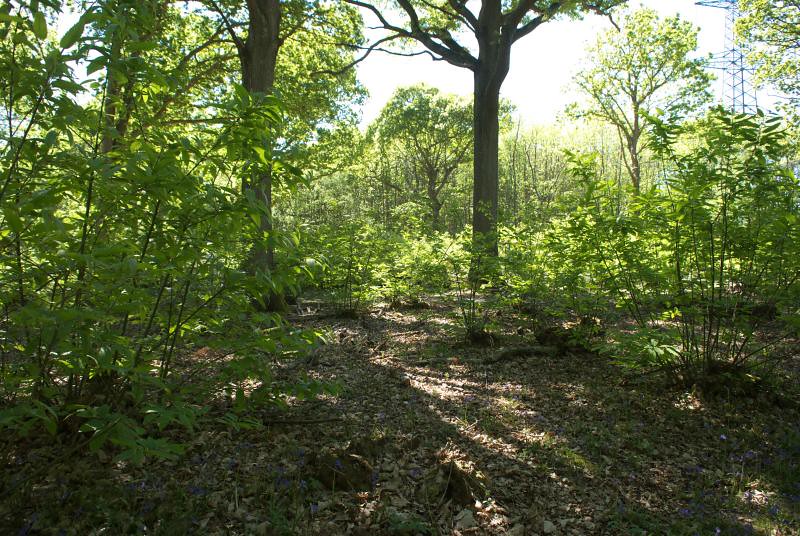 In between them there's patches of sunlight reaching the ground, and I used one of them to test out running our woodgas stove directly from a solar panel, with no batteries involved:
 The setup used a 10Wp solar panel:
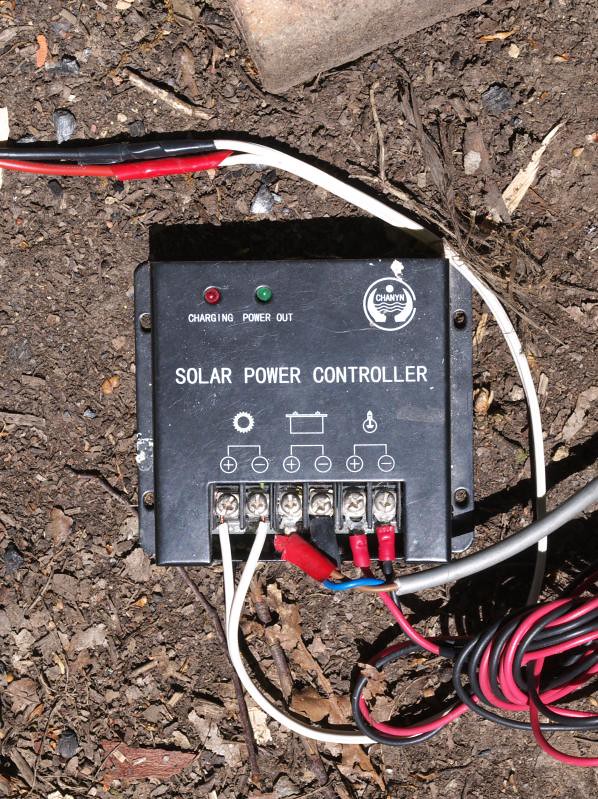
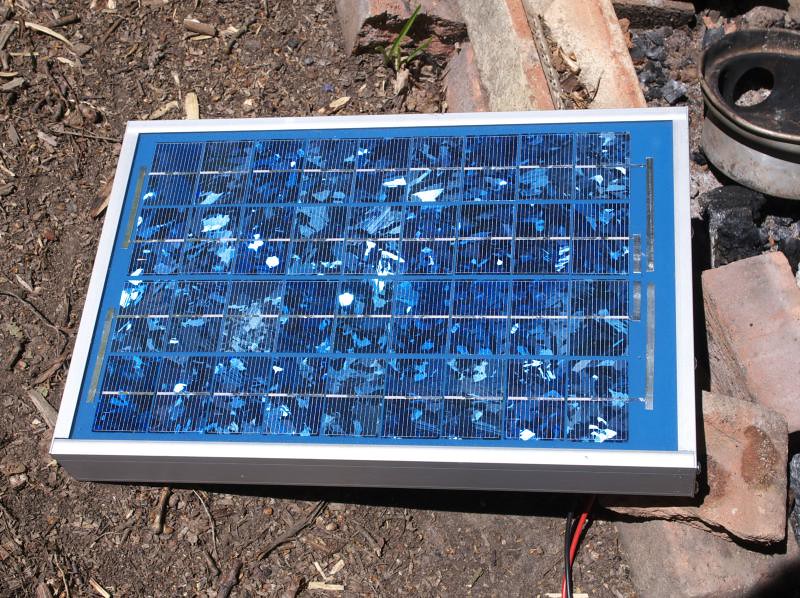 A very basic charge controller (shunt mode rather than PWM, for those who are technical). This is normally used with a battery, but I left that out in this case:
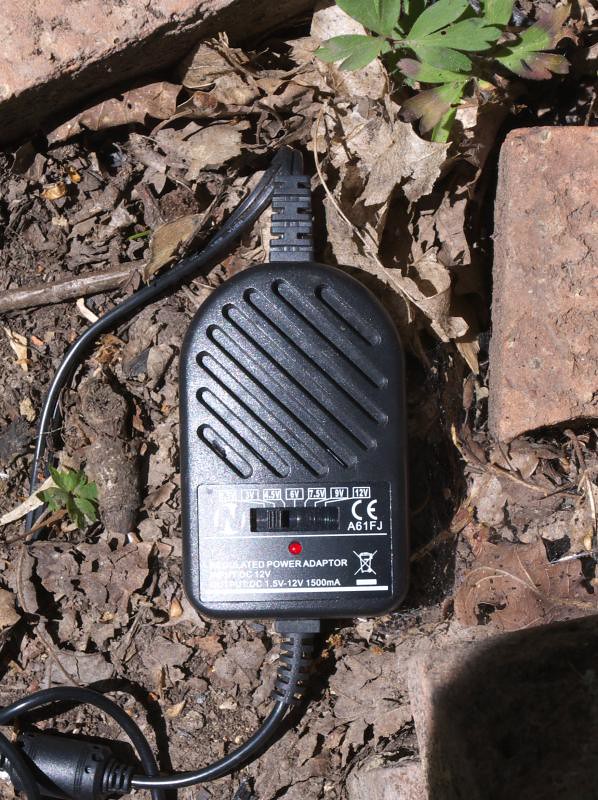
 A voltage regulator to give 3V for the stove:
 And then the woodgas stove, which ran nicely:
 Of course, all the trees in our wood are solar powered too ;-) We went for a walk to look at them, and found that the ride sides we coppiced 18 months ago are springing to life even more: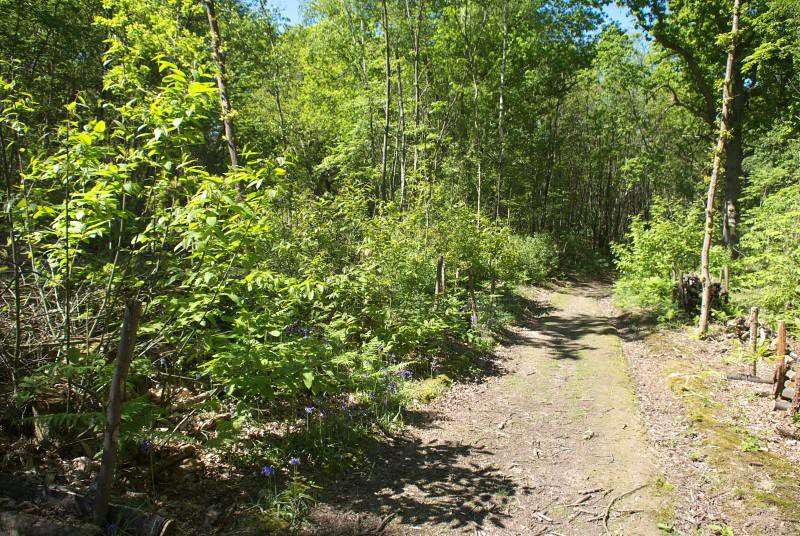
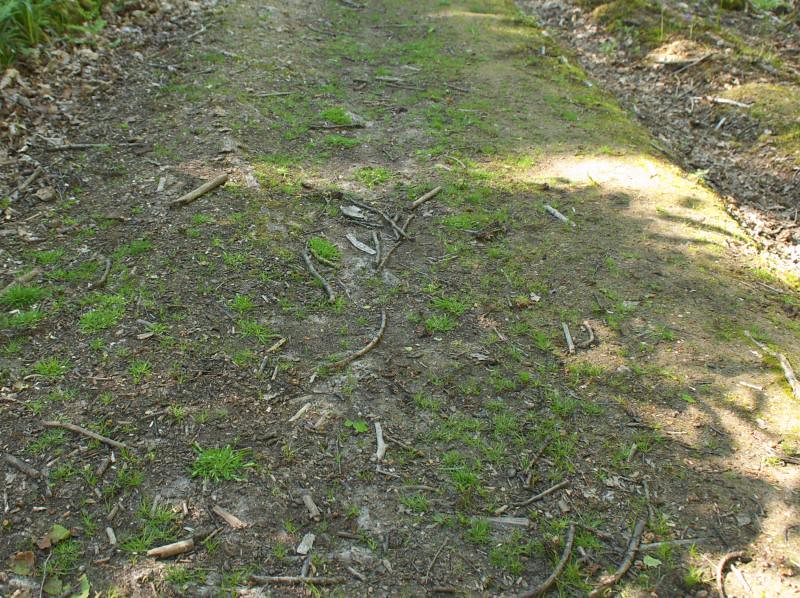
 There's even grass starting to grow in the rides, now that there's some more light there:
 Deeper into the wood there are still bluebells around, as they made such a late start this year. Here's a few photos of them...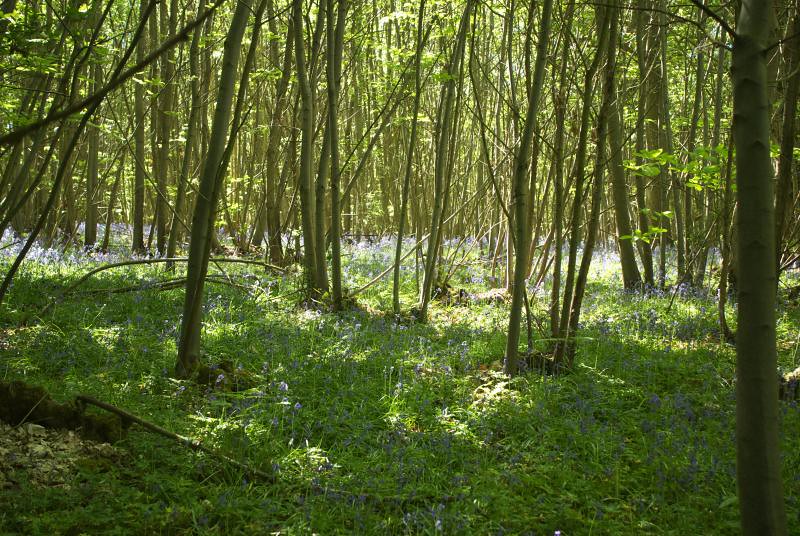

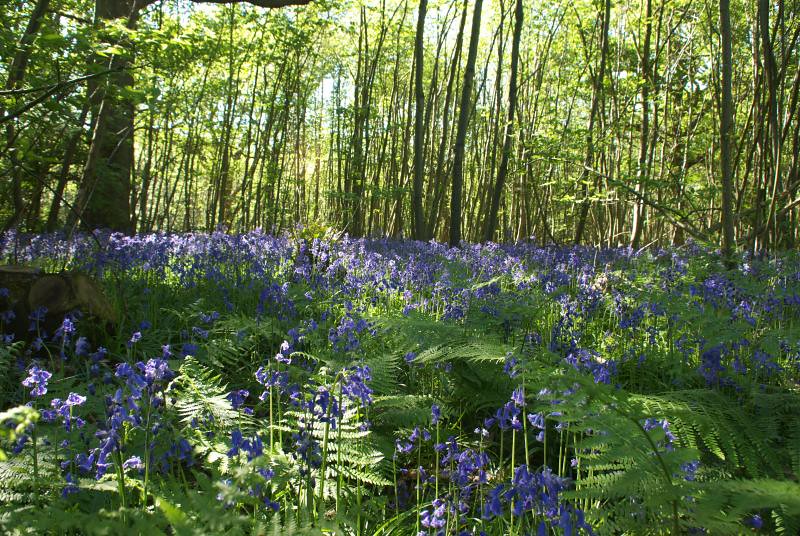
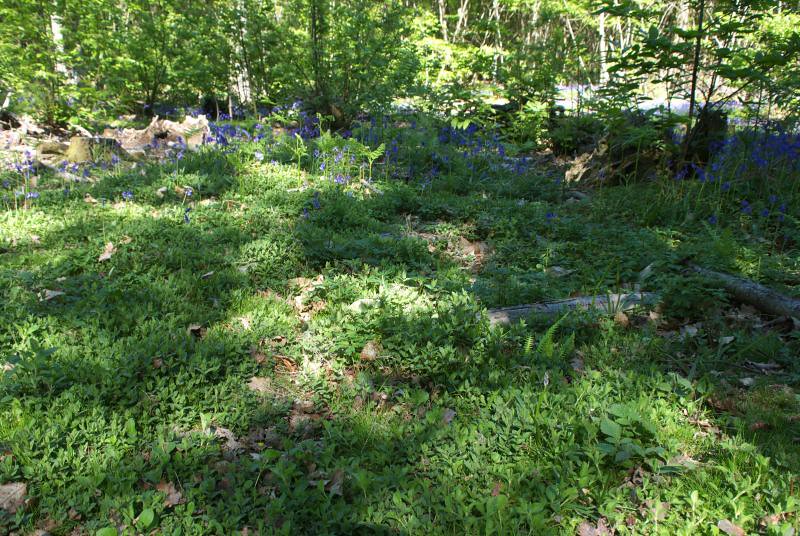
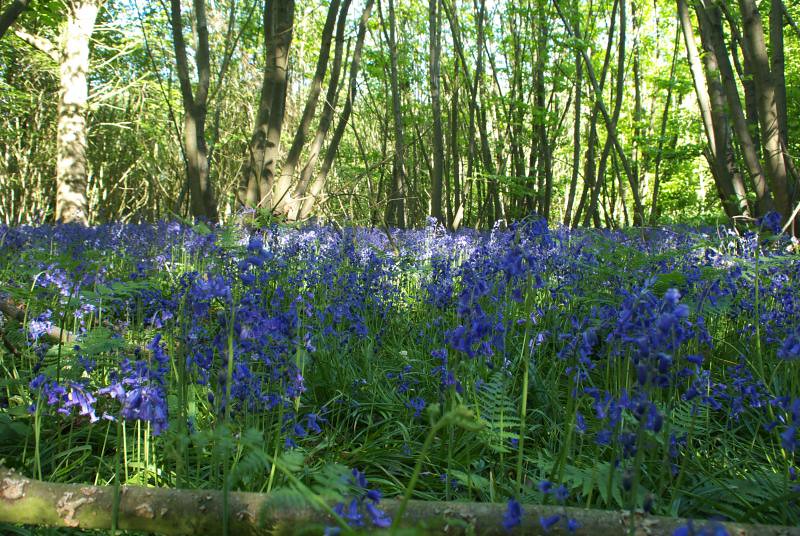 It's a similar story back near our camp, though this has the benefit of being the third summer after coppicing, and oak thinning too in this case. The ground is positively green now, with new plants and more bluebells that last year: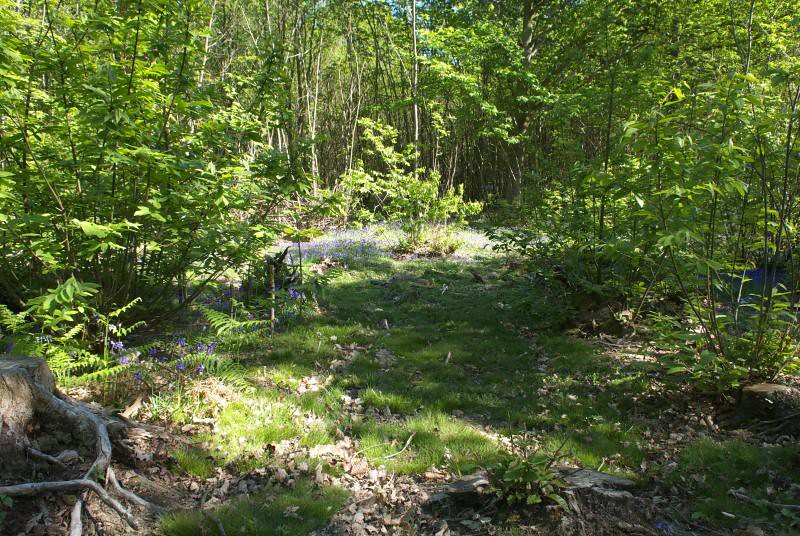
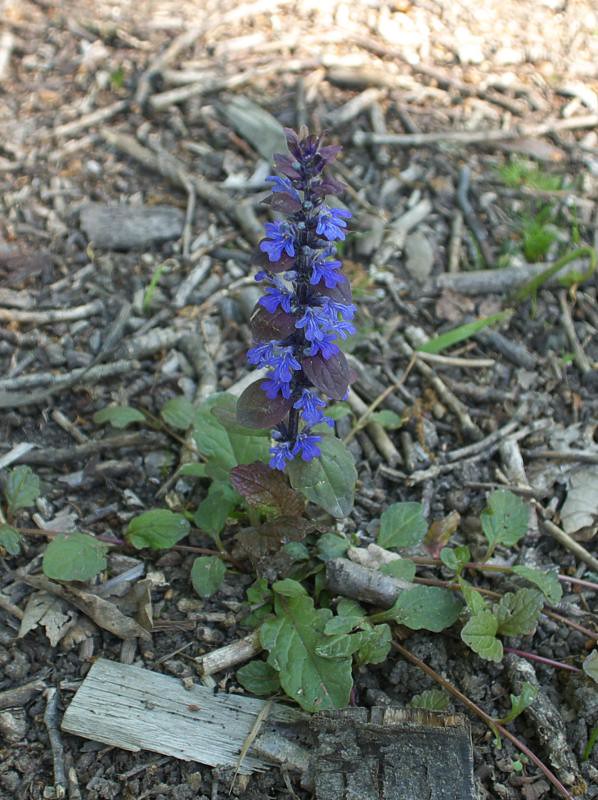
 Nice to see the Blue Bugle arriving, probably having travelled in from the wayleave:
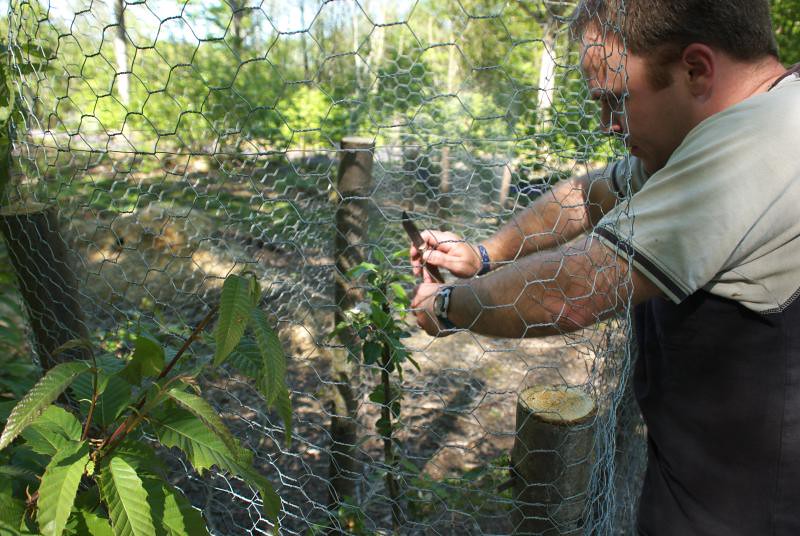
 Of course, the fruit trees needed tending to, though they're awkward to get at because of the fences we made to keep the deer off them while they're young:
 I needed to get in there to remove blossoms, so the tree can focus on twigs and leaves instead of fruit this year...
 There's more photos to come from the bank holiday weekend in a day or two...
Mike
Sunday, 30 May 2010
The solar-powered woodland


Monday, 11 January 2010
Woodgas Outdoor Fireplace review
Some time ago I posted a review of the Woodgas Campstove we use for cooking in the wood. Well, now I've got another video - this time of its big brother, the Woodgas Outdoor Fireplace: The fireplace works on exactly the same principle as the campstove, with a fan drawing air in through the holes round the outside of the base, and injecting a small amount through holes in the base of the combustion chamber:
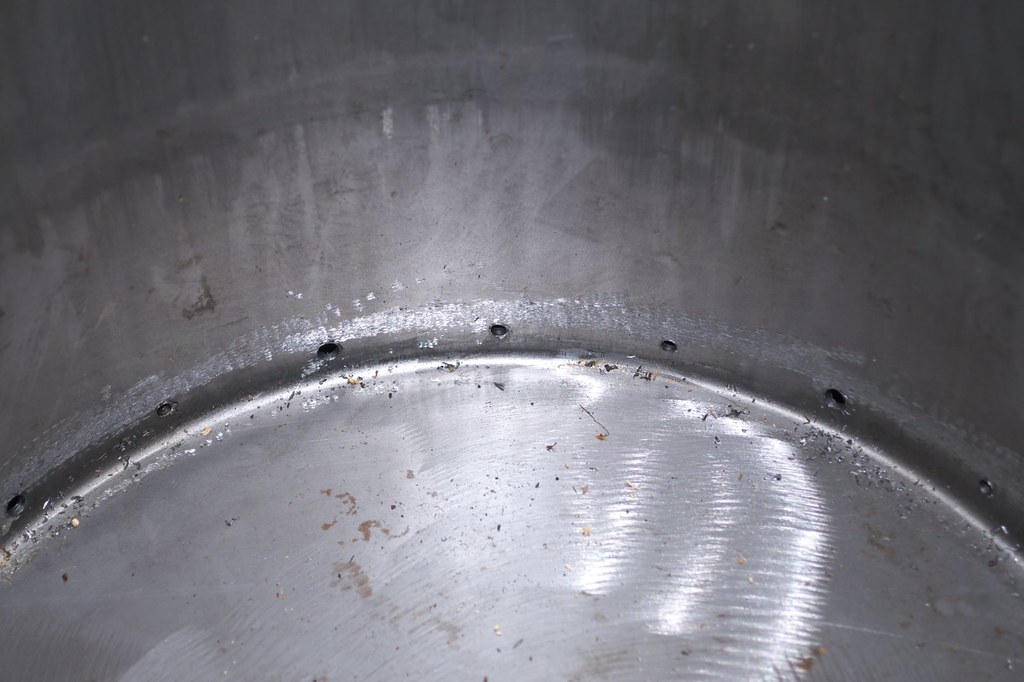 The limited amount of air, combined with the heat of the fire, results in the wood being gasified, to produce a mixture of carbon monoxide, methane and hydrogen (known as woodgas), which is then ignited when it reaches the much larger airflow coming in through the holes in the top (don't worry, all the CO is burned, no risk from the woodgas):
 There are a few small differences between the fireplace and the campstove. The campstove had two power sockets - high and low - and ran from a pair of AA batteries. The fireplace can take a 9-12V supply, so can run directly from a lead-acid battery, or eight smaller batteries in a pack. However, it is supplied with a mains adaptor, as many people will be using it in the garden, hopefully to replace one of the nasty fossil-fuel burning patio heaters! The fan in the stove only uses 2W of power, while the heat from the stove can reach 16kW! The fireplace also has a knob to vary the airflow, although you'll normally only use anything less than maximum while lighting it.
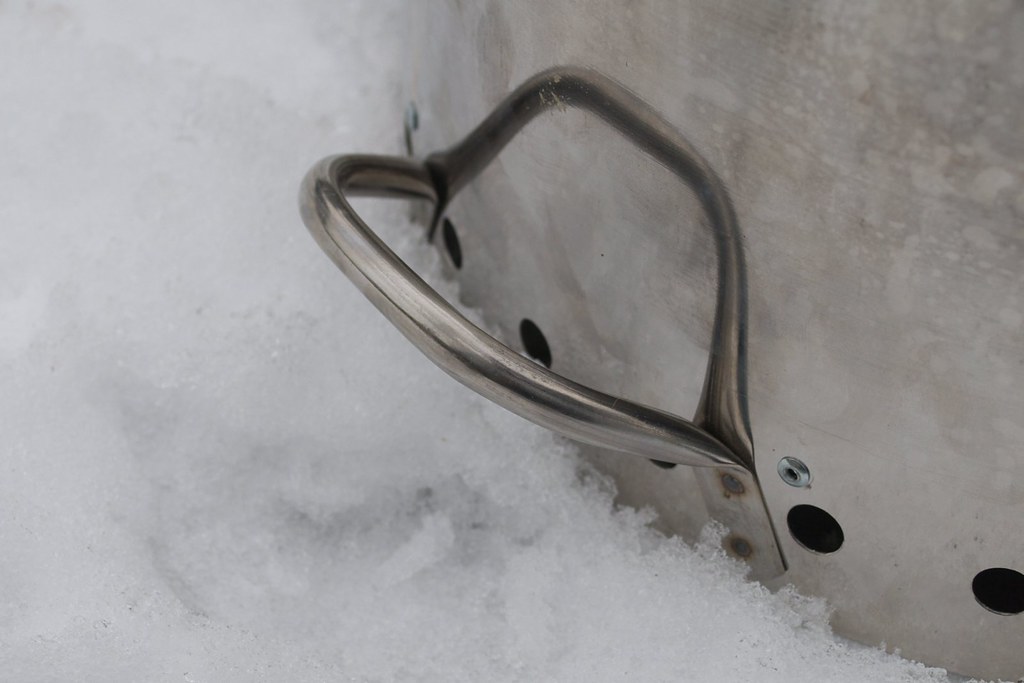
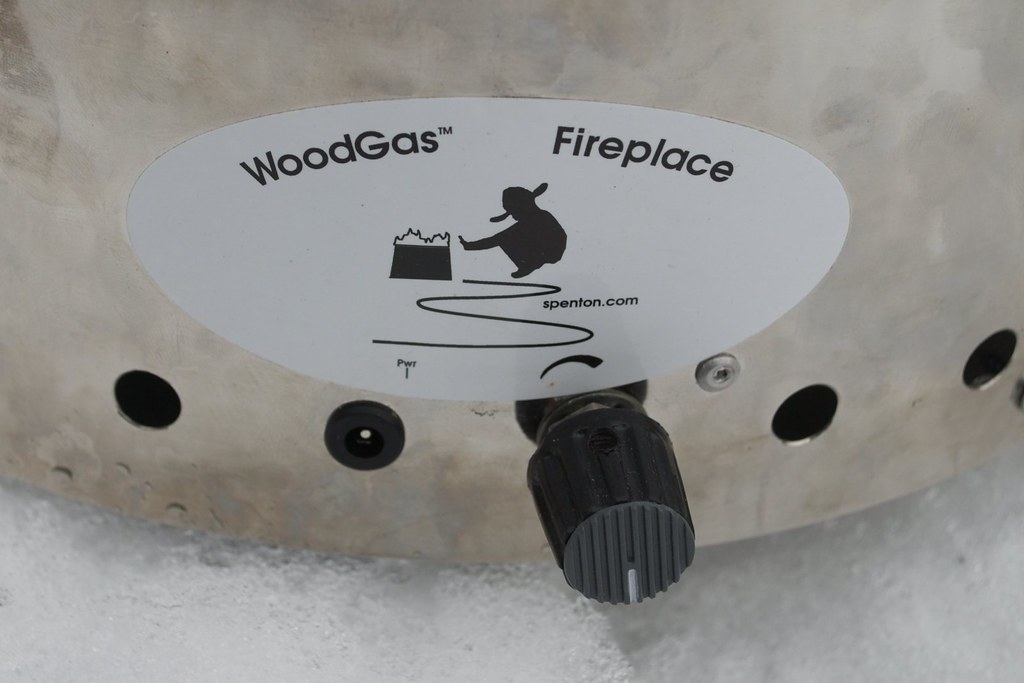 The fireplace also has handles added to the side. These stayed cool even after an hour of operation, allowing you to move the stove (carefully!) after you've unplugged it without waiting for it to cool down.
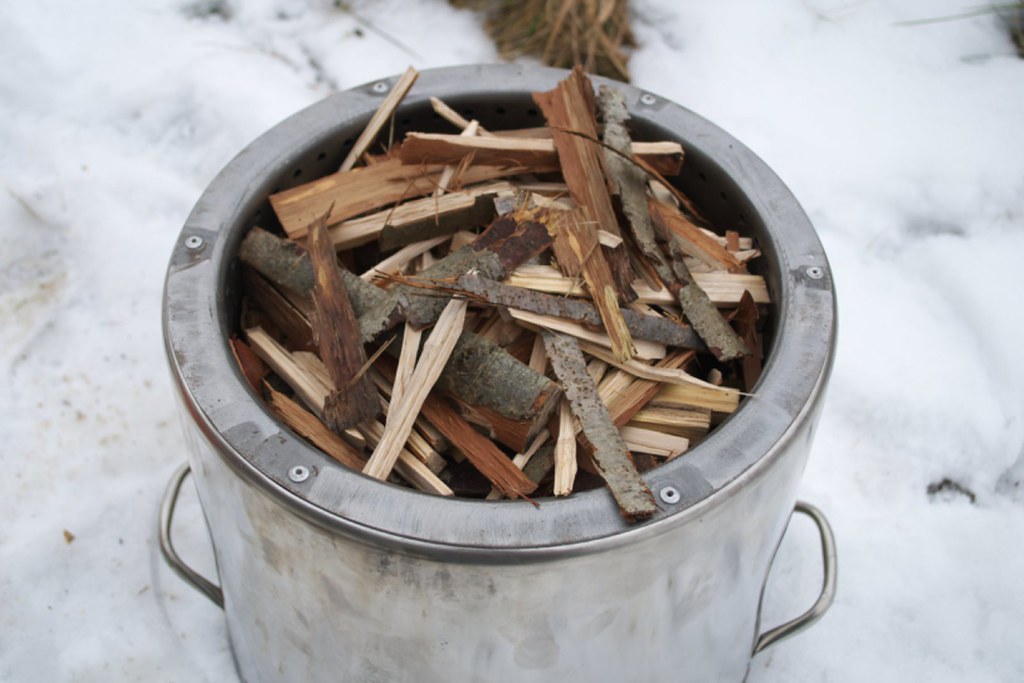
 Anyway, here it is full of fuel and ready to go. A full load of fuel should burn for an hour and a half, and you can top it up (gradually) while it is burning.
 Just before we get to the video, here's a few photos of it in action: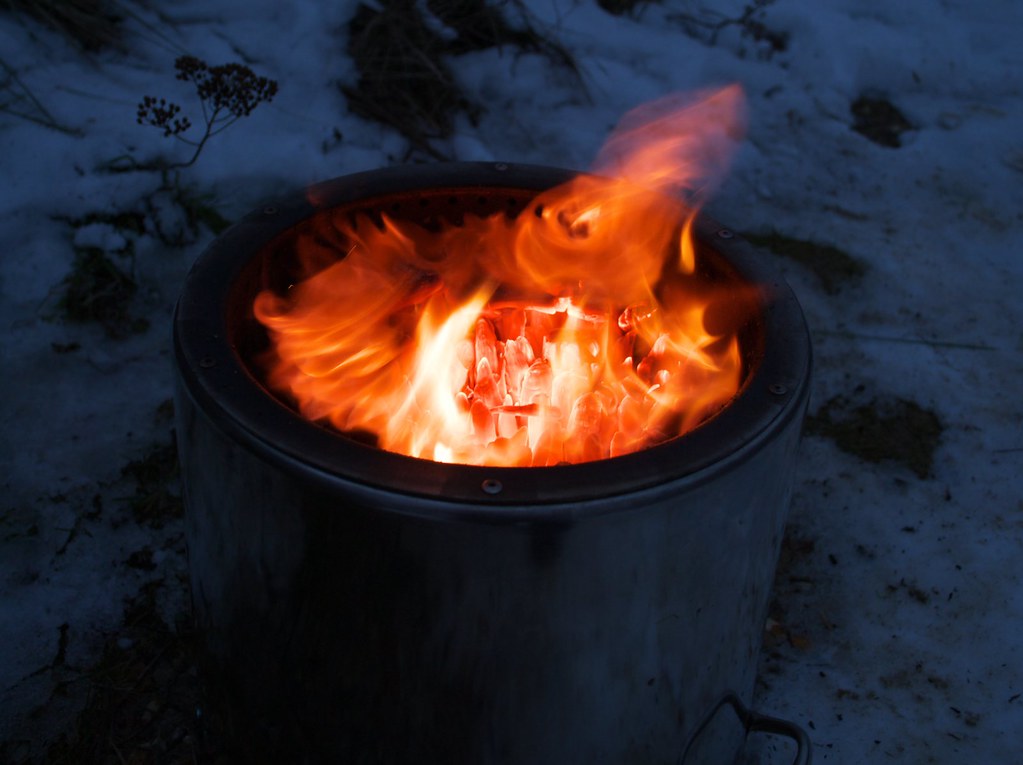
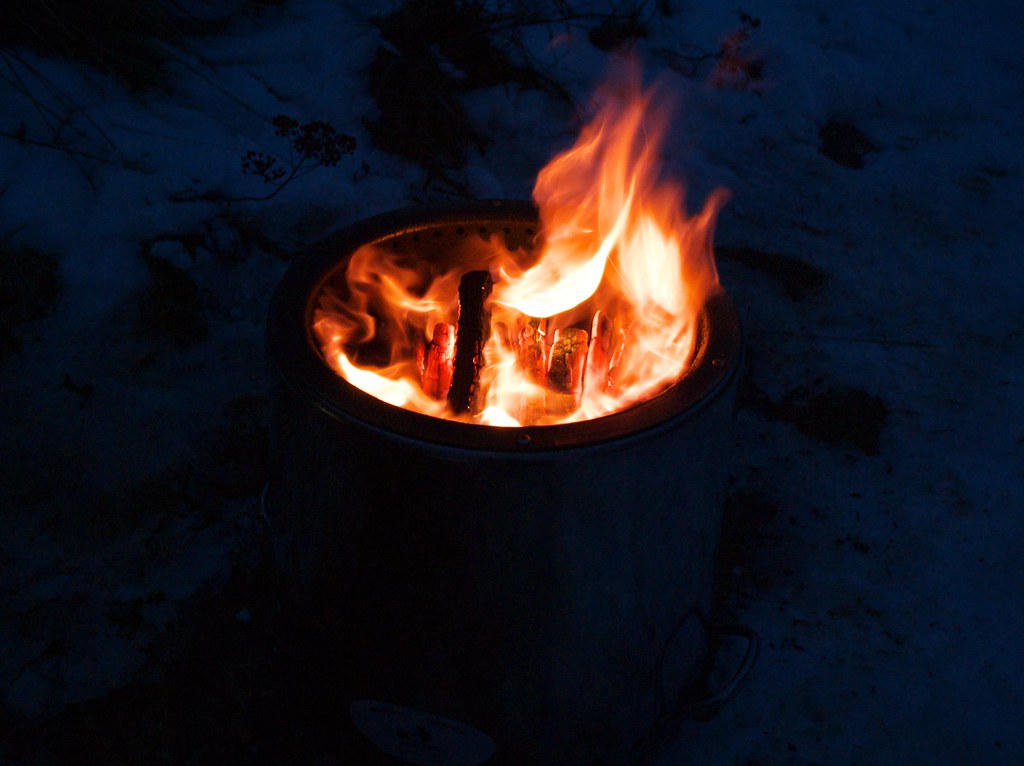
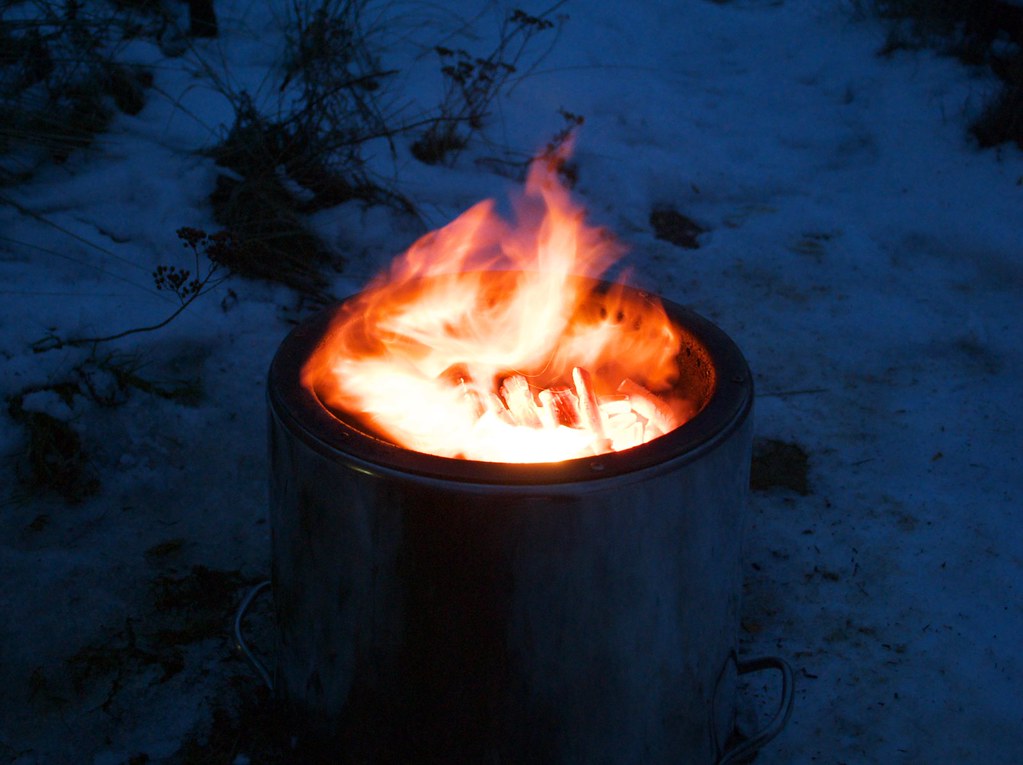 nice, eh? Well, without further ado, here's the video on how to use one:
If you want to buy one, go to woodgasstove.co.uk
Mike
Saturday, 3 October 2009
Last day with the Peplers
Wednesday was the last full day my parents and sister were here, and we spent it in the woods. The first job was to fill the trailer with a load of logs, and my Dad expertly reversed the land rover and trailer up the track through the woods.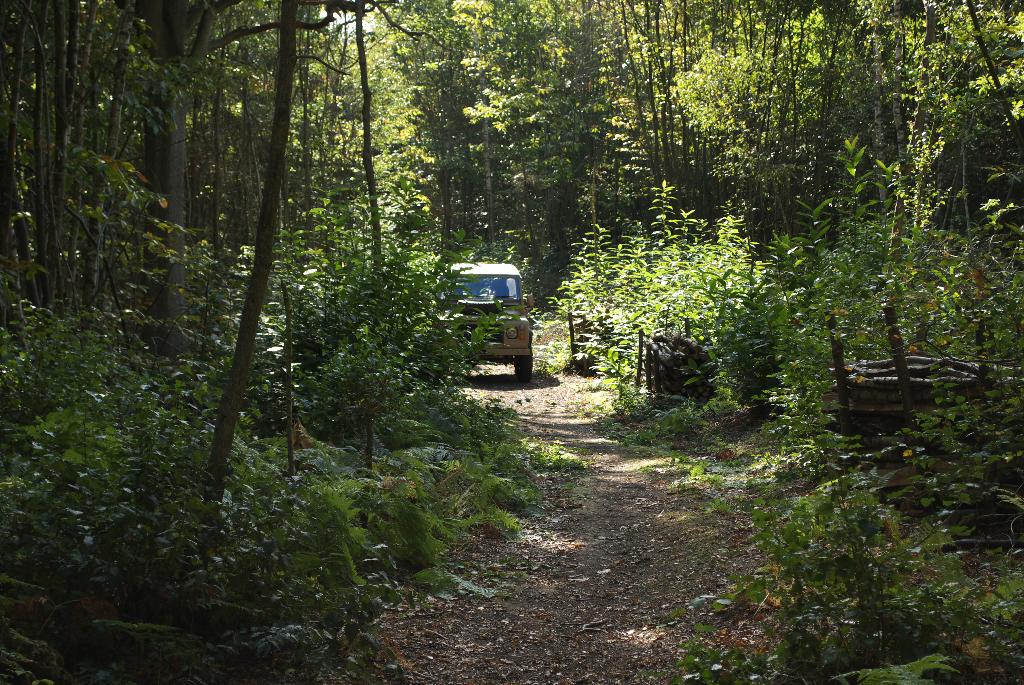
 We think next time we'll try coming in forwards though, and turning round somewhere, as that should be quicker.
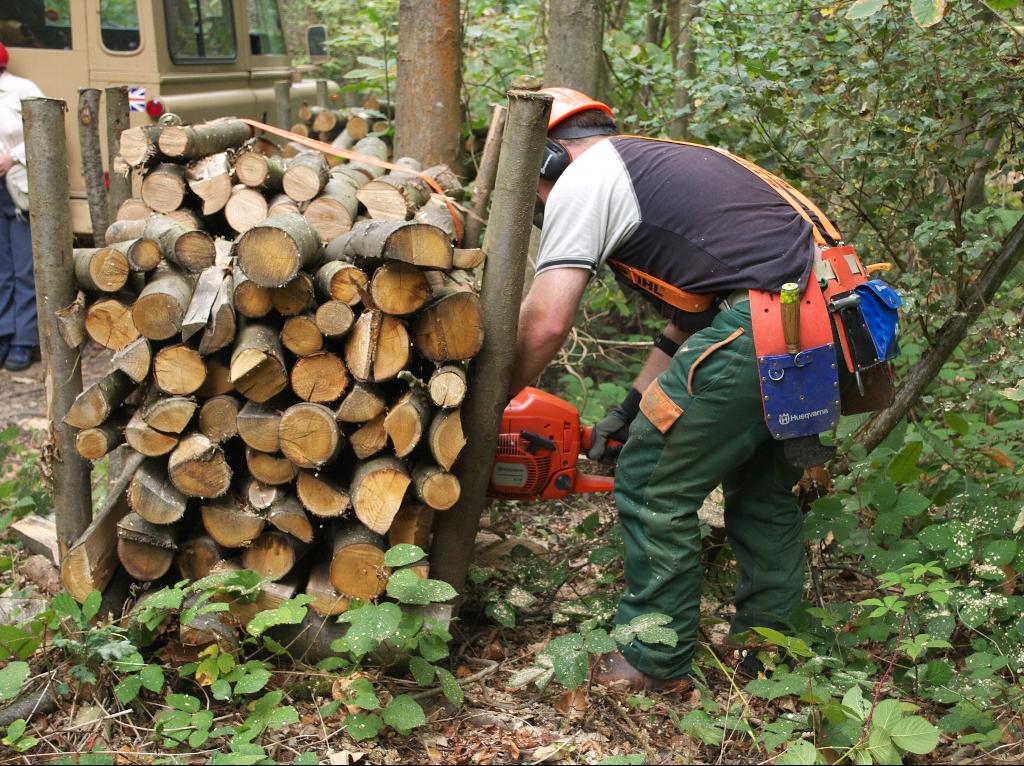
This is the first time we've cut up one of the racks of logs we built from last year's coppicing. We secured the logs with a ratchet strap as usual: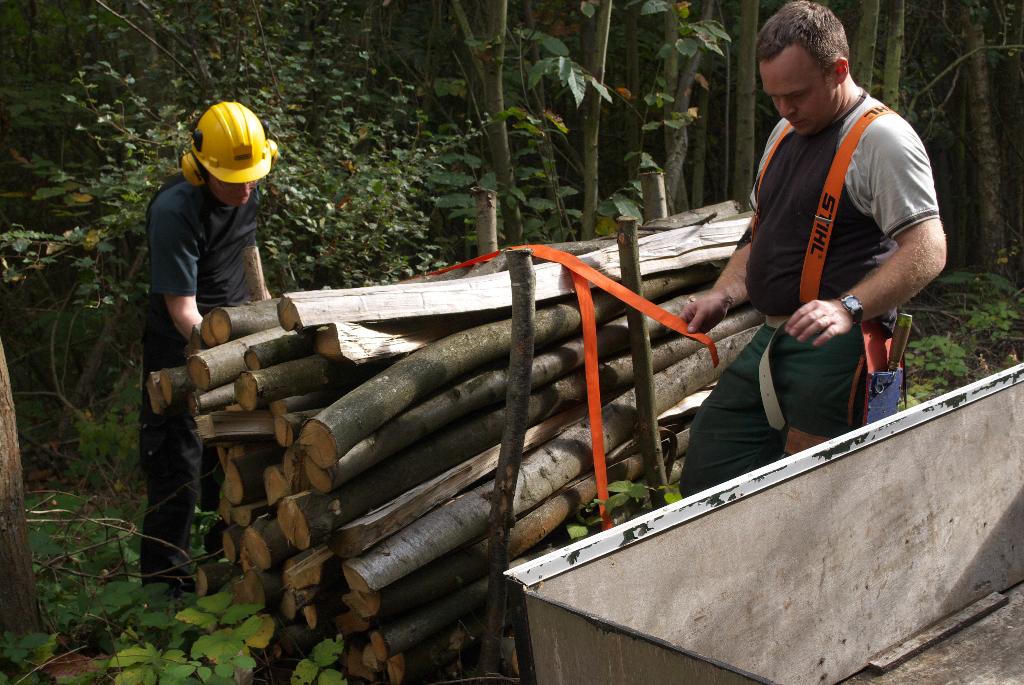 Then it was time for me to fit a 28" chainsaw bar, in place of the 15" bar I use for coppicing: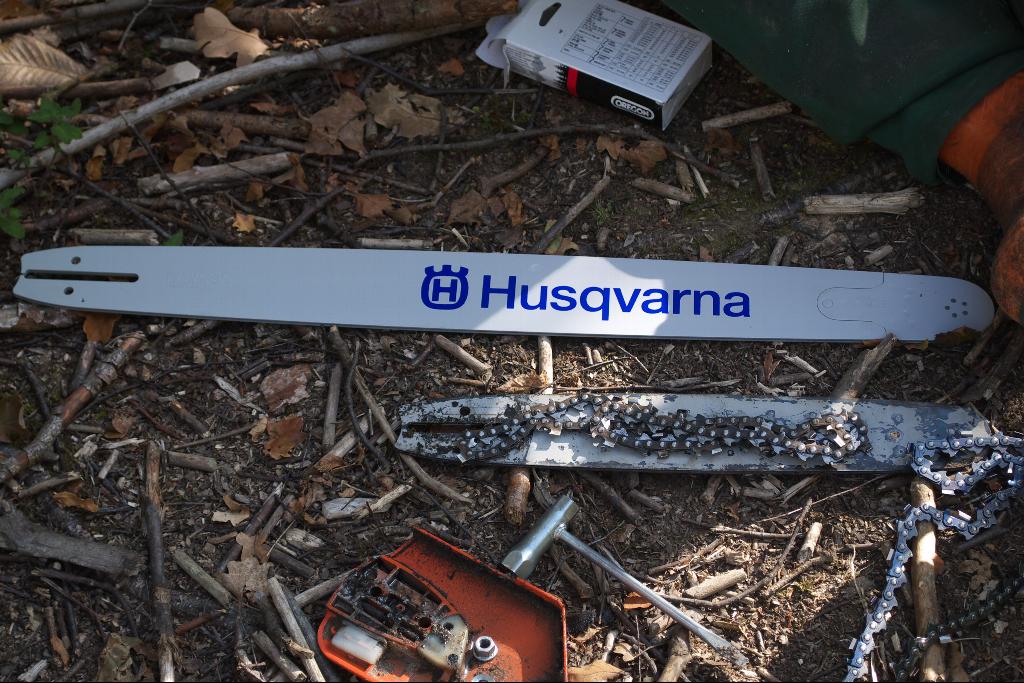
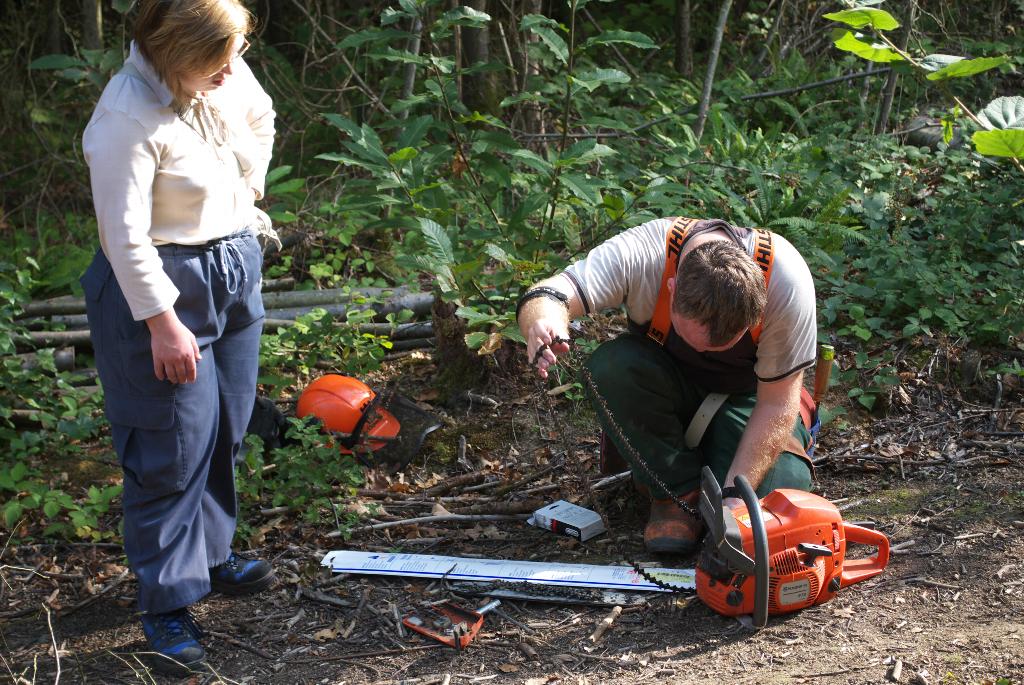 Now that's a proper chainsaw!
 Everyone got their ear protectors on...
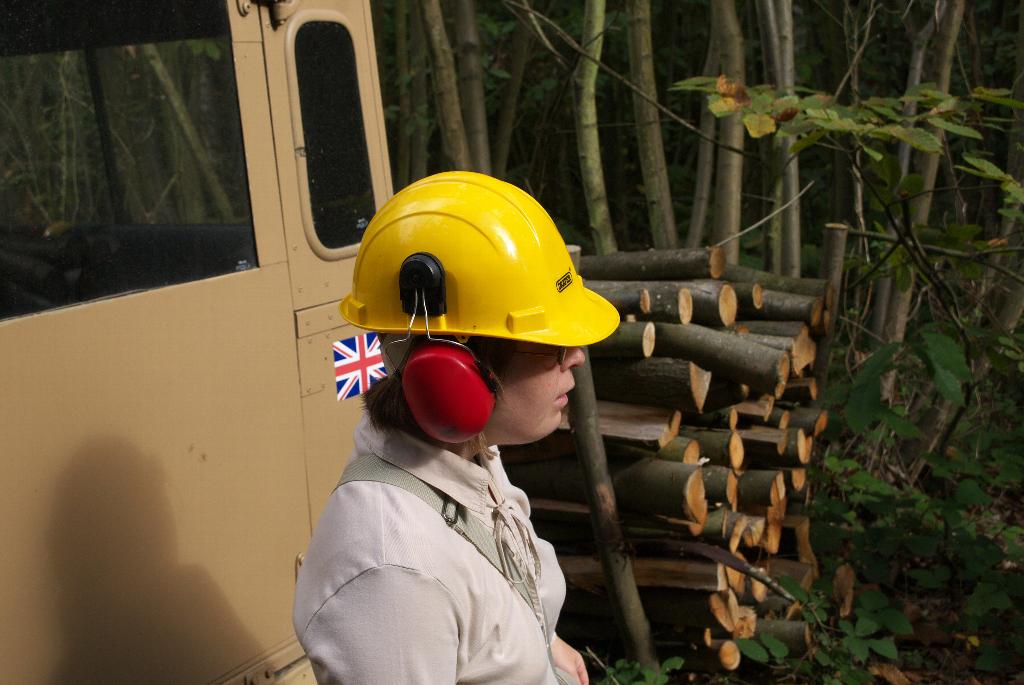 and then it was time to start cutting:
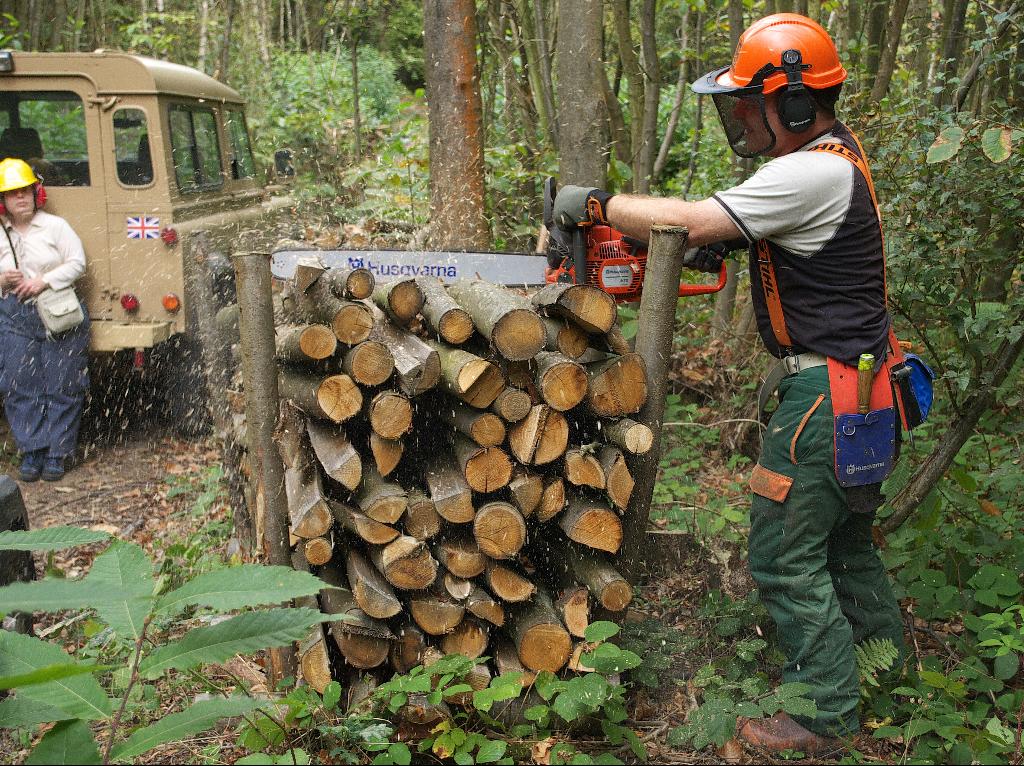 Unfortunately the posts on this rack had splayed out a little, so I had to work hard to get the saw to cut through the whole width - I've made an adjustment to the design of this year's racks as a result.
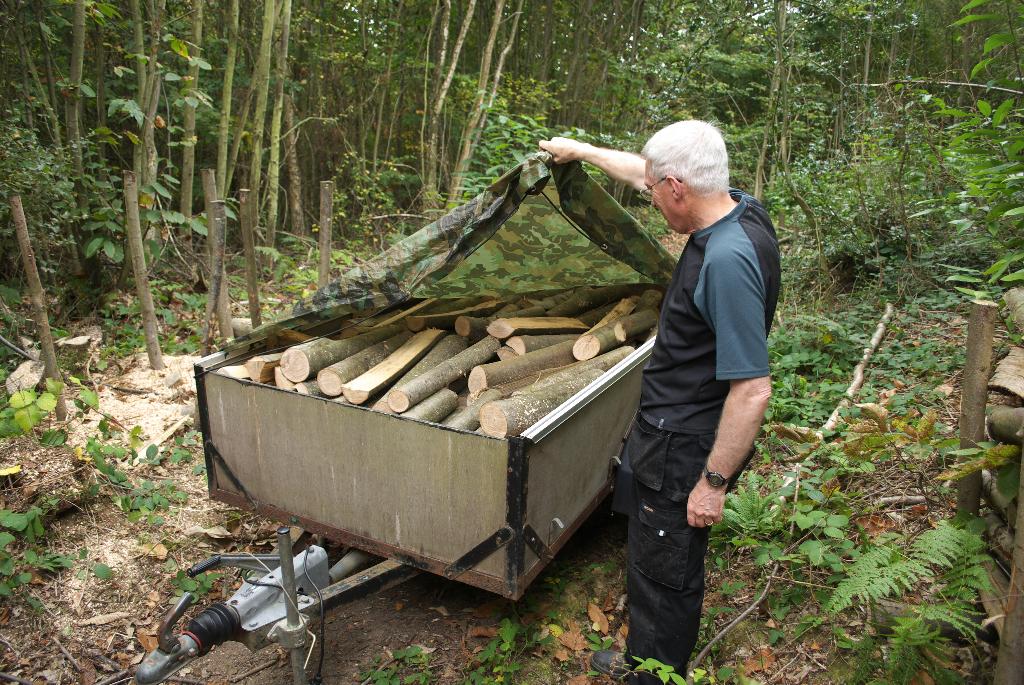
 Before long we had a trailer full of logs:
  Then it was back out of the wood again, this time with nearly a tonne of logs behind us: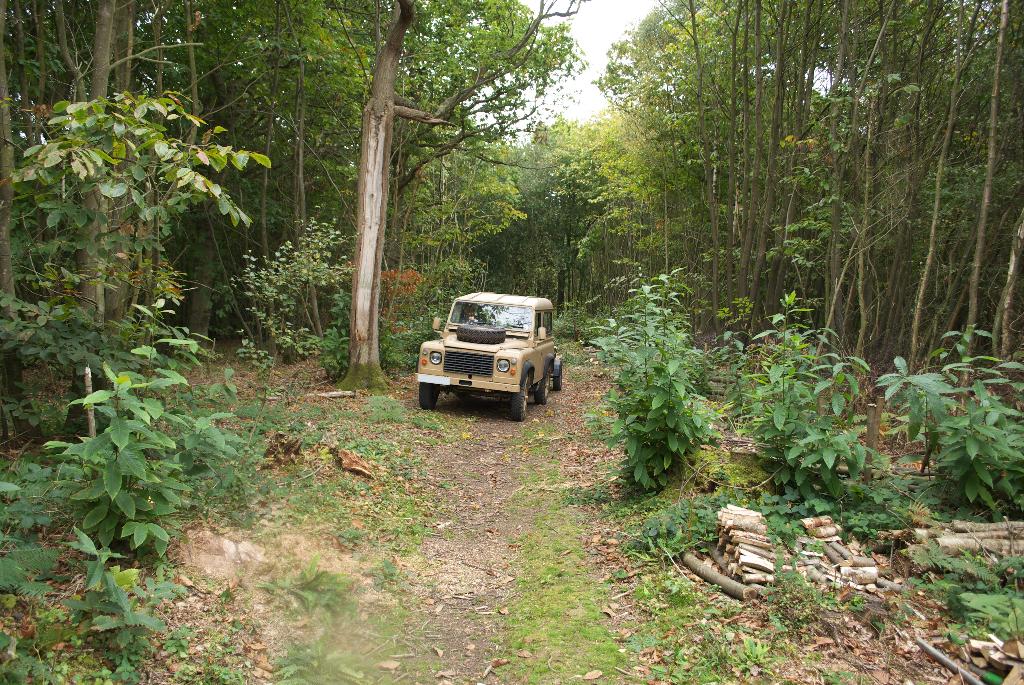
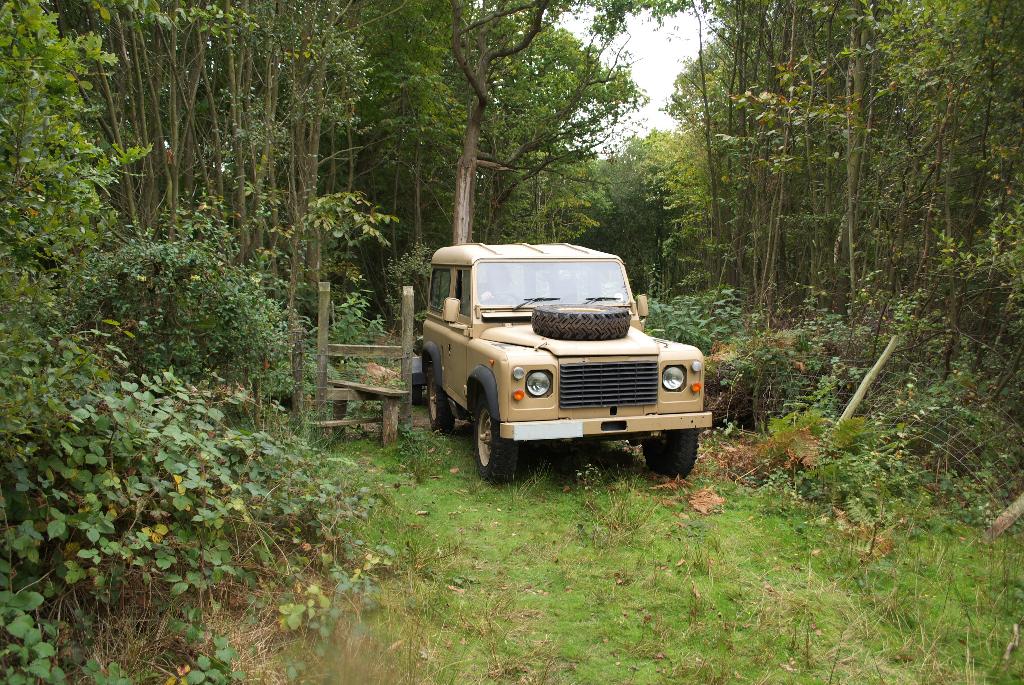 After lunch we went over to the area in Sweep Wood (my parents' patch) where we'll be coppicing this autumn. Dad and I started building some racks ready to store logs in (one of them we relocated from the stack of logs we'd just cut up).
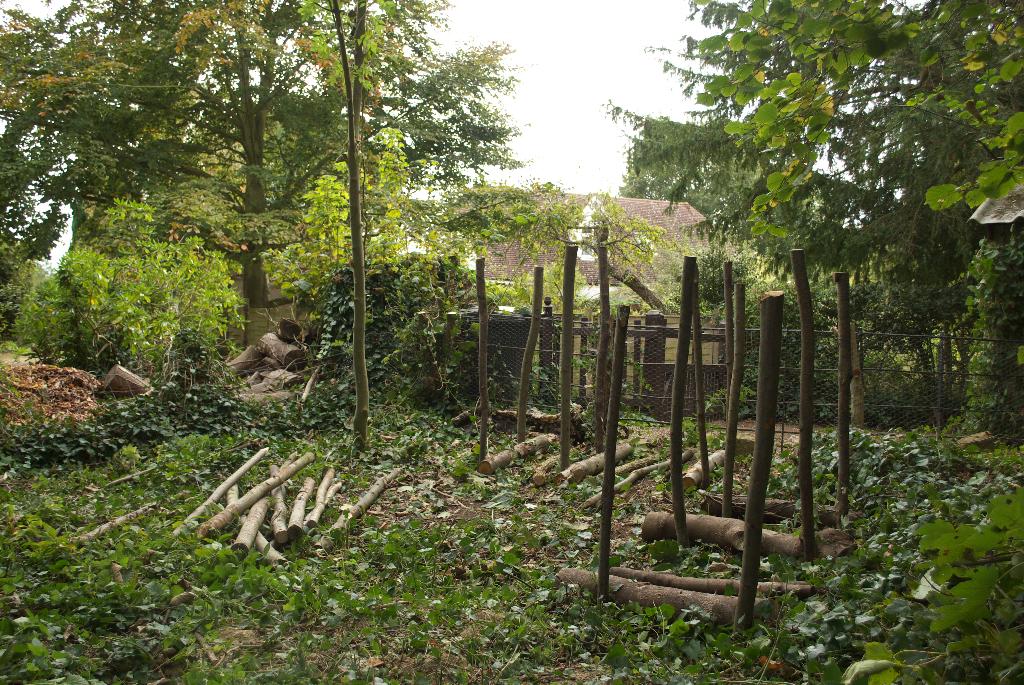 They're right at the top of the wood, near some houses - it's strange to be so close to civilisation while working in the wood!
Meanwhile Tracy felled some small trees to clear a path for the proper felling when it starts, and my Mum and Cath did some too: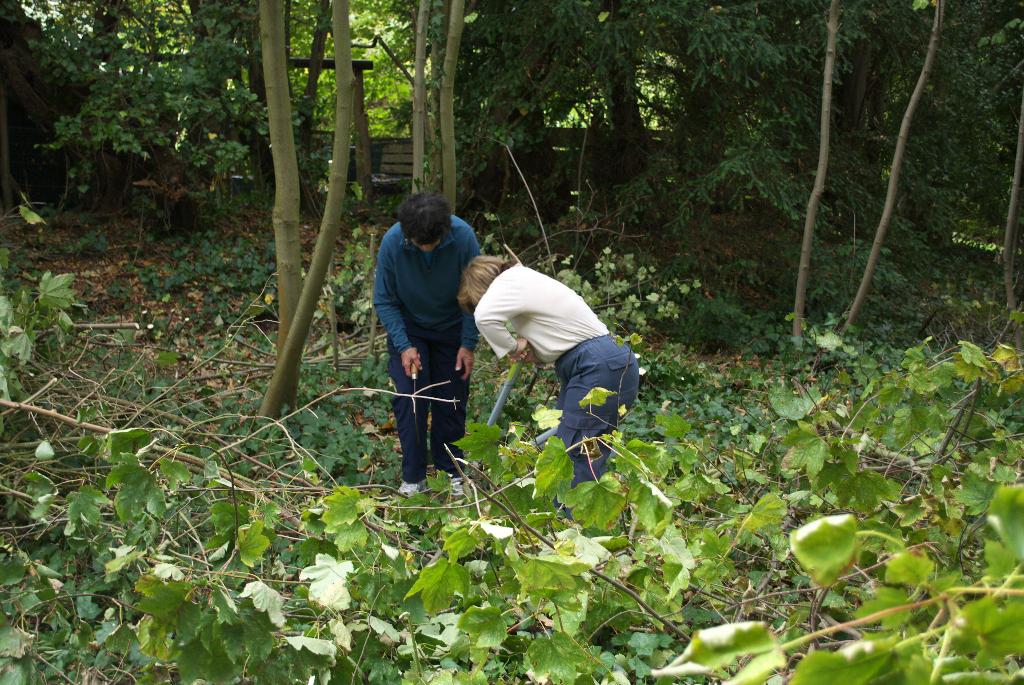
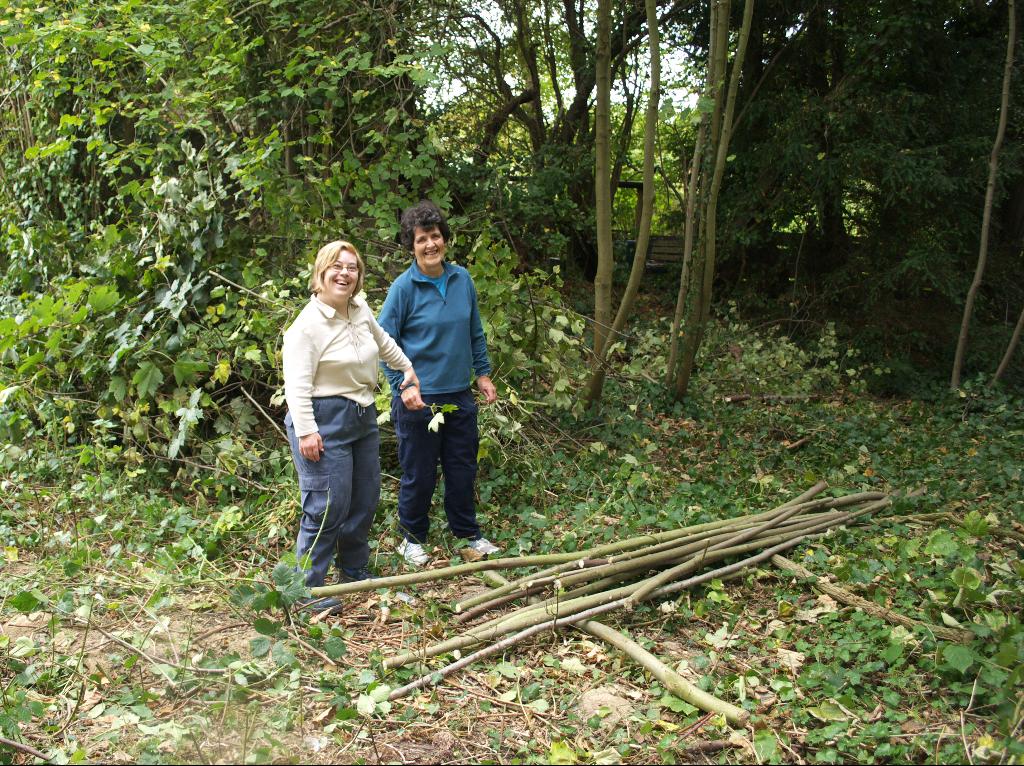 We finished up by cooking dinner, and I chucked a few logs into the woodgas stove to make a mini campfire for us.
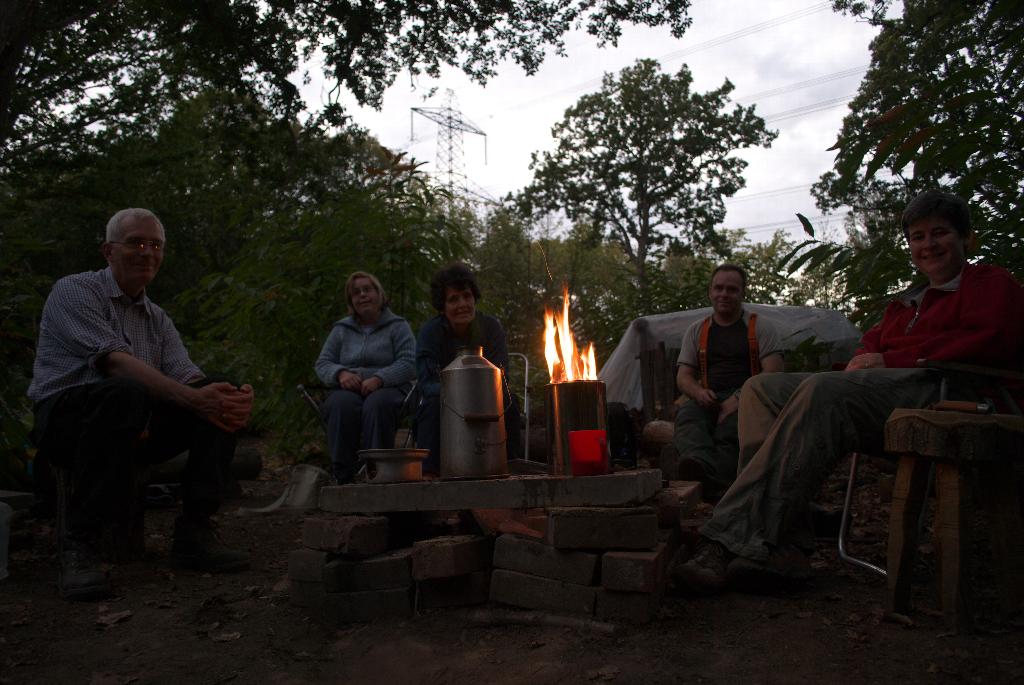 Mike
Mike
Sunday, 5 July 2009
Making kindling, and some other odds and ends
On Friday we visited our friend Fiona at her wood, and she told me a neat way to make kindling (or in this case, fuel for our woodgas stove and kelly kettle). As soon as we were in our wood, I tried it out.
You start by tying something round the log you intend to split up. I used a piece of rope with a slip-knot in it, but Fiona suggested a piece of bike inner tube - next time I get a puncture I'll try this.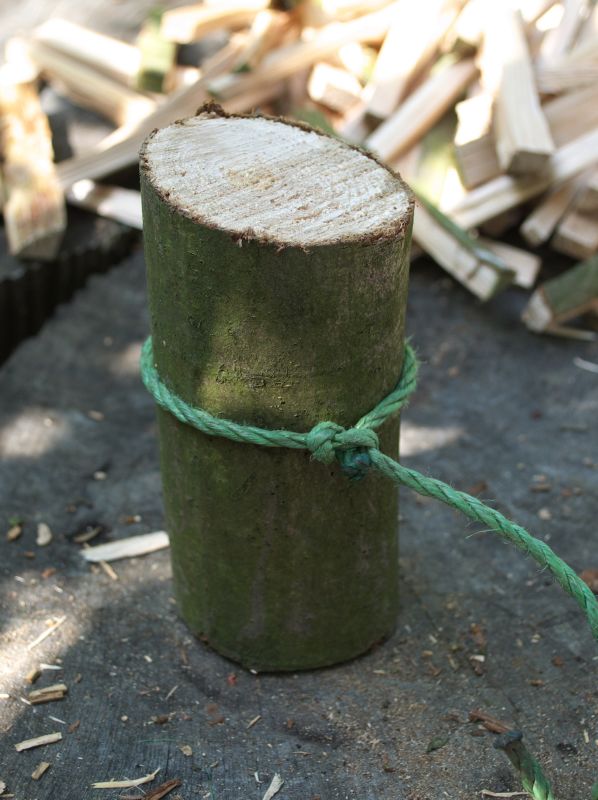 Then, use your froe and wooden mallet to put a split down the middle:
 Turn it 90 degrees and repeat:
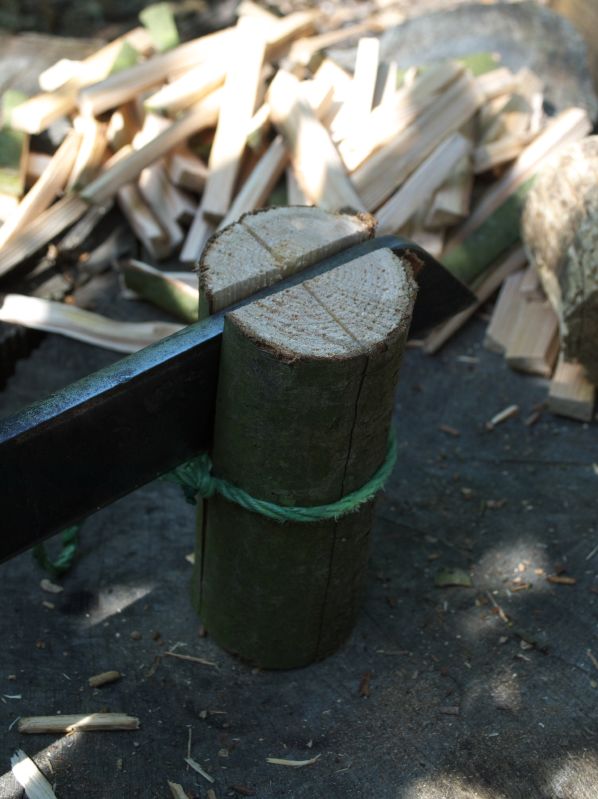 Then carry on making parallel splits, according to the thickness of kindling you want:
 Turn 90 degrees again and repeat:
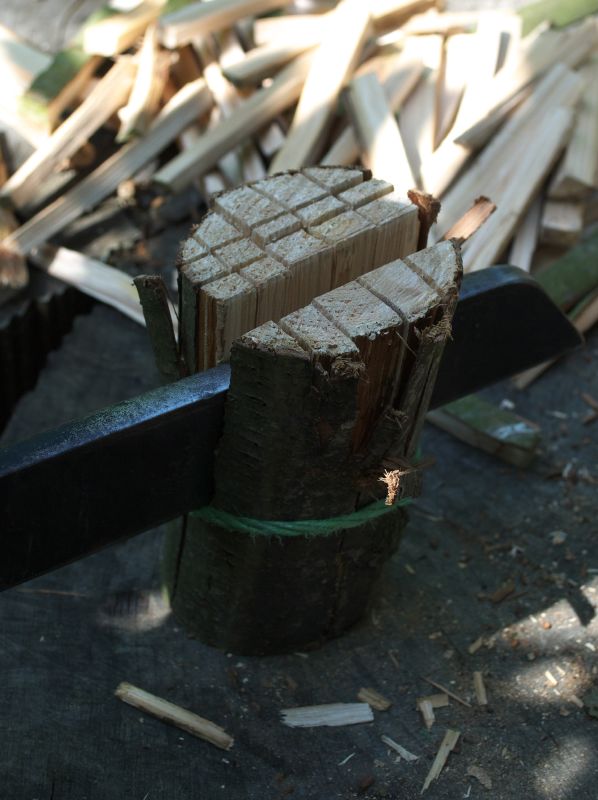 and finally, take the rope off:
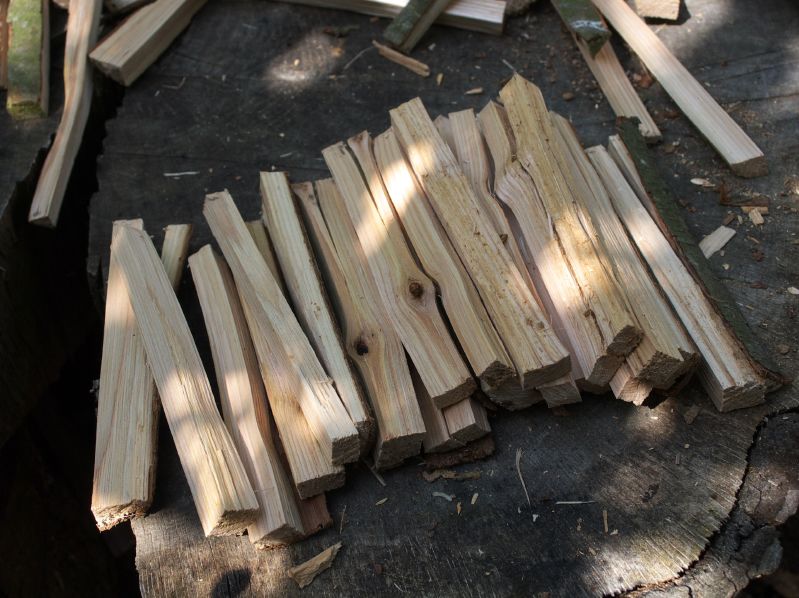 Neat eh?
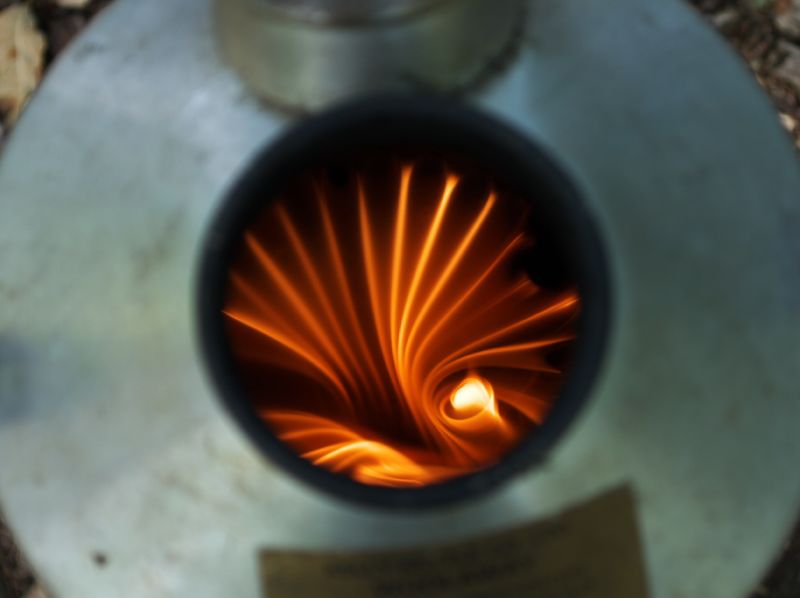
We used some immediately to cook lunch, and I also discovered that the kelly kettle fits neatly on top of the woodgas stove, allowing you to make a hot drink after cooking without lighting another fire: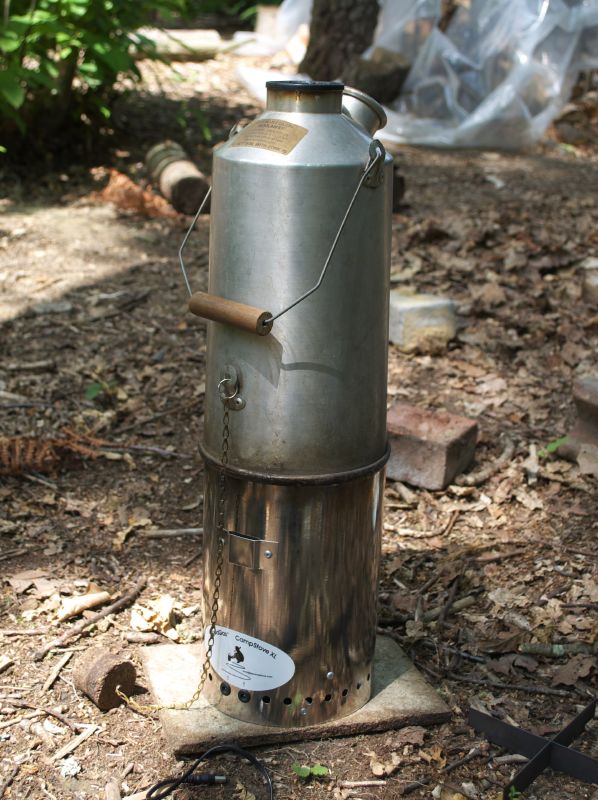 Also, because the kettle creates a good updraught, you can even unplug the fan in the woodgas stove, producing an interesting effect when you look down from the top:
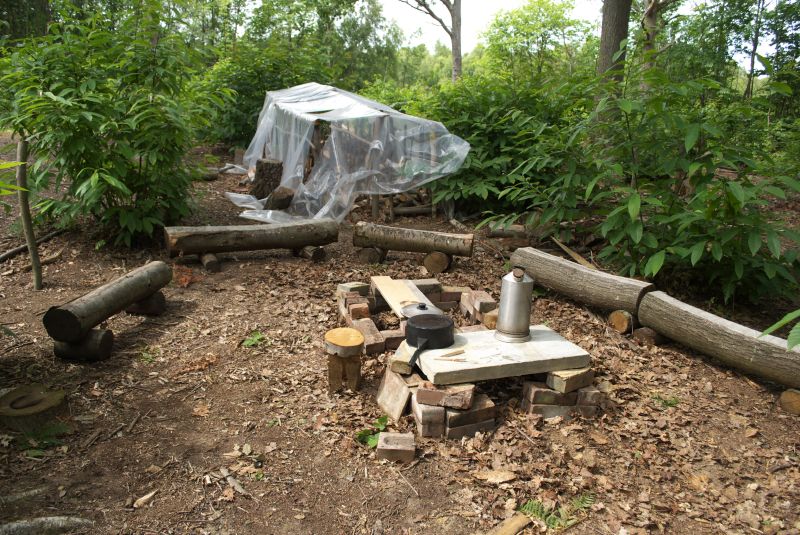
 We rearranged our little camp yesterday to benefit from more of the shade from the oaks, and also make it easier to get things in and out of the shelter. We took the opportunity to rebuild the fireplace and make a table beside it with a spare concrete slab I'd picked up near home recently:
 While we were sat there having lunch, look what slithered by:
 We'd better keep an eye out, this is the first time we've seen an adder this close to our camp - I guess they like the hot ground there on sunny days!
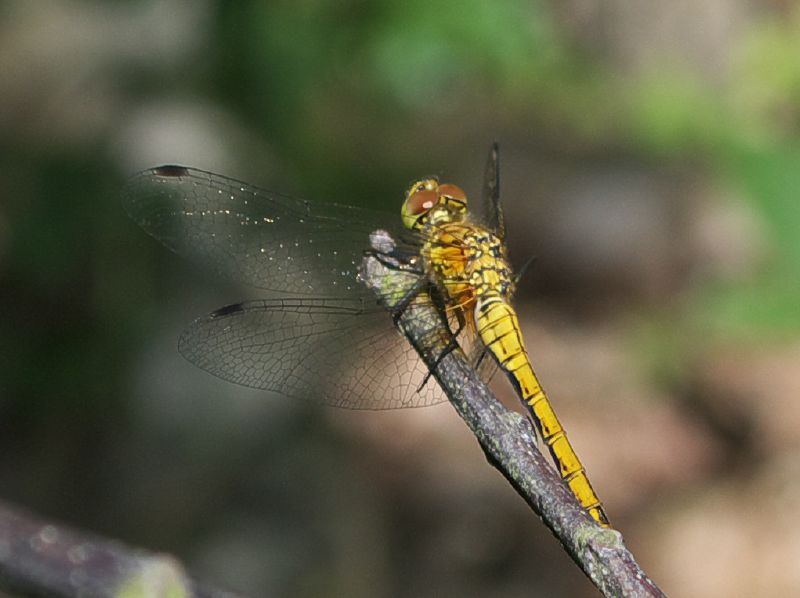
The heat had also brought out a huge range of insects, such as crickets and dragonflies:
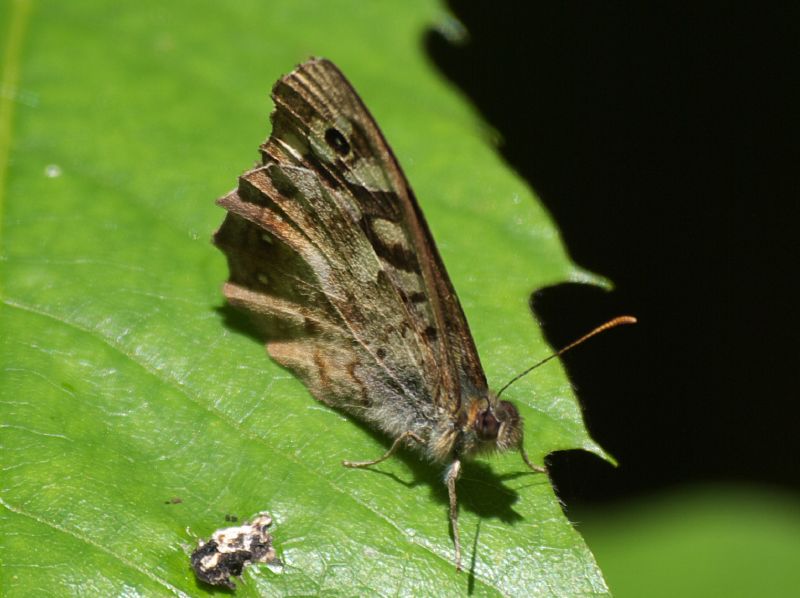
 and butterflies too - here's my first photo of a White Admiral this summer, and one of a Speckled Wood too:
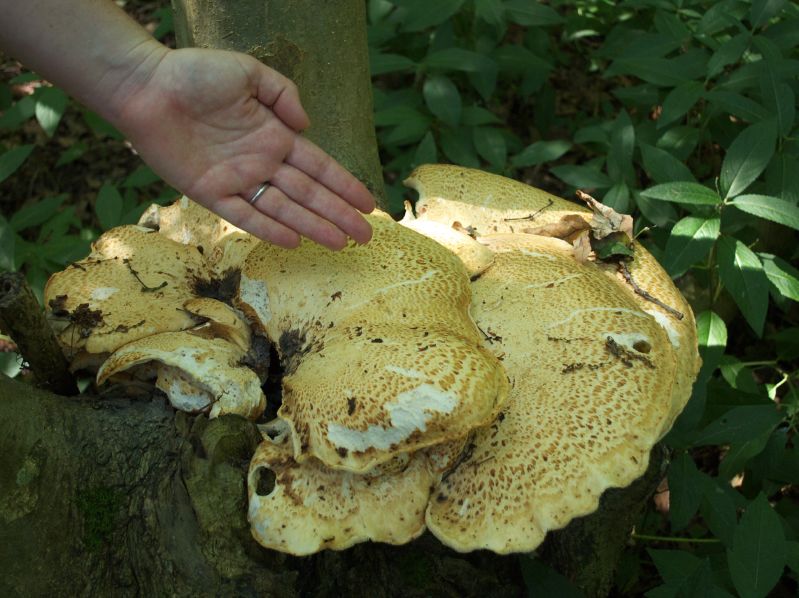
 We took a walk up into Sweep Wood (my parents' patch), and clipped back branches that were reaching into the public footpath. Along the way we saw a fungus which I'd happened to take a photo of nine days earlier. Here's the first photo:
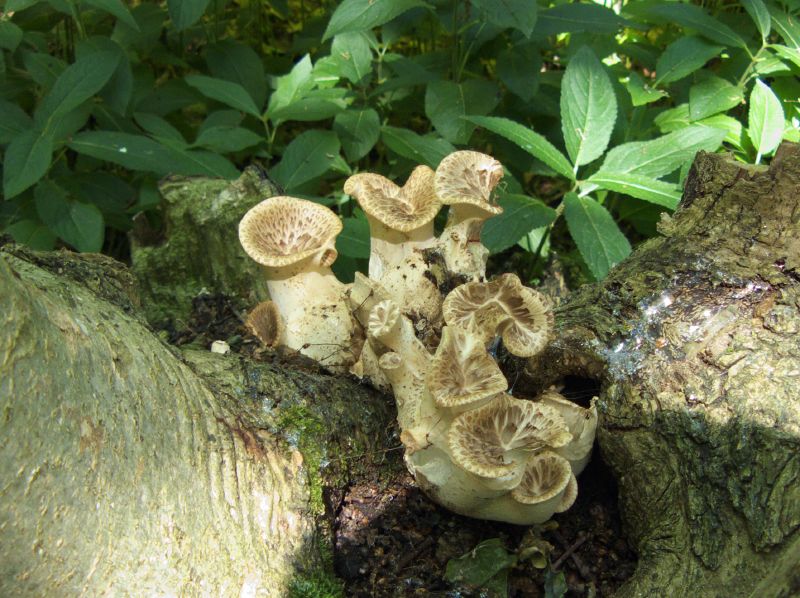 and here's the later one, after just nine days!
 We also noticed that there's a lot of honeysuckle out in Sweep Wood, it'll be nice in a year or two when the butterflies can get to it, after we've coppiced there...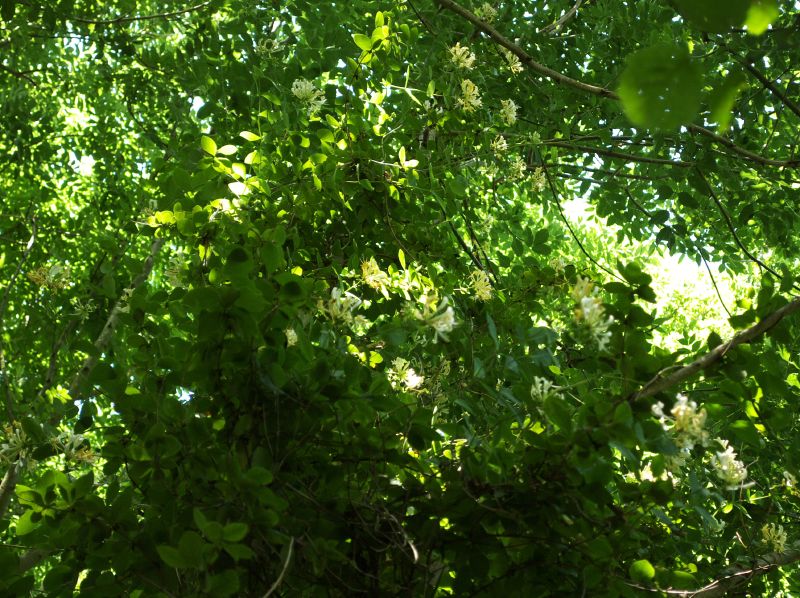
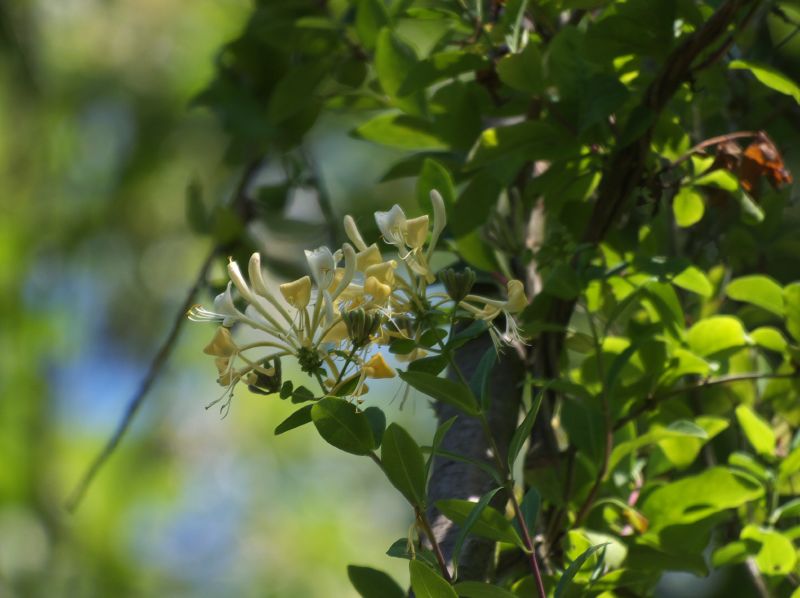 Finally, we found a tree that was very interesting, mainly because it has fruit on it! I think they're plums, but we'll see how they develop over the coming weeks:
 Mike
Mike


