Seems like we've hardly had any time to sit down in the past week, with coppicing, work and stuff on in the evenings... Anyway, here's an update on the work over the past few days.
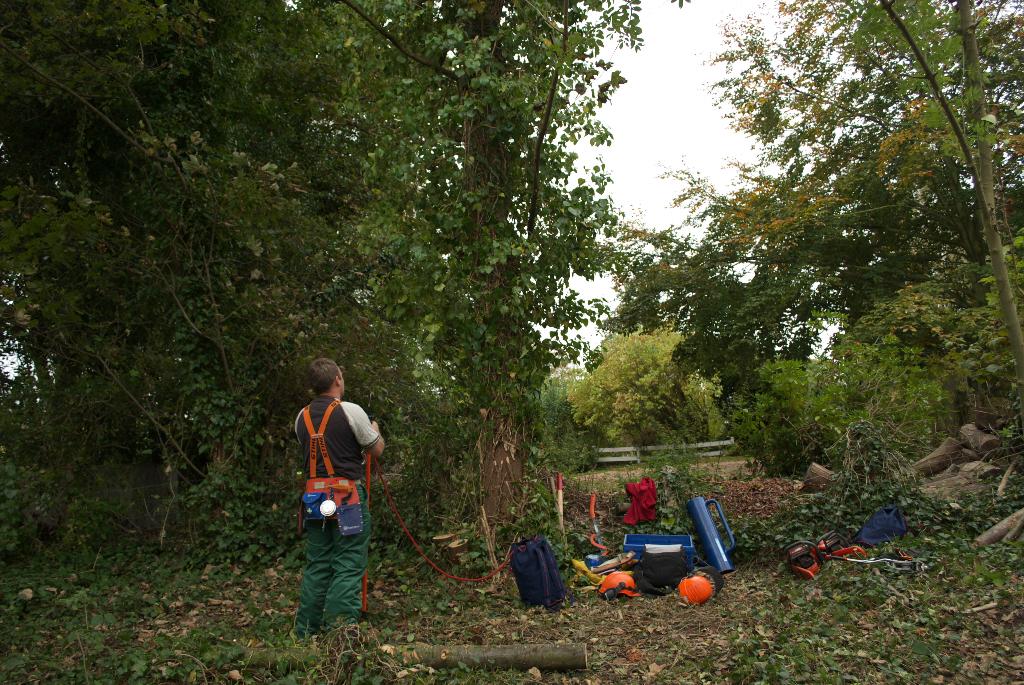
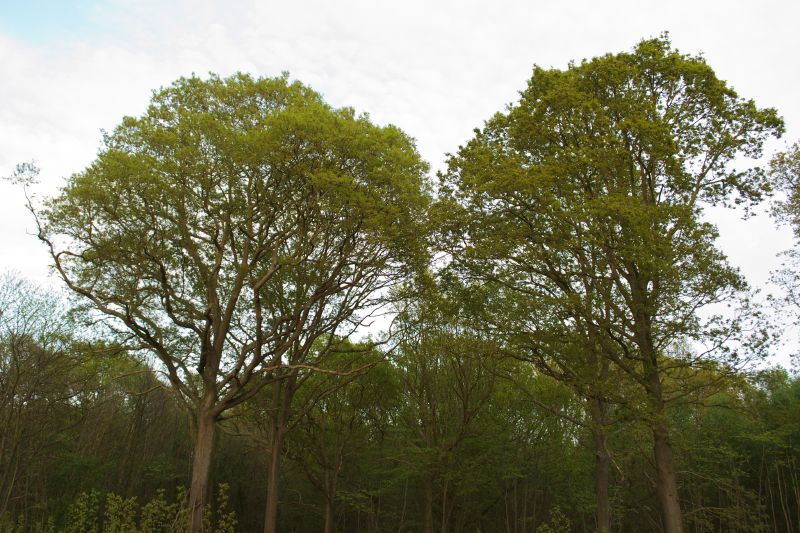
This week we had a few larger trees to fell, the tallest being this Sycamore:
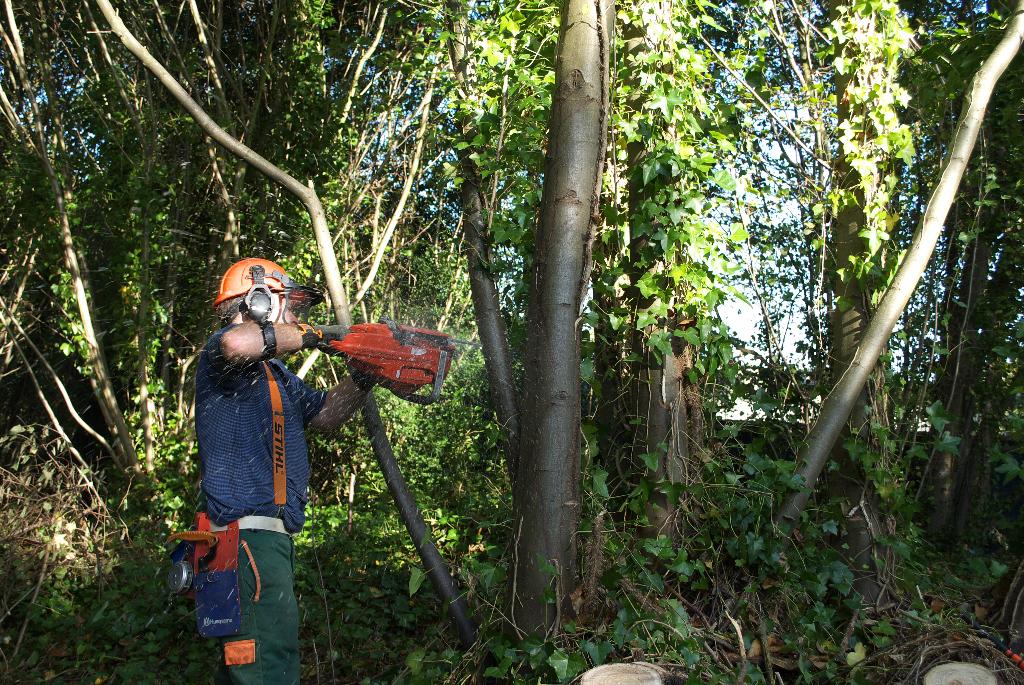
 First though, some Chestnut at the other end of the clearing we've created needed to come down to make room for it:
 There were a few small stems to get out of the way first:
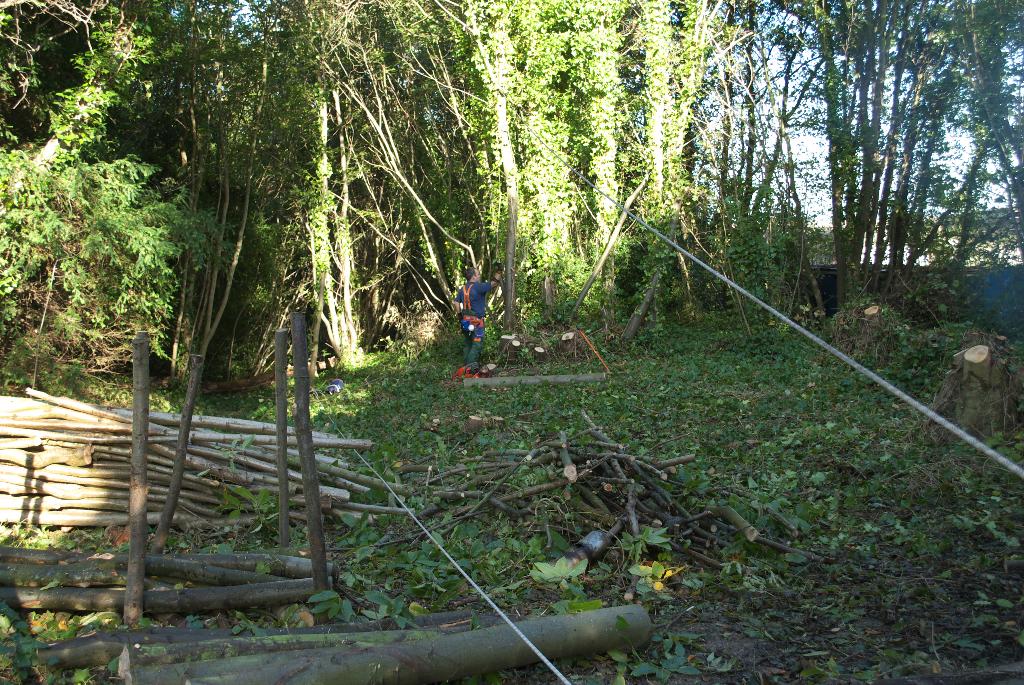
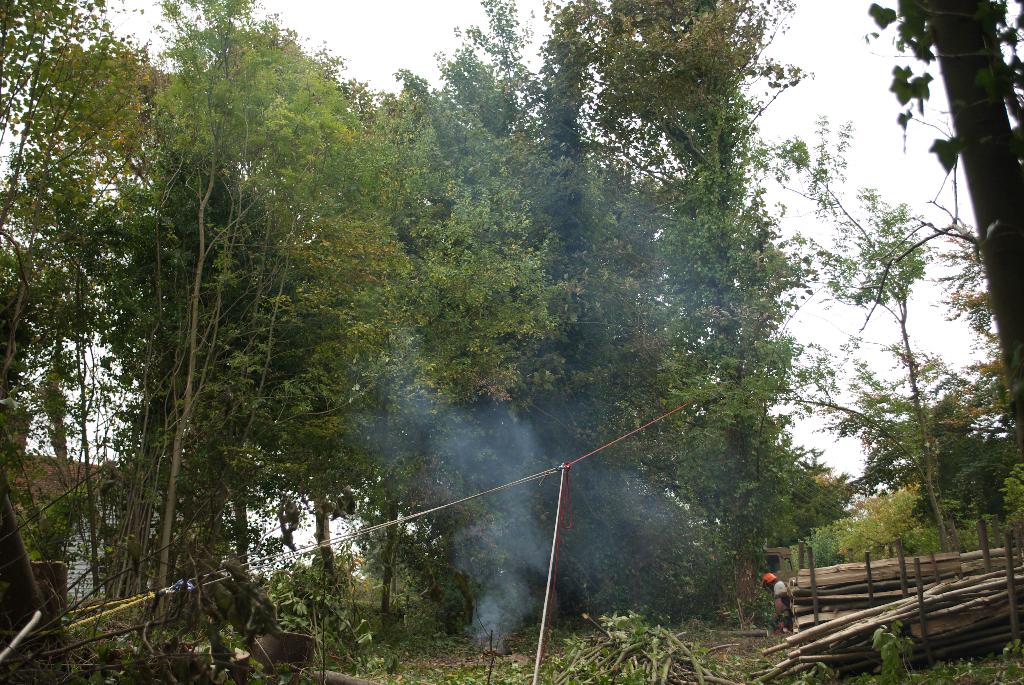
 Then we set up a simple rope system:
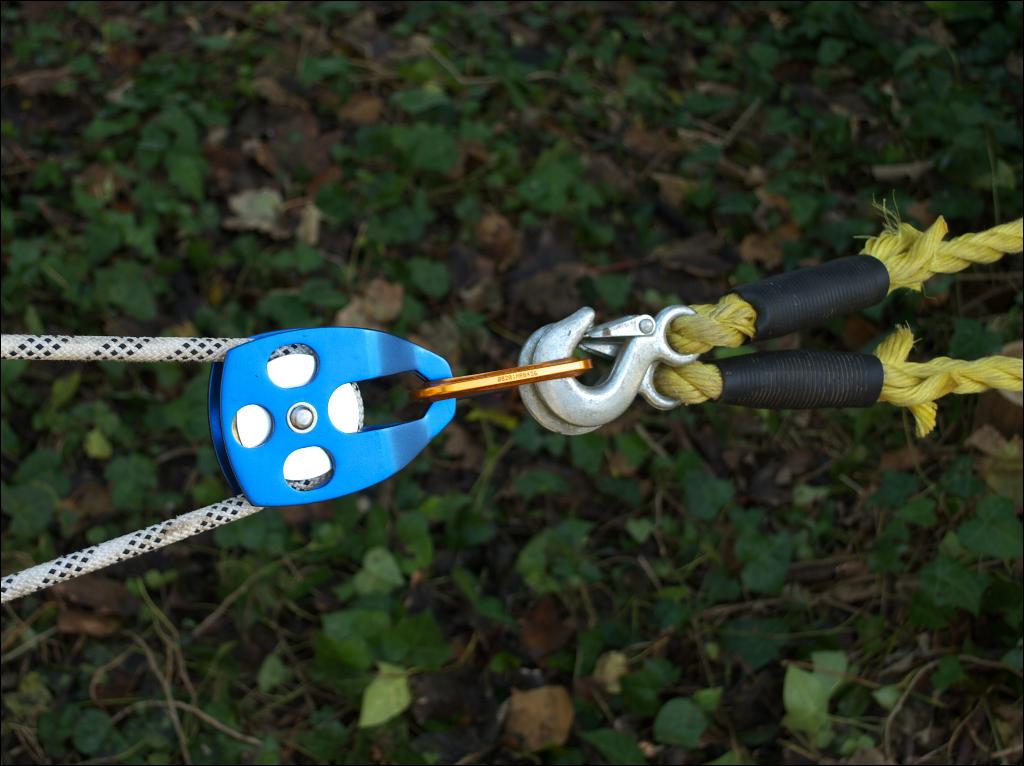
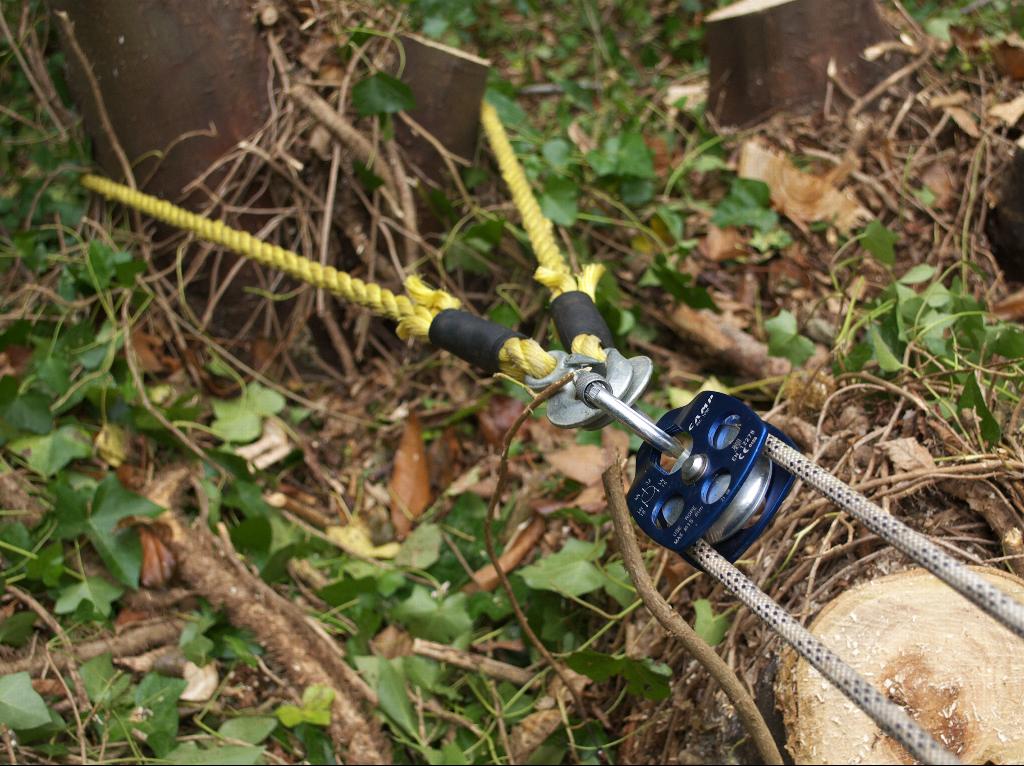
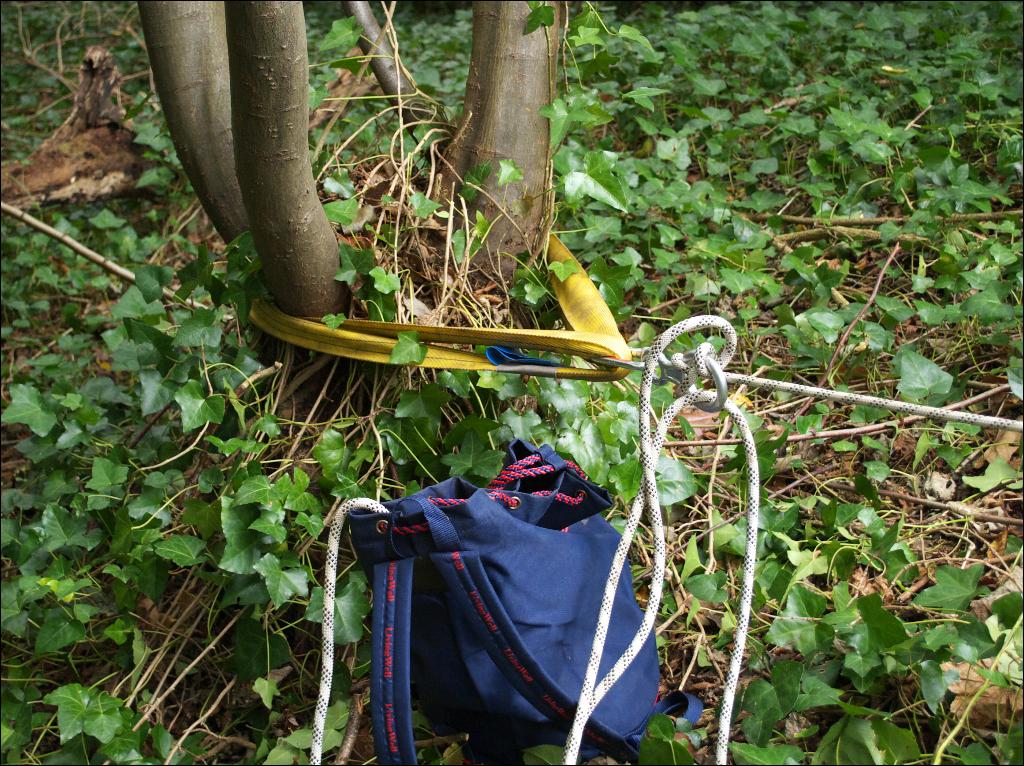
 using the big Sycamore as an anchor for a pulley:

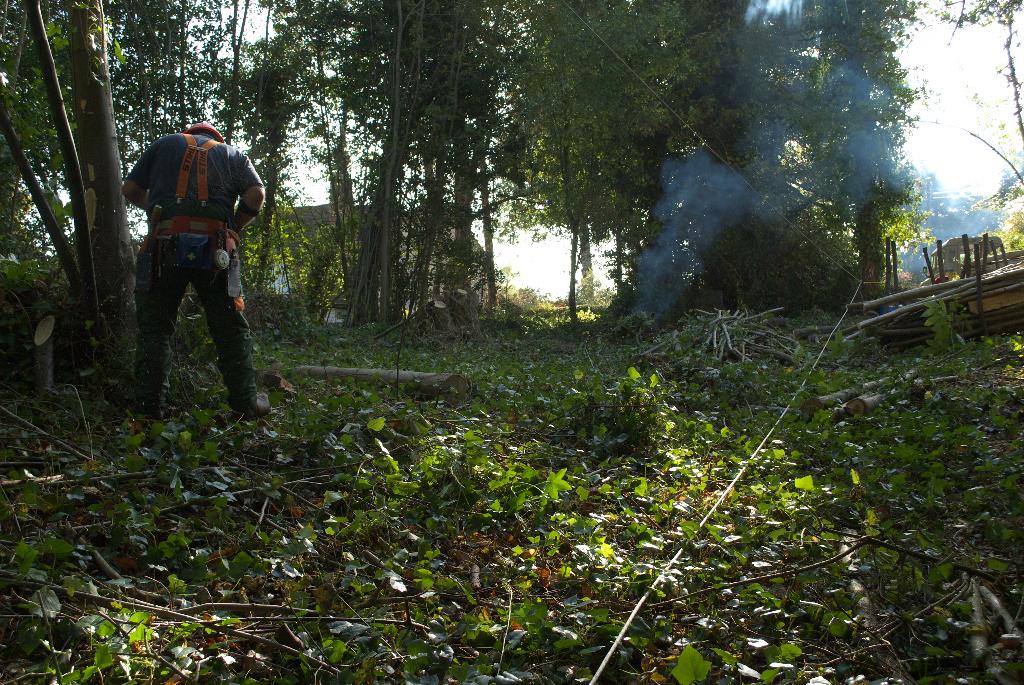
 so that we could be stood behind the trees as they came down:
 They were dealt with pretty quickly, and we collected some chestnuts that came off them as they fell, to eat later on. Most were too small, but there's a few that were OK, better than last year!
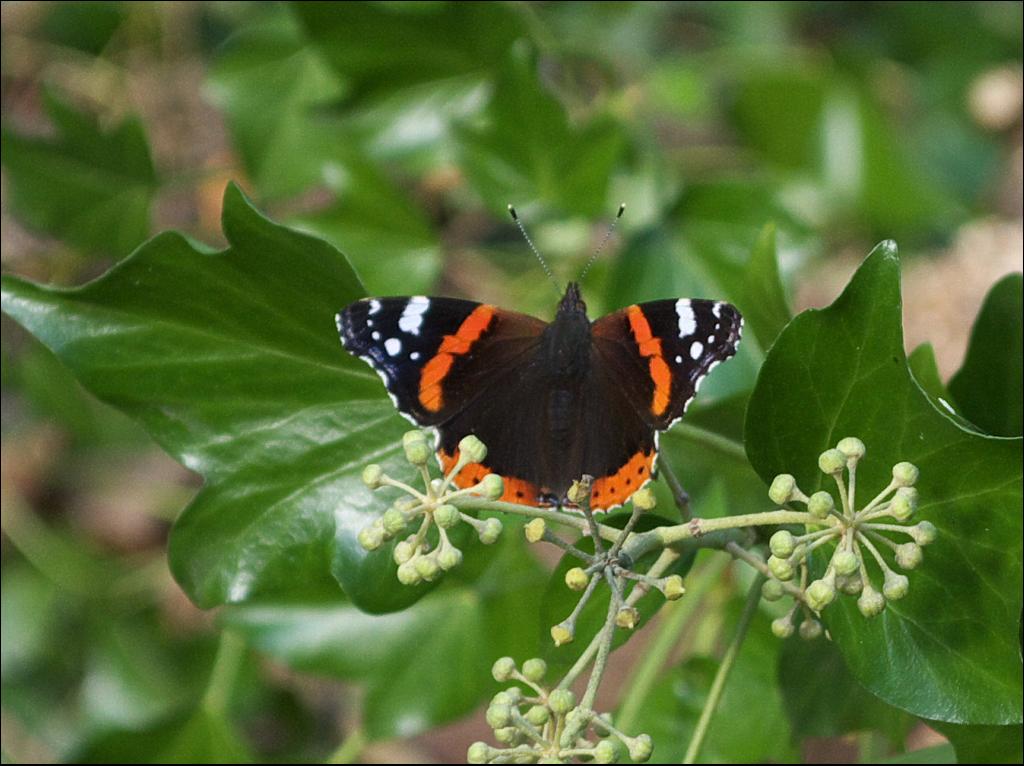
 Before we moved on to the Sycamore, I noticed that some butterflies are really making the most of the autumn sunlight we've let in to this part of the wood, including this Red Admiral:
 and a Speckled Wood:
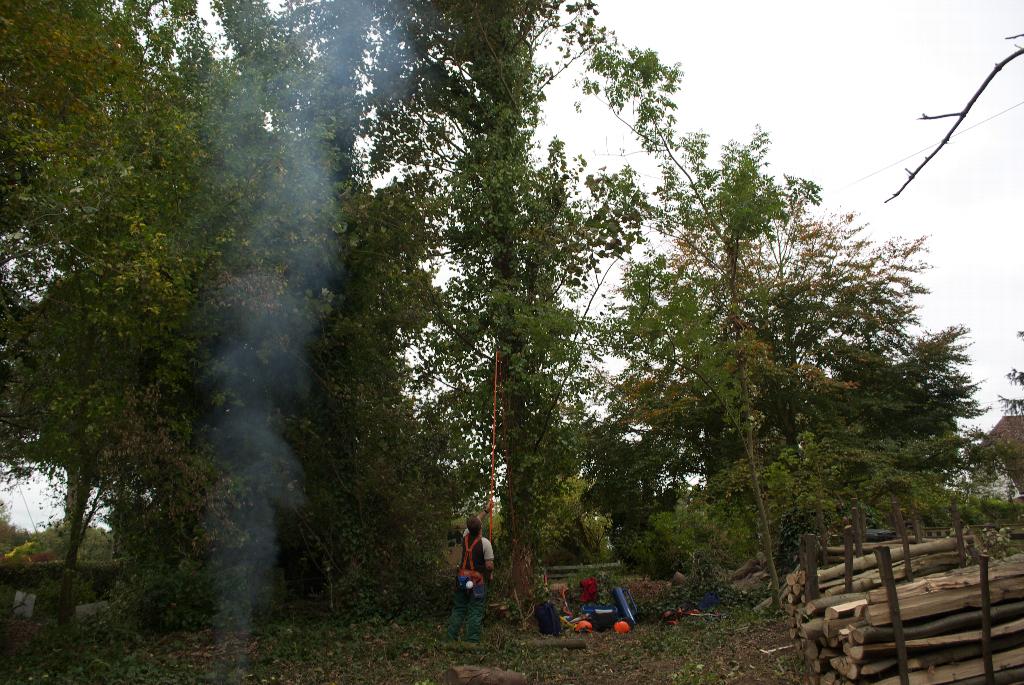
 OK, on to the Sycamore. Here's the picture of the big one again:
Also, there's a smaller one next to it that we needed to fell too. You'll notice that behind it is someone's garden, and there's a phone line too, so we had to make sure this tree fell in the right direction! To do this we set up the ropes and pulleys to give us a 3:1 leverage. The red rope was fastened as high up the tree as possible, using an extendable pole with a hook on the end:

 Then the end of that rope was anchored in a figure-of-eight, which in turn anchored the end of the white rope and a pulley:
 The white rope carried on to another pulley anchored to the Chestnut stool we were felling earlier:
 and from there back up to the pulley you saw earlier (here it is again):
From that pulley, the white rope then headed down to it's anchor point, well out of range of where the tree would fall, and where we pulled from:
 This means that for the force applied at this anchor, double the force was being applied at the pulley attached to the Chestnut (as there are two lengths pulling on the pulley), and triple the force was applied where it all joins the red rope (two lengths on the pulley and the end of the white rope anchored there).
Then it was time to put the cuts in...

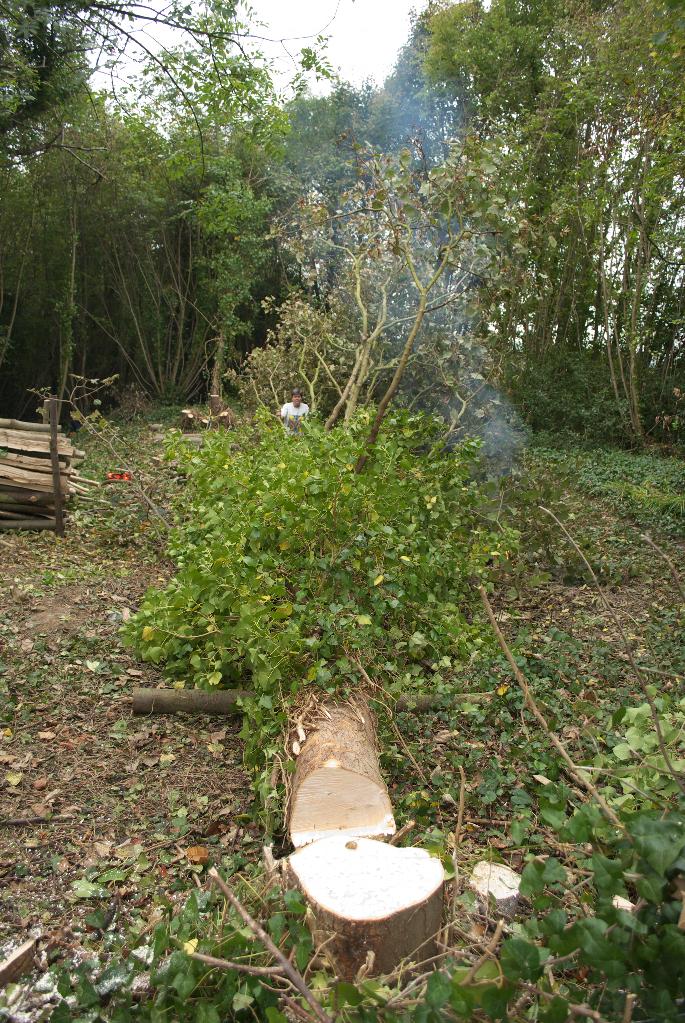
 and after a bit of pulling it was all safely on the ground:
 Sorry there's no video, but we were both pulling on the rope!
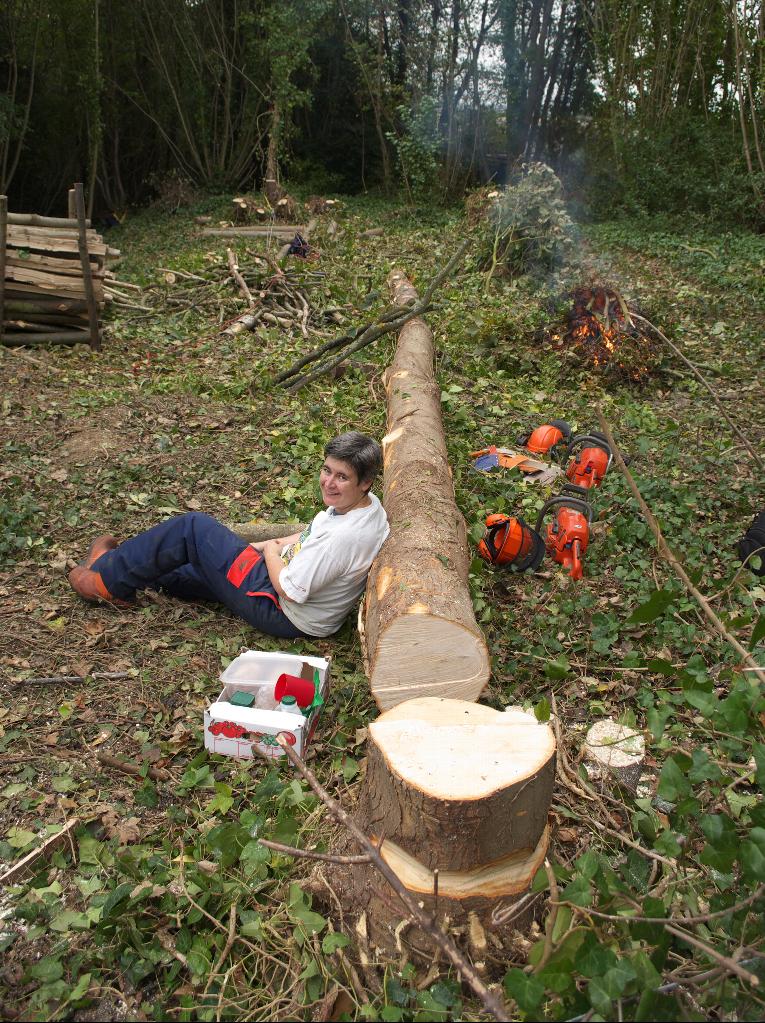
Of course, that was only half the work, as it was a big tree to cut up - you can just see Tracy in the midst of it here:
 However, it wasn't long before we had a clean trunk - I hope to finally get to use the sawmill on the butt of this tree to see if I can make some planks...
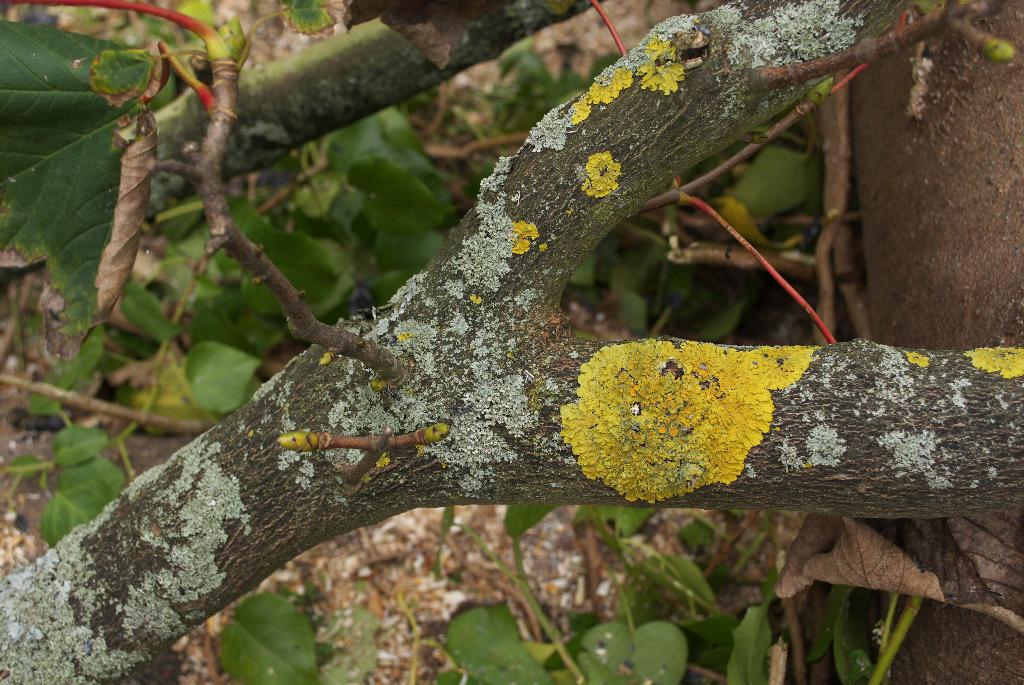
 One last thing. We found the branches had a lot of lichen on them. We didn't burn these (or quite a bit of the ivy), but left them in a pile for wildlife.
 A friendly little Robin really liked this, and some pictures of him will come in the next post...
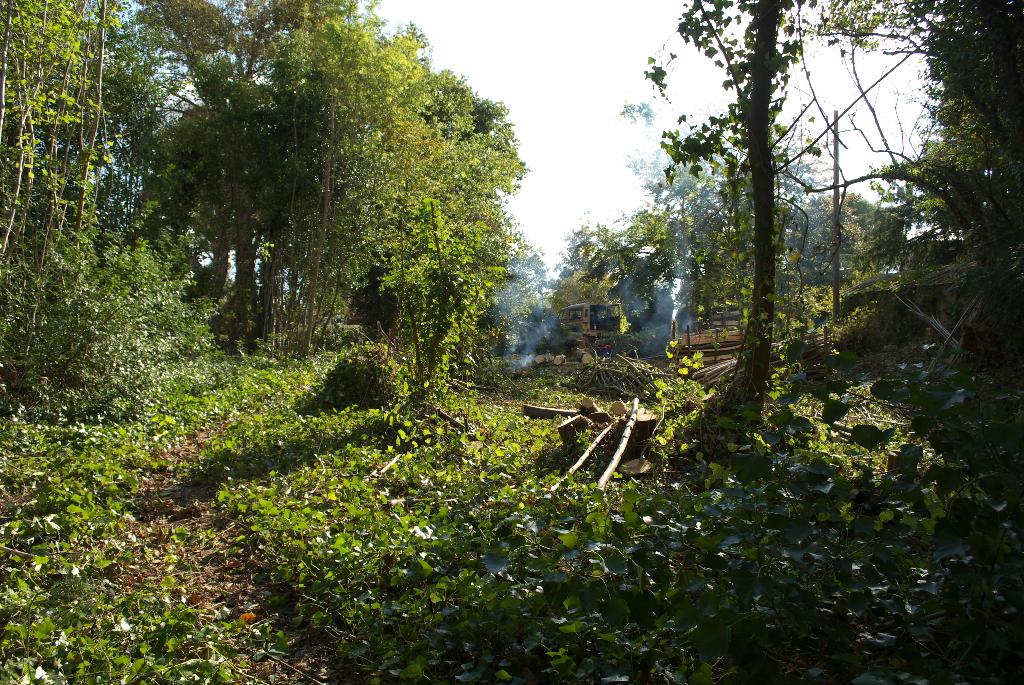
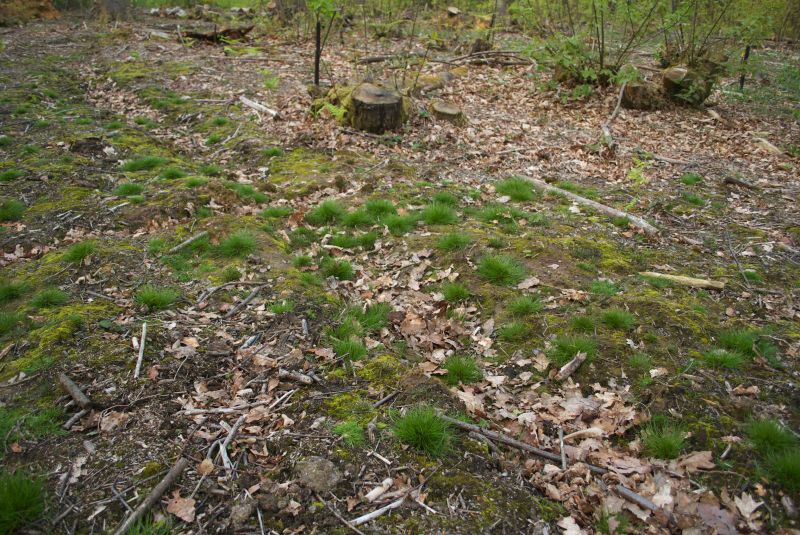
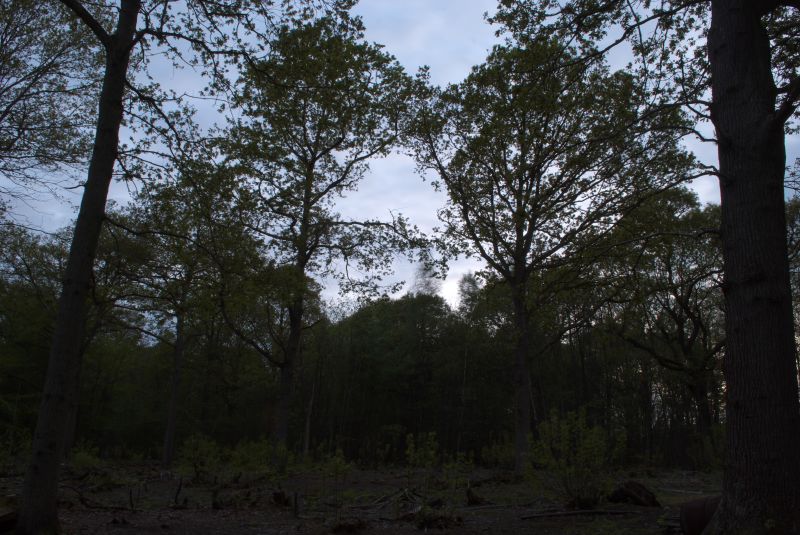
Finally, here's a picture of how the clearing is looking from the other end as it grows:

Mike
Click here to read the rest of this post.