Showing posts with label firewood. Show all posts

Tuesday, 2 December 2014

Moving towards winter in the woods

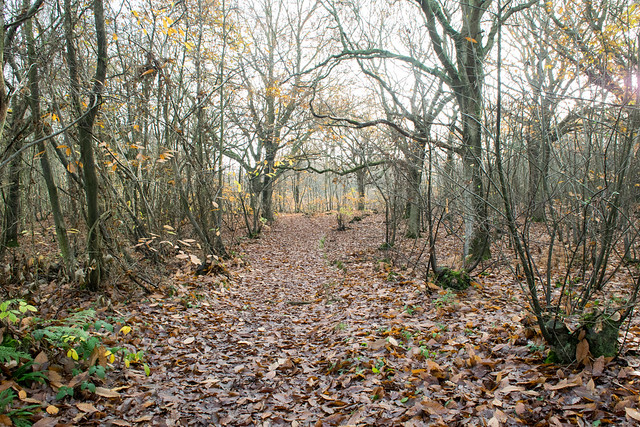
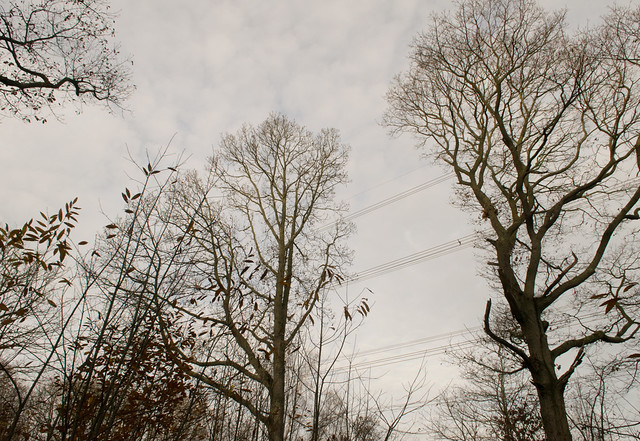
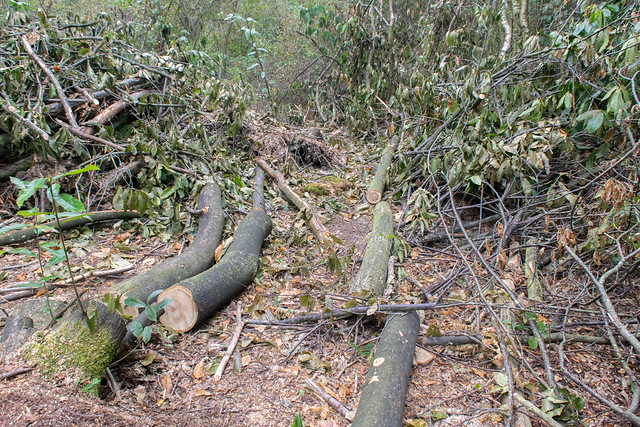
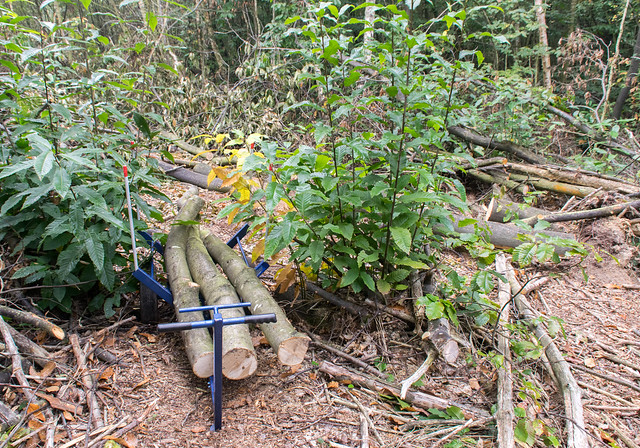
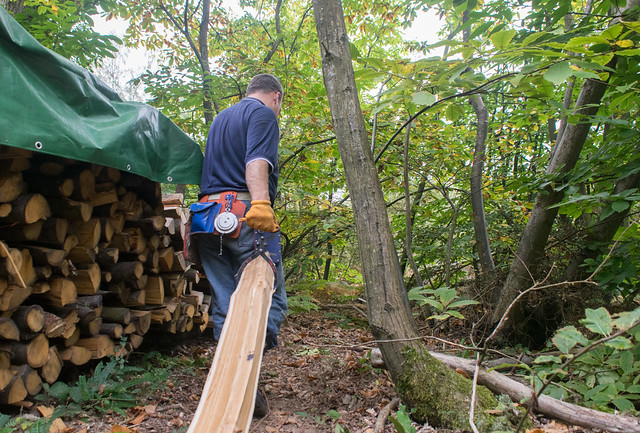
I was up at the woods this weekend after a few weeks' gap, and was struck by the shift from autumn towards winter... It's looking quite different there now:

DSC_2843


DSC_2844

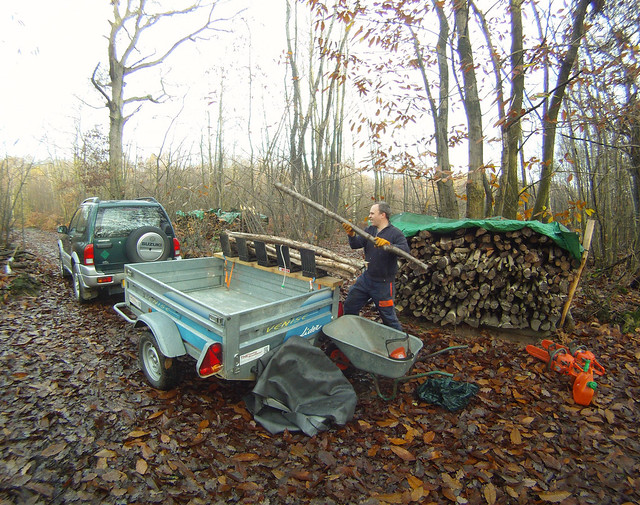
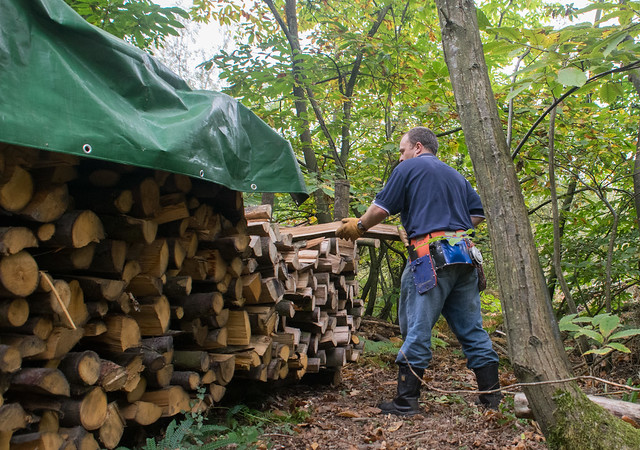
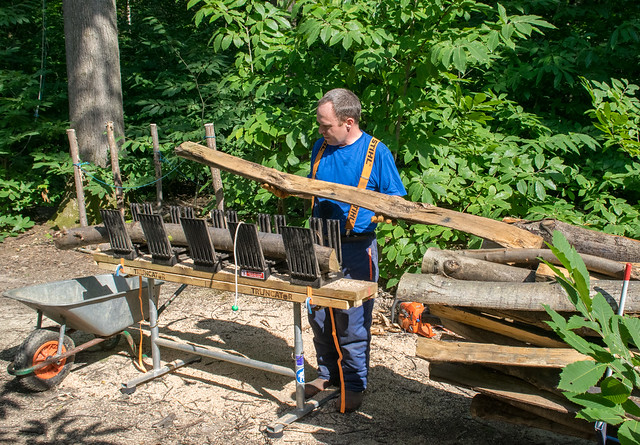
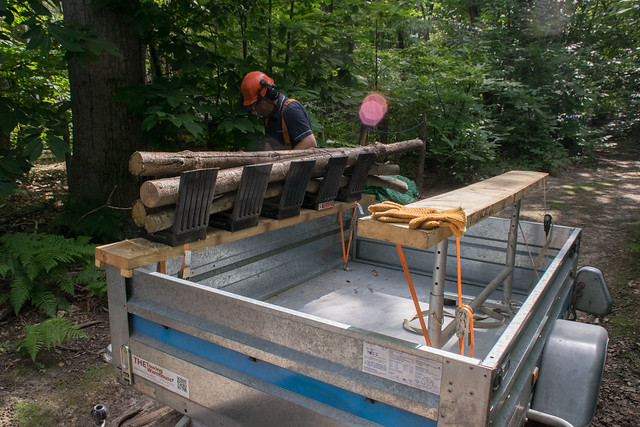
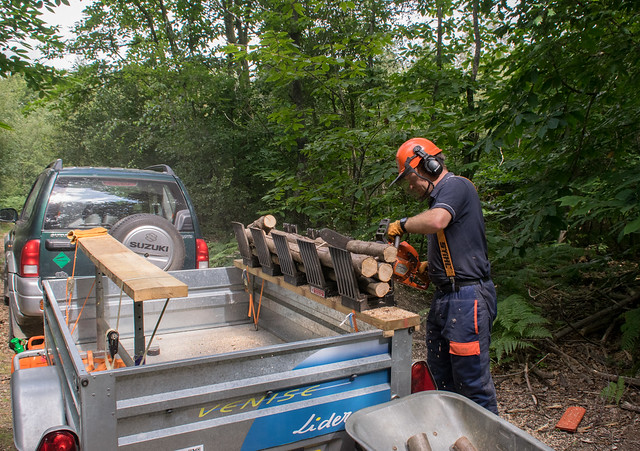
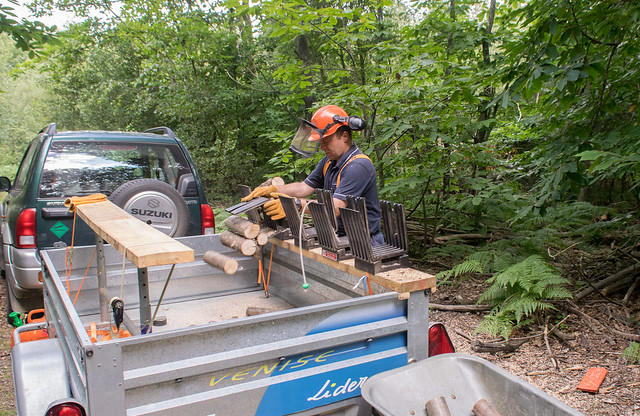
I was there to do a job though, and got on with loading my Truncator:
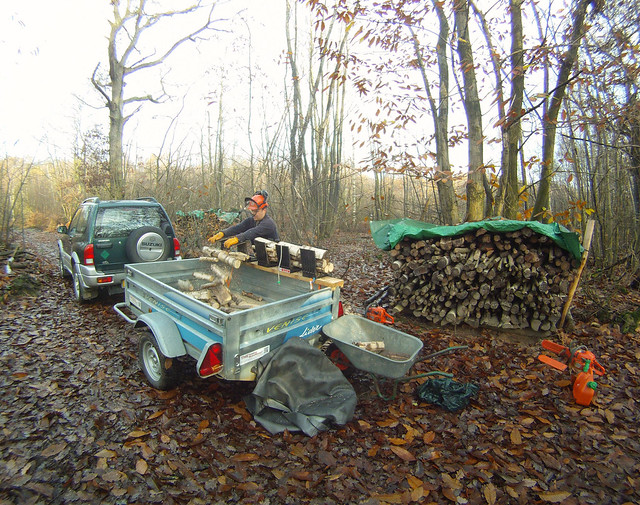
GOPR09694

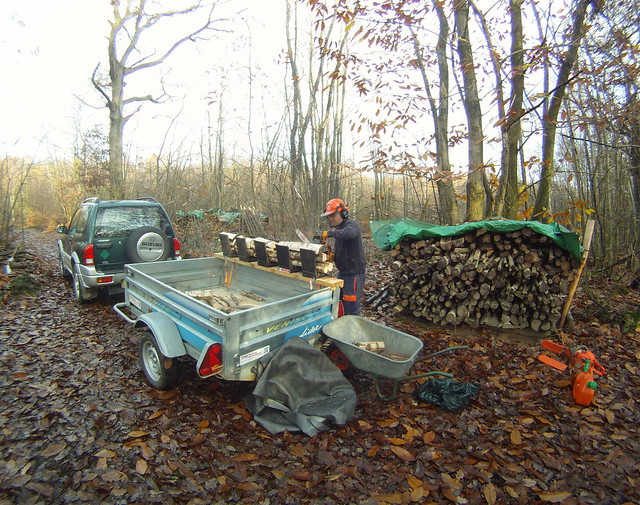
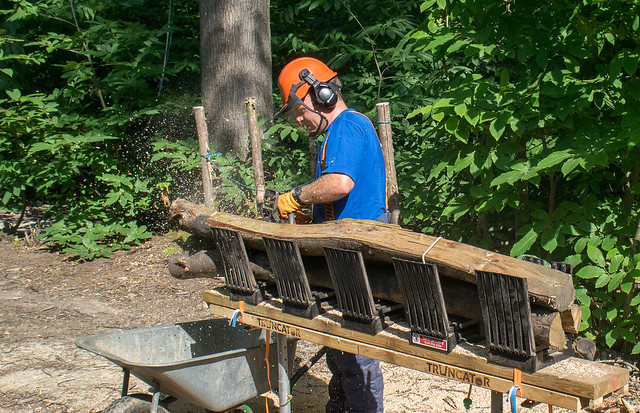
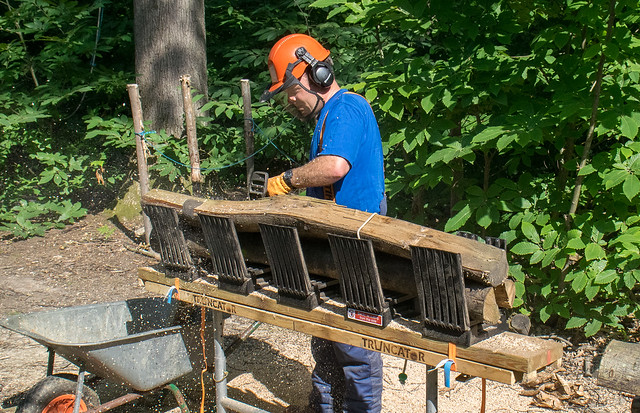
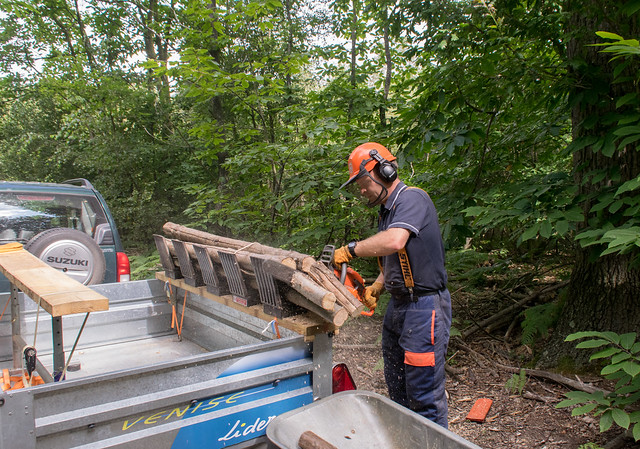
Sawing the logs:
GOPR09733

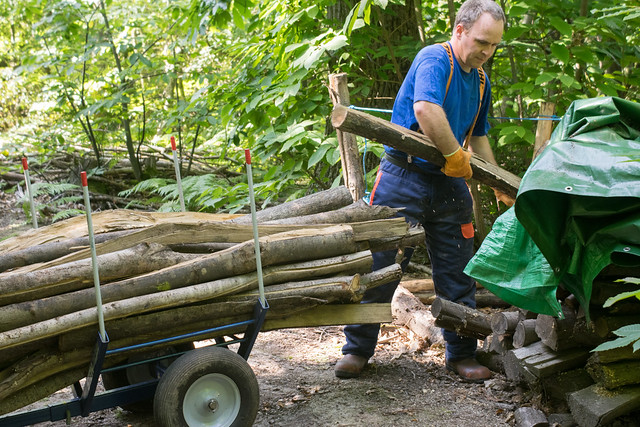
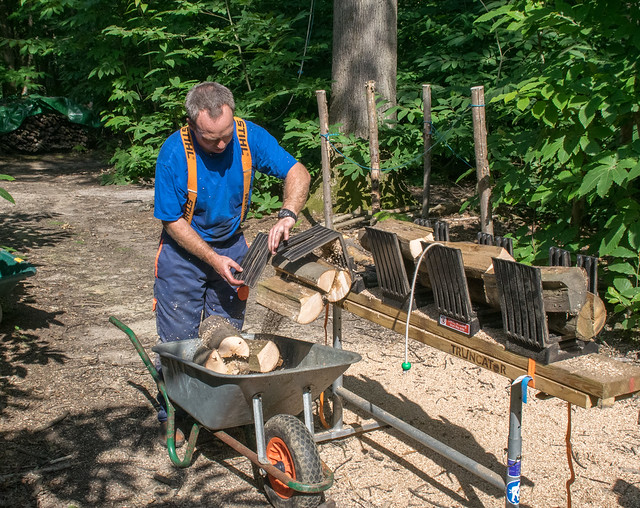
Tipping them into the trailer:
GOPR09735

And repeating until there was a trailer full of logs to take over to The Pelham...
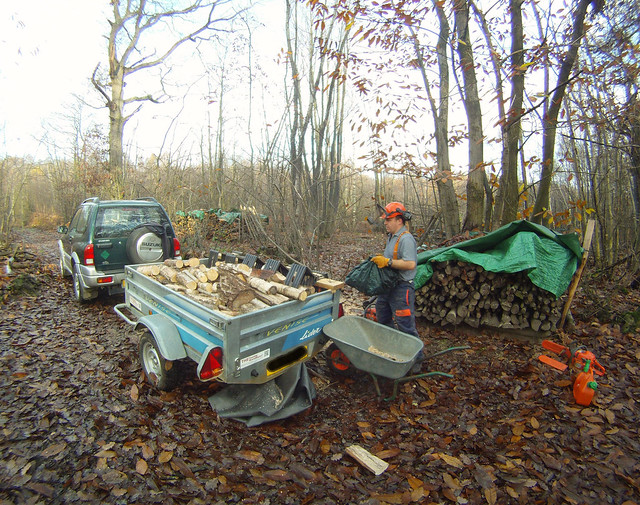
GOPR10127

It's a great benefit having the Truncator for jobs like this, and as you can see in the above photo, when the job is done you can simply cover the trailer and drive away without detaching it. I made a video last year detailing how it is set up and operated.

Mike

Click here to read the rest of this post.

Thursday, 2 October 2014

Windblown coppice into firewood logs

I did a day's work in the wood this week, converting all the logs I'd winched and chainsawed earlier into firewood, ready to burn in a couple of years' time.

DSC_2086

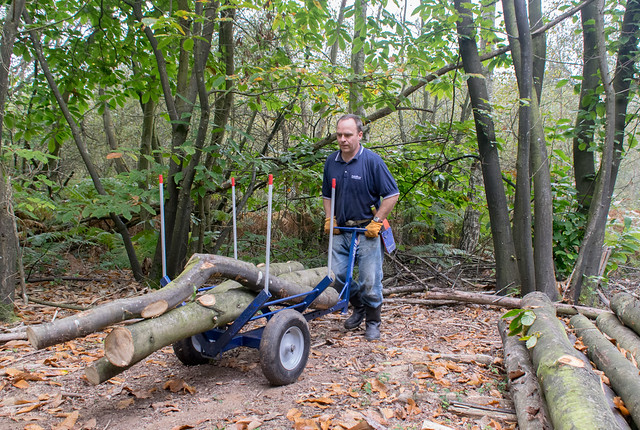
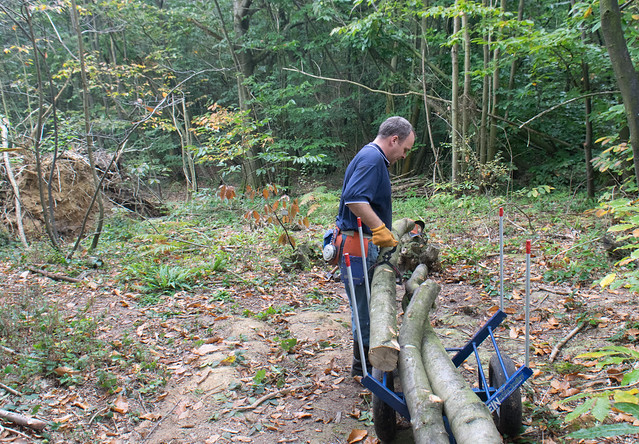
It was an ideal time to use my Stein Arbor Trolley! I certainly wasn't filling it to the top though, as this was heavy, green wood I was moving - but it still reduced the number of trips back and forth significantly, and it's also easier pulling logs on wheels than dragging them, providing you have a fairly clear path to take.
DSC_2089

DSC_2098

DSC_2103

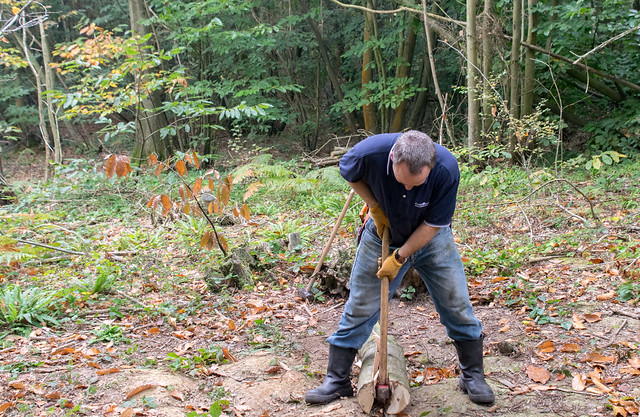
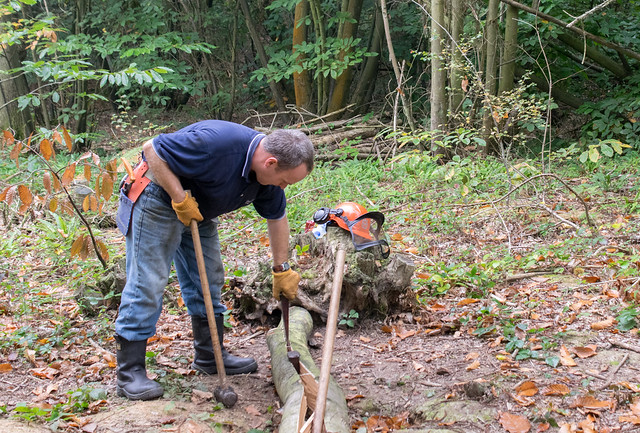
I prefer to season the wood in long lengths, so it's easier to handle and also so that the decision about what length to cut the firewood can be postponed until I know if it's for us or for a customer. So the next step is to use a maul and then wedges to split the wood:
DSC_2117

DSC_2122

I've made a video about this too, if you've not already watched it:


After that, it's just a few steps to the log pile:
DSC_2129

DSC_2133

That's about half our firewood for a year sorted already, and there's still more windblow to cut up!
DSC_2138

I see the weather is likely to turn properly to autumn soon, but hopefully I'll still find some drier days to carry on with the woodland work...

Mike

Click here to read the rest of this post.

Thursday, 7 August 2014

Winter firewood all prepared

The winter's firewood is now ready! It only took us 5-6 hours to fill the remaining half of our store at the woods, using the new equipment we now have. Step one was to load the seasoned wood into the arbor trolley:

DSC_1470

Next, wheel the trolley round to a suitable location and then the wood and be quickly transferred to the Truncator a few pieces at a time:

DSC_1474

Position a wheelbarrow and cut off any long bits poking off the end of the Truncator:

DSC_1480

Then move along and use the chainsaw to cut through the gaps in the Truncator:

DSC_1484

Push the wheelbarrow along and tip the logs in (in practice Tracy was pushing the barrow while I tipped them):

DSC_1487

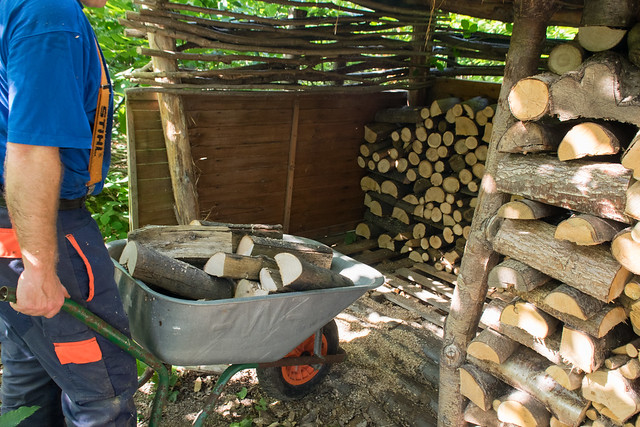
Then take the wheelbarrow to the nearby log store and stack the logs - Tracy was doing this while I was loading the next batch of wood into the Truncator and sawing it - we had two wheelbarrows so we could both keep busy.


DSC_1492

We got most of it done in an afternoon, then popped up the next morning for a couple of hours to finish the job:

DSC_1496

There was still a bit of space in the log store at home, so after stowing the bench in the trailer, we mounted the Truncator on the side of it and loaded some more logs:

DSC_1497

Then followed exactly the same process as before, but with the logs ending up in the trailer:

DSC_1500

DSC_1502##

DSC_1507

As the Truncator was securely strapped down, we were able to just drive off when we were done, and sort everything out when we got home. Nice to have that job finished! :-)

Mike

Click here to read the rest of this post.

Wednesday, 1 August 2012

Improving the firewood shelter and log cutting rack

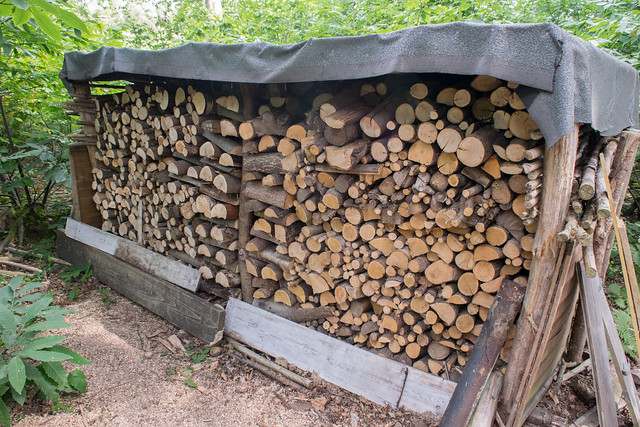
Back in March 2011, some EWB students built a firewood shelter for us, and very good it is too!

EWB UK 2011 camping trip DSC_7154

But when it was built, we did take a bit of a short-cut so it could be completed during their camping trip - we spaced the slats on the roof out, alternating them between the two sides, and used a tarpaulin to cover them. While this has worked reasonably well, the plan has always been to rebuild the roof in the style of our firewood shelter at home, and in the past week we finally got round to this...

While we were doing it we also set a batch of charcoal cooking in the kiln, ready for some BBQs that are coming up:
DSC_4158 making charcoal

The first step for the shelter was to remove the old roof - here it is in 60 seconds! The delay at the end is the last two slats, where we had to get 6" nails out...

So then it looked like this:
DSC_4161

We also had a pile of new slats ready, to add to the ones we'd taken off the roof. They're all cleaved pieces of sweet chestnut:
DSC_4160

The previous layout of slats had them alternating, but the new one was to have them butting up against each other at the apex, with only small gaps between them on each side. We got one side done first:
DSC_4167

I did most of the drilling, while Tracy did hammering:
DSC_4163

Then we used some surplus roofing felt to start making it waterproof:
DSC_4169

The end of each slat was shaped using a side axe, to make sure it fitted nicely onto the roof spars, and was not too thick to drill through - here's a picture from when we built the one at home:
DSC_8311

As a result there was a nice pile of wood shavings left, which we'll save to use for kindling this winter:
DSC_4168

The next trip up saw the other side of slats completed and another strip of felt on the first side:
DSC_4172 firewood shelter

and a third day saw the job done (bar trimming some of the excess felt a bit):
DSC_4174 firewood shelter

We were assisted throughout by our little mobile solar PV power station, with the addition of a 12V-to-mains inverter to charge the cordless drill:
DSC_4173 Solar power in the woods

With the roof on it was then time to sort out the inside, so that one half is ready for firewood:
DSC_4183 firewood shelter

While the other has assorted odds and ends in it
DSC_4184

We used some old corrugated plastic to sort that wall out - the others will get more Hazel sticks stuffed into them until there's enough to keep the rain out.

The other little job I was getting on with was rebuilding our firewood cutting rack, which had seen better days after three years of use. Having taken the stakes out I excavated the saw chips that were there, and was surprised at their depth!
DSC_4175

DSC_4176

I actually got four wheelbarrows full out of there...
DSC_4177

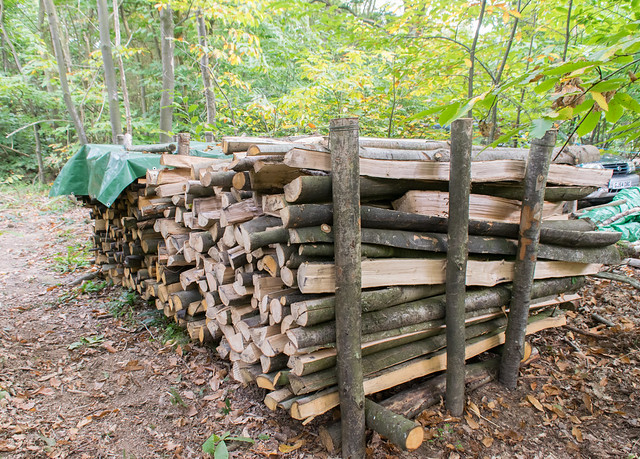
When rebuilding it I took account of the length of the logs we cut up (the yellow log painted on the ground is measured to fit our stove), and oriented the rack so we can get our log trolley close to it for easy loading.
DSC_4178

Not long after that it was full and ready to cut up:
DSC_4180 firewood

If you've not seen this from a chainsaw's point of view before, check out this video I made a few months ago:

Mike

Click here to read the rest of this post.

Friday, 23 December 2011

Building a firewood store: part 3

A while ago I posted pictures of the construction of our firewood store (part 1 and part 2), but we've made one more small addition to it.

We found that although rain dripping off the lower edge of the roof was well clear of the wood stored inside, the splashes when the drips landed were making the wood wet. So, we've added a gutter, suspended from the roof slats by short lengths of paracord:

DSC_1007

DSC_1013

We may add something to collect the rainwater from it later, but at present we're getting more than enough from the house roof.

We then went up to the wood to do the same to the shelter that EWB had built for us back in March, but this time we definitely wanted to harvest the rainwater so we can use it for the fruit trees in the summer. So, we got hold of a couple of old dustbins from Freecycle, and cut a hole in the lid:

IMG_0053

and then fitted in the downpipe. We wanted a lid on to prevent wildlife falling in and drowning.

IMG_0055

While we were up there, we also stripped off the plastic from roof of our old firewood shelter, as it was degrading from UV exposure, and replaced it with a tarpaulin and some old corrugated plastic we had spare. We'll do something more permanent with roof felt later I think, but this is an improvement for now:

IMG_0059

IMG_0057

and finally, we went for a bike ride (in the drizzle) this morning to try and video some herons down near Military Road. We didn't see any herons, but we did get a nice video of some swans feeding:


Mike

Click here to read the rest of this post.