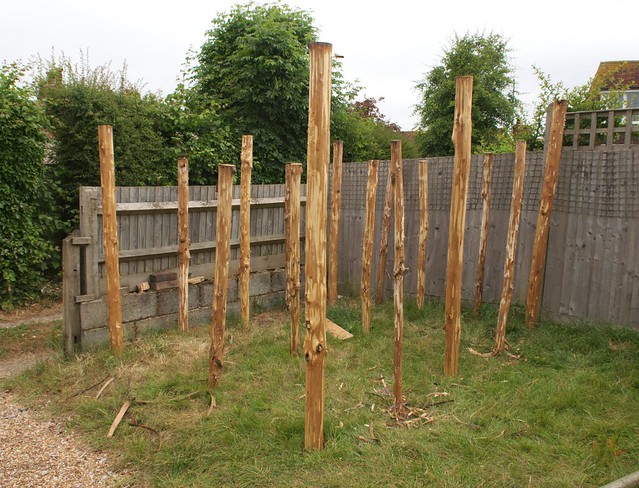
Picking up from part 1, which ended with the firewood store at this stage:
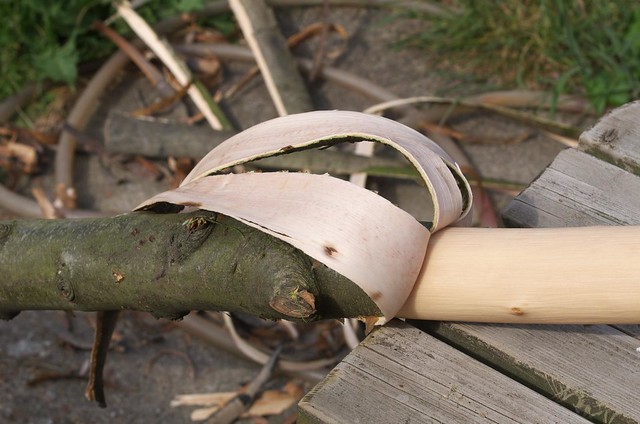
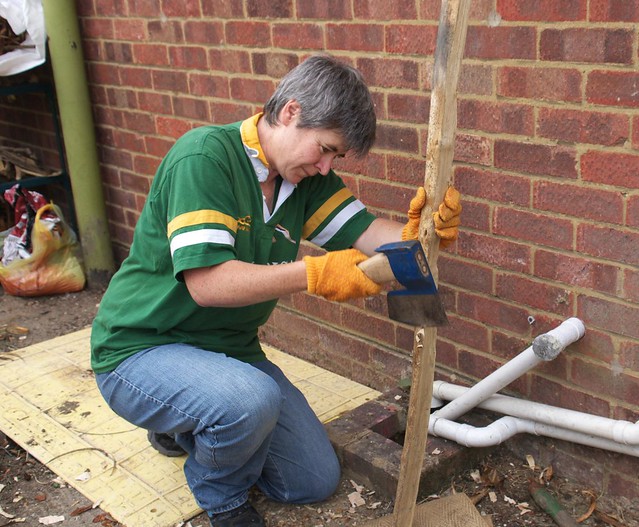
The next job was to put some cross beams on top of the stakes, but first we had to peel them:
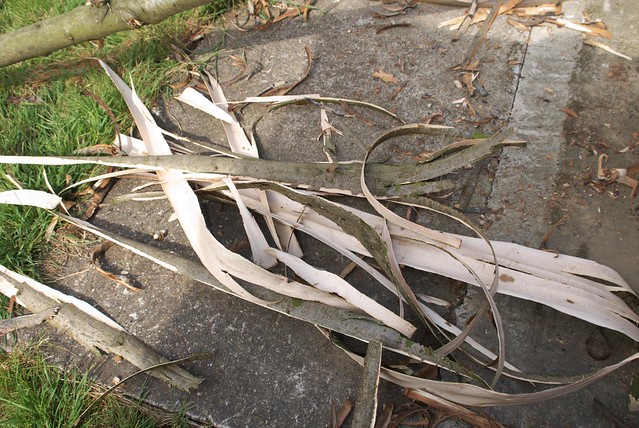
This actually makes quite a mess, so we decided we'd peel the roof slats at the wood before bringing them home.
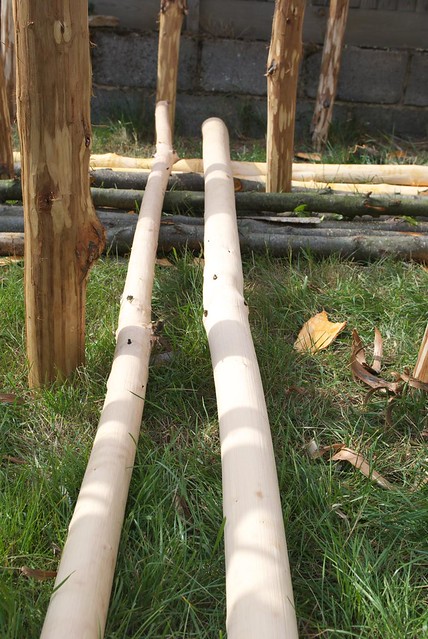
Anyway, after peeling, the chestnut cross beams were a really nice white colour, though that quickly fades.
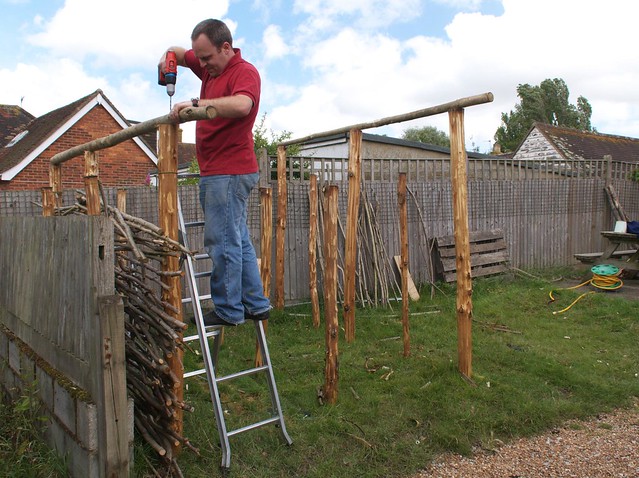
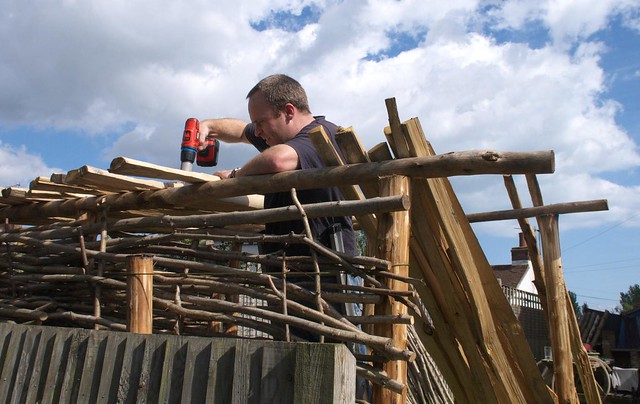
The cross beams were then drilled and nailed onto the stakes, ready to hold up the roof slats.
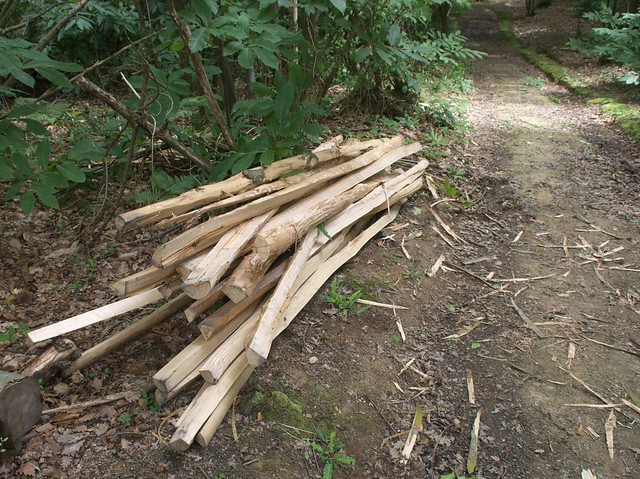
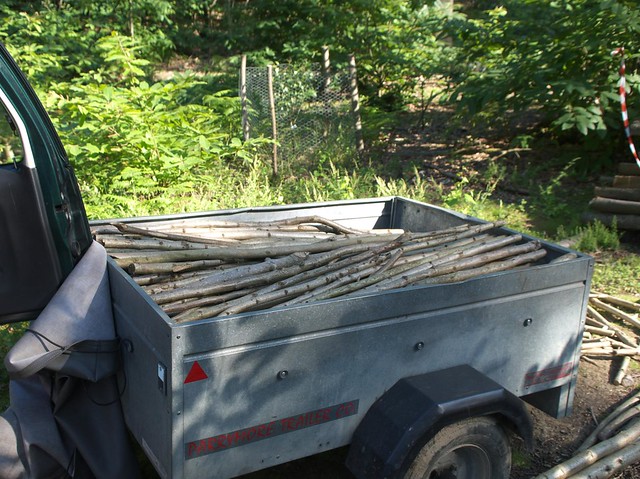
Here's a pile of slats for the roof, which we've cleaved from chestnut poles and then peeled:
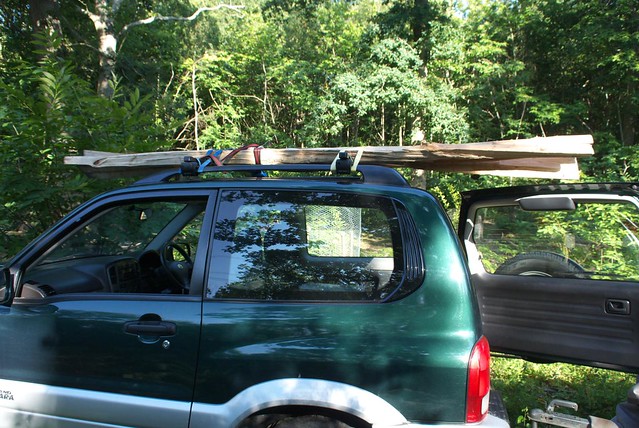
We got them home using the roof bars on the car, which have proved very useful.
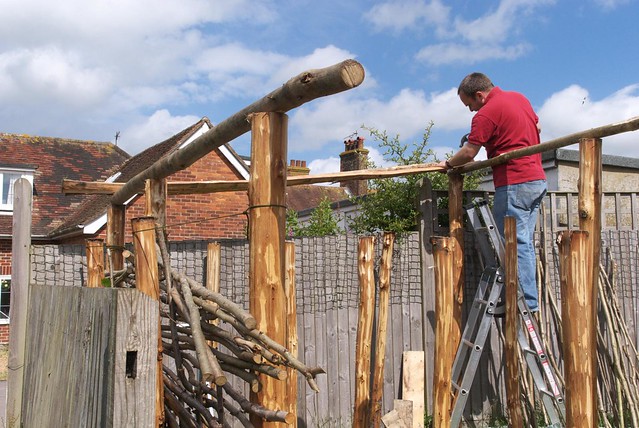
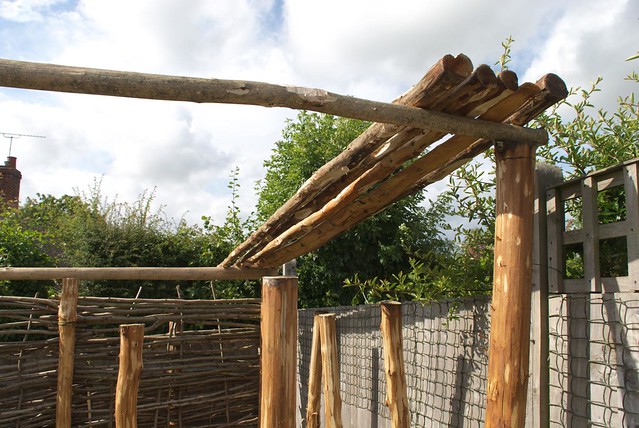
Before long, the roof was taking shape...
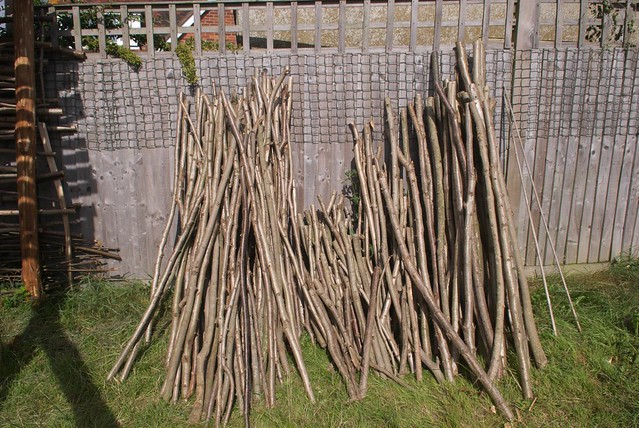
We also brought back a lot of hazel poles:
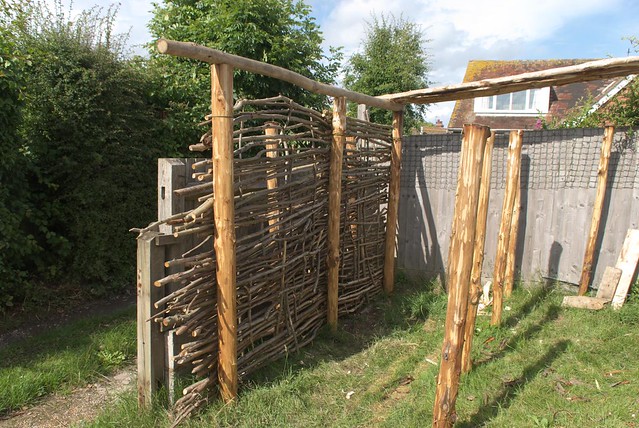
These were then woven between the stakes to make walls that will keep rain out while letting air pass through so that the wood can keep drying over time:
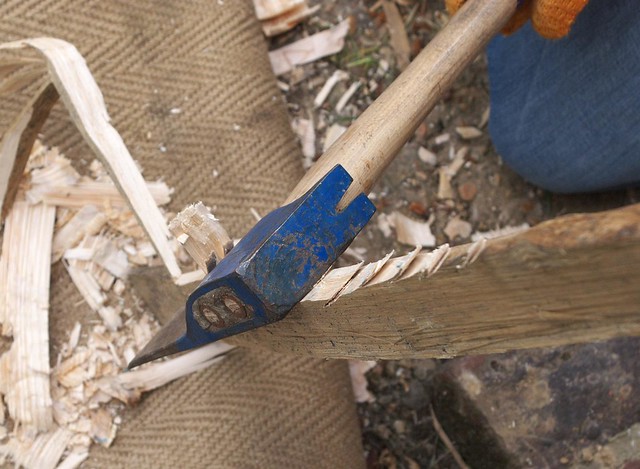
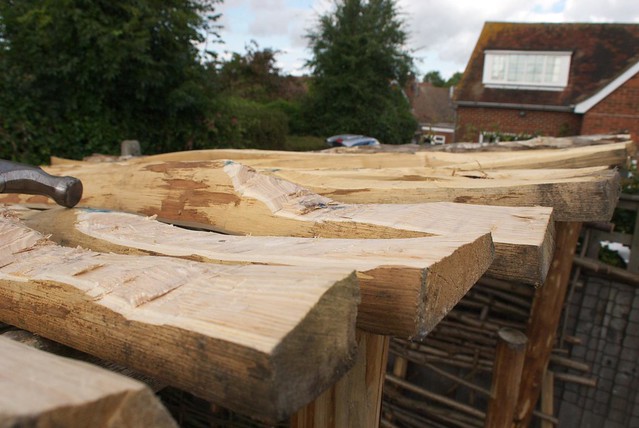
Going back to the roof slats though - the ends were often too thick to easily drill through to nail them down, so we used a side axe to shape each one of them:
This then left thinner ends that were much easier to work with:
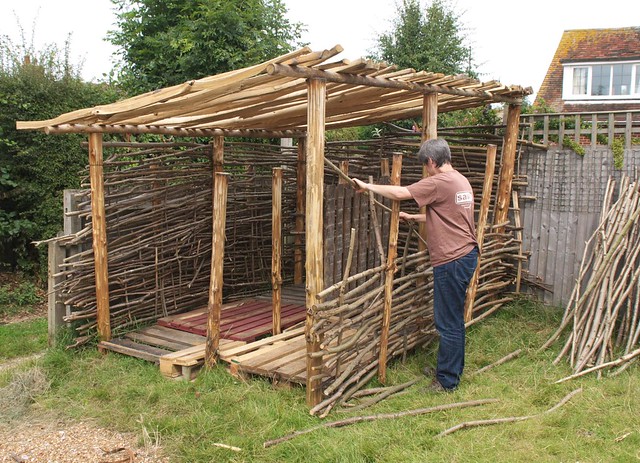
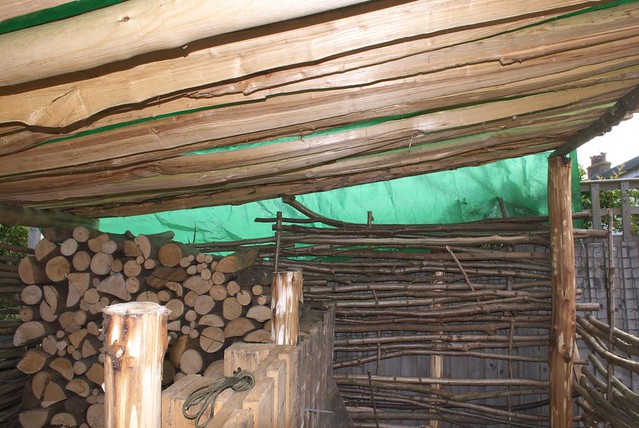
OK, so here's the roof with all the slats on, and Tracy working on the final wall:
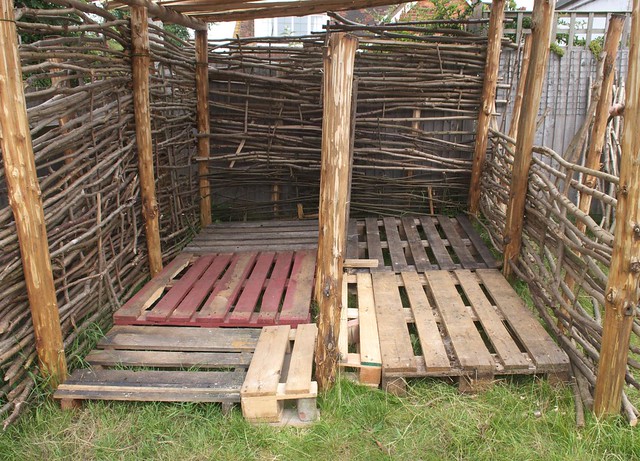
Inside it looks like this, with pallets used for the floor - this will keep the logs off the ground, and allow air to pass underneath, so stopping them from getting damp and rotting:
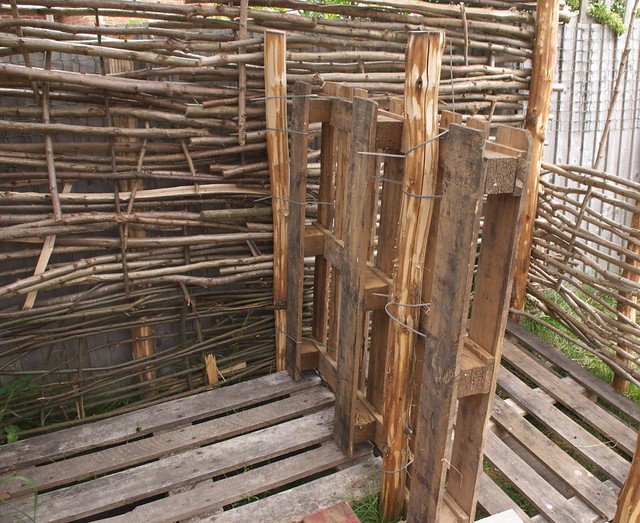
The store is actually separated into two bays by some shorter stakes, and we just zip-tied some more pallets to these to make a wall. The purpose of this is so that we can empty one bay first, then it can be refilled while the other bay is being used. This will make sure we are always burning hte oldest wood first.
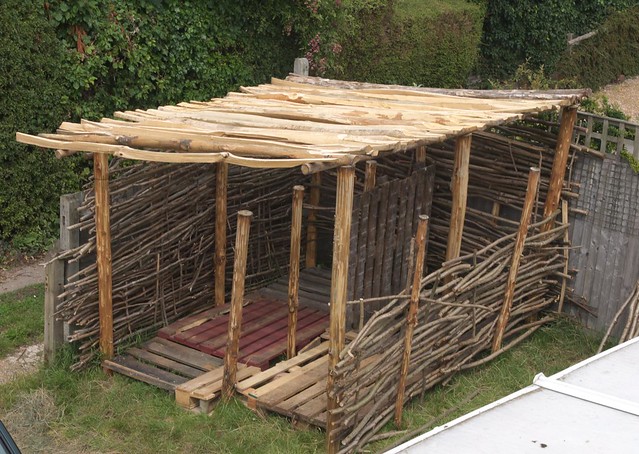
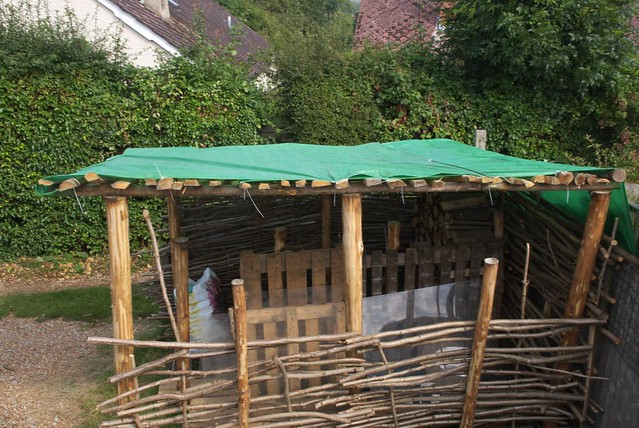
Here's an overhead view:
And here it is with tarpaulins on the top:
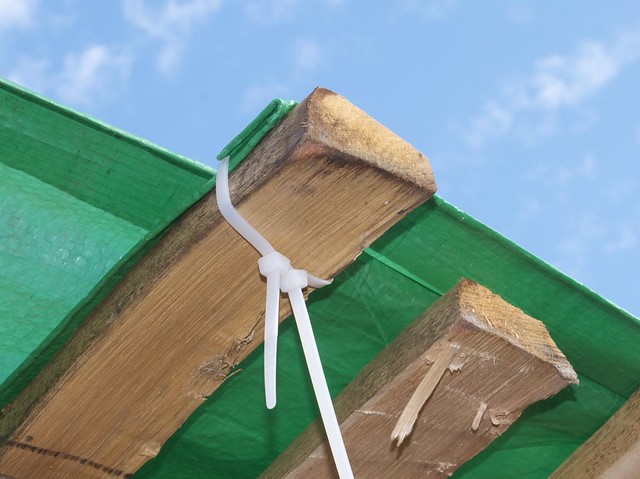
These are just zip-tied down:
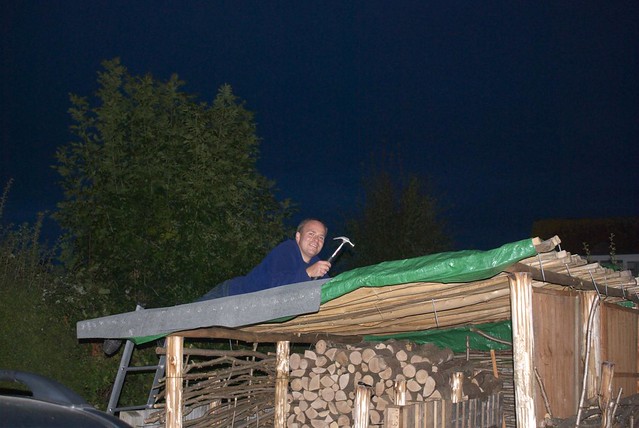
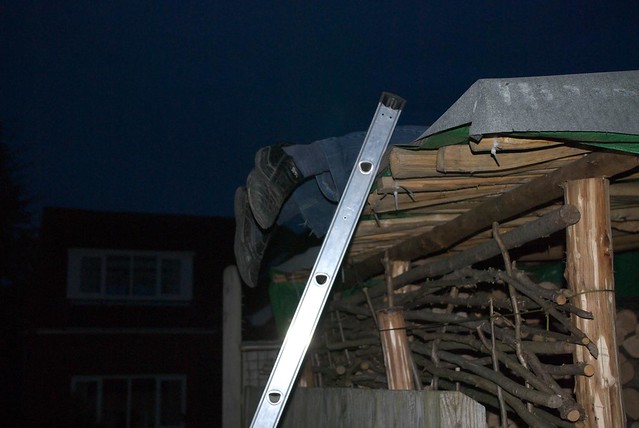
But then over the top of them went some roofing felt - and I also proved the roof is quite strong. You'll notice we ran out of hazel, and used some old fence panels to finish the wall on one side.
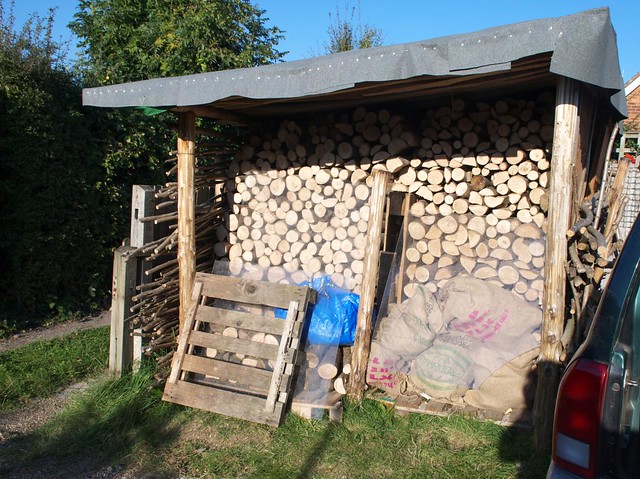
So here it is finished, with lots of logs stored. We've used pieces of perspex we had spare to add some more rain protection at the front, though I don't think they're really needed as the roof overhangs quite a bit.
We've been using wood out of the store for a few weeks now, and it's proved much better than the pile under a tarpaulin that we had to use last year!
Mike

1 comment:
Great store, I must get going and build one for our overflow logs before winter really sets in!
Chris
Post a Comment