Last winter we just kept our logs under a tarpaulin, but this made access awkward and didn't allow a free flow of air so the wood could continue seasoning. However, it was all we had time for at that point. This summer we've been building a proper firewood store (or log store, if you prefer), although it has progressed quite slowly for various reasons. It's roughly based on the most recent store built up at the wood.
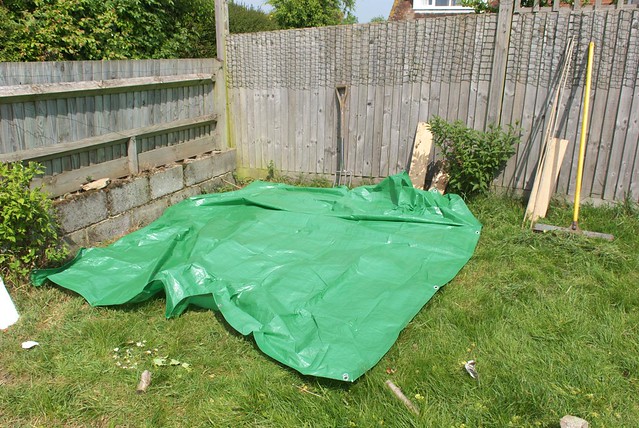
We started out by laying out a tarpaulin we'll use for one layer of the roof, to get the shelter about the right size:
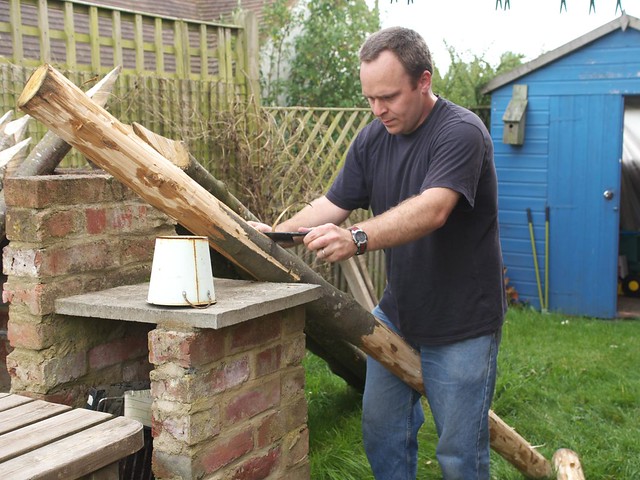
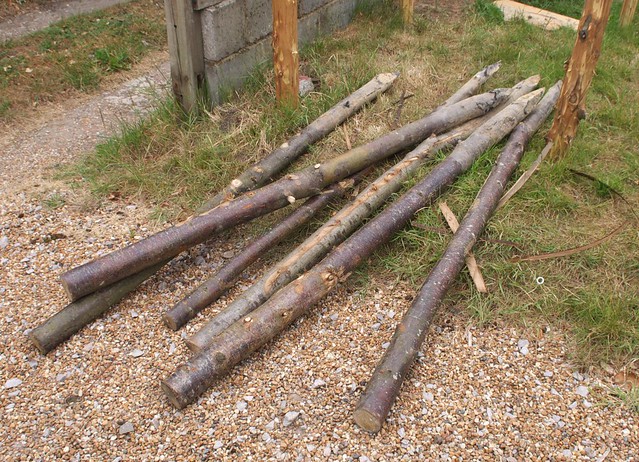
We already had some 8ft Sweet Chestnut stakes ready, so we brought them home and peeled them using a draw knife, which should make them more durable. They're a bit unwieldy to peel though!
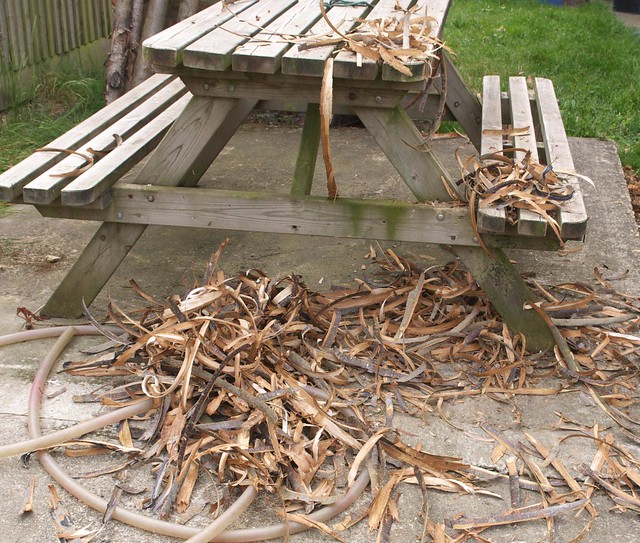
They're a lot harder to peel when they've dried out like these ones, but the upside is you create a huge amount of kindling!
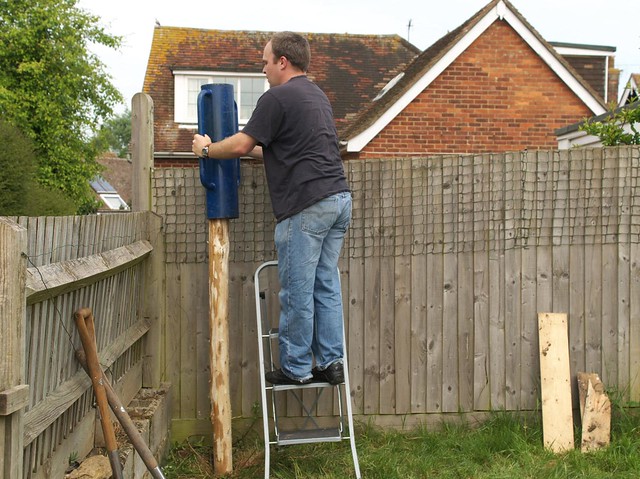
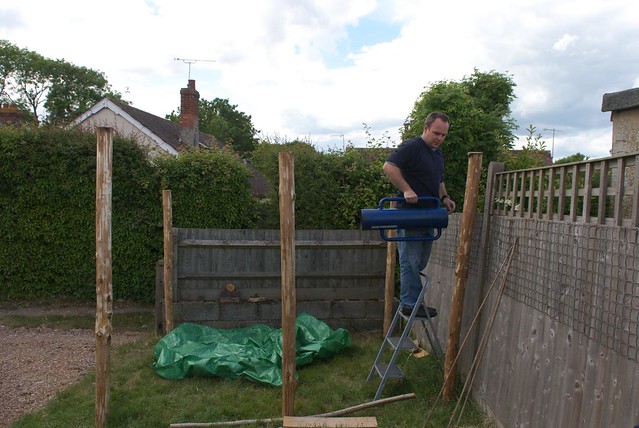
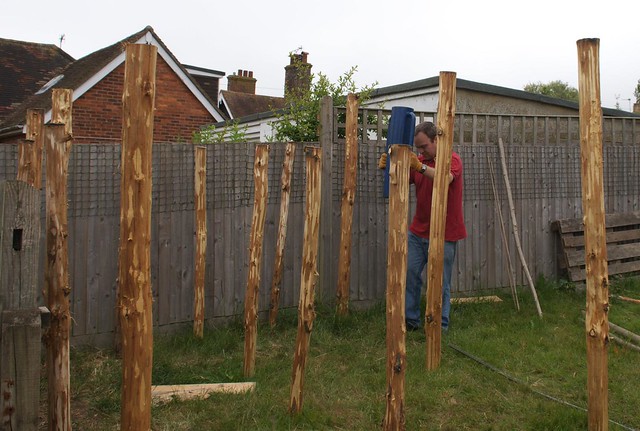
That old familiar tool, the post driver, came out again to start putting the stakes in their places.
and before long there was one wall ready:
Onto the next wall...
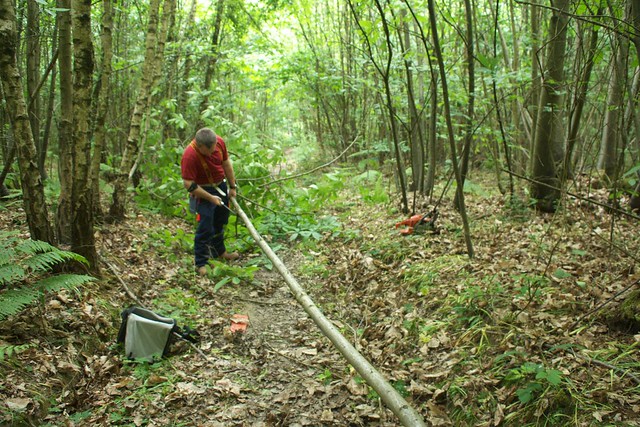
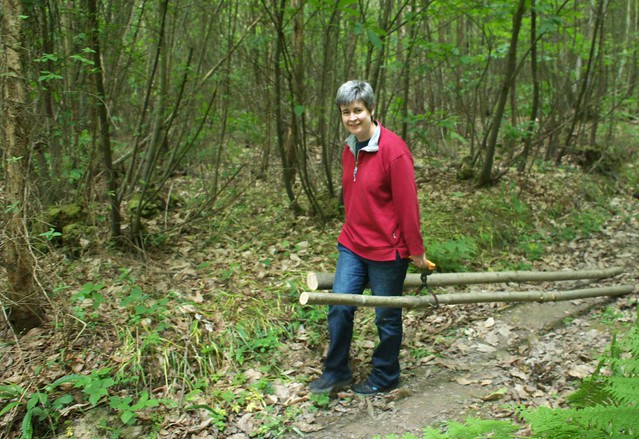
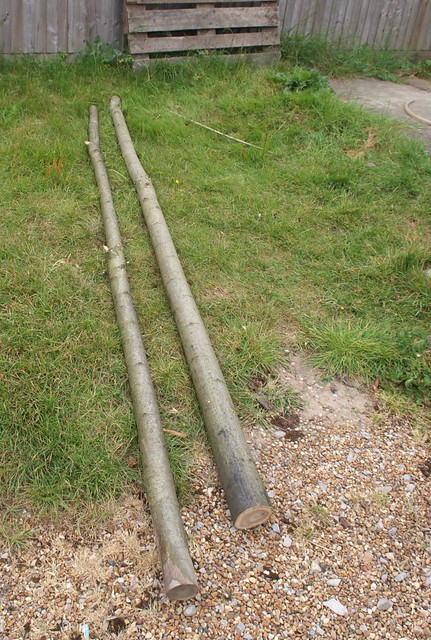
After that, we'd used up the stakes we already had at home, so it was off to the wood to collect more, and also to look for a couple of long straight Sweet Chestnut stems to fell for the cross-beams.
We managed to reuse a lot of stakes from the past winter's cutting:
Here's the cross beams. It would have been better if they'd been felled in winter, but we'd not made our plans for the store at that point. Chestnut felled in the summer can be less durable, but as these parts will be under cover once the store is complete I'm not too worried about that.
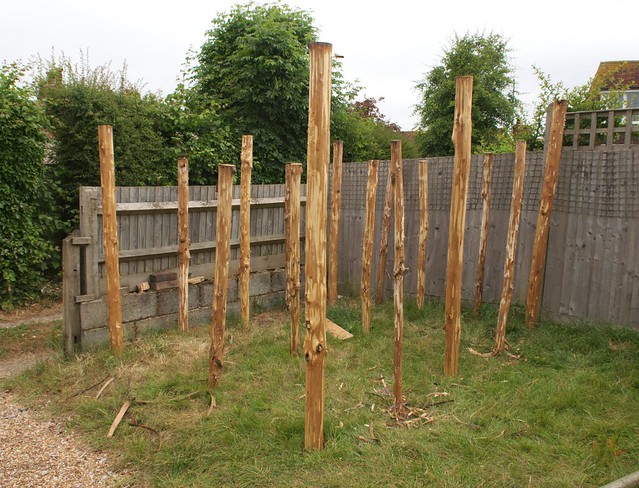
In addition to the six main stakes to hold the roof up, there are shorter stakes in between them - this will allow us to weave branches between them to make walls that will keep the rain out while letting air pass through. We've also put a row of shorter stakes along the middle so we have two separate bays in the store - this comes in useful if you have older wood you want to burn first.
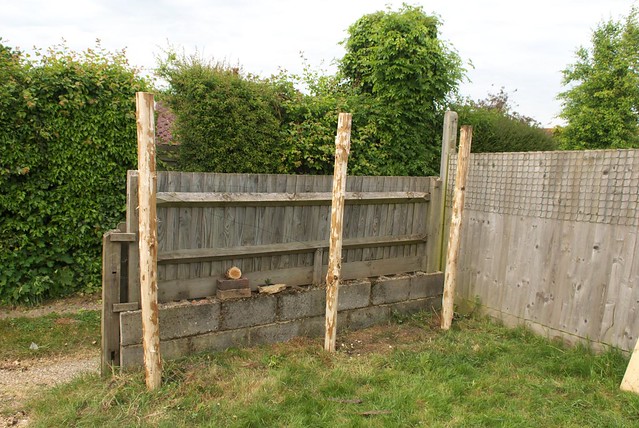
So here it is with all of the stakes in. Looks a bit like Woodhenge might have done, only smaller!
Next step is the cross beams, walls and roof, in Part 2.
Mike

No comments:
Post a Comment