Showing posts with label shelter. Show all posts

Wednesday, 23 December 2015

Tame pheasants and a new shelter roof

I've posted photos of the tame pheasants in our woodland before:
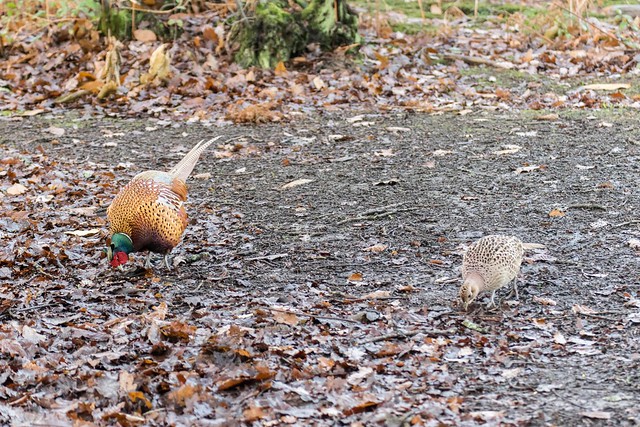
DSC_4566

But recently I also made a video of them so you can see how they behave - I took this using my mobile phone, so that gives you an idea of how close they are, no zoom lens involved:


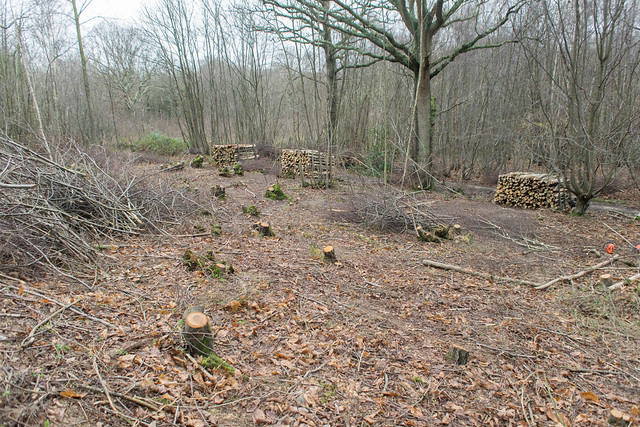
The coppicing is generally proceeding according to plan, at least on the few days with nice weather! Here's a couple of shots of the progress so far:
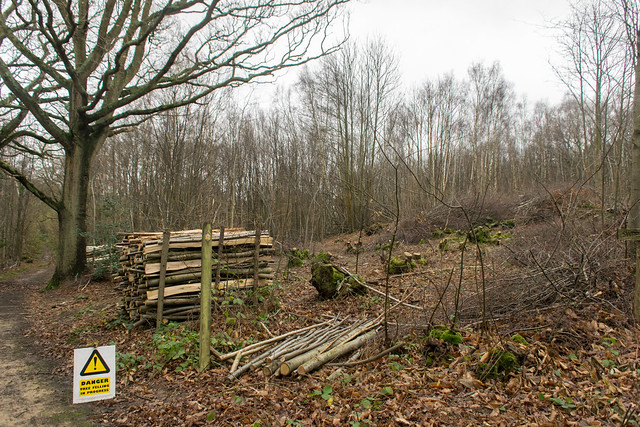
DSC_4605

DSC_4601

As we've progressed through this area, we've discovered a new wallow the wild boar are using:
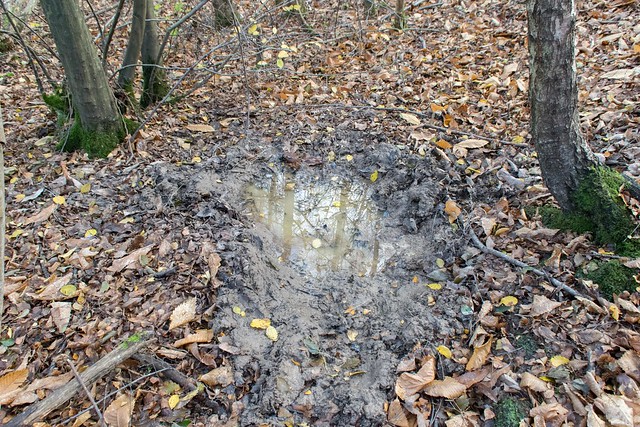
DSC_4591

I gather from people who've lived here longer than us that there has been a spring here for some time, so it seems the boar have located it and turned it into bathing facilities!

Meanwhile, on a day when it was too windy to fell trees safely, I decided it was finally time to repair the roof of a shelter we built back in 2008. Although it's not used to actually store anything, and only has a roof, not walls, it's still useful on camping trips and when Tracy has her class up there, to shelter stuff from the rain or the sun. The sticks I'd nailed on to make a roof in 2008 had started to rot, so the first step was to get all of them off:
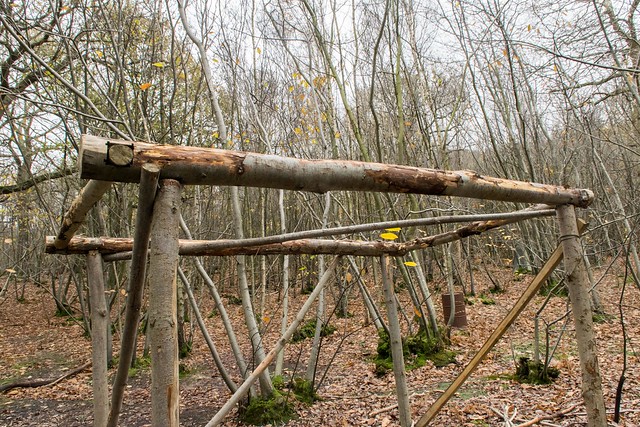
DSC_4582

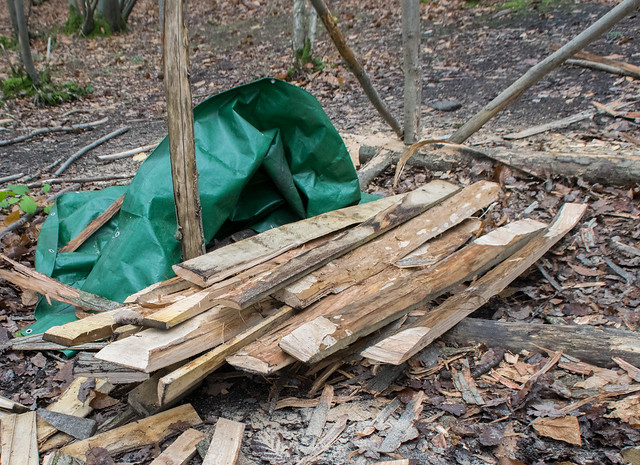
The new roof was going to be made using sweet chestnut offcuts from Rich's sawmill:
DSC_4583

First though, I peeled the bark off them to improve durability, and used a chainsaw to cut them to length and taper the ends a bit where necessary:
DSC_4585

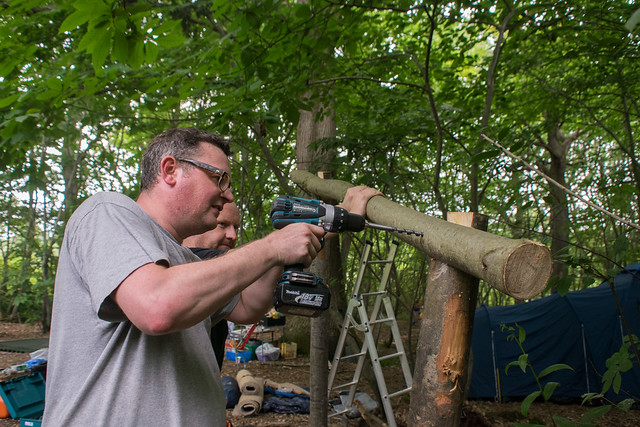
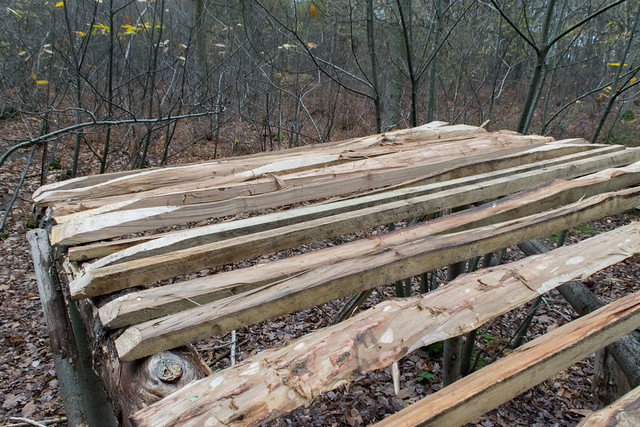
Then it was a case of drilling holes and nailing the offcuts onto the frame to form a new roof:
DSC_4586

I think you'll agree that this finished product:
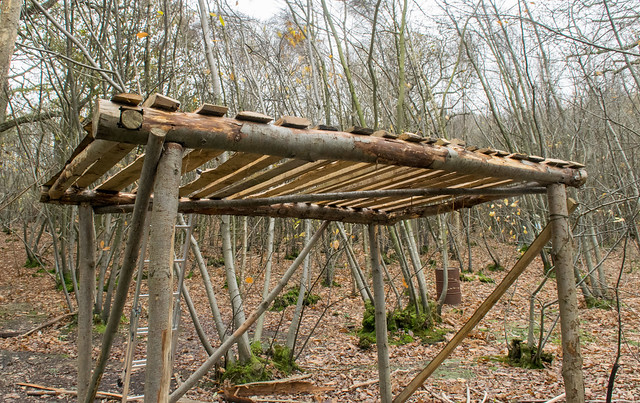
DSC_4587

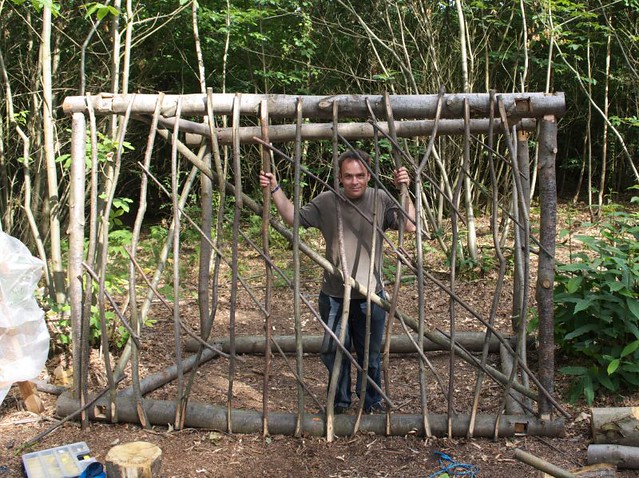
looks a lot better than the original one did in 2008:
DSC_2001

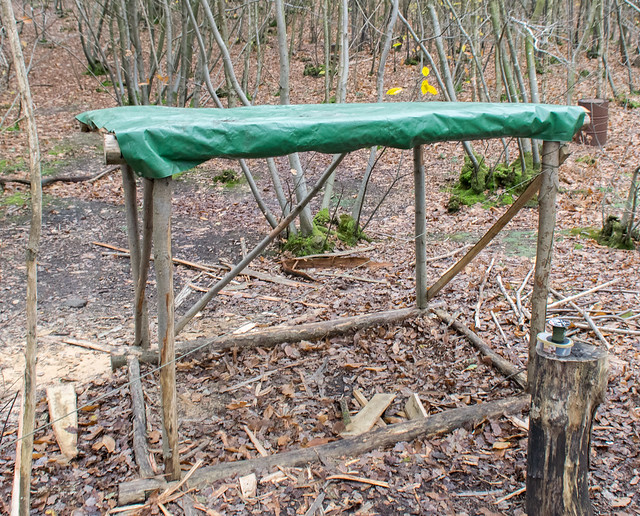
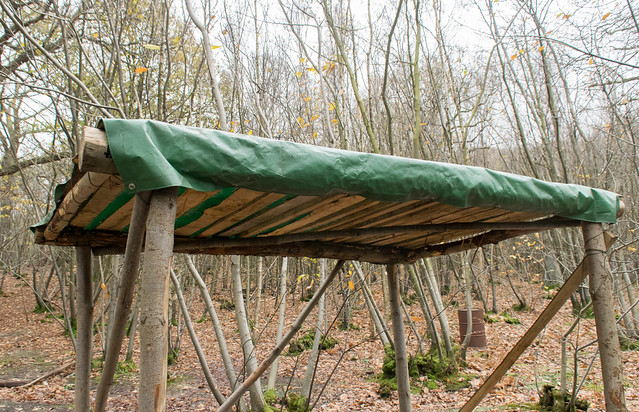
The final step was to reinstall the tarp to keep the rain out:
DSC_4589

DSC_4590

Now it's ready to serve campers and schoolchildren alike next summer!

Mike

Click here to read the rest of this post.

Wednesday, 30 July 2014

Shelter building in the woods

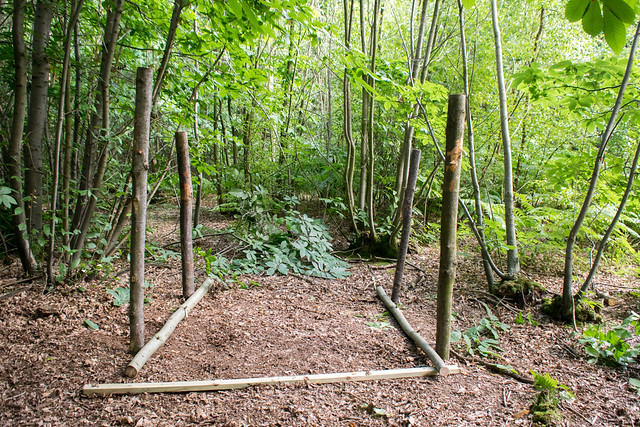
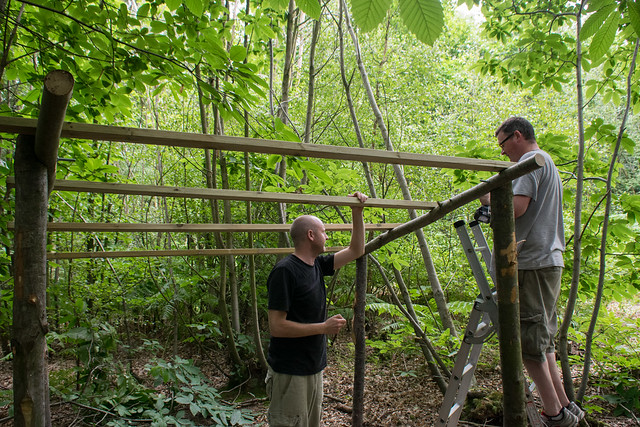
Last weekend I went to help a friend build a shelter in his woods, so he has a space to store the basics when he visits to manage the woodland this coming winter. We started by using a post driver to bang in some stakes:

DSC_1453

Then attached cross-beams to these:
DSC_1456

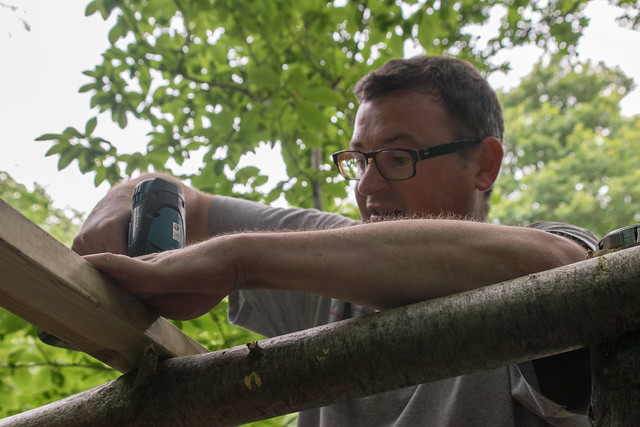
Everything up to this point had been Sweet Chestnut, but at this point a bit of purchased sawn timber was used:
DSC_1460

DSC_1462

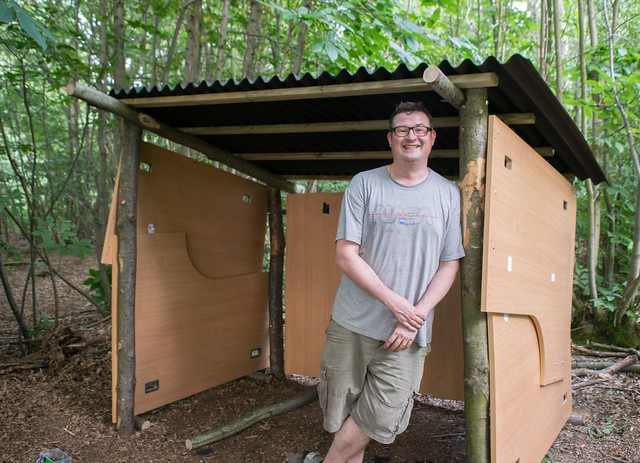
The final step was to nail on some roof panels he'd bought, and use some recycled desk tops to make the walls:
DSC_1463

There's a plan to 'clad' it with some dead branches to improve the aesthetics, but at least there's something to keep the rain off a few odds and ends now!

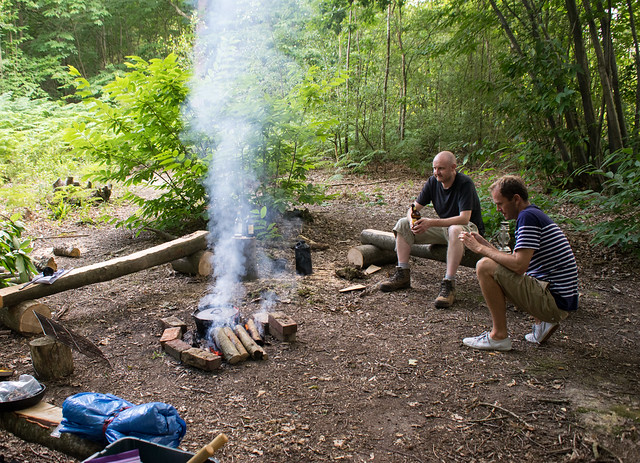
After the work, we rewarded ourselves with a dinner round a camp fire...
DSC_1465

It was really good to be able to apply some of what I'd learned by building our own shelters in the past, of which there've been several versions...

Mike


Click here to read the rest of this post.

Saturday, 1 March 2014

Ducks in the woods and a new shelter roof

See, I told you the woods were flooded... we have Mallards swimming around now...

Mallards in the woods! IMG_20140301_144708

Here's a pic of the River Rother from a couple of weeks ago, which gives you an idea of how waterlogged the area around Rye is!
River Rother in flood, Feb 2014

At least one good sign though - bluebell shoots!
Bluebell shoots appearing! DSC_7983

The wet and windy winter had also accelerated the decay of parts of our shelter roof in the woods, so we spent some time over the last couple of weekends getting it sorted...
DSC_7904

First we fixed some wooden beams across the existing roof:
DSC_7898

DSC_7901

Then wedged a few bits of wood underneath to stiffen them up - the roof bows a bit, hence the gap in the middle.
DSC_7907

To go on top of them we had some sterling board (OSB - Oriented Strand Board), which we'd treated with a preservative, and corrugated panels to go on top of them:
IMG_20140216_104341

And of course the solar PV to recharge the drill...
IMG_20140216_104359

Once the sterling boards were on top, it was pretty easy to move around and screw them down:
DSC_7909

Then the corrugated panels and the ridge pieces went on top:
DSC_7912

They were supplied with some special caps and nails, but we opted to use screws instead of nails. The screw went through the cap:
DSC_7914

Was then tightened until it was holding the panel firmly:
DSC_7916

Then finally you flip the centre of the cap over and press it down to create a watertight seal:
DSC_7917

We spent a good chunk of one day making half of the roof:
DSC_7925

Then came back the following weekend with more power tools and got the second half done much quicker!
Woodland shelter DSC_7986

We went today as well to do some track repair, but no pics of that - not much to see, just mud!

Mike

Click here to read the rest of this post.

Wednesday, 1 August 2012

Improving the firewood shelter and log cutting rack

Back in March 2011, some EWB students built a firewood shelter for us, and very good it is too!

EWB UK 2011 camping trip DSC_7154

But when it was built, we did take a bit of a short-cut so it could be completed during their camping trip - we spaced the slats on the roof out, alternating them between the two sides, and used a tarpaulin to cover them. While this has worked reasonably well, the plan has always been to rebuild the roof in the style of our firewood shelter at home, and in the past week we finally got round to this...

While we were doing it we also set a batch of charcoal cooking in the kiln, ready for some BBQs that are coming up:
DSC_4158 making charcoal

The first step for the shelter was to remove the old roof - here it is in 60 seconds! The delay at the end is the last two slats, where we had to get 6" nails out...

So then it looked like this:
DSC_4161

We also had a pile of new slats ready, to add to the ones we'd taken off the roof. They're all cleaved pieces of sweet chestnut:
DSC_4160

The previous layout of slats had them alternating, but the new one was to have them butting up against each other at the apex, with only small gaps between them on each side. We got one side done first:
DSC_4167

I did most of the drilling, while Tracy did hammering:
DSC_4163

Then we used some surplus roofing felt to start making it waterproof:
DSC_4169

The end of each slat was shaped using a side axe, to make sure it fitted nicely onto the roof spars, and was not too thick to drill through - here's a picture from when we built the one at home:
DSC_8311

As a result there was a nice pile of wood shavings left, which we'll save to use for kindling this winter:
DSC_4168

The next trip up saw the other side of slats completed and another strip of felt on the first side:
DSC_4172 firewood shelter

and a third day saw the job done (bar trimming some of the excess felt a bit):
DSC_4174 firewood shelter

We were assisted throughout by our little mobile solar PV power station, with the addition of a 12V-to-mains inverter to charge the cordless drill:
DSC_4173 Solar power in the woods

With the roof on it was then time to sort out the inside, so that one half is ready for firewood:
DSC_4183 firewood shelter

While the other has assorted odds and ends in it
DSC_4184

We used some old corrugated plastic to sort that wall out - the others will get more Hazel sticks stuffed into them until there's enough to keep the rain out.

The other little job I was getting on with was rebuilding our firewood cutting rack, which had seen better days after three years of use. Having taken the stakes out I excavated the saw chips that were there, and was surprised at their depth!
DSC_4175

DSC_4176

I actually got four wheelbarrows full out of there...
DSC_4177

When rebuilding it I took account of the length of the logs we cut up (the yellow log painted on the ground is measured to fit our stove), and oriented the rack so we can get our log trolley close to it for easy loading.
DSC_4178

Not long after that it was full and ready to cut up:
DSC_4180 firewood

If you've not seen this from a chainsaw's point of view before, check out this video I made a few months ago:

Mike

Click here to read the rest of this post.