Showing posts with label froe. Show all posts

Monday, 14 April 2014

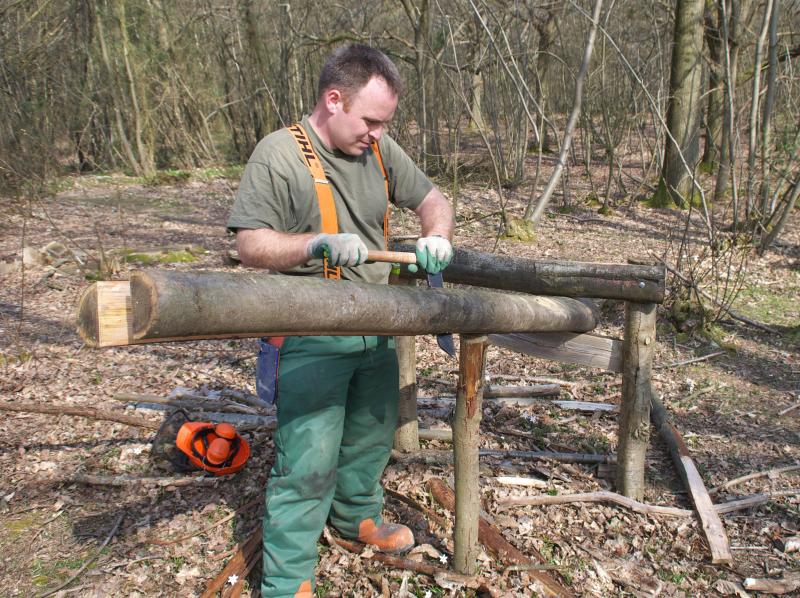
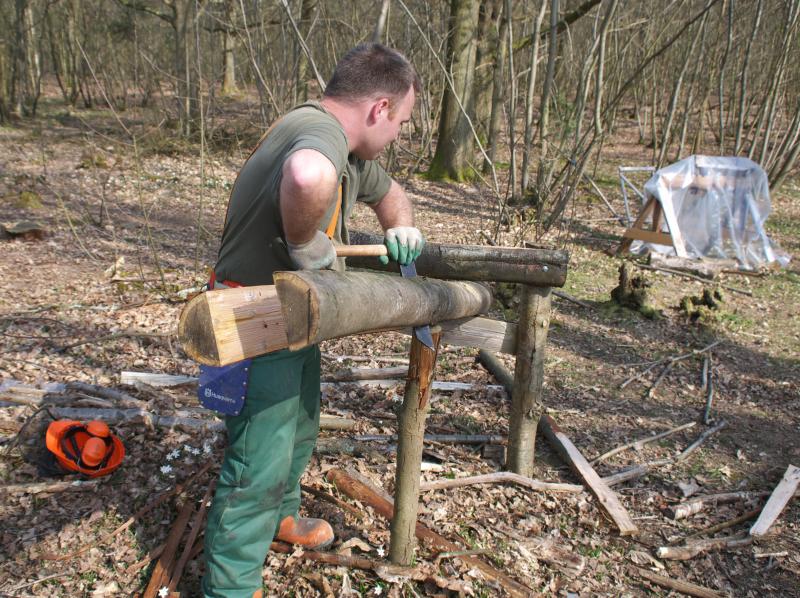
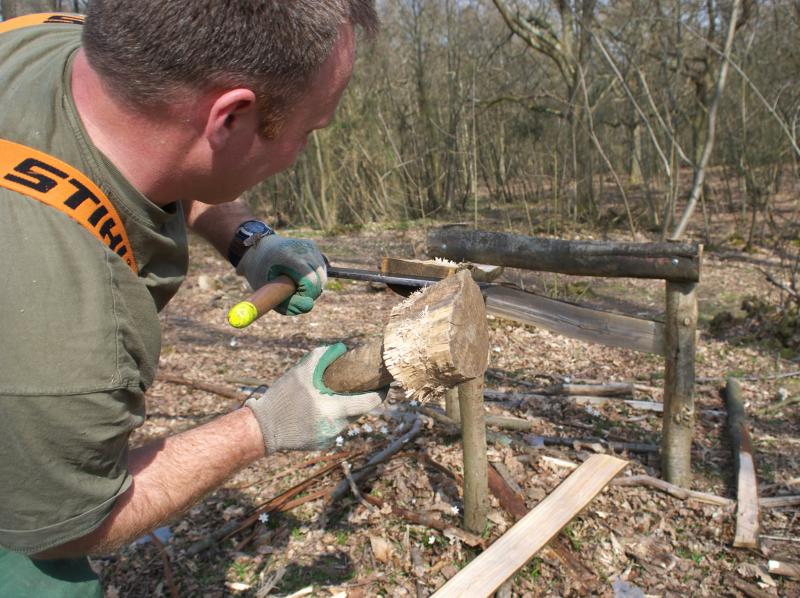
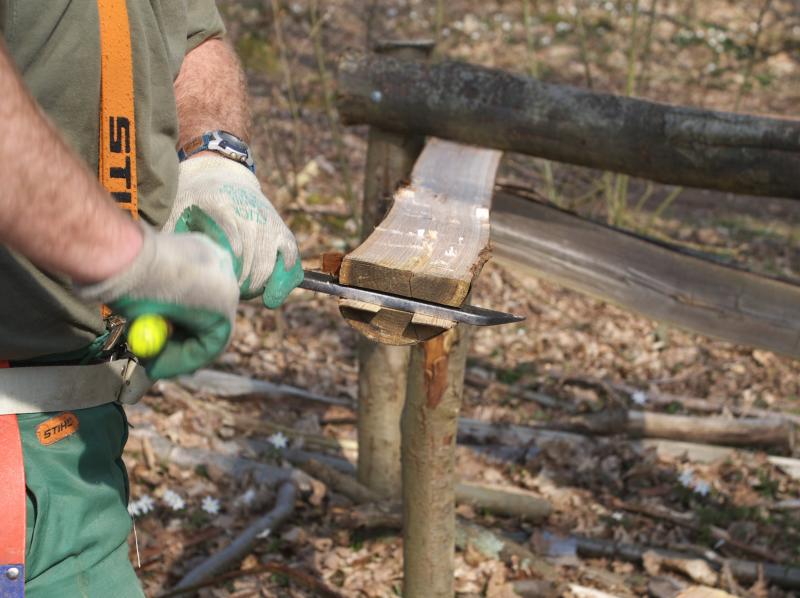
Making kindling quickly by hand with a froe

Here's how we make all our kindling. It's quick and easy, and quite a satisfying job to do too! I wrote about the method some time ago, but finally got round to making a video on how to do it:


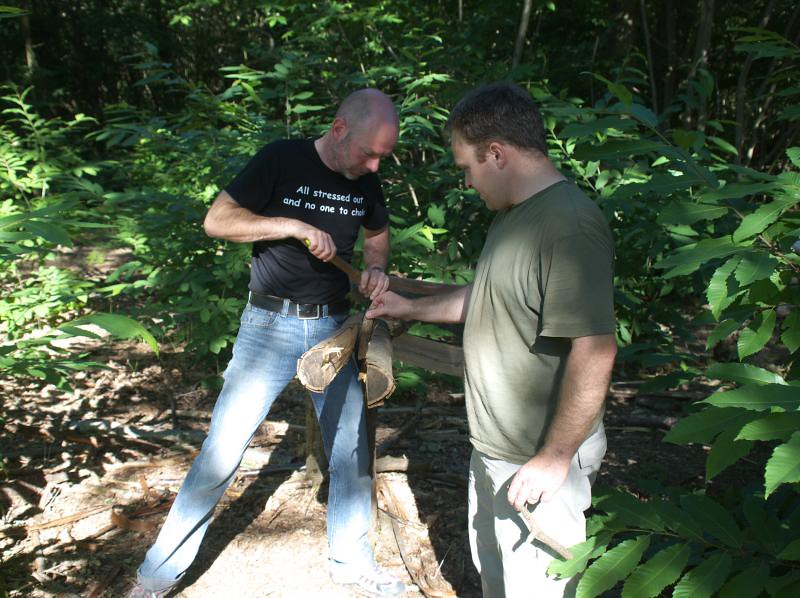
All you need is a chopping block, an inner tube from a bike, a froe (or frow, depending how you spell it), and a wooden mallet. The inner tube is the key - it holds the log together while you finish the job of splitting it up, as you can see here:

Best not to use a fancy mallet, as it will get damaged hitting the froe. I'm using one I made myself, as in this video:


Mike

Click here to read the rest of this post.

Monday, 4 July 2011

Cleaving chestnut

We popped up to the wood on Saturday to collect some materials for the roof and walls of the firewood shelter we're building at home (pictures will come soon, I promise...). It's not the usual time of year to fell trees, but we need some wood of a certain length for the roof and we're certainly not going to buy it! Felling in the summer means the wood is wetter, and therefore may not be as durable, but these pieces will be under a tarpaulin once they're up, so we think it'll be OK.

Tracy got stuck into cutting some of the regrowing chestnut along the footpath - we want to keep this region as a kind of shrub layer, as this will be more beneficial for the wildlife.

DSC_8150

DSC_8161

DSC_8162

It's also of a size now where we can use it to weave the walls of the firewood shelter:
DSC_8163

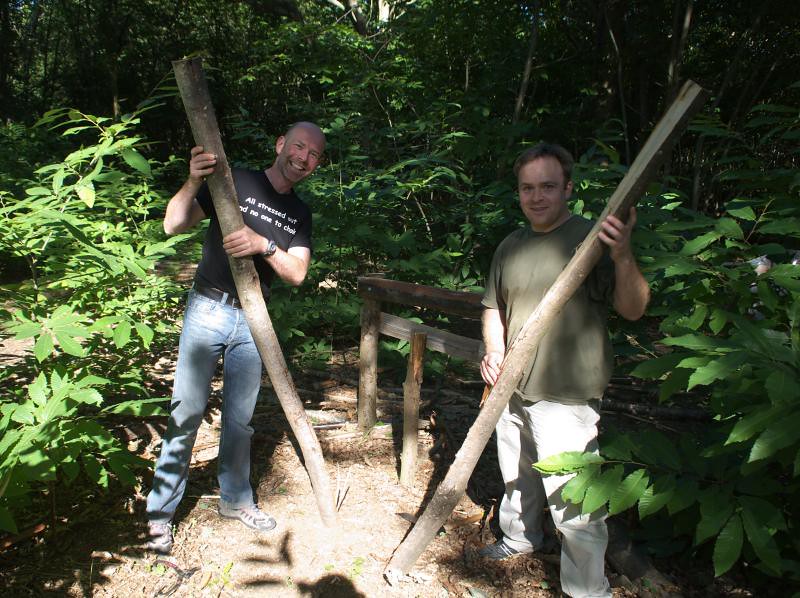
While she was doing that, I felled a few selected chestnut stems which were beautifully straight - I got five 2.8m logs out of one of them. I then used a froe and mallet to cleave the logs:
DSC_8153

DSC_8154 cleaved sweet chestnut

DSC_8158 cleaved sweet chestnut

The wood has a really nice grain, very straight:
DSC_8155 cleaved sweet chestnut

It was also dead easy to peel with the wood being so wet - after cleaving I was able to peel the bark off the whole log in one go for some of them. Then home they go to be bolted onto the roof of the shelter...

Mike

Click here to read the rest of this post.

Wednesday, 30 March 2011

EWB students build us a firewood shelter

Last weekend we had a group of students from Engineers Without Borders UK (Imperial College branch) come to camp in the wood and also build us an additional firewood drying shelter.

EWB UK 2011 camping trip DSC_7117

DSC_7083

We started off with a walk round the wood to admire the Wood Anemones:
DSC_7084

and also the bridge that EWB built last year in Sweep Wood:
DSC_7086

Then the first part of the shelter building started - carrying back some of the Sweet Chestnut stakes we'd made during this winter's coppicing:
DSC_7089

Before starting on the new shelter, we all had a good look at the old one, to see how it could be improved:
DSC_7090

Then an area was measured out so that the tarps we have would cover the roof:
DSC_7096

and work started on peeling the stakes, so they'll last longer in the ground:
DSC_7093

The stakes were put in with the post driver:
EWB UK 2011 camping trip DSC_7105

and then the rest of their length was peeled - this was easier to do once they were in the ground, which is why we'd only done the first bit earlier:
EWB UK 2011 camping trip DSC_7112

While all this was going on, some of the group was off felling small trees to use for stakes in the walls and also for roof slats:
EWB UK 2011 camping trip DSC_7109

EWB UK 2011 camping trip DSC_7108

Before long the outline of the shelter was taking shape:
EWB UK 2011 camping trip DSC_7127

Because the ground was slightly sloped, but we wanted the roof to be level, we used an old plastic pipe with water in it to check the relative height of thet corner stakes:
EWB UK 2011 camping trip DSC_7114

After all that work it was time for a break, and the rope swing was put into use...
EWB UK 2011 camping trip DSC_7119

EWB UK 2011 camping trip DSC_7126

The trees that had been felled earlier were cut to length and sharpened with a side axe:
EWB UK 2011 camping trip DSC_7131

then these were used to create posts that Hazel rods could be woven in between to form the walls:
EWB UK 2011 camping trip DSC_7128

The longer poles to form the ridge and edges of the roof were flattened using a draw knife until they sat neatly on the posts, then they were bolted down:
EWB UK 2011 camping trip DSC_7133

By the end of Saturday the shelter was really taking shape:
EWB UK 2011 camping trip DSC_7135

Sunday saw work start on using a froe to cleave the freshly felled chestnut poles to make slats for the roof:
EWB UK 2011 camping trip DSC_7136

EWB UK 2011 camping trip DSC_7139

Each of these then had to be smoothed with a draw knife or billhook to make sure it wouldn't tear the tarp later on:
EWB UK 2011 camping trip DSC_7142

The slats were then put on the roof:
EWB UK 2011 camping trip DSC_7149

with each being nailed in at the top to secure it:
EWB UK 2011 camping trip DSC_7146

near the end the drill battery ran out, but fortunately I'd come prepared!
EWB UK 2011 camping trip DSC_7150

And finally, on went the tarps, fixed down with zip ties and paracord, just in time for a team photo before it was time to pack up camp:
EWB UK 2011 camping trip DSC_7154

In case you were wondering, there was also some time for food, camp fires and beer!

Tracy and I are very grateful for all the help we received over the weekend - it would have taken us at least a week to get it done ourselves! Looking forward to another visit next year...

Mike

p.s. there are more photos than the ones in this blog, visit the set on my Flickr page to see the rest.

Click here to read the rest of this post.

Sunday, 18 July 2010

A new improved firewood shelter (part 4)

A brilliant day to be in the woods! Lovely sunshine, but not too hot. Best of all, we've finished the roof on the firewood drying shelter! Andrew dropped in, so we made sure he got his hands dirty, cleaving some chestnut for the roof:
He got the hang of it nicely, but then again he has been practising with a froe making kindling already.
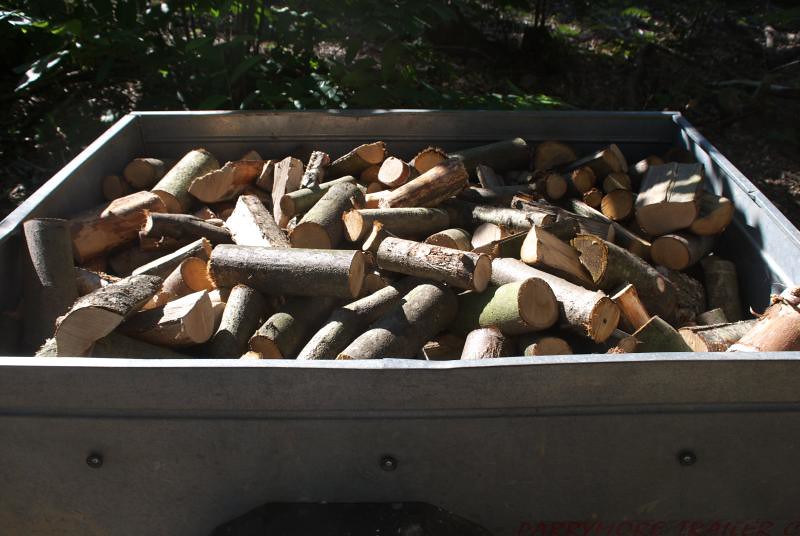
He also gave us a hand moving some logs after I'd cut them up, though some went into the trailer for delivery to a friend in return for a favour they'd done us.
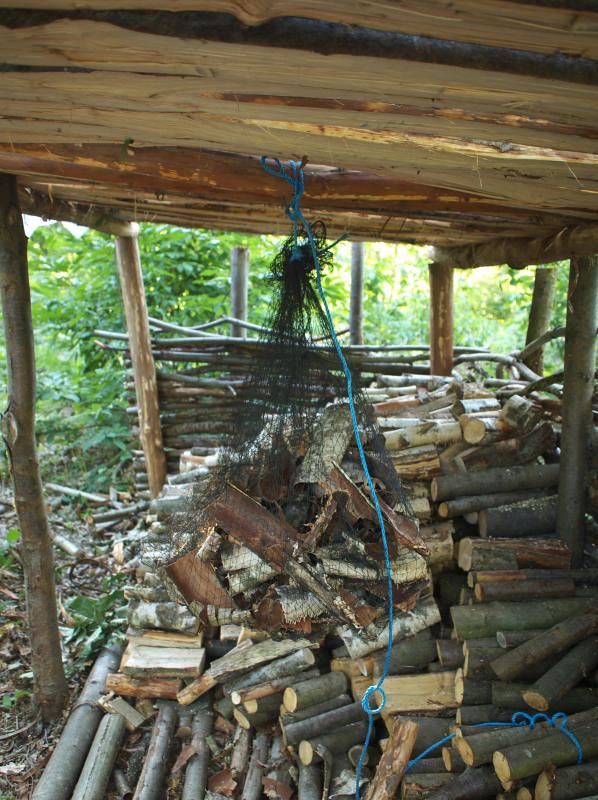
I think the shelter looks pretty good now with its roof complete - all we need to do now is add a gutter for rainwater harvesting!
You might notice an extra support to the left - we thought the cross-bean was sagging a little, so we trimmed down a Y-shaped pole we'd saved nearly three years ago, thinking it would come in useful some time...
The shelter's also a handy place to suspend some birch bark to dry for fire lighting.
You can see the earlier construction of the firewood shelter in part 1, part 2 and part 3.

Mike

Click here to read the rest of this post.

Sunday, 18 April 2010

A new improved firewood shelter (part 1)

Inspired by watching the full length version of Alone in the Wilderness, we set off to the wood to start on a new improved firewood shelter. The old one is covered with PVC sheeting, which only lasts about a year before the UV in sunlight causes it to fall apart.

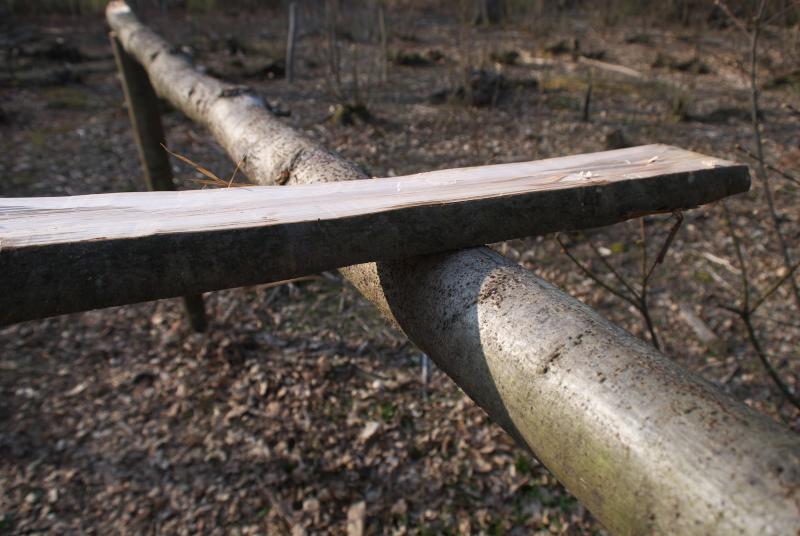
The first thing to make was a "shave log" as I've chosen to call it. At some point we'll get a brace drill and auger and put some legs on it then it will be a crude shave horse... I started by planing off one side of the log:
but stopping just before the end, then cutting it off to make a step:
A bit of tidying was then needed to make it reasonably flat:
To test it, Tracy cleaved a small pole using a froe a couple of times to make a rough plank:
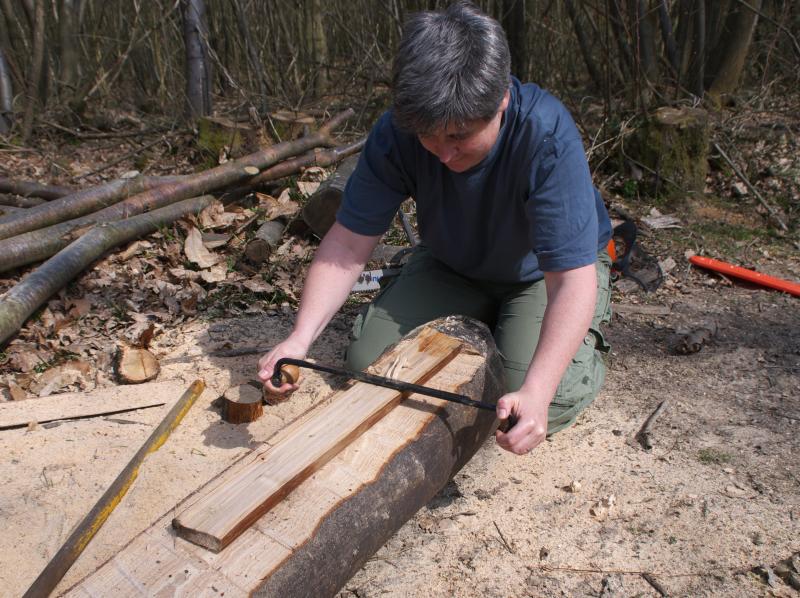
which she then shaved using a draw knife on the log:which produced a nice looking piece of wood:
Now we knew that bit would work, we selected some strong poles from wood we cut a year ago, and I sharpened them to make stakes. We also picked out two long straight poles to form the edges of the roof:
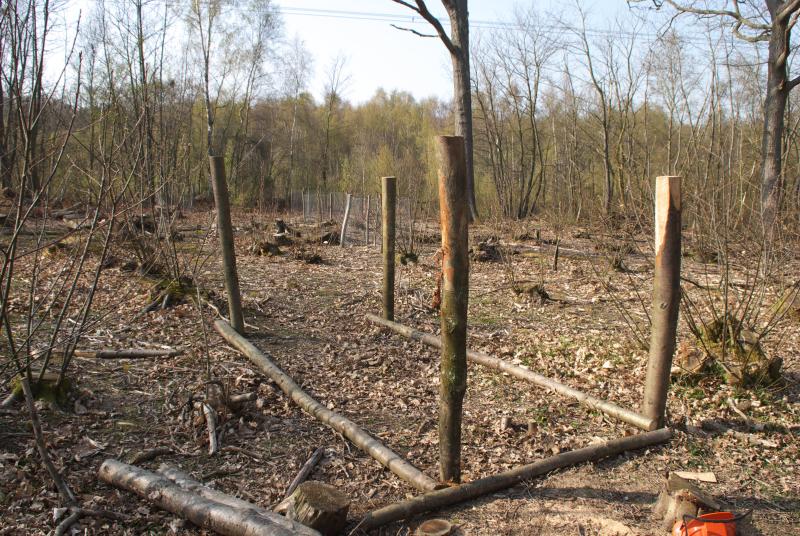
Then we banged these into the ground using the post driver (I had to trim the end of the one on the right as it was too fat to fit inside the post driver!):
We started cleaving some poles to make planks for the roof, this time using the cleaving break we made a couple of years ago:
Then each planked needed shaving with the draw knife to get it roughly flat:
We only had time to make a few, but it was at least a chance to see how they would look on the roof of the shelter:
We'll continue with the shelter over the next couple of weeks as time allows.

Now, here's some wildlife pics from the weekend. I got what I think may be my best photo yet of a Peacock Butterfly, I've uploaded it full size, so click this link to see a big version:
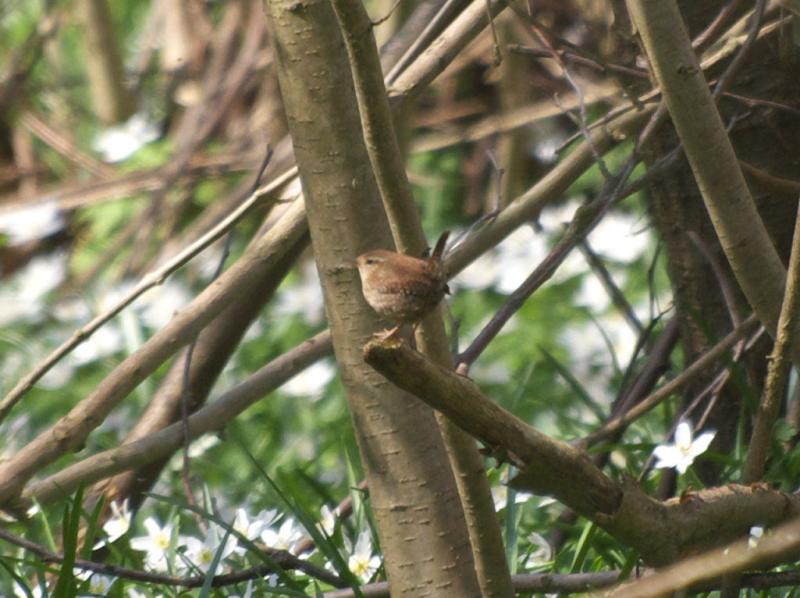
Lots of birds around too, though now the leaves are coming out it's harder to see them. Here's a wren:
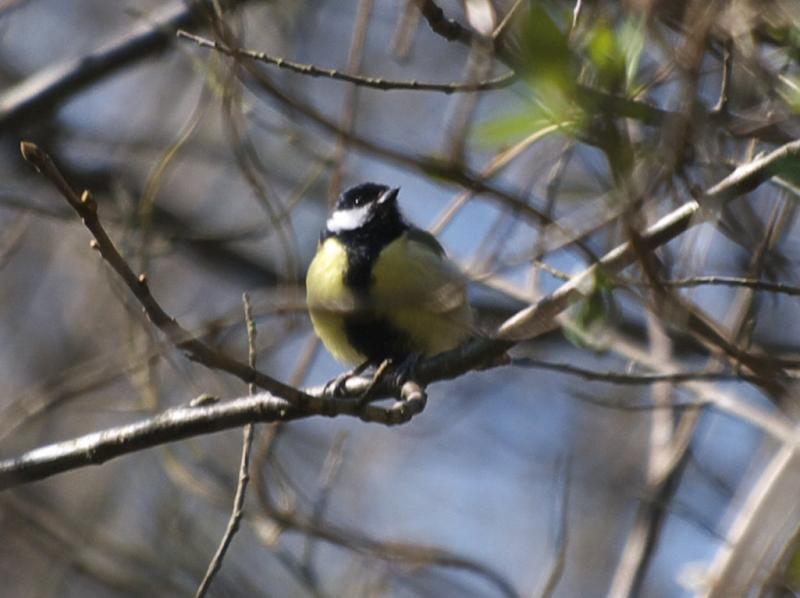
a Great Tit:
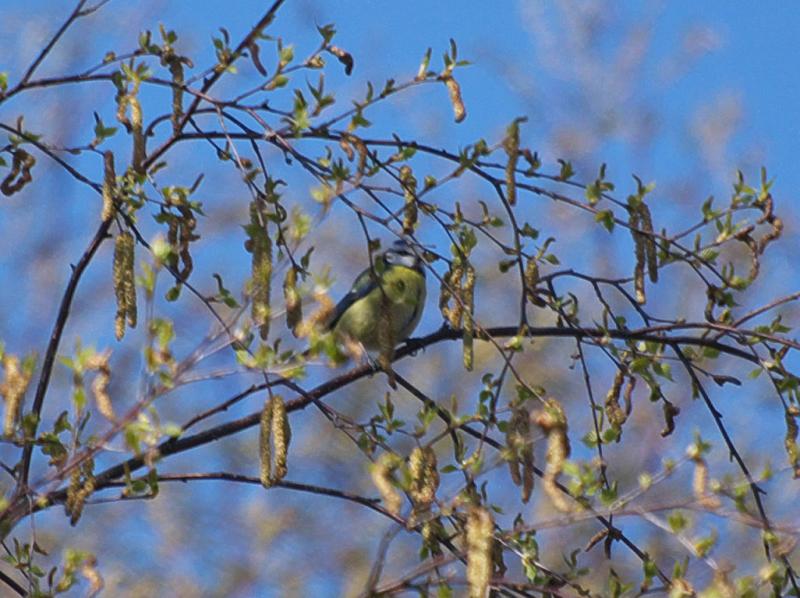
a Blue Tit:
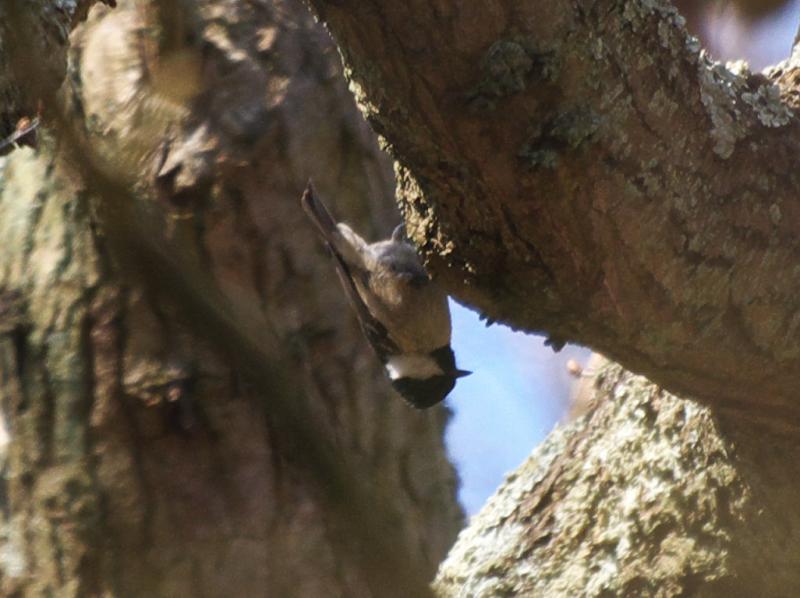
and several of a Coal Tit:
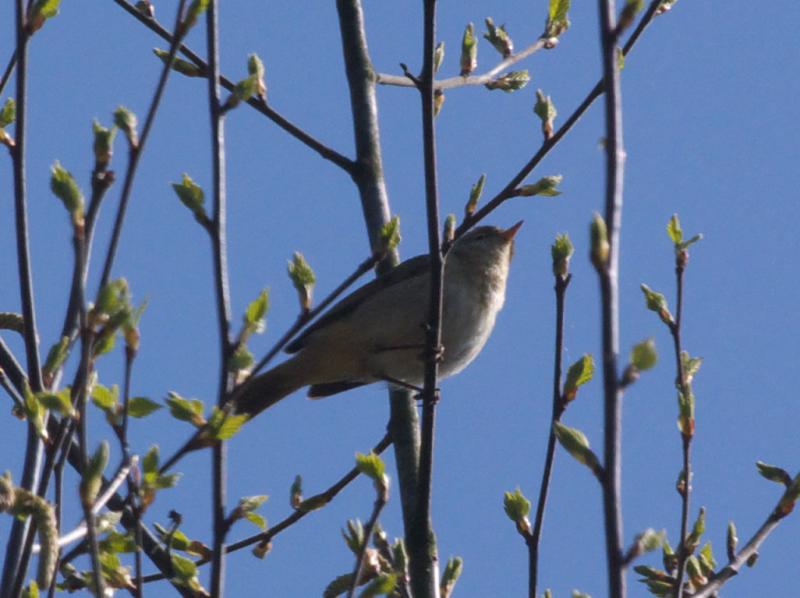
There's also one mystery bird that I didn't recognise. Is it a Nightingale? Please leave a comment to tell me if you know for sure...
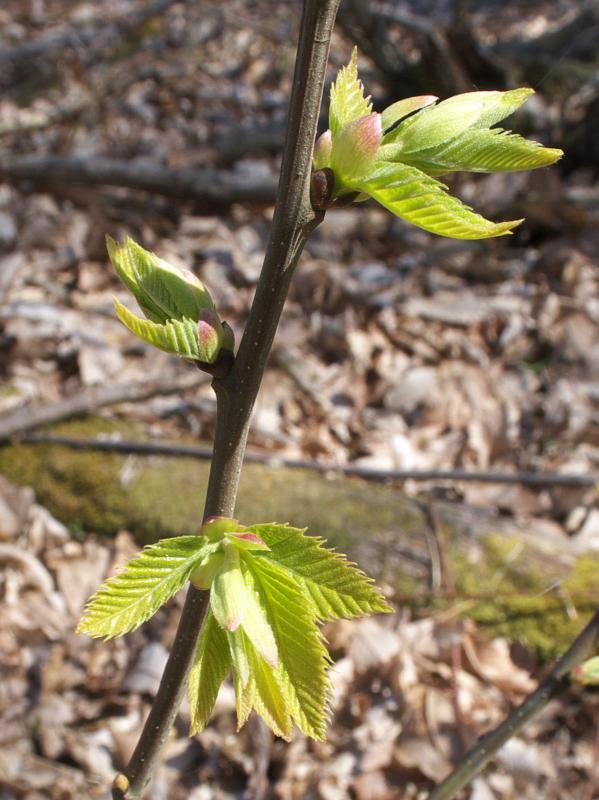
As I said, the leaves are coming out now, especially on the birch. A few of the Chestnut are coming on well:
while the ones we coppiced in Sweep Wood last winter are beginning to show new buds:
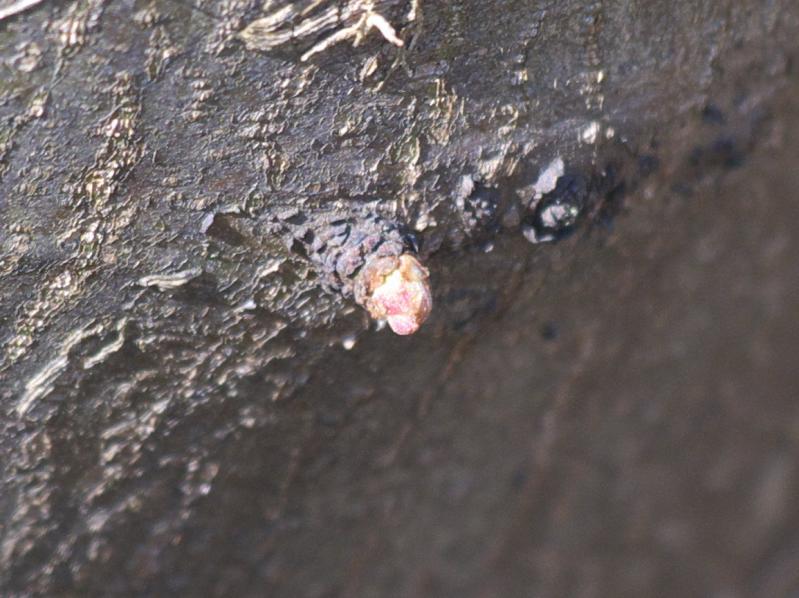
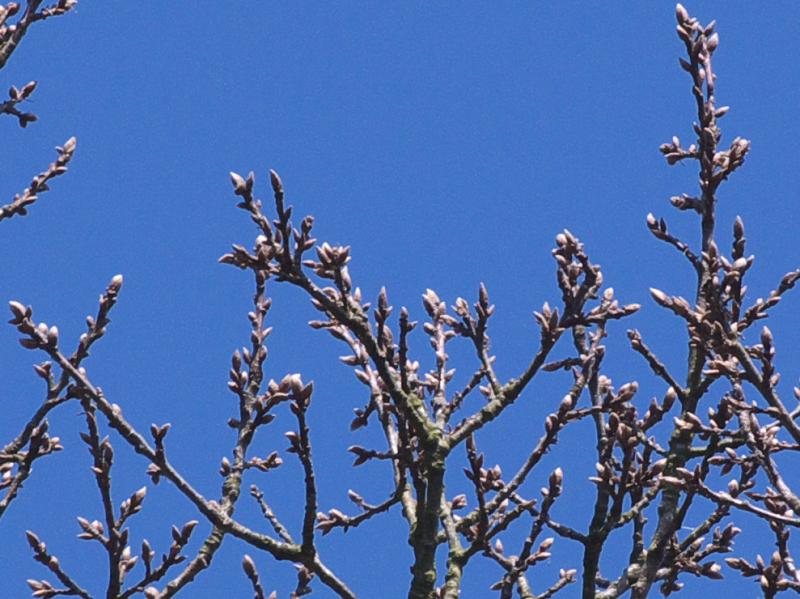
and there are swelling buds up in the oak trees:
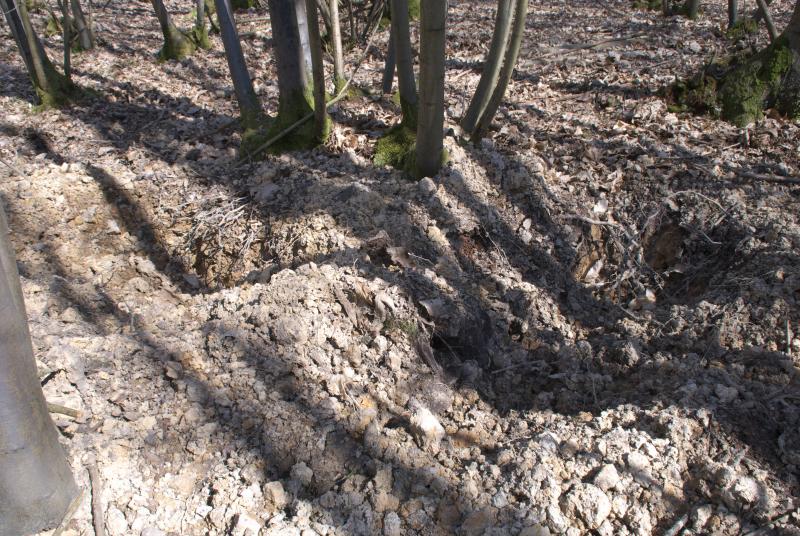
Down on the ground, the boar have been digging!
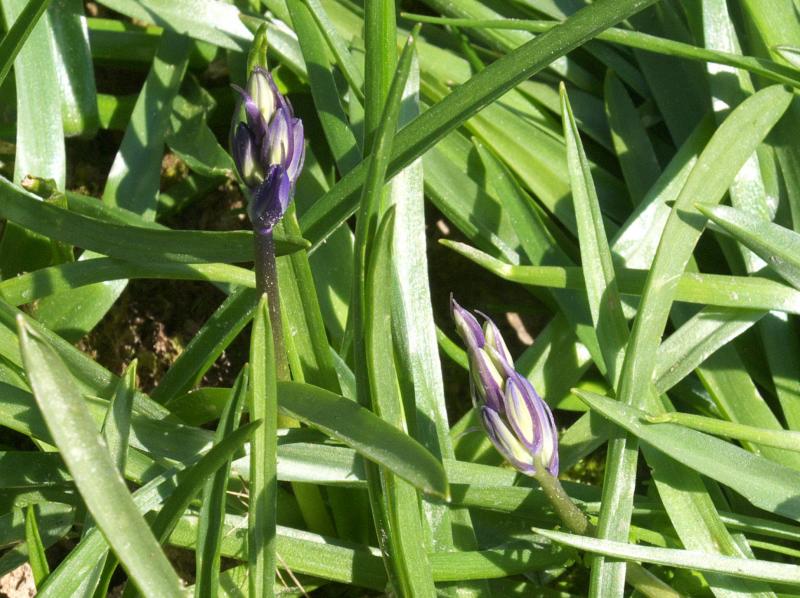
but in other places the first bluebells are coming out:
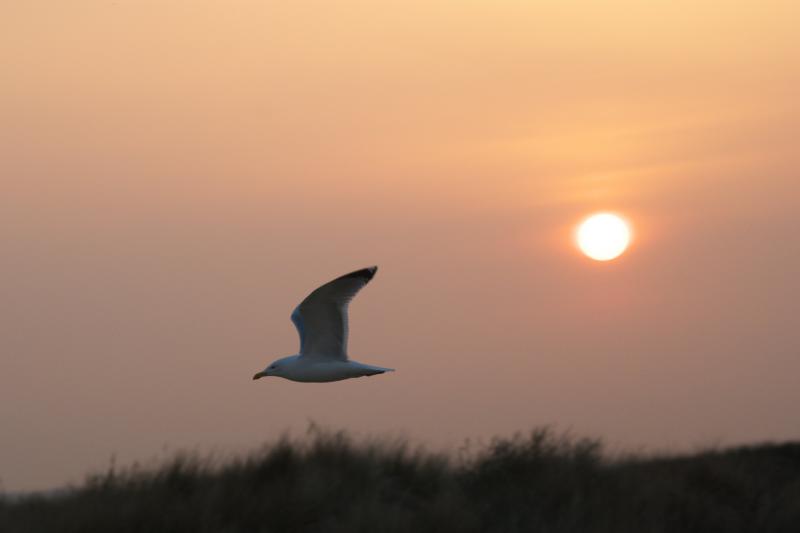
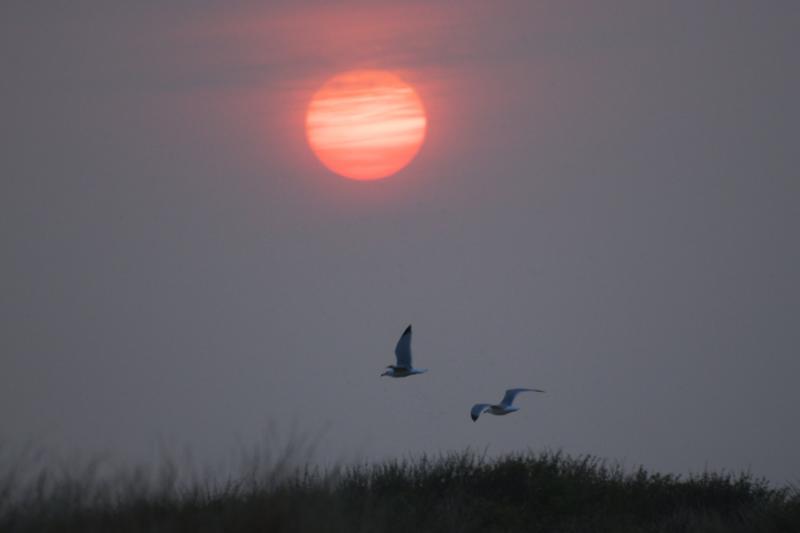
Finally, back at home we've been looking out for nice sunsets with all this volcanic ash around. There hasn't been one as nice as last Thursday yet, but I did get some good pics of gulls flying in front of the sun:
That's all for now...

Mike

Click here to read the rest of this post.