Showing posts with label cleaving. Show all posts

Monday, 4 July 2011

Cleaving chestnut

We popped up to the wood on Saturday to collect some materials for the roof and walls of the firewood shelter we're building at home (pictures will come soon, I promise...). It's not the usual time of year to fell trees, but we need some wood of a certain length for the roof and we're certainly not going to buy it! Felling in the summer means the wood is wetter, and therefore may not be as durable, but these pieces will be under a tarpaulin once they're up, so we think it'll be OK.

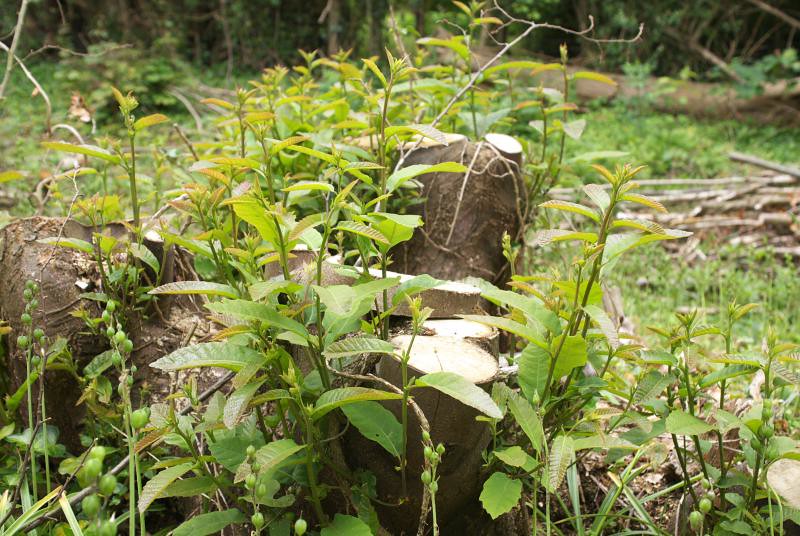
Tracy got stuck into cutting some of the regrowing chestnut along the footpath - we want to keep this region as a kind of shrub layer, as this will be more beneficial for the wildlife.

DSC_8150

DSC_8161

DSC_8162

It's also of a size now where we can use it to weave the walls of the firewood shelter:
DSC_8163

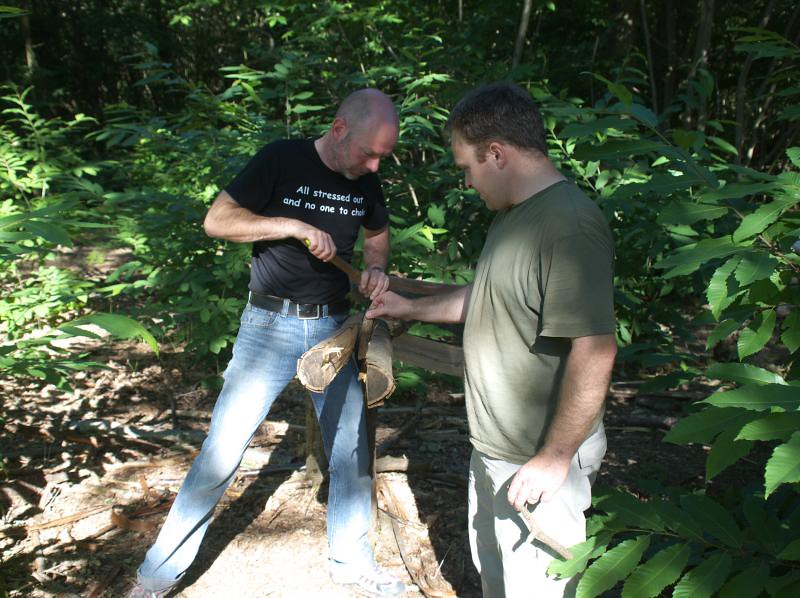
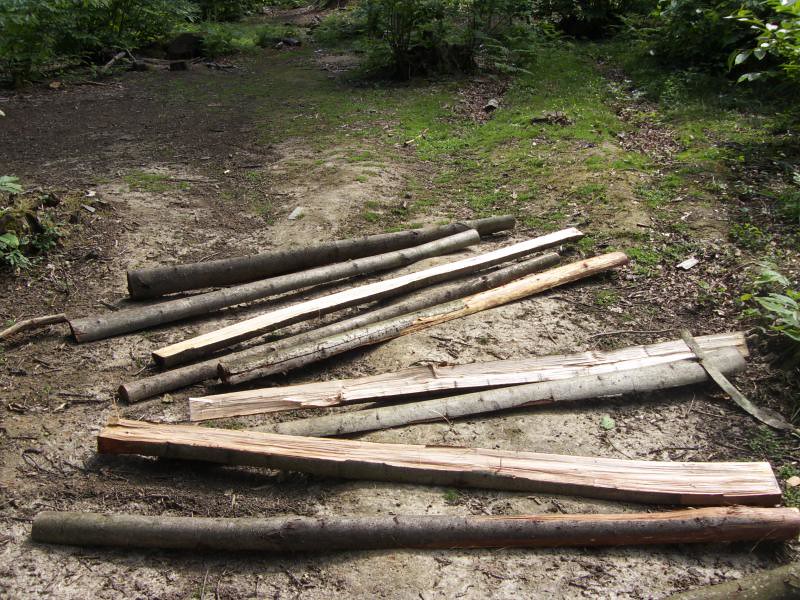
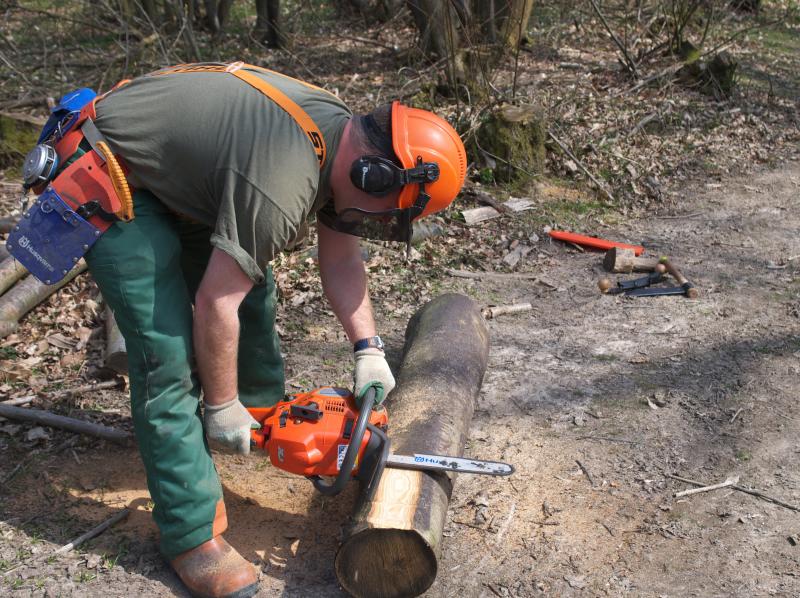
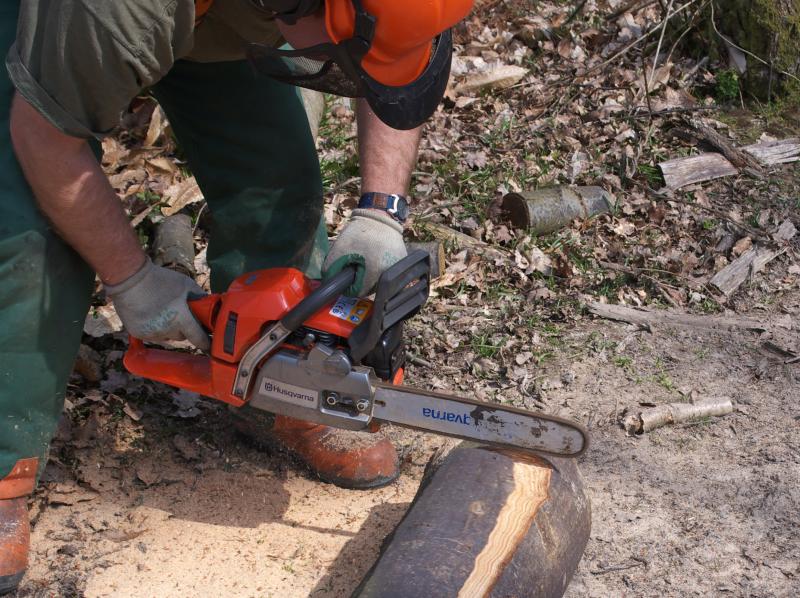
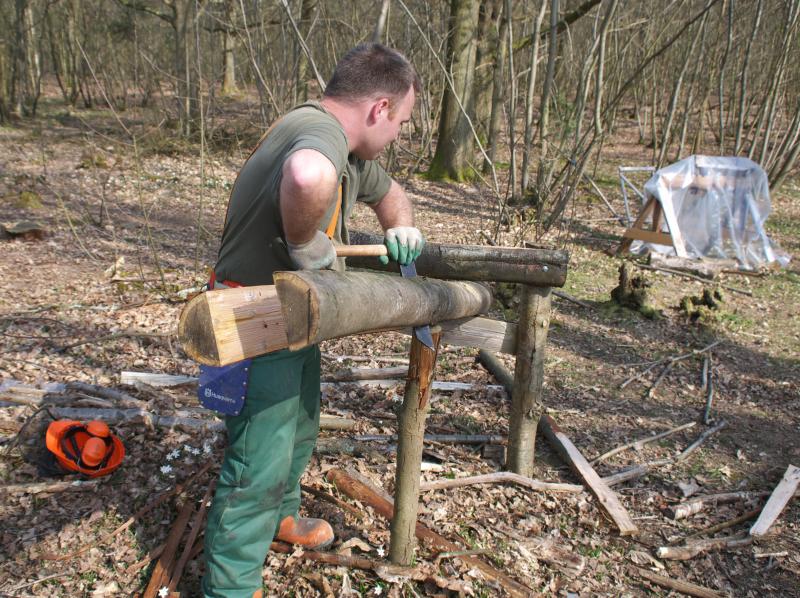
While she was doing that, I felled a few selected chestnut stems which were beautifully straight - I got five 2.8m logs out of one of them. I then used a froe and mallet to cleave the logs:
DSC_8153

DSC_8154 cleaved sweet chestnut

DSC_8158 cleaved sweet chestnut

The wood has a really nice grain, very straight:
DSC_8155 cleaved sweet chestnut

It was also dead easy to peel with the wood being so wet - after cleaving I was able to peel the bark off the whole log in one go for some of them. Then home they go to be bolted onto the roof of the shelter...

Mike

Click here to read the rest of this post.

Sunday, 18 July 2010

A new improved firewood shelter (part 4)

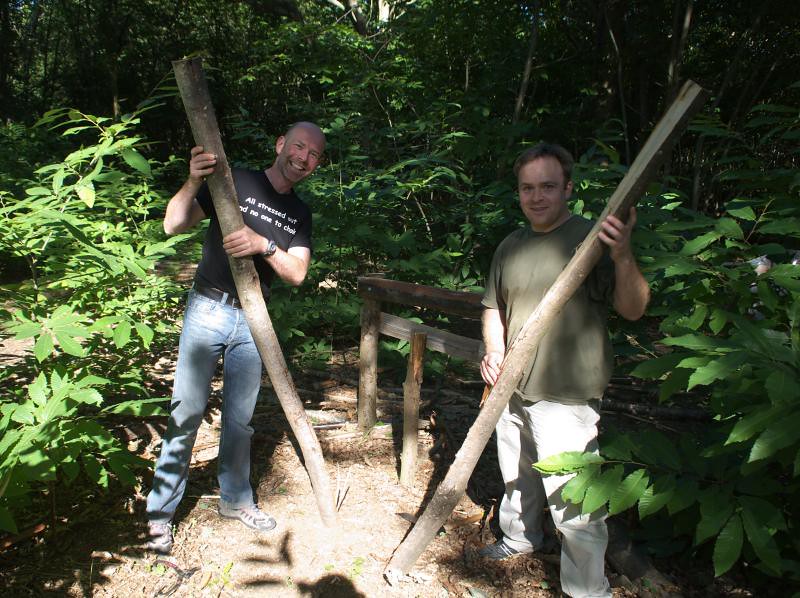
A brilliant day to be in the woods! Lovely sunshine, but not too hot. Best of all, we've finished the roof on the firewood drying shelter! Andrew dropped in, so we made sure he got his hands dirty, cleaving some chestnut for the roof:
He got the hang of it nicely, but then again he has been practising with a froe making kindling already.
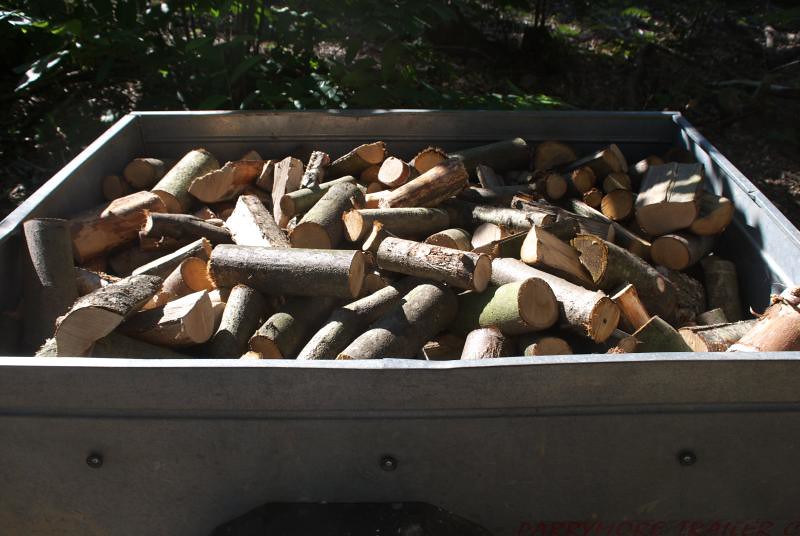
He also gave us a hand moving some logs after I'd cut them up, though some went into the trailer for delivery to a friend in return for a favour they'd done us.
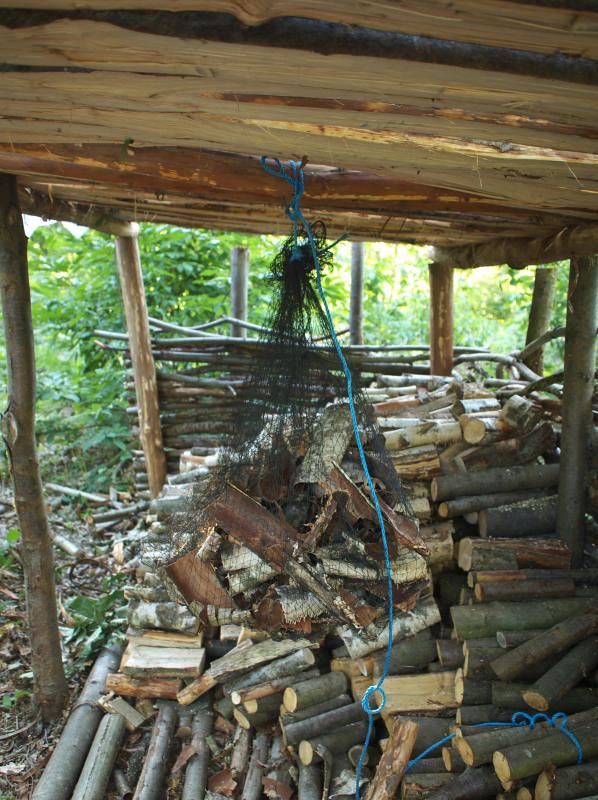
I think the shelter looks pretty good now with its roof complete - all we need to do now is add a gutter for rainwater harvesting!
You might notice an extra support to the left - we thought the cross-bean was sagging a little, so we trimmed down a Y-shaped pole we'd saved nearly three years ago, thinking it would come in useful some time...
The shelter's also a handy place to suspend some birch bark to dry for fire lighting.
You can see the earlier construction of the firewood shelter in part 1, part 2 and part 3.

Mike

Click here to read the rest of this post.

Sunday, 13 June 2010

A new improved firewood shelter (part 2)

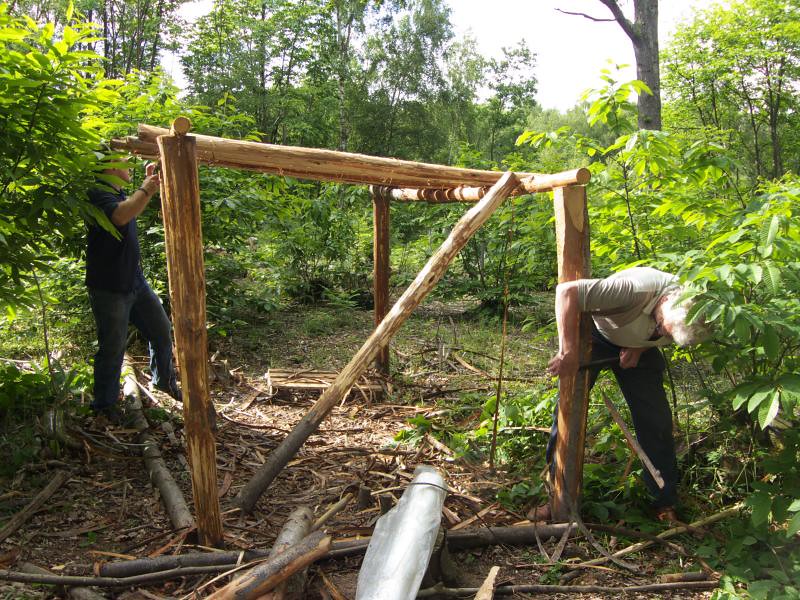
A couple of months ago we made a plan for a new firewood shelter in the woods and started building it. There's been a bit of a gap, just because we've been busy with other things, but today we did a bit more on it.
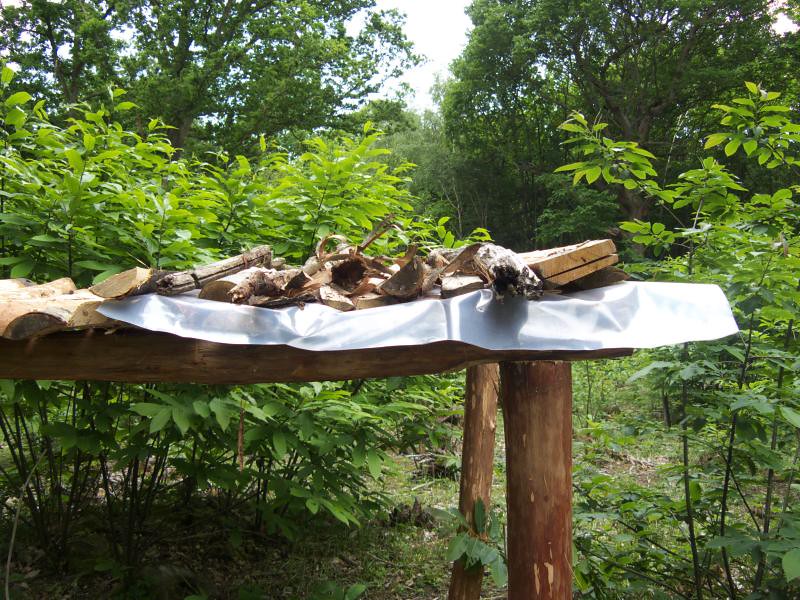
We were originally going to cleave the lengths of chestnut and make planks for the roof, but we found that you can only reliably cleave chestnut in a line that passes through the centre of the log, so you can't make more than two planks from a log. So, we decided instead to put a layer of poles cleaved into halves, then a layer of some of the polythene we had left over from the original firewood shelter, then another later of wood on top, to prevent the polythene being damaged by the UV in sunlight.

We didn't finish it today, but we did make some good progress, starting with cleaving lots of poles:
We also peeled them, to stop them from rotting, and belatedly did this to the corner and ridge poles too. Our friend Steve passed through, and stopped to lend a hand.
By the end of the afternoon we had part of it covered, with the polythene in and the wood on top:
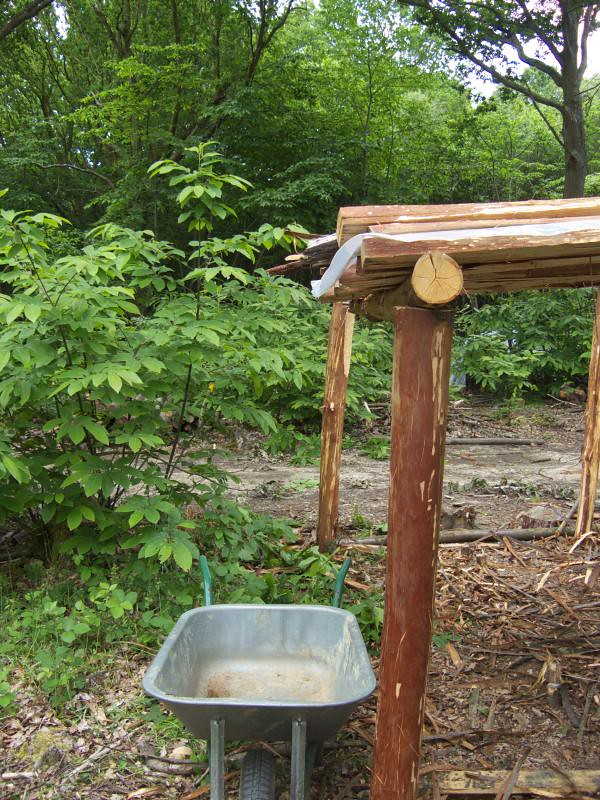
The other important bit (and the main reason for the polythene) is to catch water. We'll eventually fit a gutter and a water butt, but for now we just stuck a wheelbarrow under it to see how much we get this week:
The general area around the shelter is now in its third year of growth after coppicing, and has thickened out a lot:
And up in Sweep Wood, where we cut last winter, the trees are growing nicely:
although there are also carpets of Sycamore seedlings. We won't let many of these grow on, as they'd try and take over.
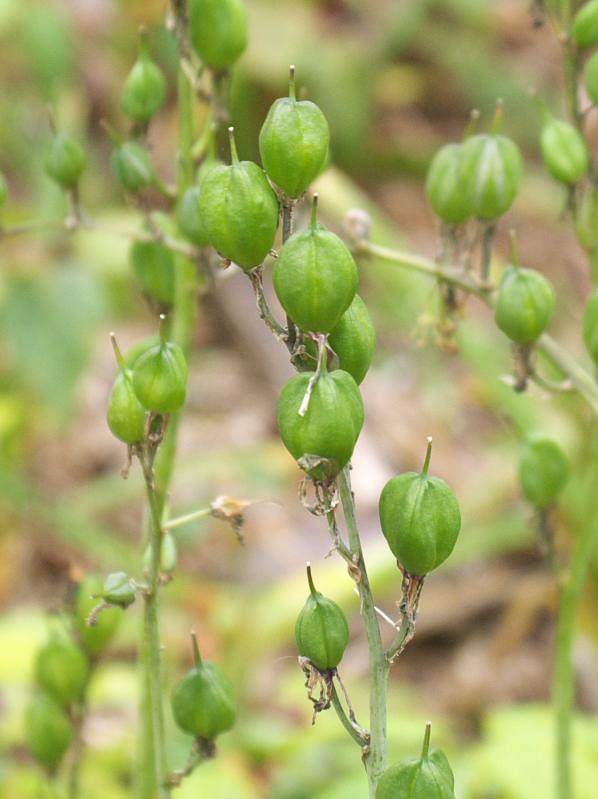
The bluebells are noticeable by their absence now, but they've left some nice seed pods behind:
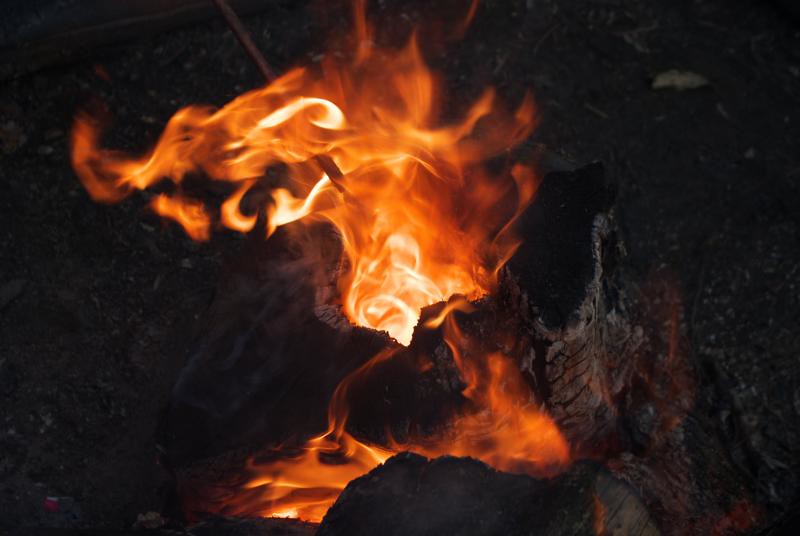
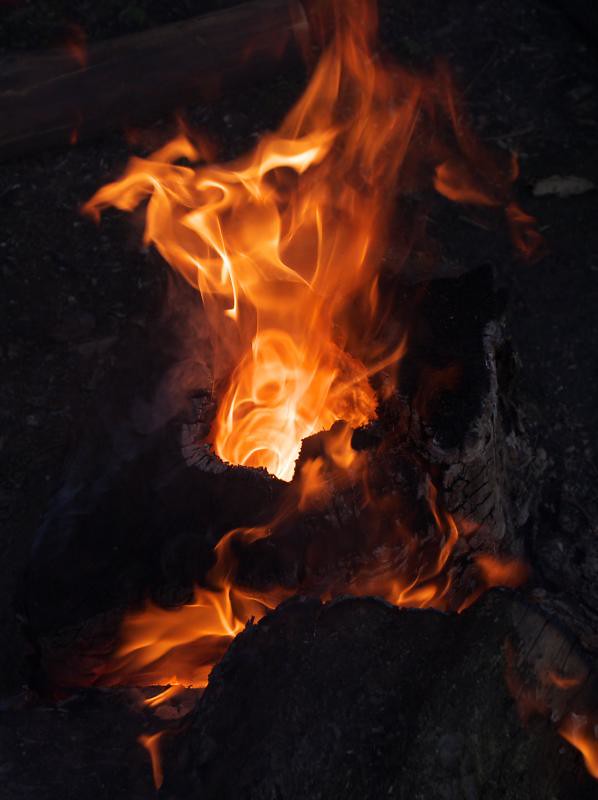
As well as going to our own wood, last night we went to a SWOG event in Rod and Heather's wood nearby, to see bats and moths. There's more about that on the SWOG website, but here's some scenic photos I took of the pond and the fire:
That's all for now, back to work for the week...

Mike

Click here to read the rest of this post.

Sunday, 18 April 2010

A new improved firewood shelter (part 1)

Inspired by watching the full length version of Alone in the Wilderness, we set off to the wood to start on a new improved firewood shelter. The old one is covered with PVC sheeting, which only lasts about a year before the UV in sunlight causes it to fall apart.
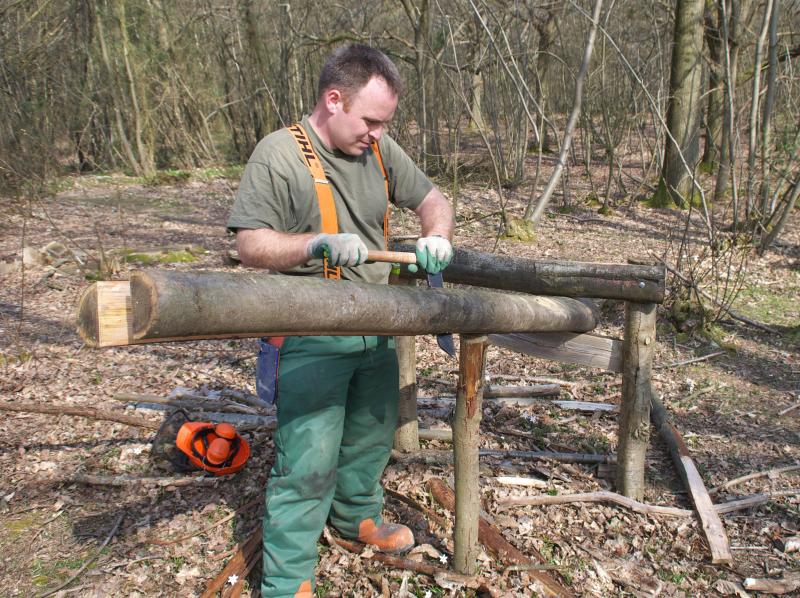
The first thing to make was a "shave log" as I've chosen to call it. At some point we'll get a brace drill and auger and put some legs on it then it will be a crude shave horse... I started by planing off one side of the log:
but stopping just before the end, then cutting it off to make a step:
A bit of tidying was then needed to make it reasonably flat:
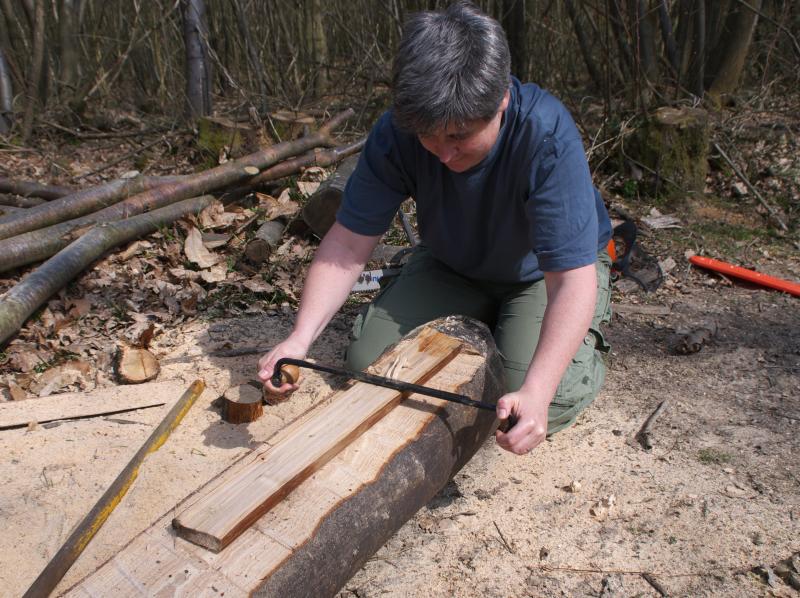
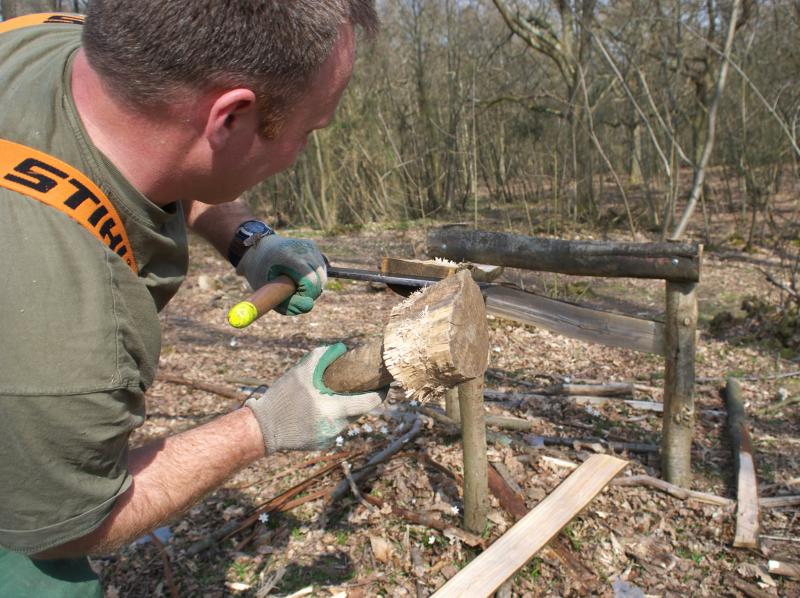
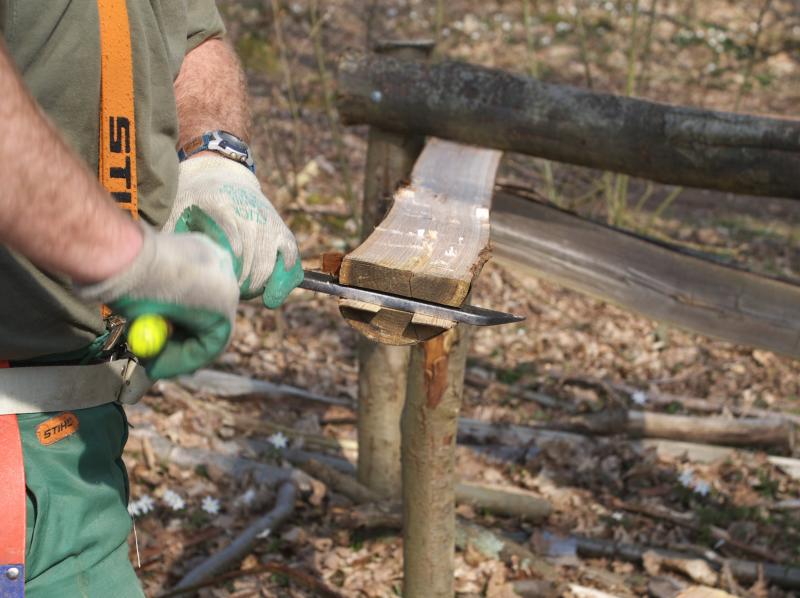
To test it, Tracy cleaved a small pole using a froe a couple of times to make a rough plank:
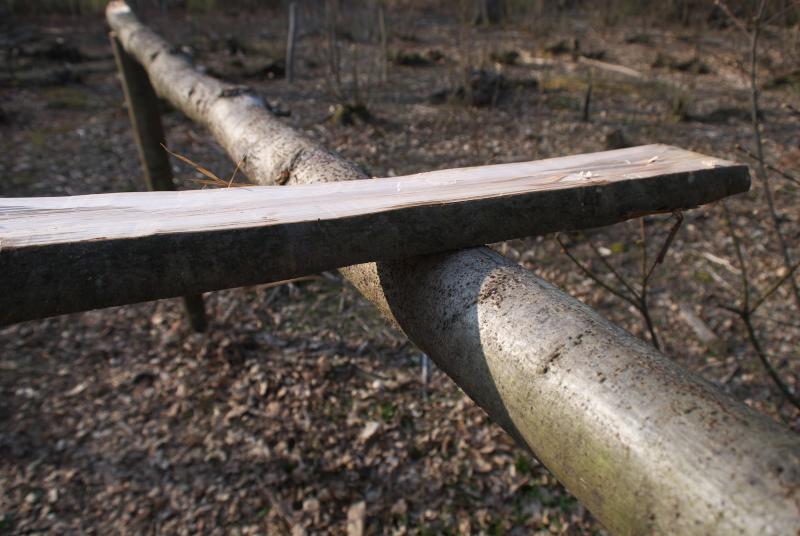
which she then shaved using a draw knife on the log:which produced a nice looking piece of wood:
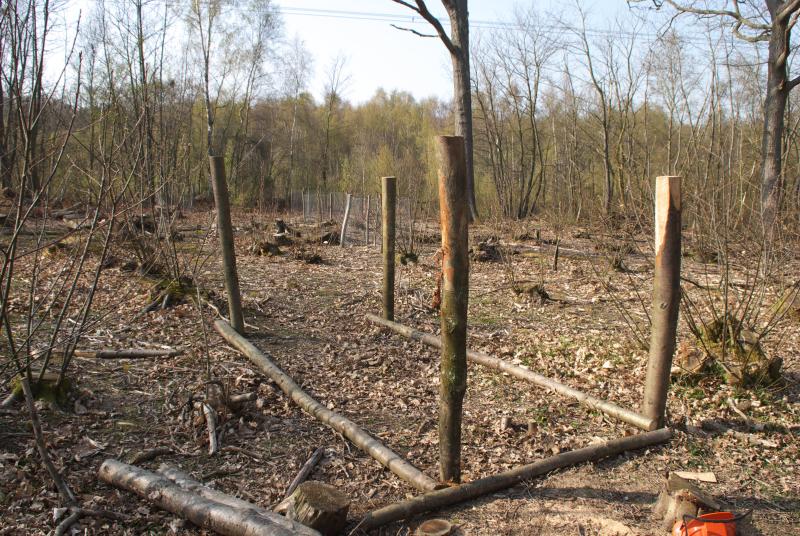
Now we knew that bit would work, we selected some strong poles from wood we cut a year ago, and I sharpened them to make stakes. We also picked out two long straight poles to form the edges of the roof:
Then we banged these into the ground using the post driver (I had to trim the end of the one on the right as it was too fat to fit inside the post driver!):
We started cleaving some poles to make planks for the roof, this time using the cleaving break we made a couple of years ago:
Then each planked needed shaving with the draw knife to get it roughly flat:
We only had time to make a few, but it was at least a chance to see how they would look on the roof of the shelter:
We'll continue with the shelter over the next couple of weeks as time allows.

Now, here's some wildlife pics from the weekend. I got what I think may be my best photo yet of a Peacock Butterfly, I've uploaded it full size, so click this link to see a big version:
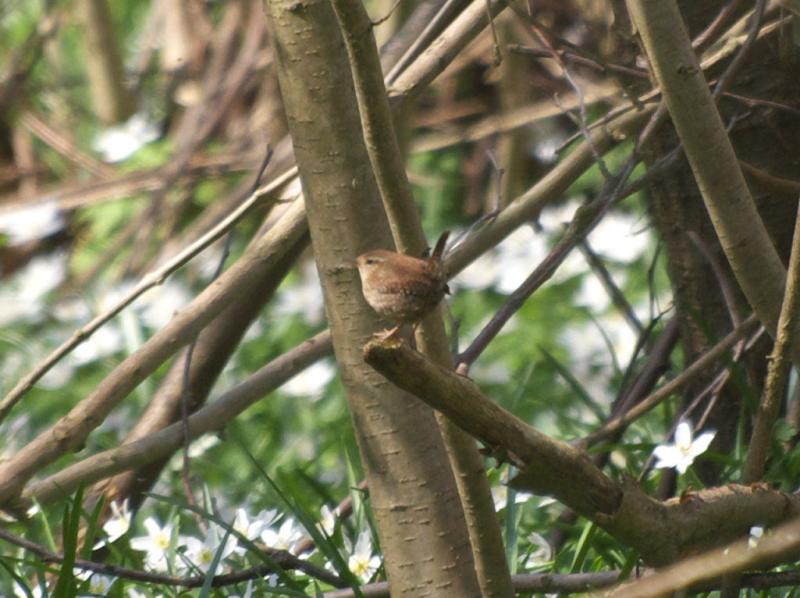
Lots of birds around too, though now the leaves are coming out it's harder to see them. Here's a wren:
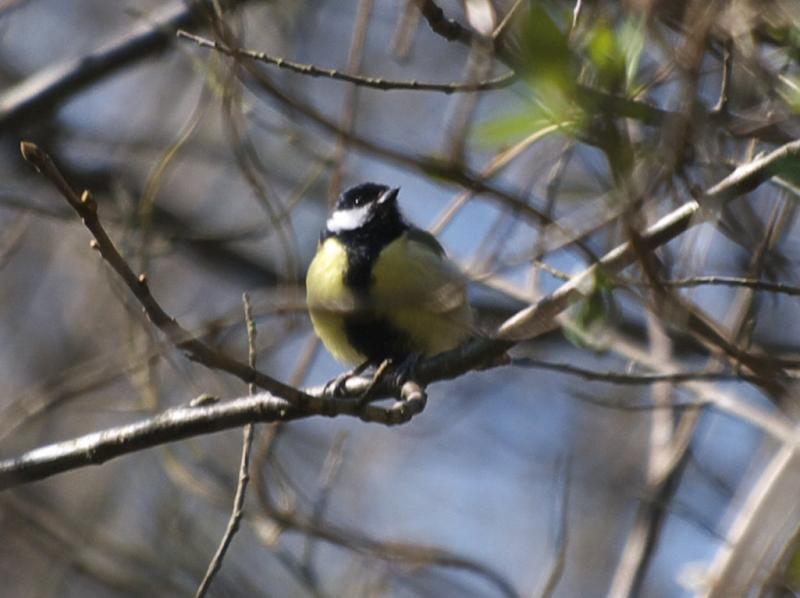
a Great Tit:
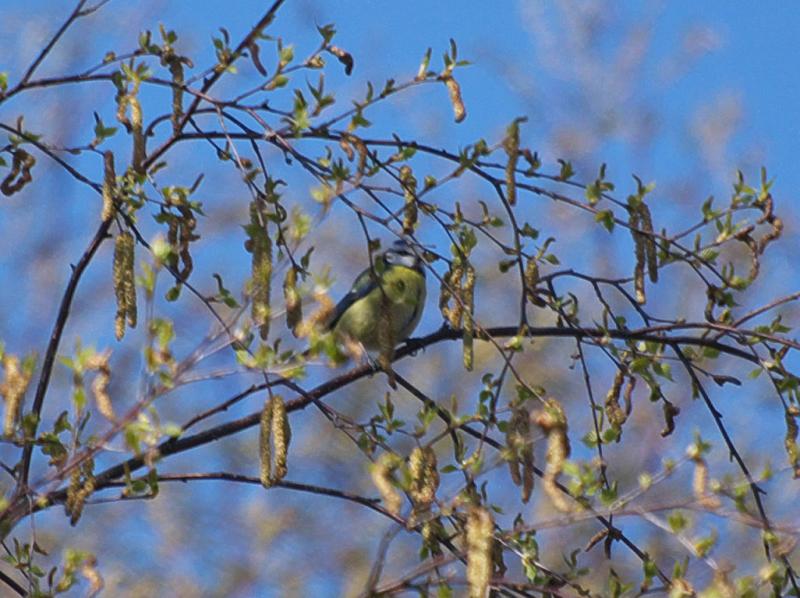
a Blue Tit:
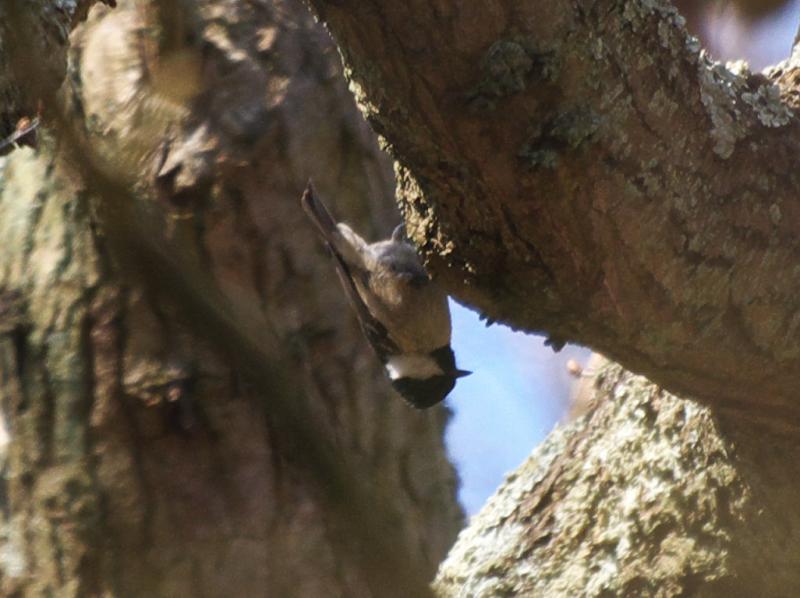
and several of a Coal Tit:
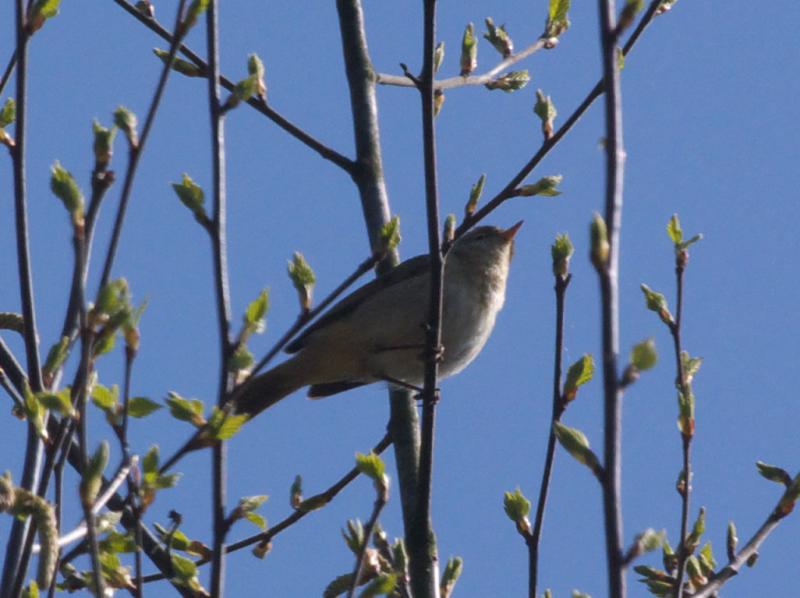
There's also one mystery bird that I didn't recognise. Is it a Nightingale? Please leave a comment to tell me if you know for sure...
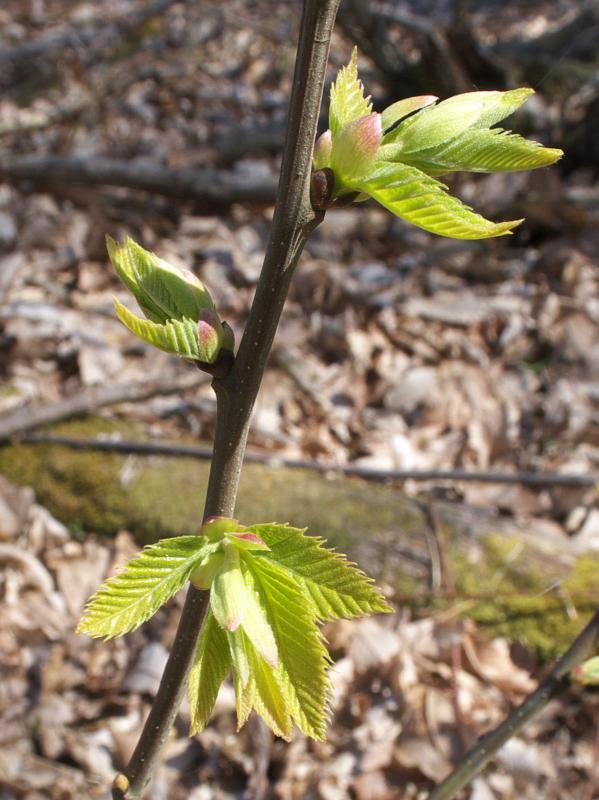
As I said, the leaves are coming out now, especially on the birch. A few of the Chestnut are coming on well:
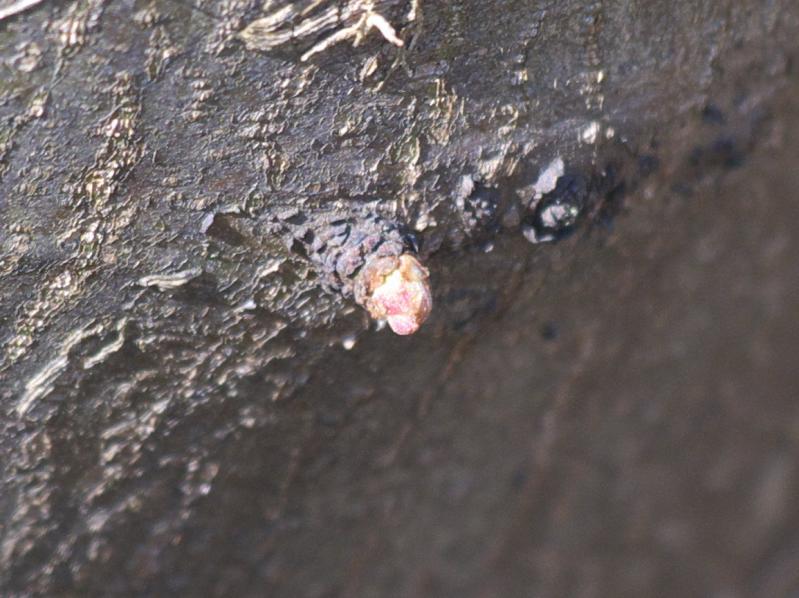
while the ones we coppiced in Sweep Wood last winter are beginning to show new buds:
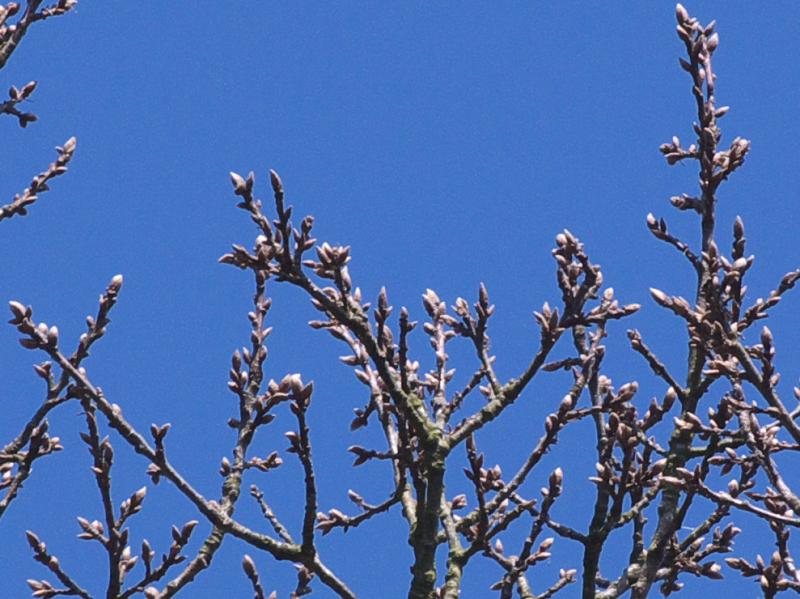
and there are swelling buds up in the oak trees:
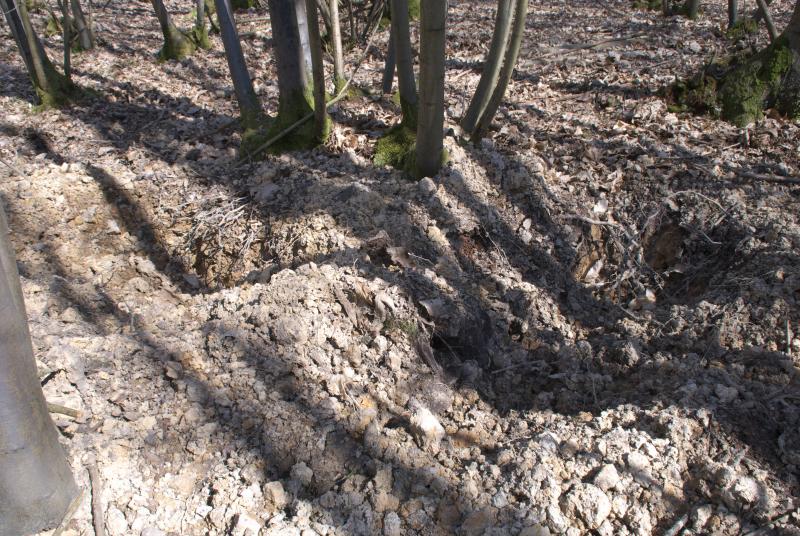
Down on the ground, the boar have been digging!
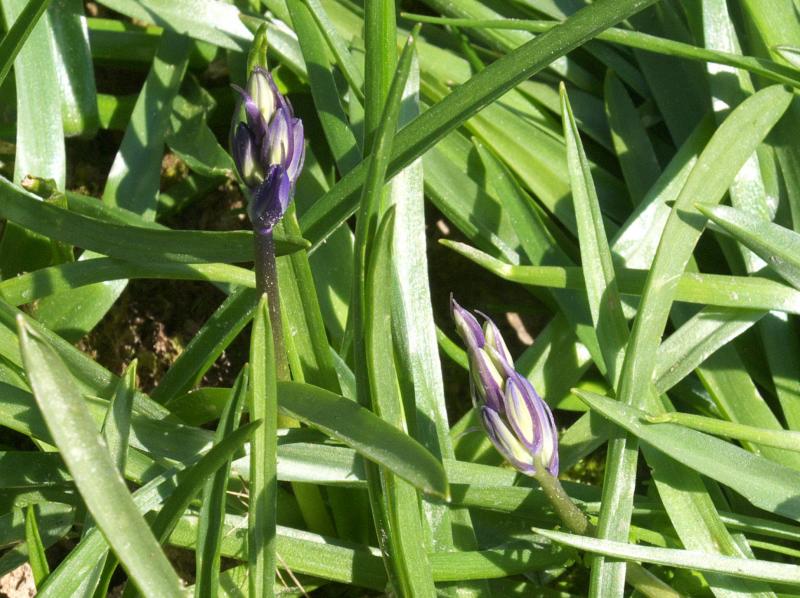
but in other places the first bluebells are coming out:
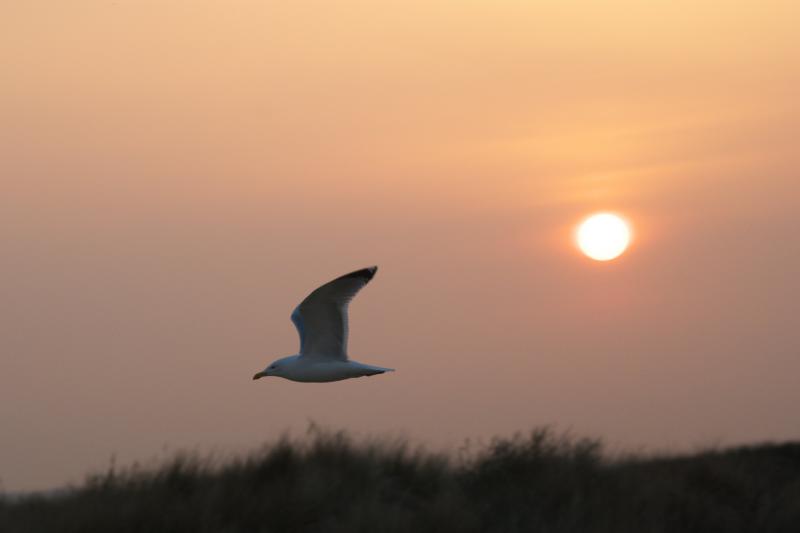
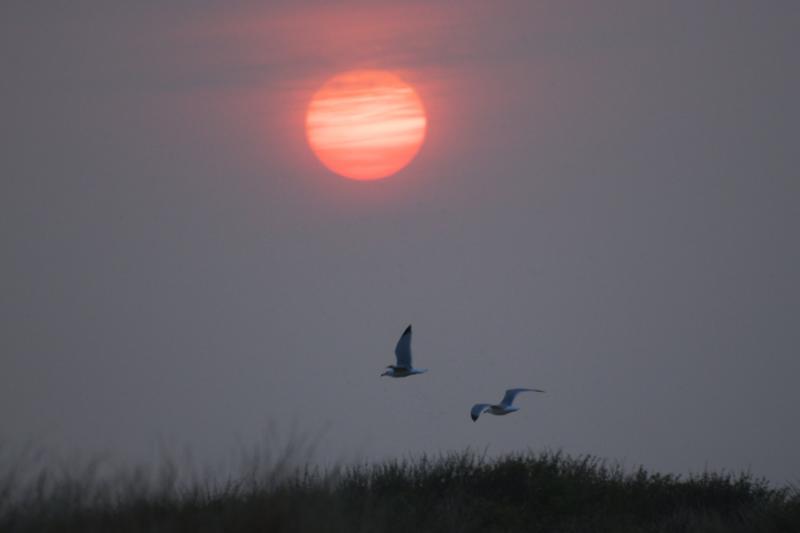
Finally, back at home we've been looking out for nice sunsets with all this volcanic ash around. There hasn't been one as nice as last Thursday yet, but I did get some good pics of gulls flying in front of the sun:
That's all for now...

Mike

Click here to read the rest of this post.