Seems like we've hardly had any time to sit down in the past week, with coppicing, work and stuff on in the evenings... Anyway, here's an update on the work over the past few days.
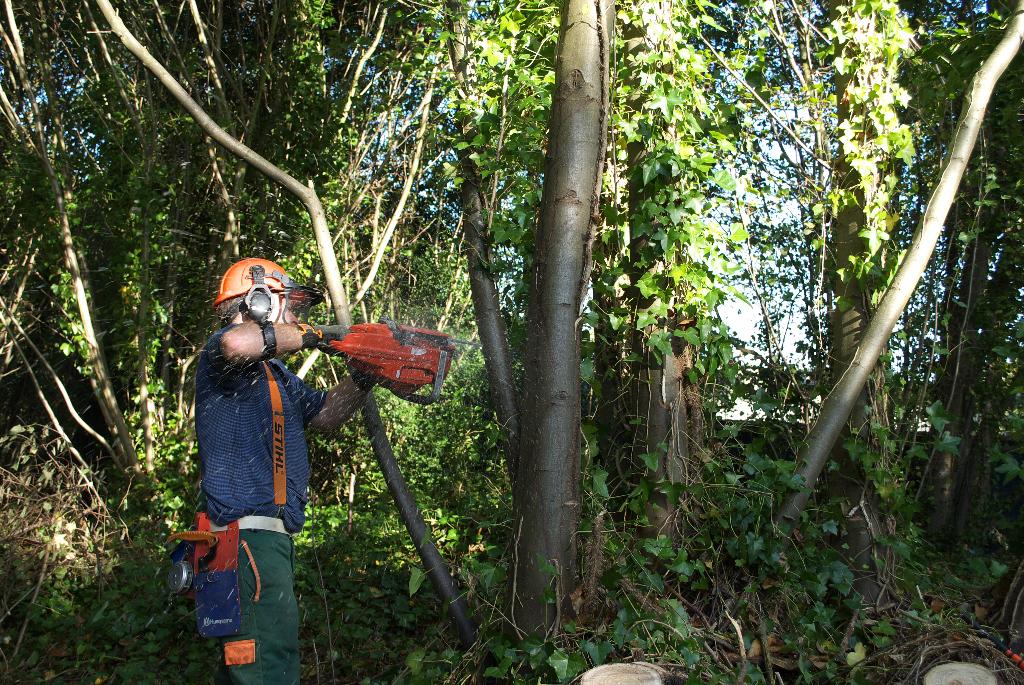
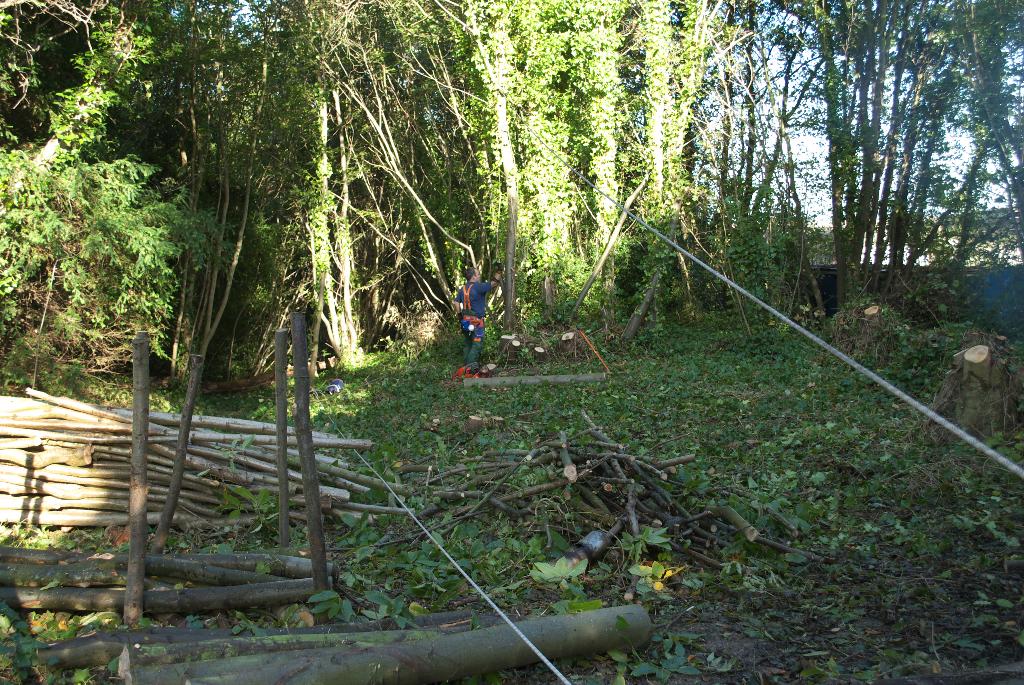
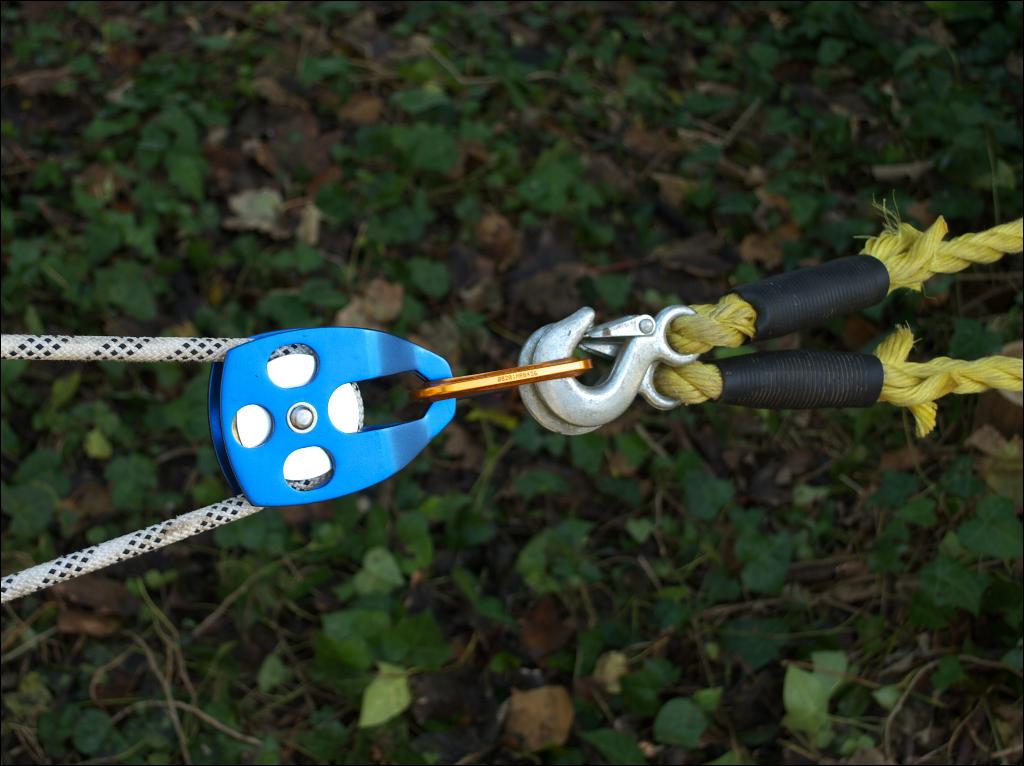
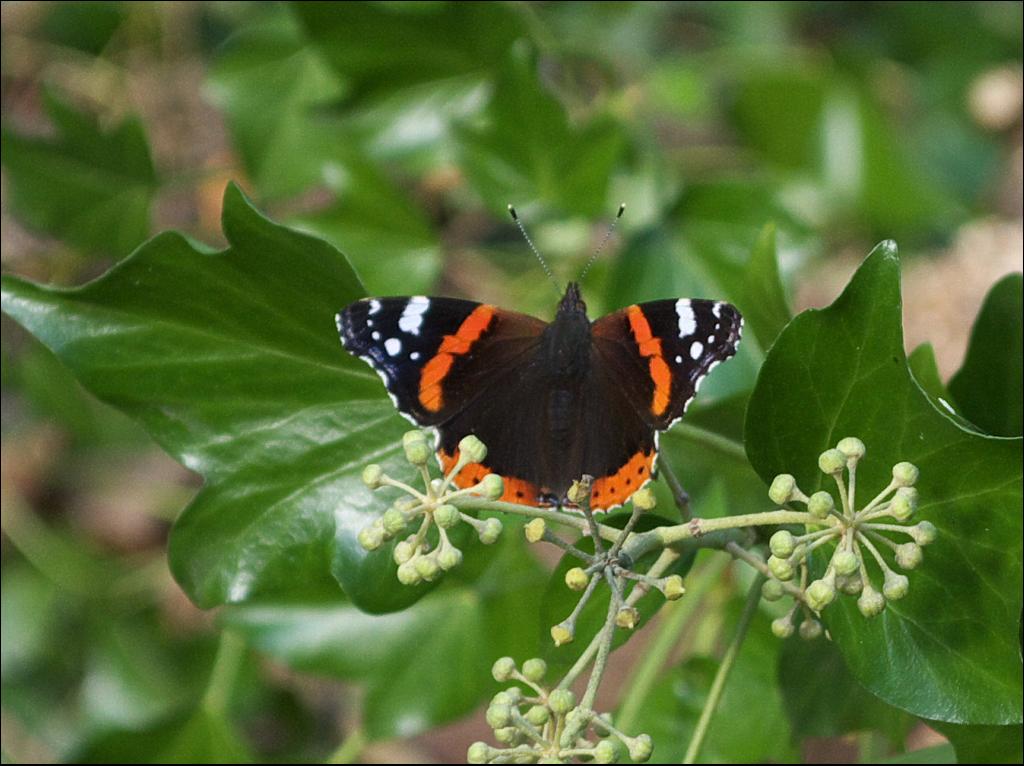
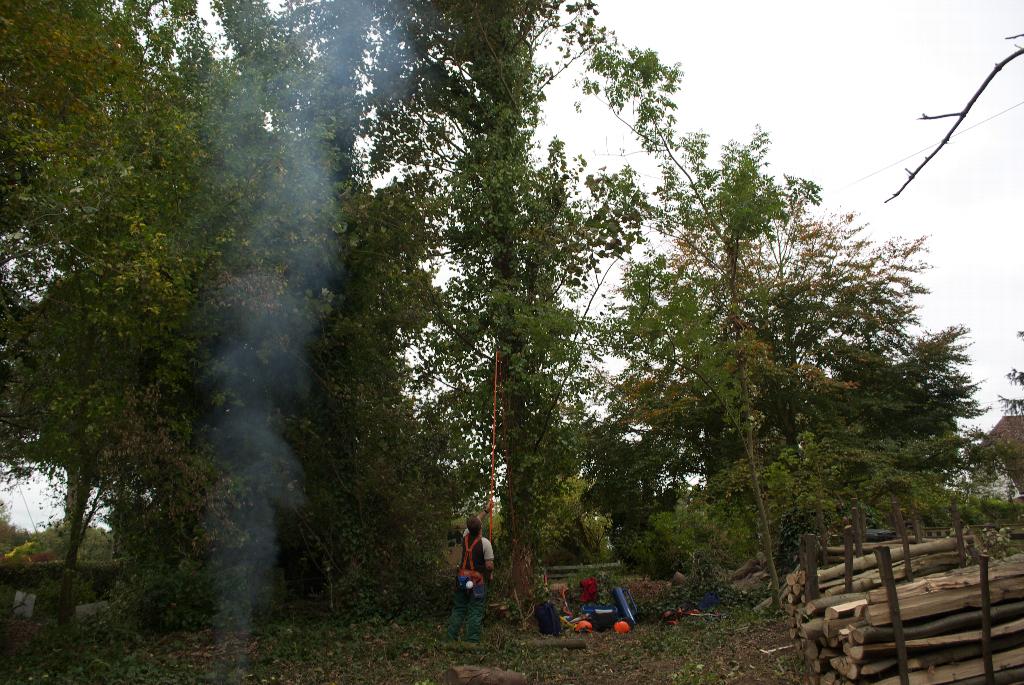
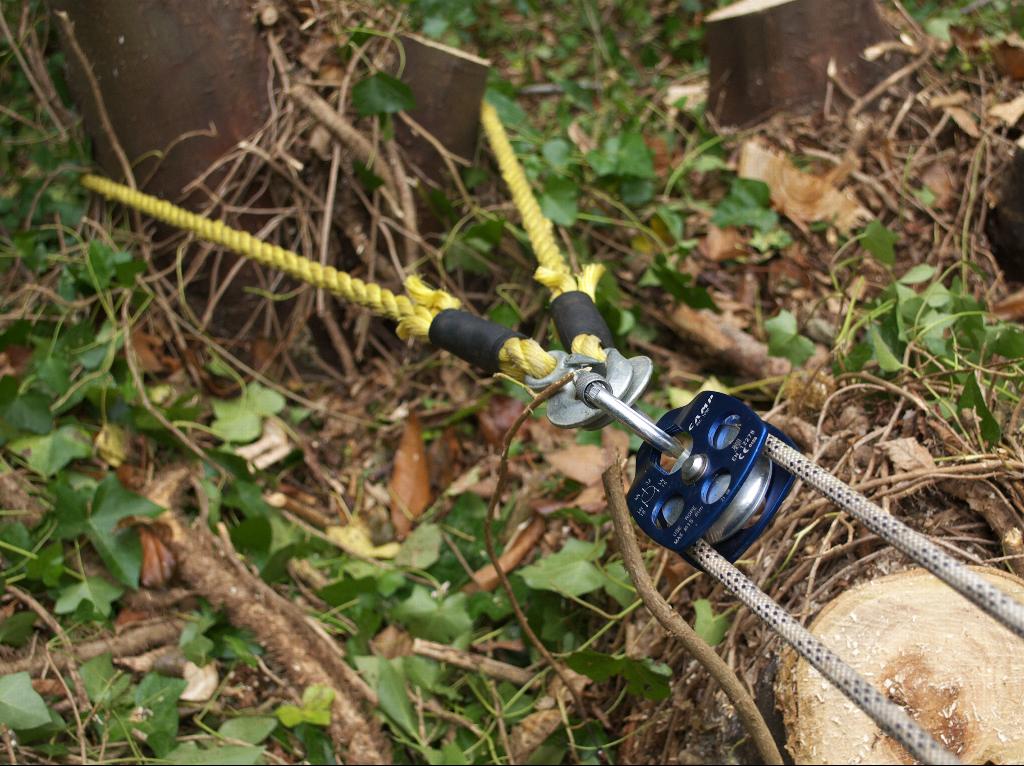
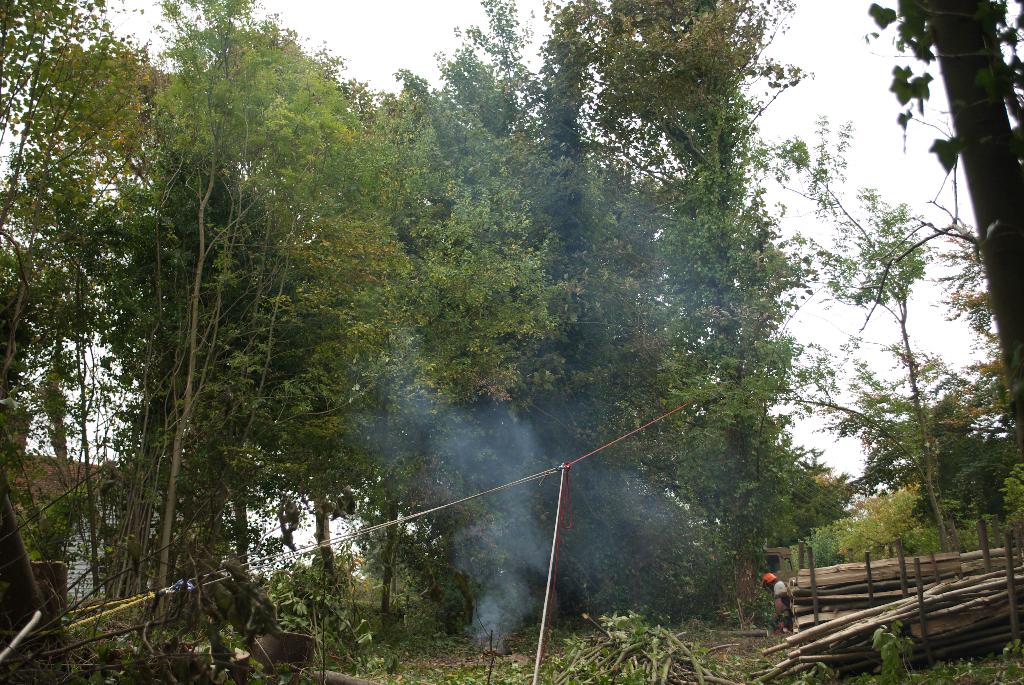
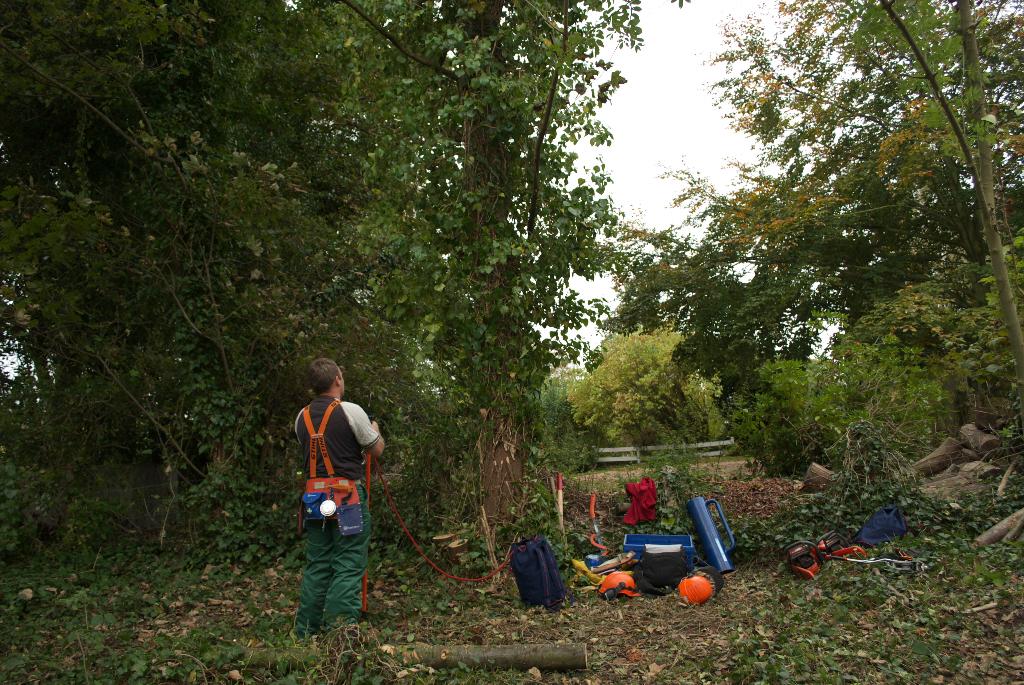
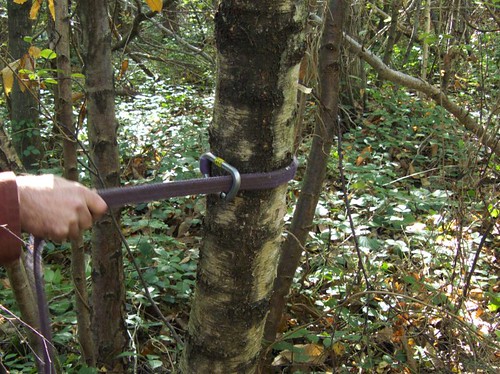
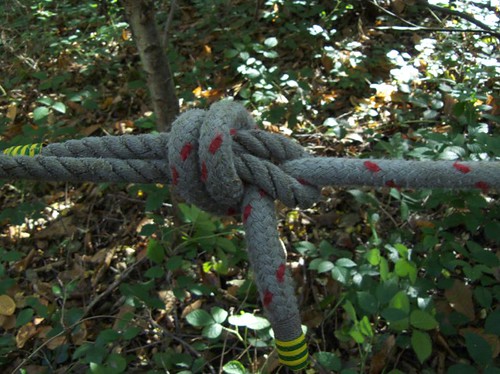
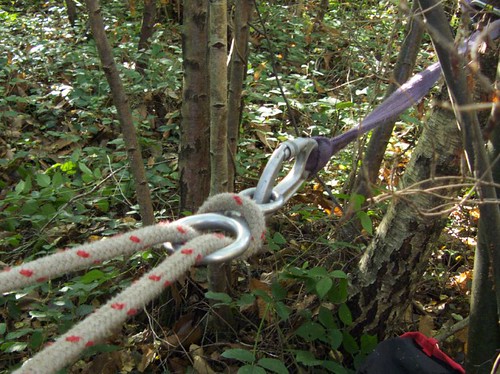
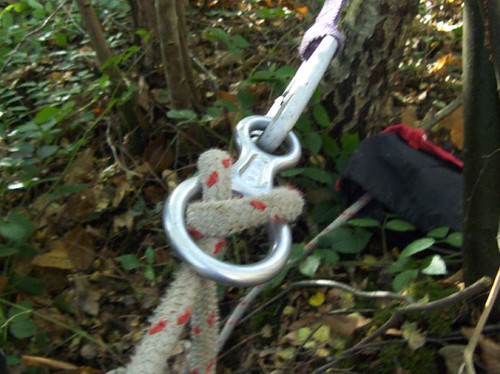
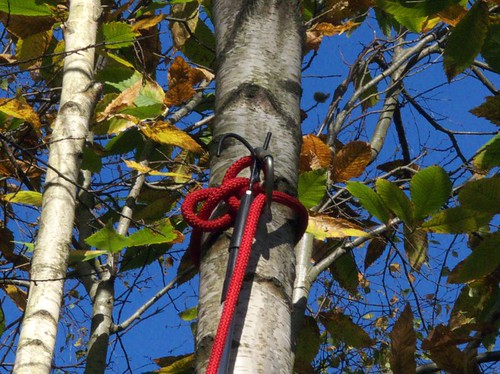
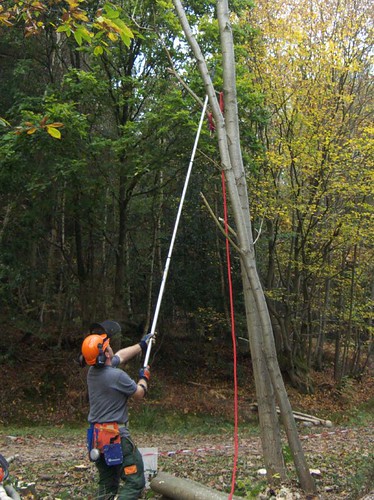
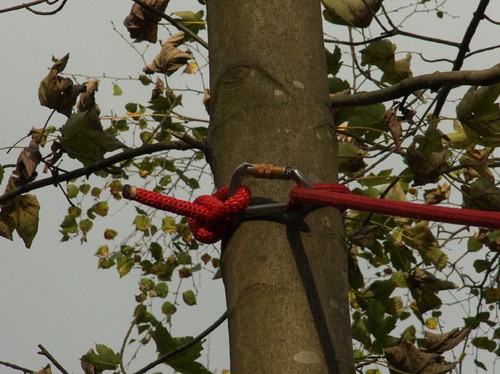
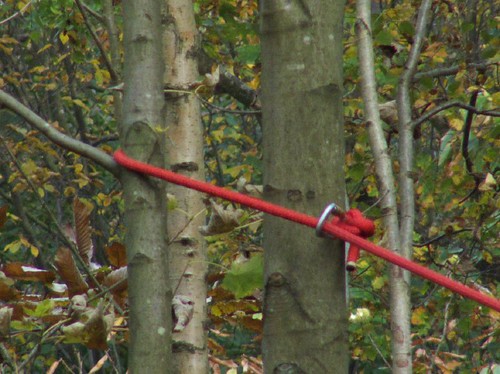
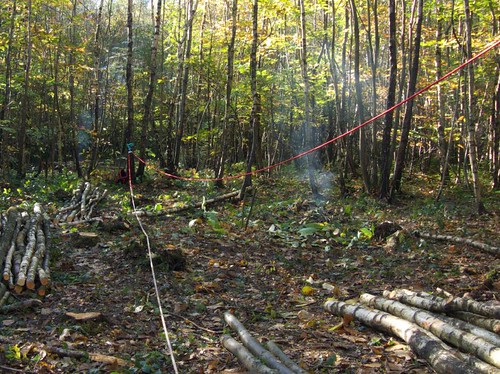
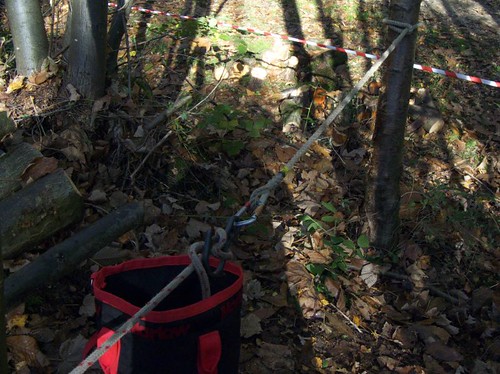
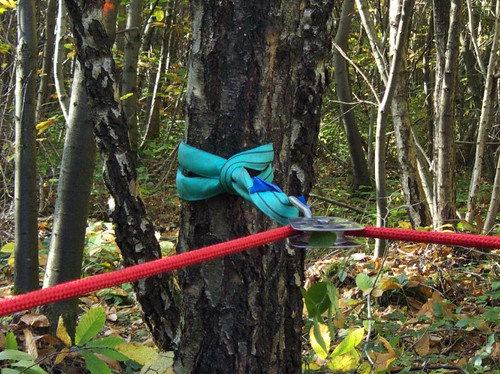
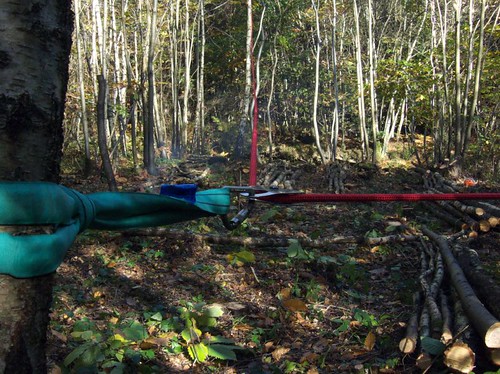
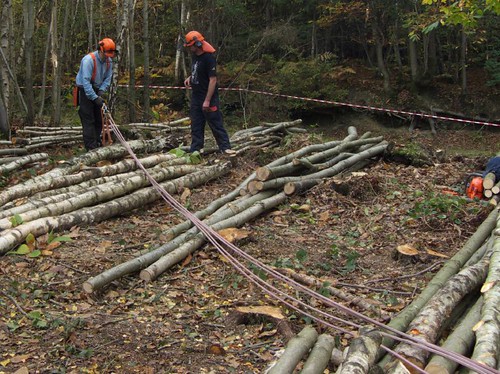
This week we had a few larger trees to fell, the tallest being this Sycamore: First though, some Chestnut at the other end of the clearing we've created needed to come down to make room for it: There were a few small stems to get out of the way first: Then we set up a simple rope system: using the big Sycamore as an anchor for a pulley: so that we could be stood behind the trees as they came down: They were dealt with pretty quickly, and we collected some chestnuts that came off them as they fell, to eat later on. Most were too small, but there's a few that were OK, better than last year! Before we moved on to the Sycamore, I noticed that some butterflies are really making the most of the autumn sunlight we've let in to this part of the wood, including this Red Admiral: and a Speckled Wood: OK, on to the Sycamore. Here's the picture of the big one again: Also, there's a smaller one next to it that we needed to fell too. You'll notice that behind it is someone's garden, and there's a phone line too, so we had to make sure this tree fell in the right direction! To do this we set up the ropes and pulleys to give us a 3:1 leverage. The red rope was fastened as high up the tree as possible, using an extendable pole with a hook on the end: Then the end of that rope was anchored in a figure-of-eight, which in turn anchored the end of the white rope and a pulley: The white rope carried on to another pulley anchored to the Chestnut stool we were felling earlier: and from there back up to the pulley you saw earlier (here it is again): From that pulley, the white rope then headed down to it's anchor point, well out of range of where the tree would fall, and where we pulled from: This means that for the force applied at this anchor, double the force was being applied at the pulley attached to the Chestnut (as there are two lengths pulling on the pulley), and triple the force was applied where it all joins the red rope (two lengths on the pulley and the end of the white rope anchored there).
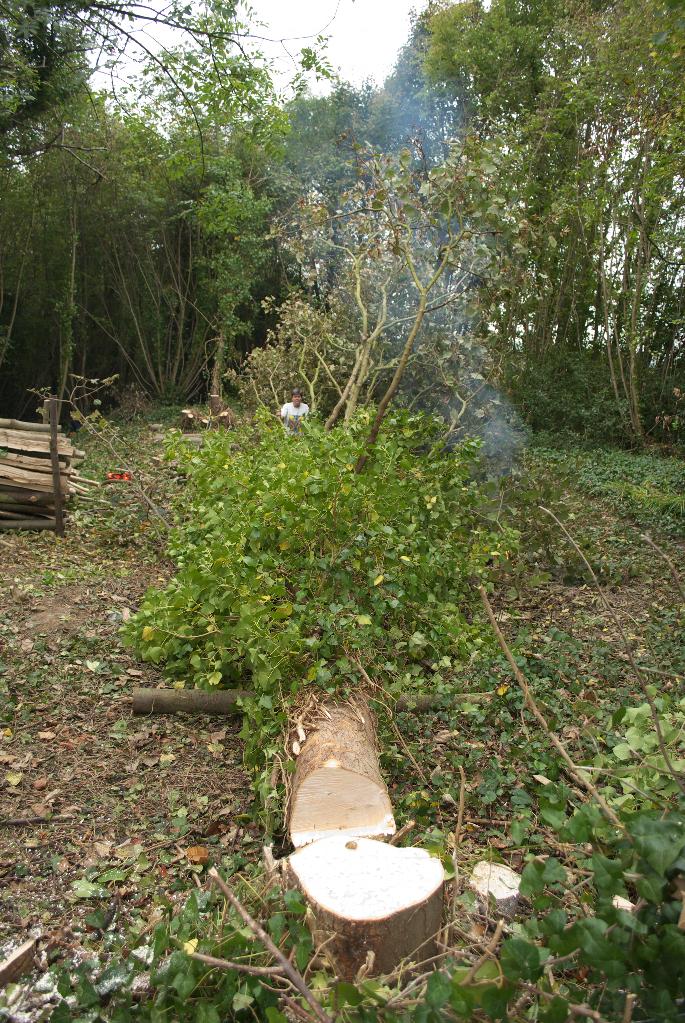
Then it was time to put the cuts in... and after a bit of pulling it was all safely on the ground: Sorry there's no video, but we were both pulling on the rope!
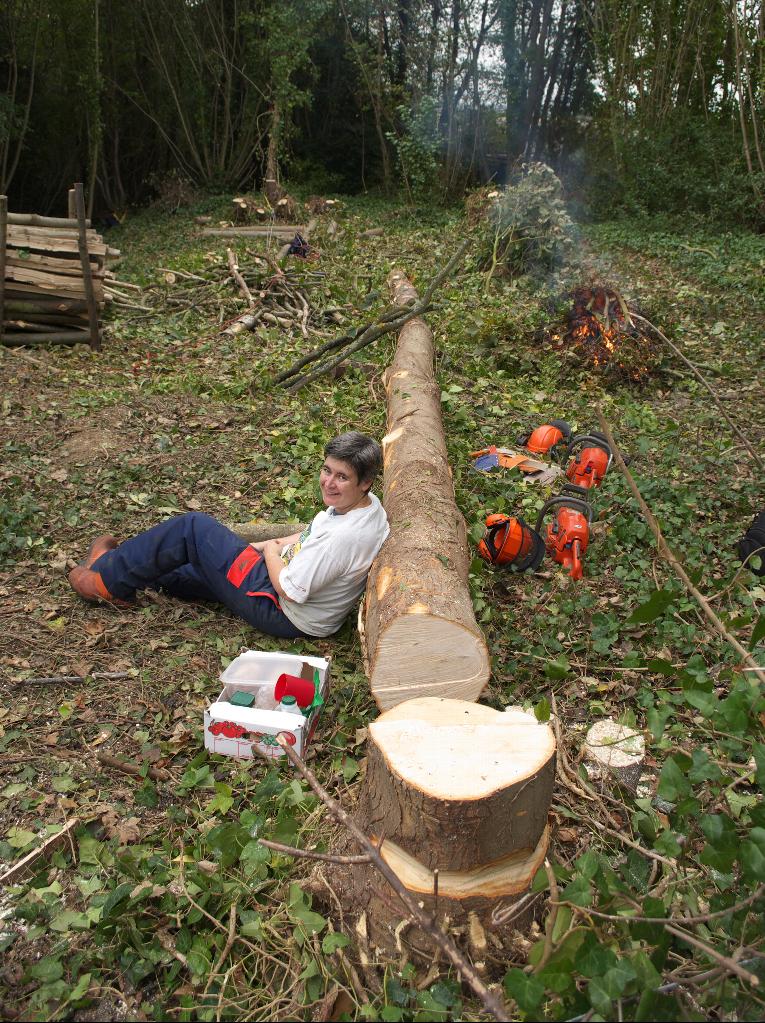
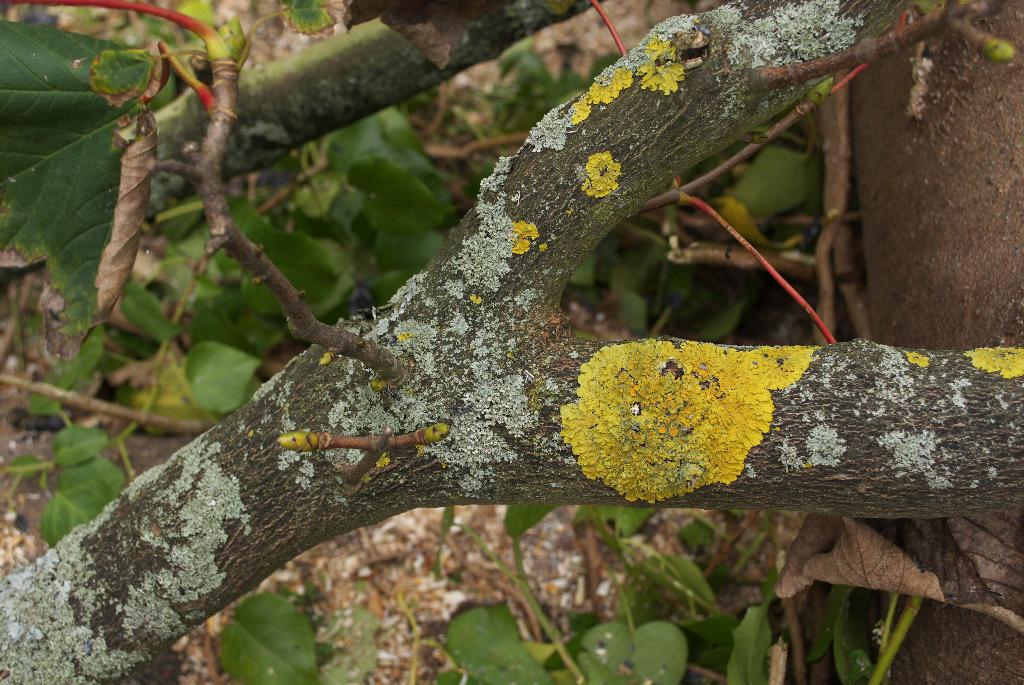
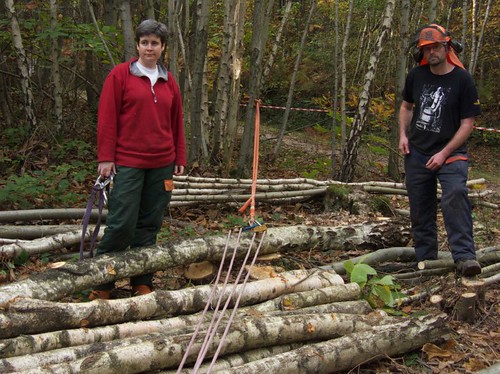
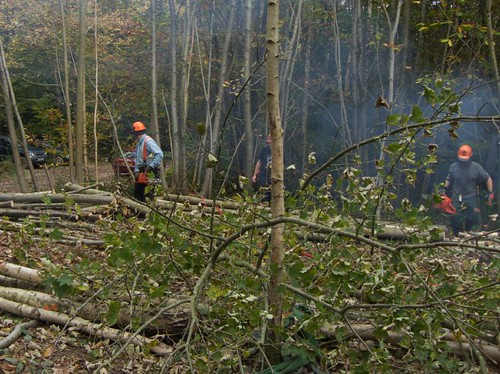
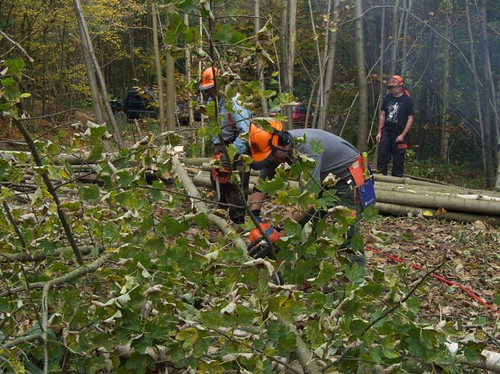
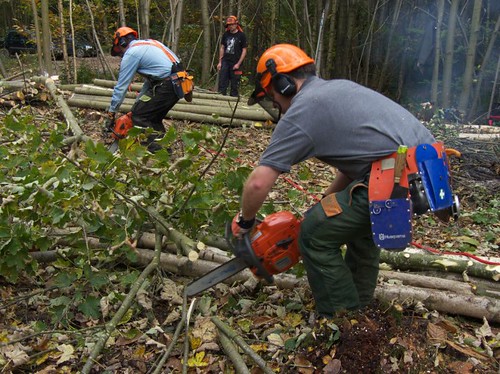
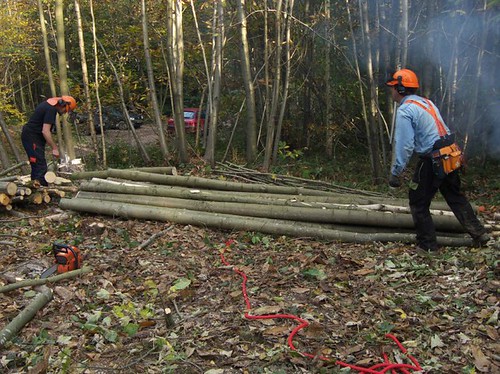
Of course, that was only half the work, as it was a big tree to cut up - you can just see Tracy in the midst of it here: However, it wasn't long before we had a clean trunk - I hope to finally get to use the sawmill on the butt of this tree to see if I can make some planks... One last thing. We found the branches had a lot of lichen on them. We didn't burn these (or quite a bit of the ivy), but left them in a pile for wildlife. A friendly little Robin really liked this, and some pictures of him will come in the next post...
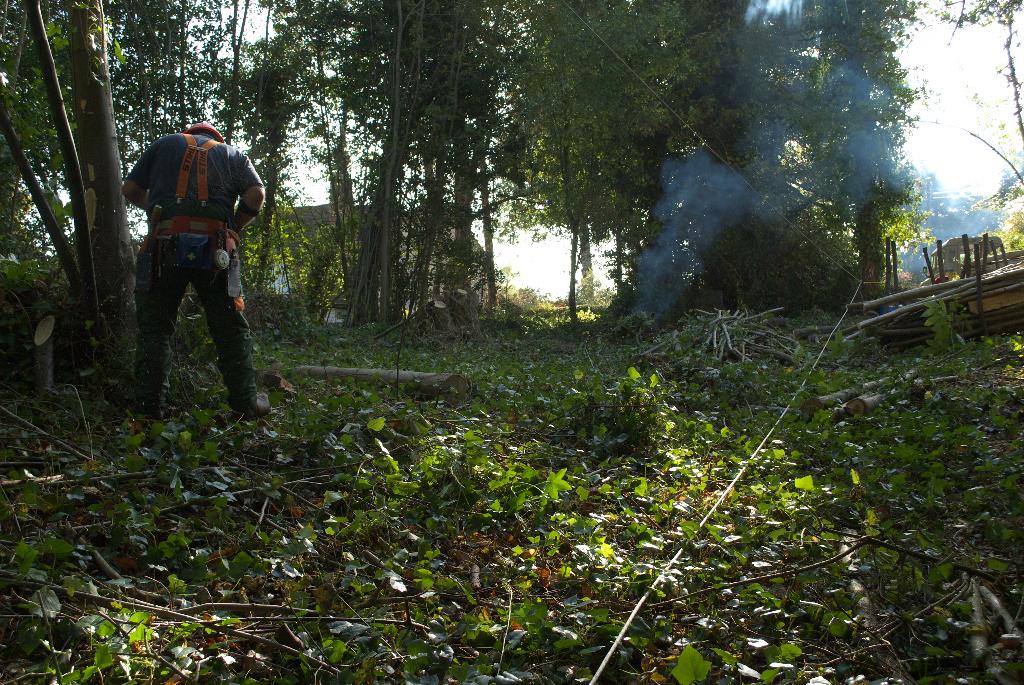
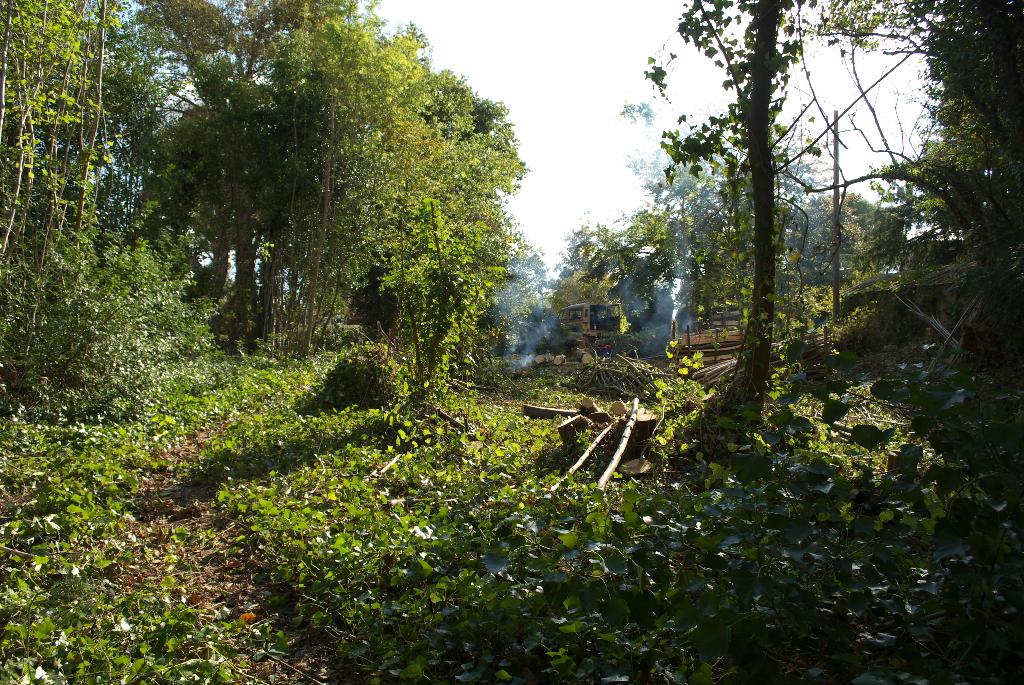
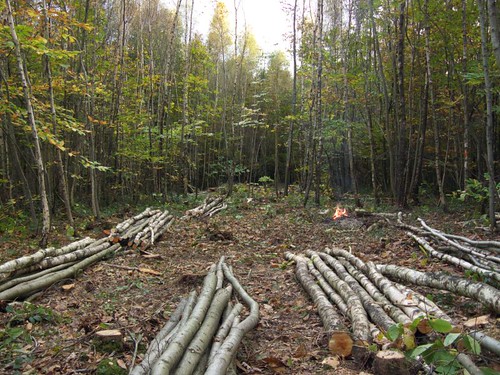
Finally, here's a picture of how the clearing is looking from the other end as it grows: Mike
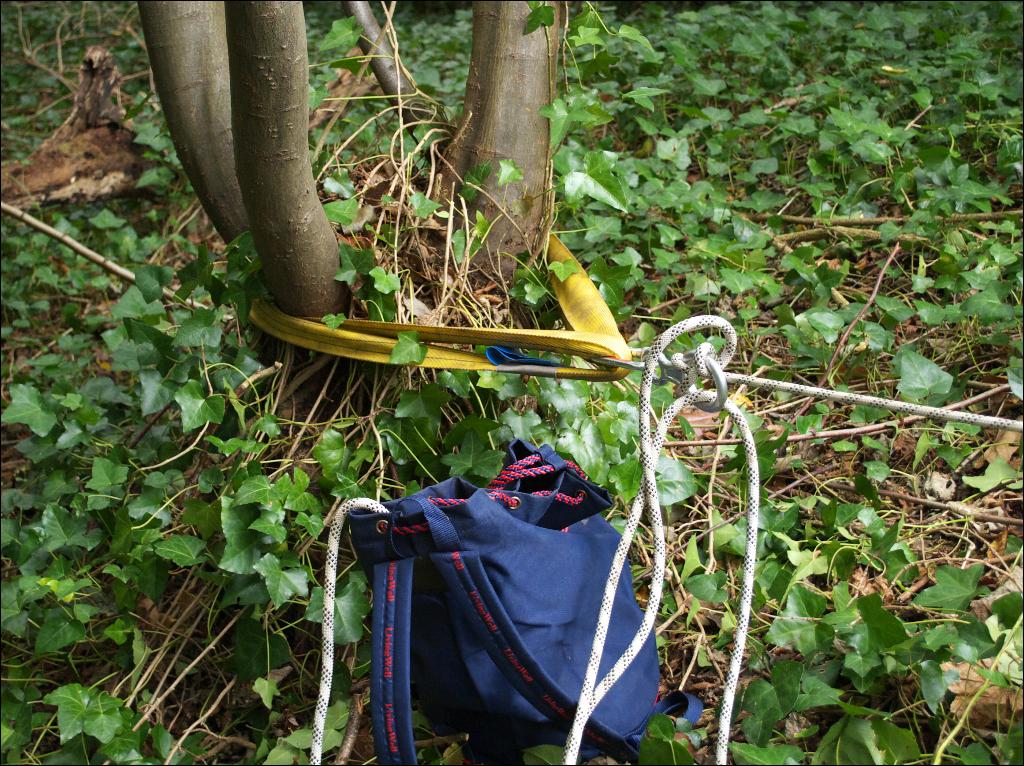
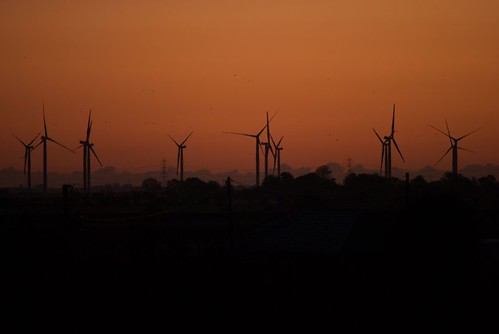
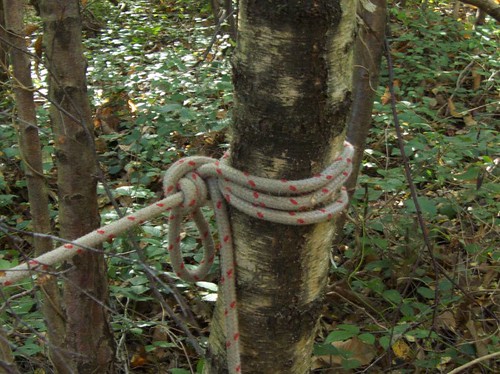
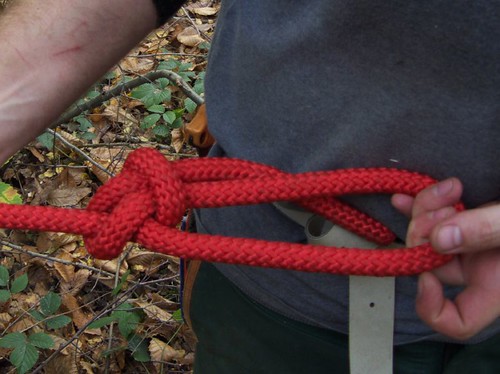
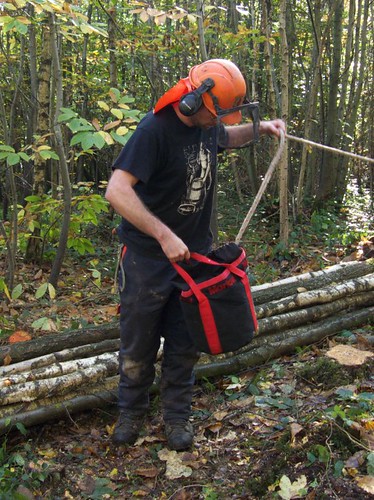
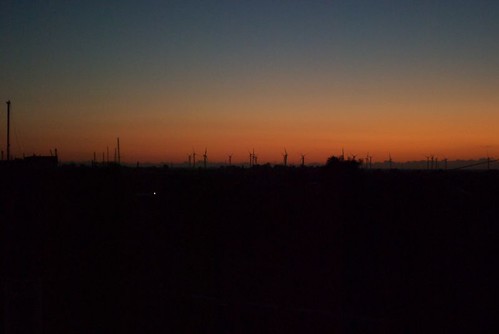
This was the final day, and I've got some videos of tree felling with ropes to show you. But first, I couldn't resist taking a couple of pictures of sunrise behind the Romney Marsh wind farm out of our window before we set off: We started the day with knots, and through the day had plenty of time to practise them. There were knots for tying off to trees as an anchor: and quicker ways of doing this: Knots for joining two lengths of rope, such as a Sheet Bend, or Double Sheet Bend in this case: Using a "figure of eight" at the anchor point to feed the rope through: and how to lock the rope off, which is useful if you're on your own and need to secure the rope while you go and put the felling cuts into the tree: Tying a bowline to attach a carabiner at the end of the rope: We also learned a neat trick to stop the rope getting in knots. Instead of coiling it, just pack it loosely into a bag, and then when you want to use it just walk with the bag and pay the rope out: When it comes to getting the rope attached to the tree, the most important tool is an extendible pole with a spike and downward-facing hook on the end: Ideally you use this to hook the rope over a branch: But if the tree has no branches within reach then you fasten the rope round it and slide it up: Once at the top you simply pull it tight (easier with a second person): This works for tying a pair of stems from a single coppice stool together as well, allowing you to fell them both at once: Rather than have the rope in a straight line (with you two tree lengths away), it's often more convenient to use an anchor tree with a pulley. This is especially useful if you are working alone, as you can have the final rope anchor near the tree being felled, in your safety zone. Here's a pulley set-up, making use of the slings for easy attachment to the tree: and the final anchor point: For larger trees you can use several pulleys to magnify the force you can apply, although you have to be careful to ensure that all the equipment is up to the required strength. We tried out a 5:1 pulley system, which allowed you to pull a tree over with two fingers! OK, time for some videos. I've set these all to high quality mode, so you might want to pause them and let the video load before playing, otherwise it may keep stopping.
Here's Paul felling a birch, using a single rope round a pulley and back to near the tree. Paul's felling while Tracy's on the rope:
Here's Paul again, this time felling a pair of sycamore stems together, and the rope system includes the 5:1 pulley set-up:
And finally, this is me felling a pair of chestnut stems. The first one sat back on my saw, and because two stems were roped together, it wasn't possible to pull the rope to free it. Paul came to the rescue with a pole.
Tracy felled an awkward sycamore as well, but I've not got a video of that - sorry!
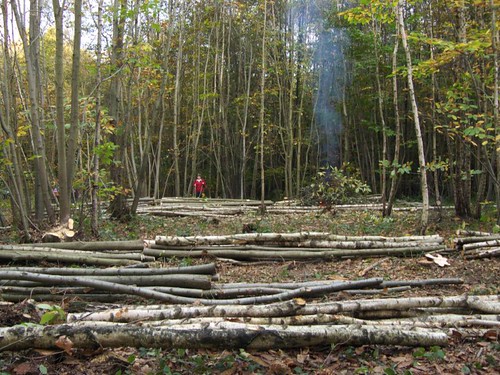
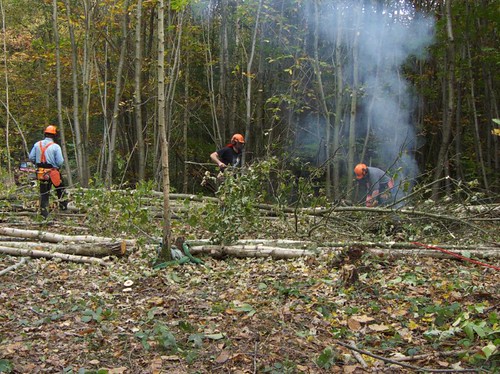
As we were working in a team for these trees, clearing up was pretty rapid: Here's some views of our work area at the end of the week. Looking from Paul's strip into mine: and back the other way. As you can see we almost joined up, just a few small trees left for the next group to fell:and the view from mine through to Tracy's: We were pleased with our progress, especially as we spent quite a lot of time watching, learning and talking.
All we need to do now is put it into practice in our own wood........