We continued with our work on the course today, extending the strips we were working and practising landing trees on the "benches" and processing them efficiently. If you missed Day 1, the blog post is here.
Tracy took some photos of me dealing with a tree from start to finish. In the first picture you can see the log I was using as a bench yesterday (nearer to me in the picture) is now on the ground, and I've swapped it for a larger log, which happened to end up in the right place after felling a tree.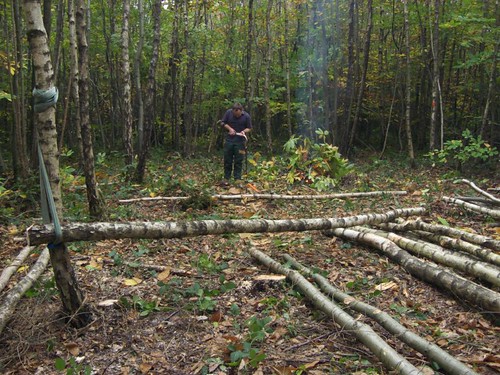 This new bench is nearer to the other end of the strip I'm working, as I'm going to fell a tree that's near the fire. It's also a larger log, so will be stronger and take bigger trees landing on it.
A quick look at the tree determined that it just needed a standard felling cut, nothing fancy.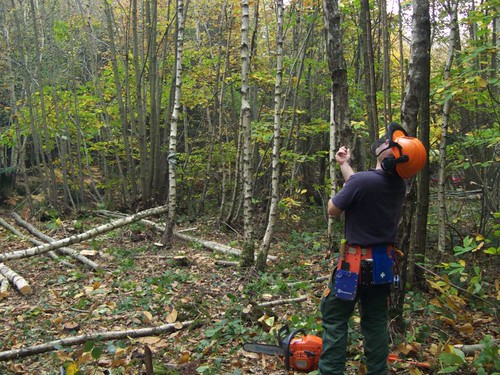 So I set about putting the gob cut in
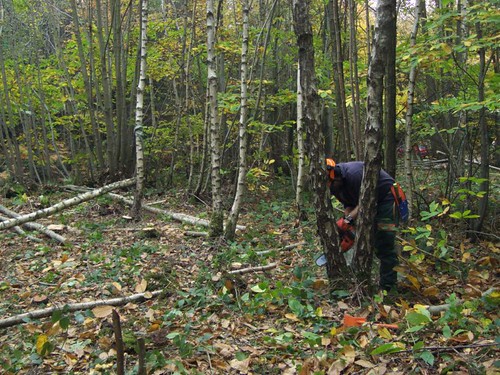 and then came round the other side (because of the other stem in the way) to put the back cut in
 The tree didn't fall immediately, and rather than cut the hinge away to nothing (which would a bad thing!) I put the felling lever in and gave it a heave
 It shifted easily and I made a prompt exit, just in case it got a bit lively at the butt end - it didn't, but better safe than sorry!
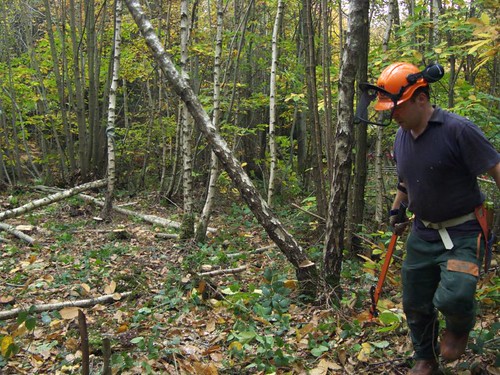 The tree hung up slightly
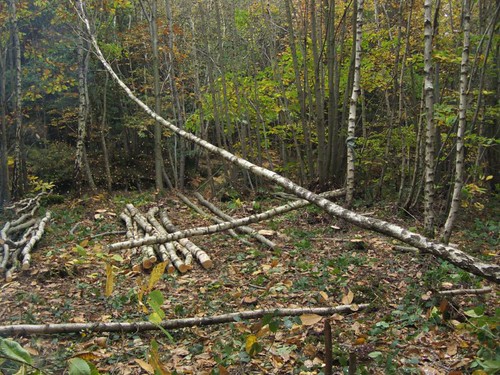 but a gentle push from the side brought it down onto the bench
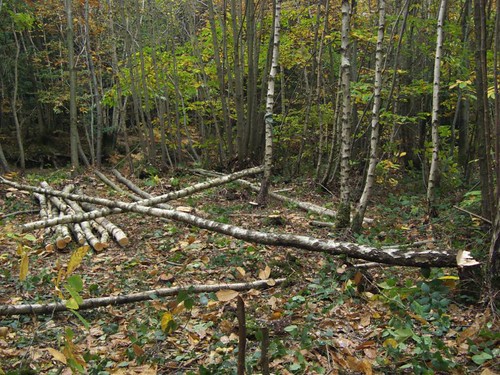 After severing the tree from the stump
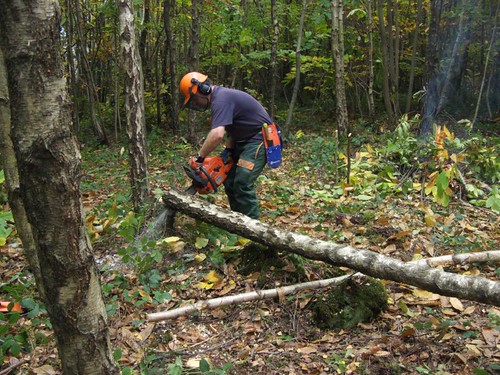 I was then able to cut off a 16-foot log. The tree was felled in such a position that this log would only need moving a few feet to join the nearest log pile.
 The next step was to drag the top of the tree back over the bench, which is relatively easy as it slides over the bench quite well.
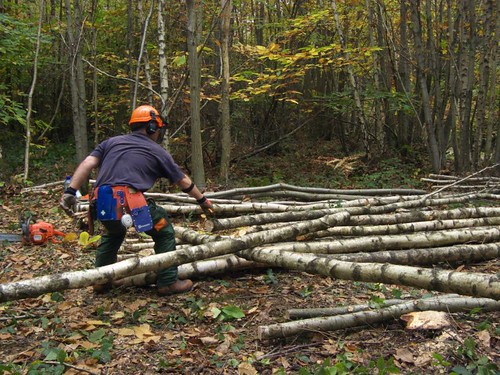 This brought it near the fire, and then I proceeded to sned the branches:
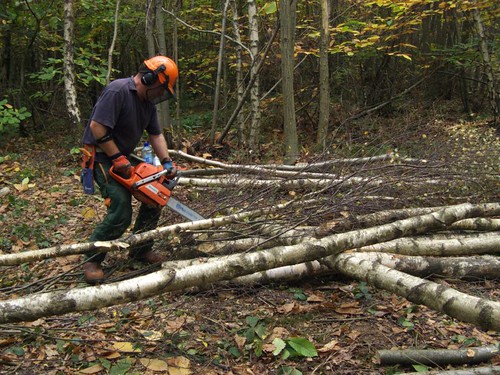
 After that it was easy to move the branches to the fire, along with the top of the stem.
These trees aren't huge, as you can see, but it is still worth learning and using these techniques as it allows you to work much faster. The same techniques apply equally well to larger coppiced trees too, and then the emphasis on minimising movement of logs and trees saves even more effort.
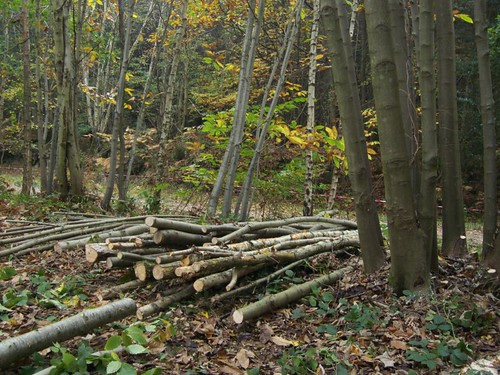
I didn't get to photograph Tracy working, but here's a couple of pictures of her work area. As you can see she's been moving on to larger trees than she's been used to: and has built up a good pile of logs:
  We also covered some other felling cuts today, which were revision for me and Paul but new for Tracy, such as boring cuts and split-level cuts (links go back to old blog posts with videos).
The lunchtime entertainment including target shooting (at a bit of cardboard) with David's air rifle, which he always has with him for squirrel control.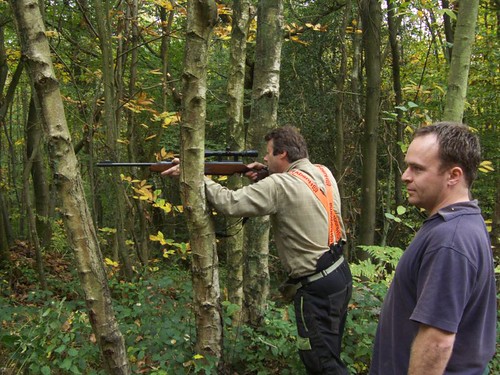
 Tomorrow Tracy and I will be working to remove the trees between our two strips, prior to doing some work with ropes and pulleys at the end of the week.
Mike
If you missed the other posts, Day 1 is here, Day 3 is here, Day 4 is here, Day 5 is here.
Tuesday, 14 October 2008
Coppice Harvesting course - Day 2
Subscribe to:
Post Comments (Atom)

No comments:
Post a Comment