Last weekend we spent two days and one night in the woods - without a tent! We were on a "Wilderness Weekend" with Landrock Survival Training, learning the basics of how to survive if you become stranded somewhere. Our instructors were John Hayward and Antony Quinn, both of whom had military training. They were both excellent teachers, demonstrating, explaining and assisting without ever being condescending. Below I'll explain what we got up to, but if you want more detail then you need to go on the course! :-)
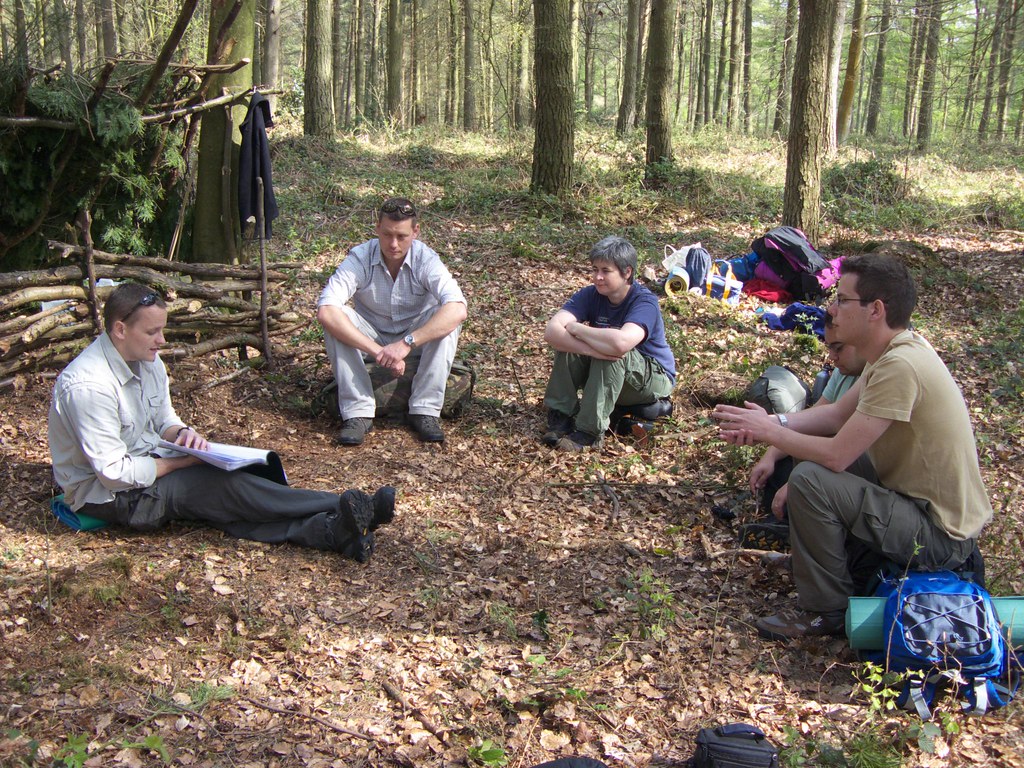
When we arrived, along with Joel and Chris who were also on the course, there were already some example shelters set up, and we sat down for an initial briefing. The key acronym we had to remember was PLAN:
Protection (i.e. shelter and fire to keep dry and warm)
Location (how to make sure a rescuer can find you)
Acquisition (of water and food, in that order)
Navigation (with and without a compass)
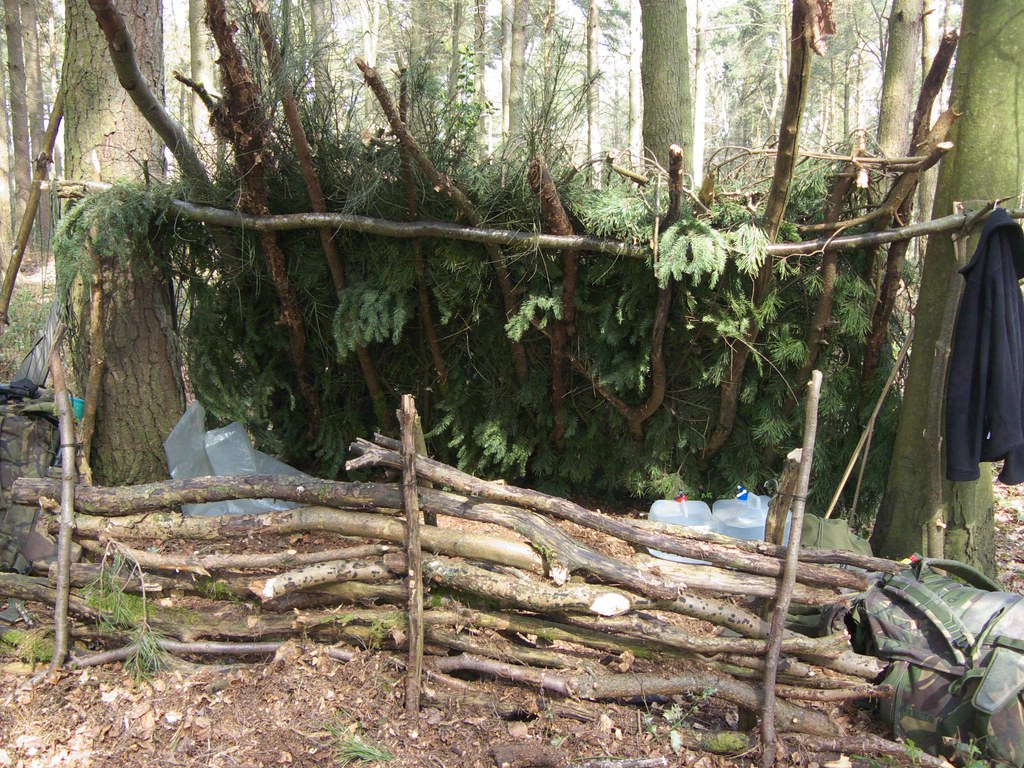
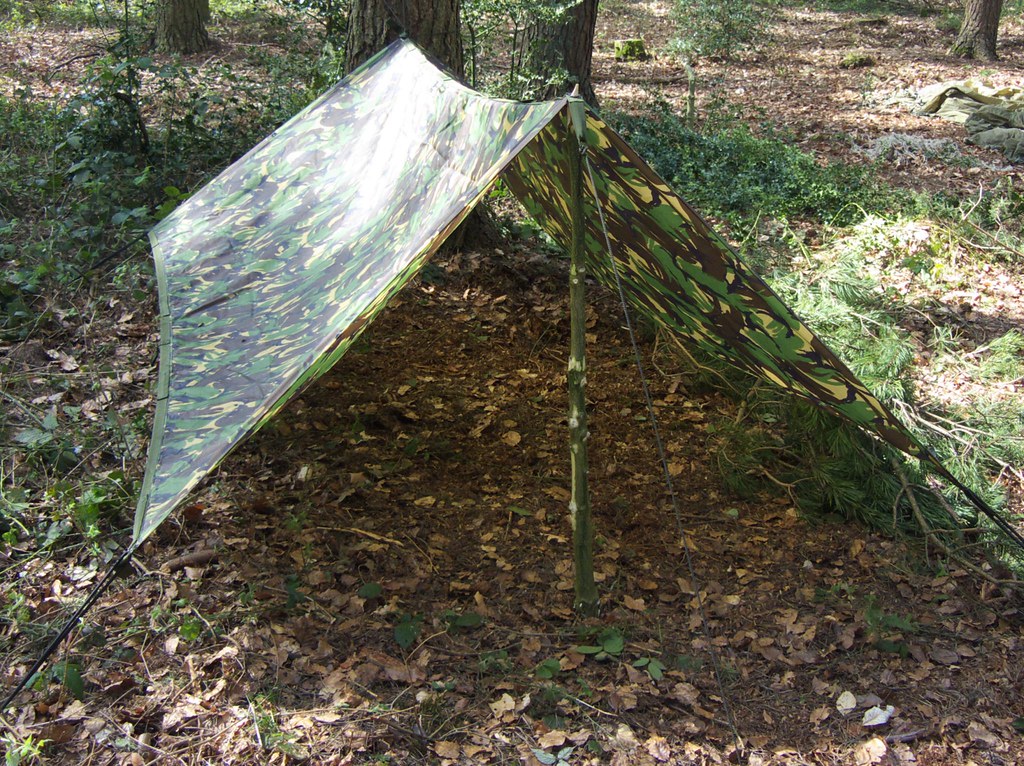
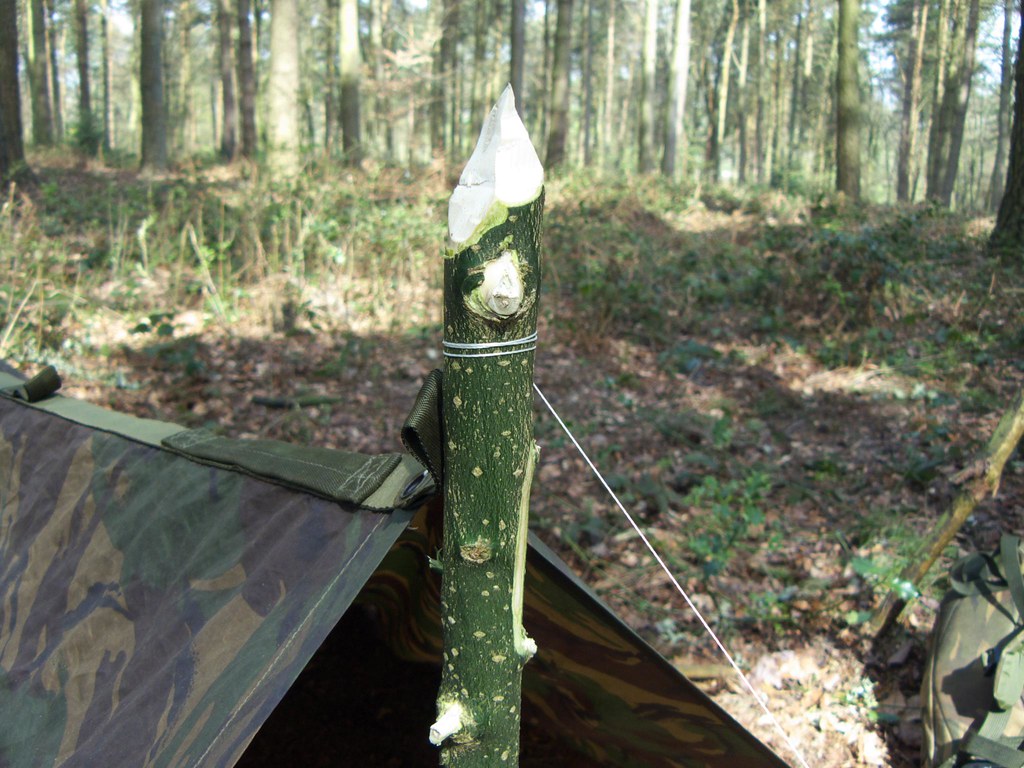
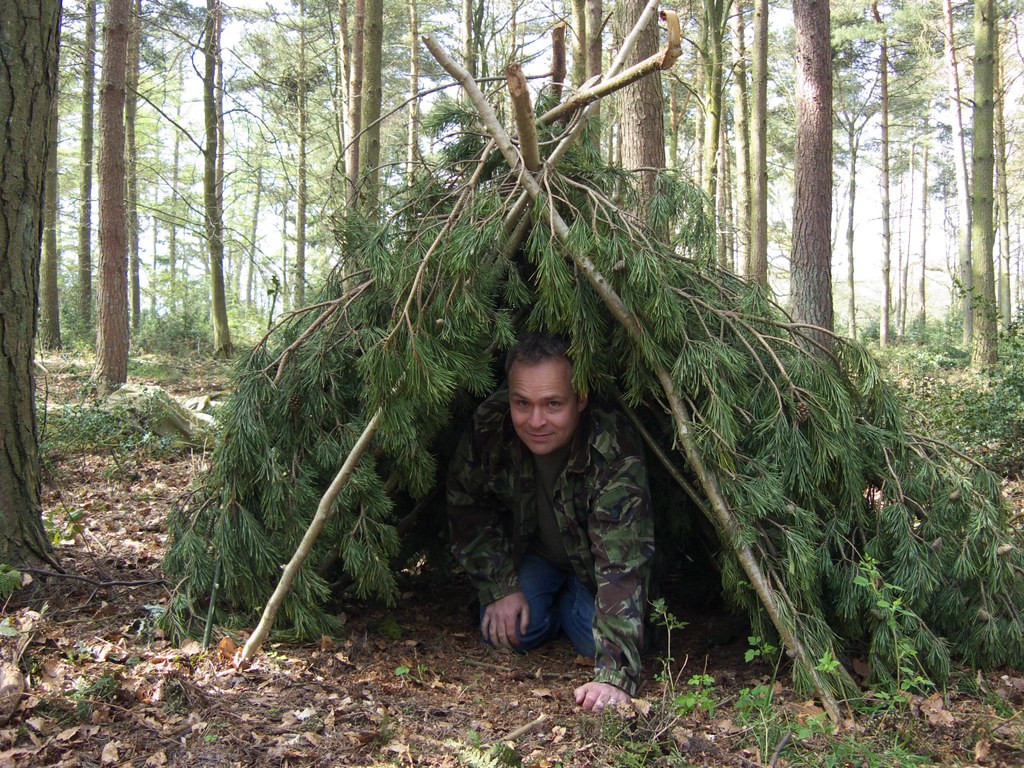
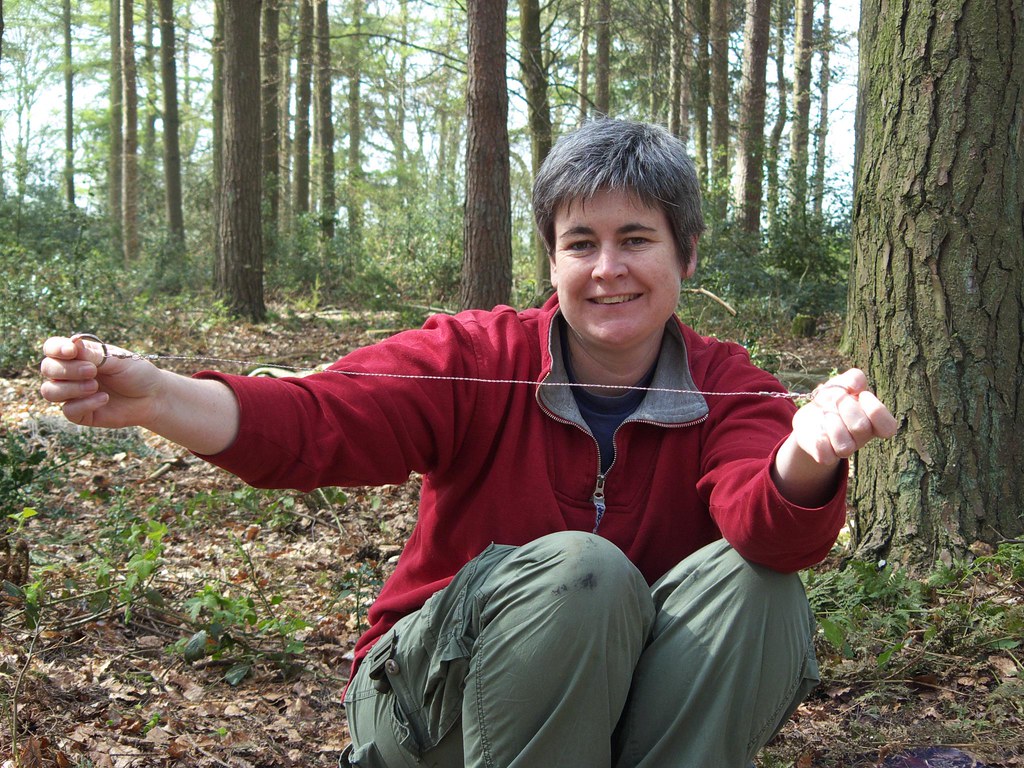
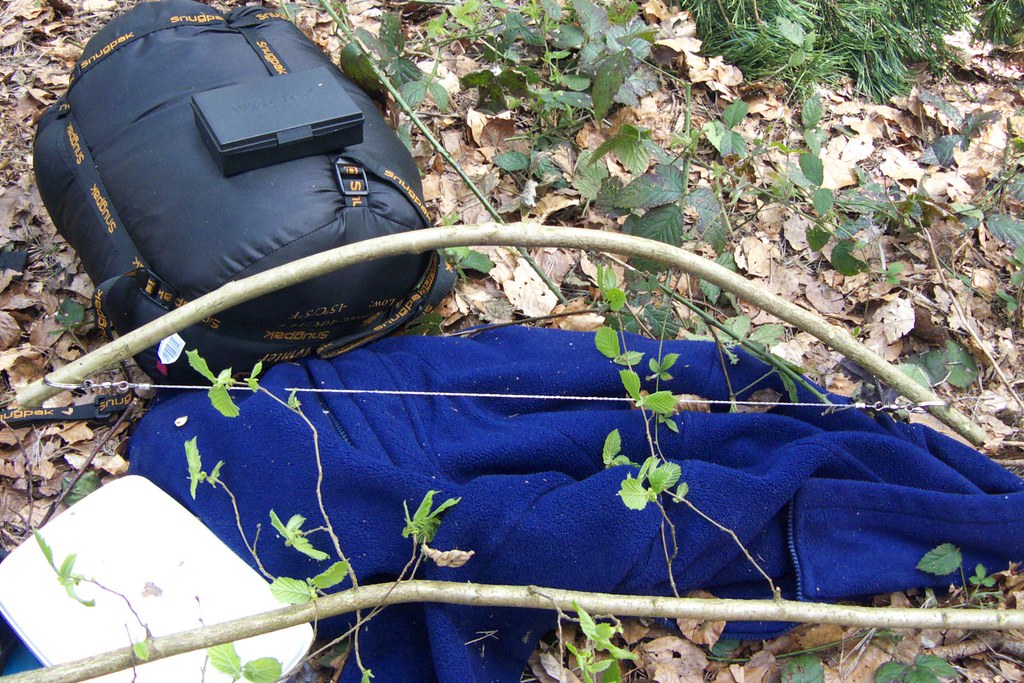
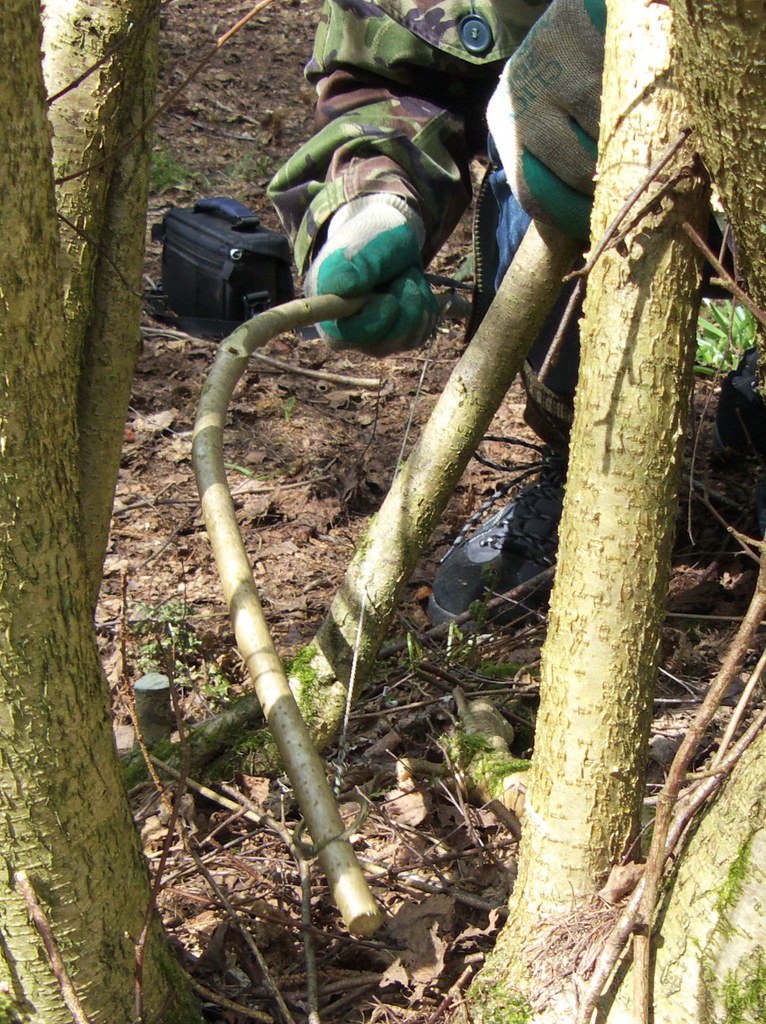
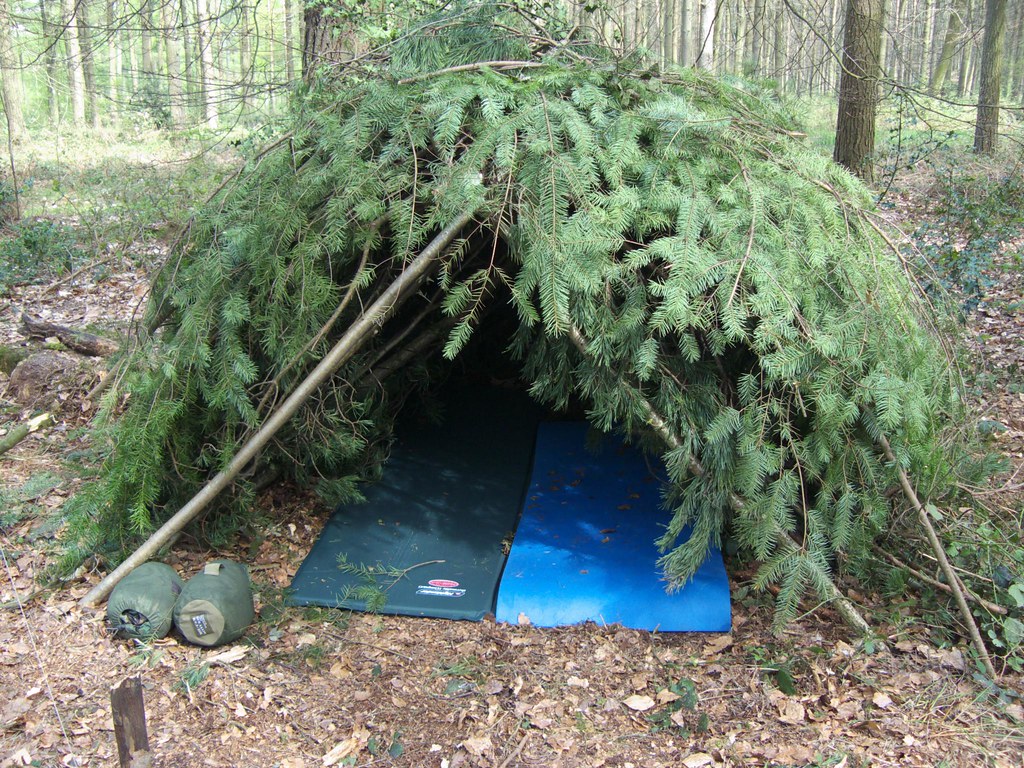
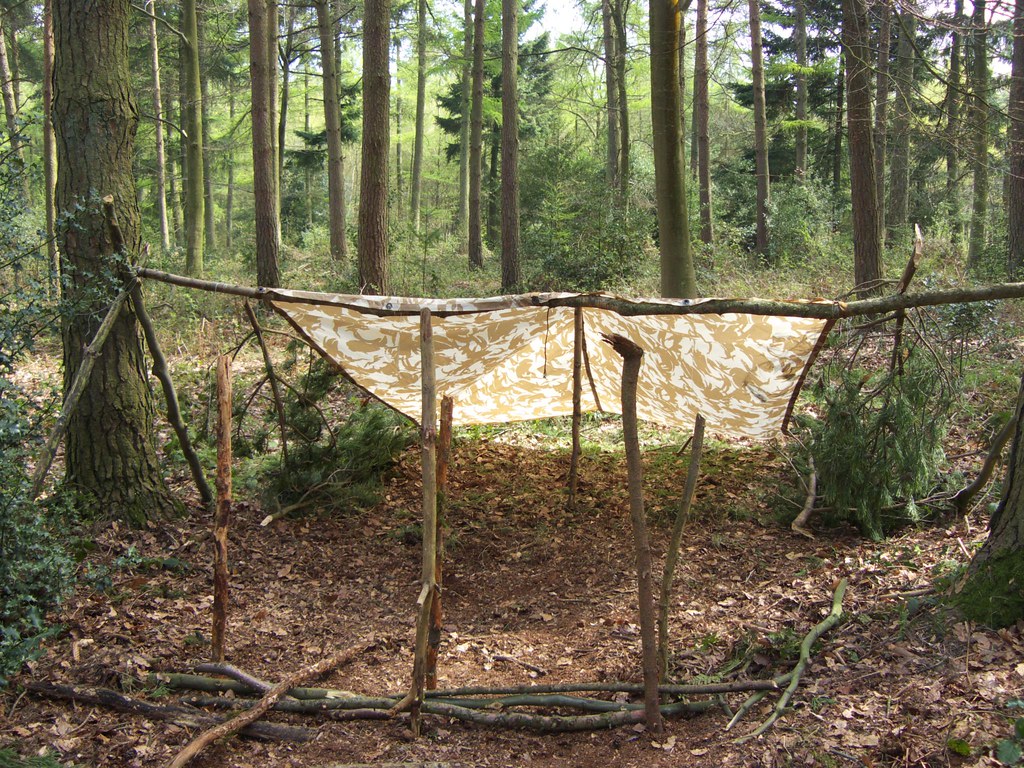
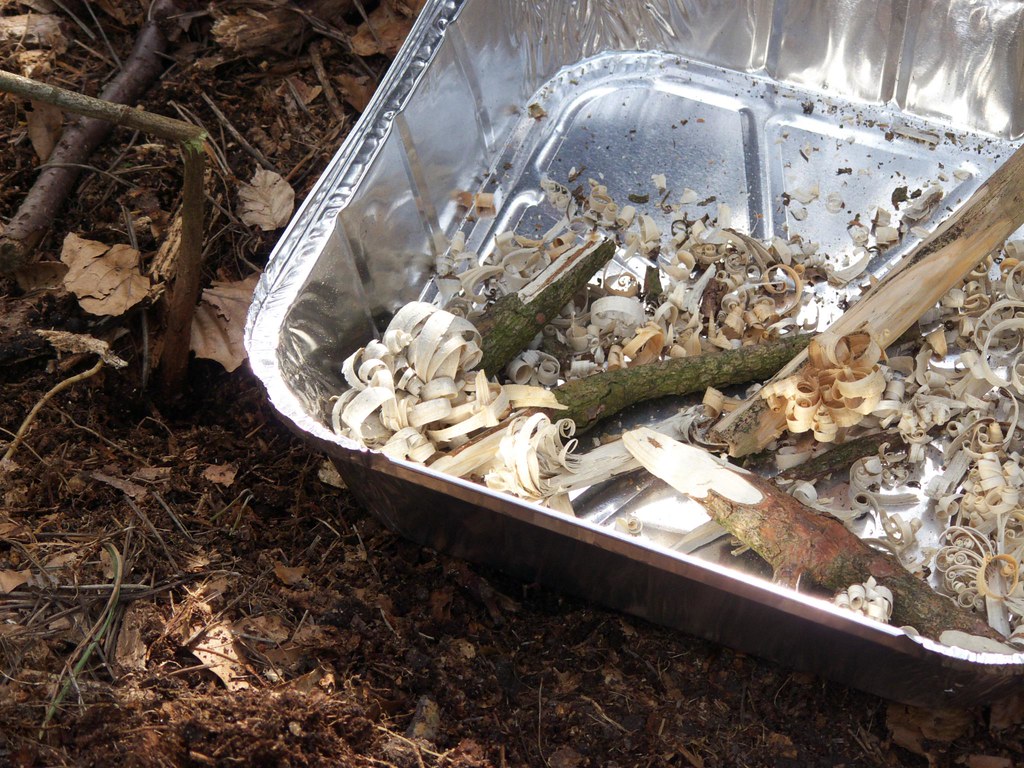
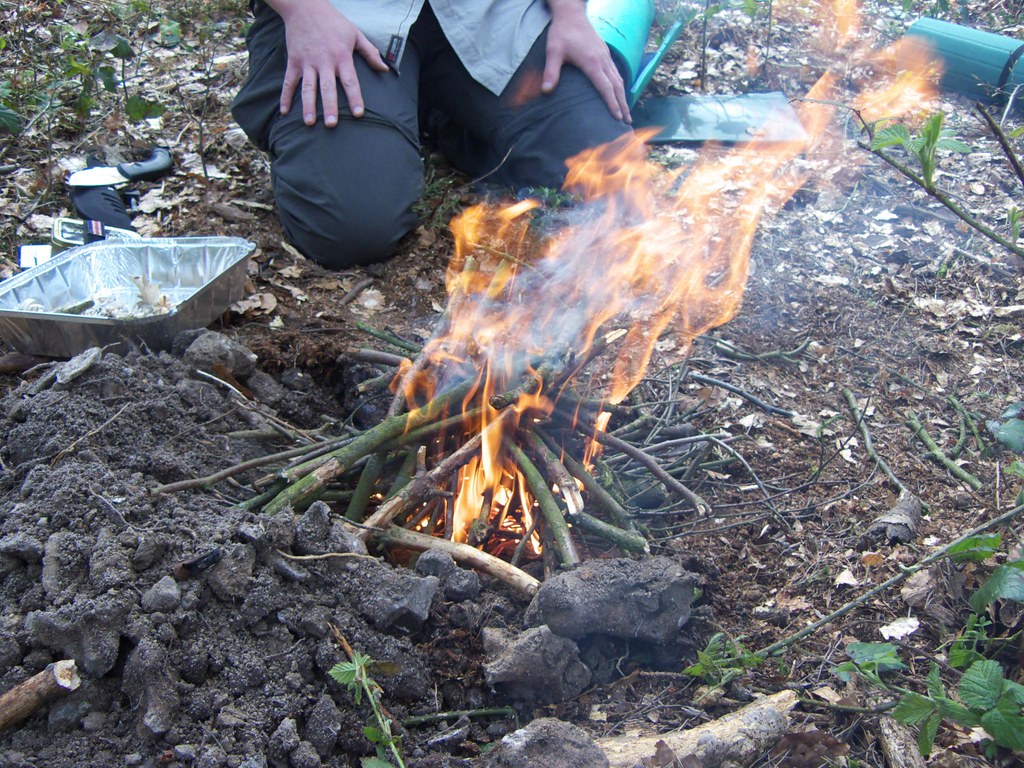
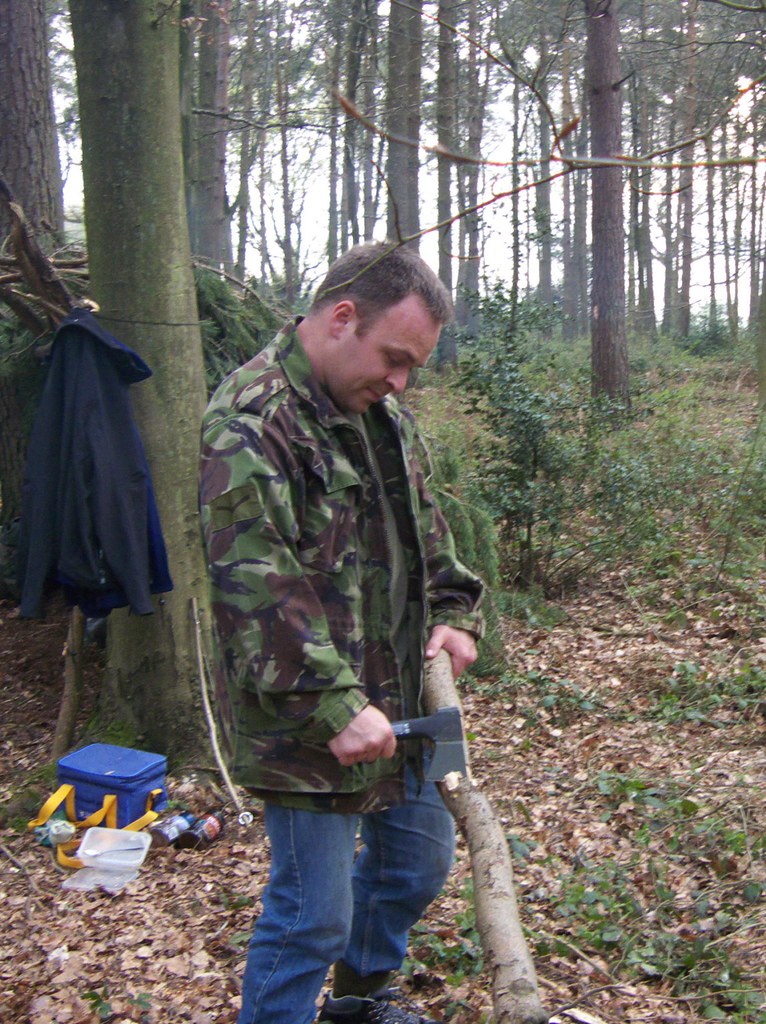
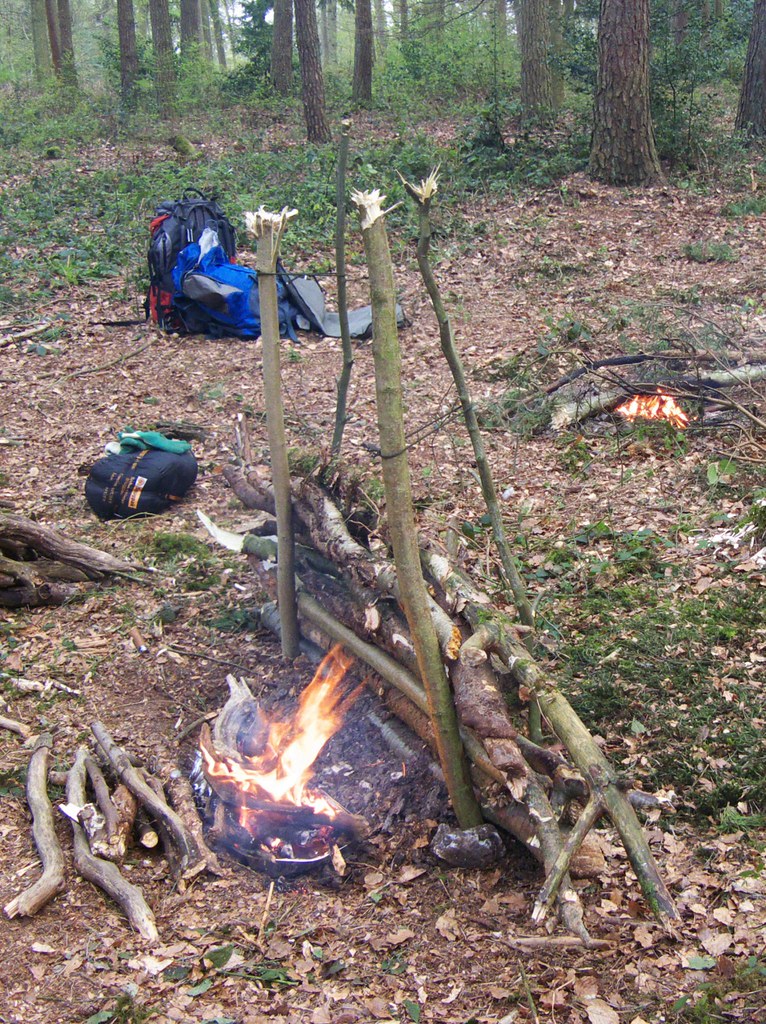
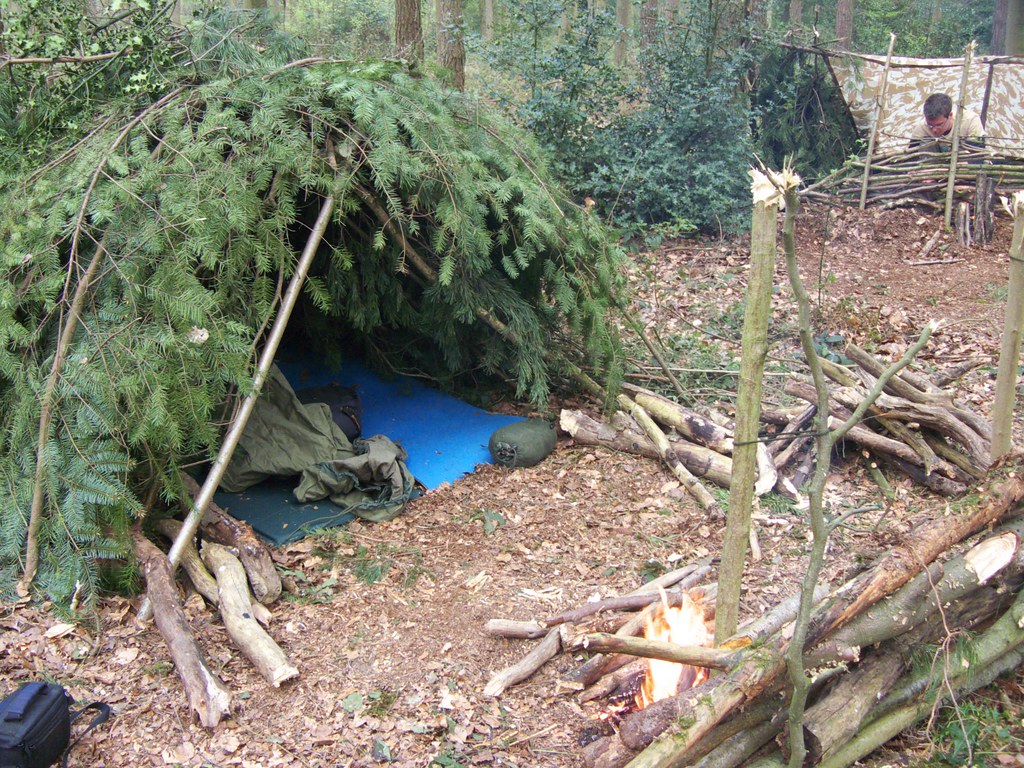
To start with we looked at the example shelters, such as this lean-to shelter. The wooden screen in front of it reflects heat from a small fire back into the shelter. Here's a couple of ways of putting up a basha (a kind of tarpaulin), either low to the ground: Or higher up, with brash to keep wind out at the edges: the poles for the basha can easily be made from wood, and the guy ropes can be made from the strands inside a piece of paracord: Then there's an A-frame shelter, which is smaller but well-insulated: This is the one we decided to build, but the first job was to set up our wire saw. You can use this just by holding the two ends: But it works better if you put two notches in a bent stick: Anyway, we soon had some poles to make our A-frame: using a bit of paracord to secure them: and then we collected and cut lots of branches to make the roof: Here it is inside - although you can see a bit of light through, it did actually keep the rain out. Joel and Chris went down a different but equally effective route: With the shelters up, the next step was fire, and we saw how to light a fire from sparks using different tinder materials, such as these "feather sticks and birch bark: Here's a video of John demonstrating:
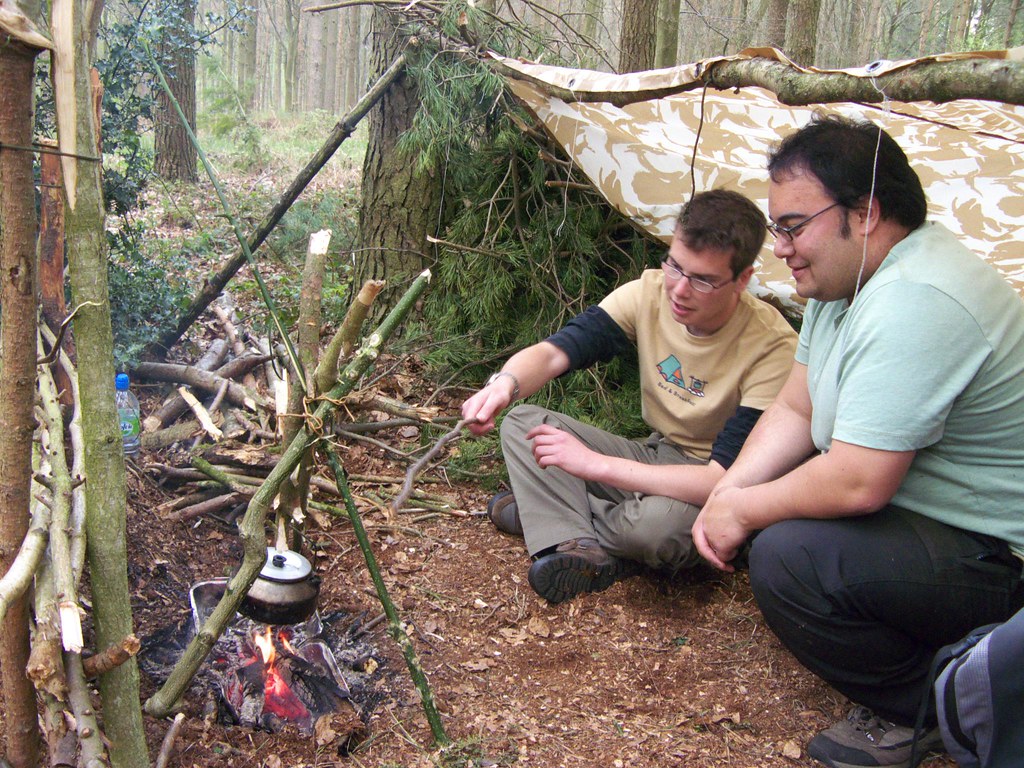
after which the fire was quickly burning: It wasn't long before we all had chopped some dead wood and got small fires burning by our screens, ready to use for cooking and later on to keep us warm: Chris and Joel set up a little tripod for cooking: and as the night closed in we had a nice atmospheric glow from the fires: We walked around the woods in the dark looking for wildlife (especially the edible variety!), and chatting about different survival scenarios, then settled in for a pretty comfortable and warm sleep, to be woken up by the dawn chorus a few hours later...
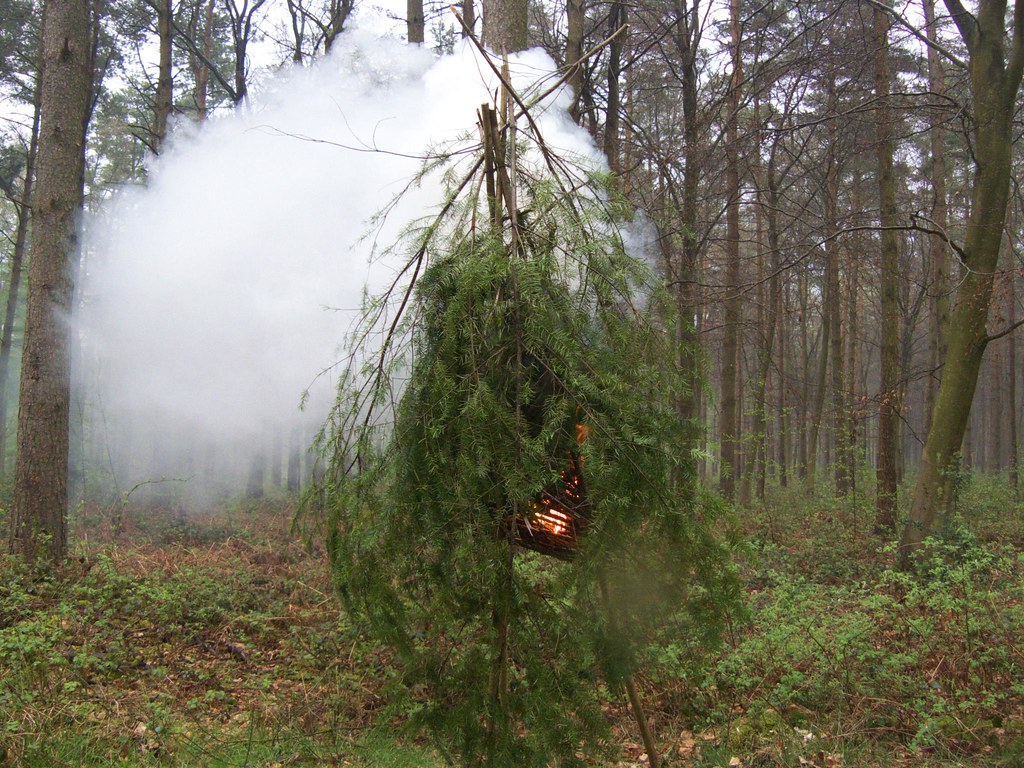
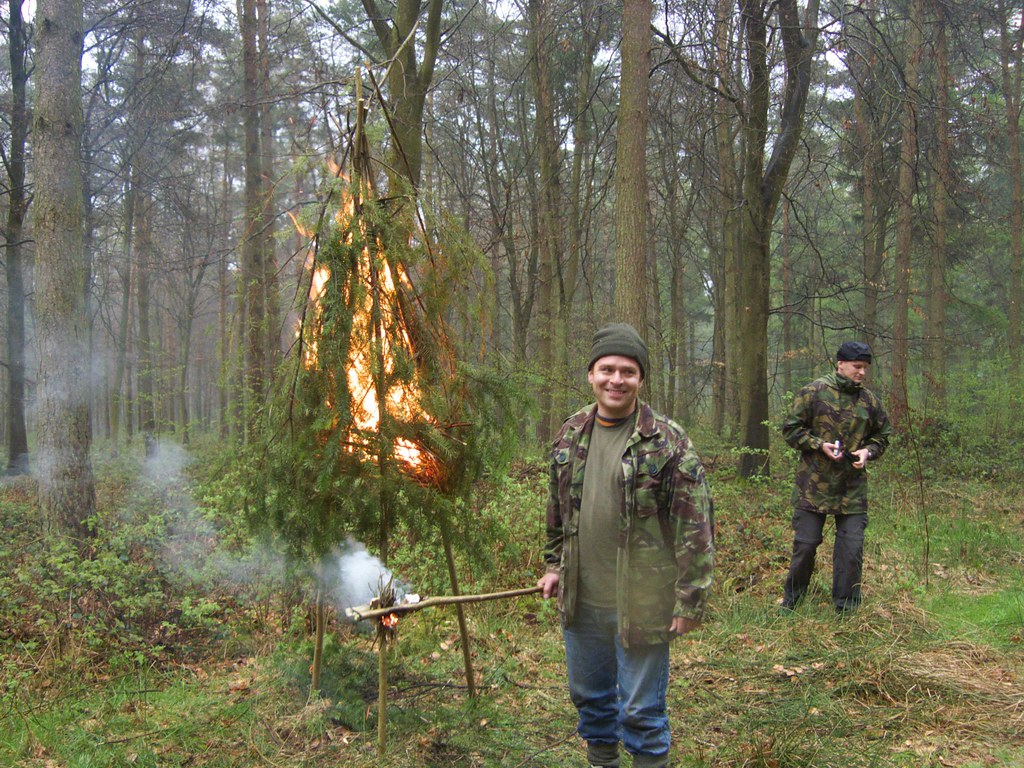
While we were having breakfast, John suddenly announced that he could hear a "spotter plane" - this was our prompt to go and light the signal fire we'd prepared the day before as fast as possible: I should have put more greenery on top, to keep the smoke going longer, but you only learn by practice...
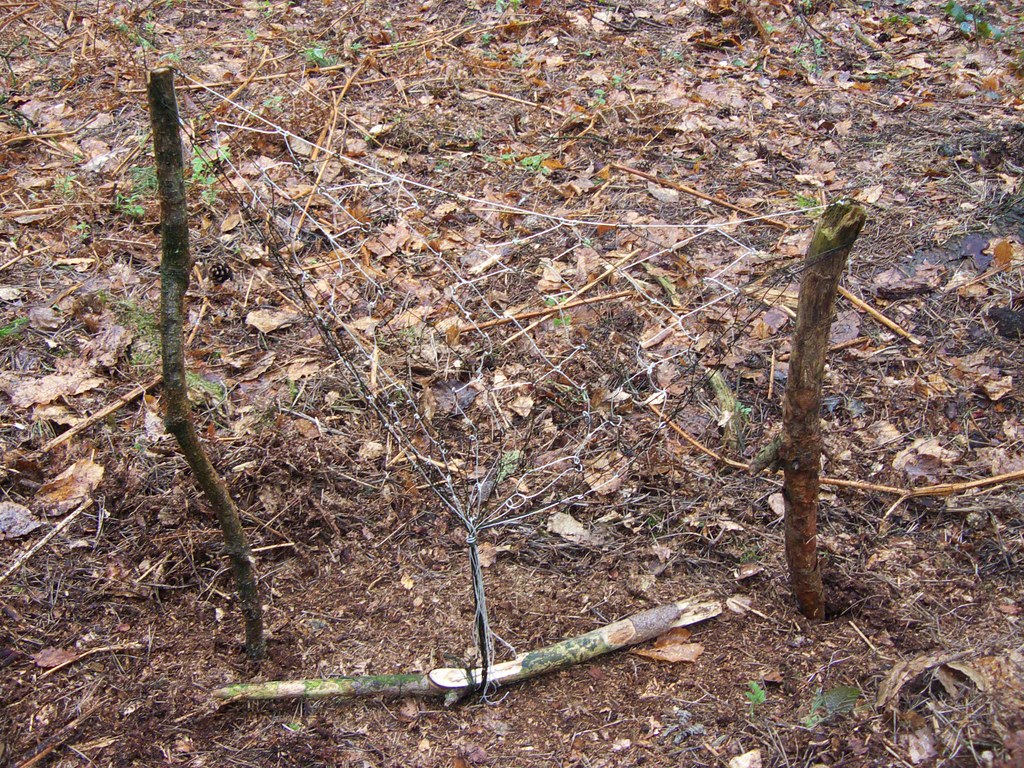
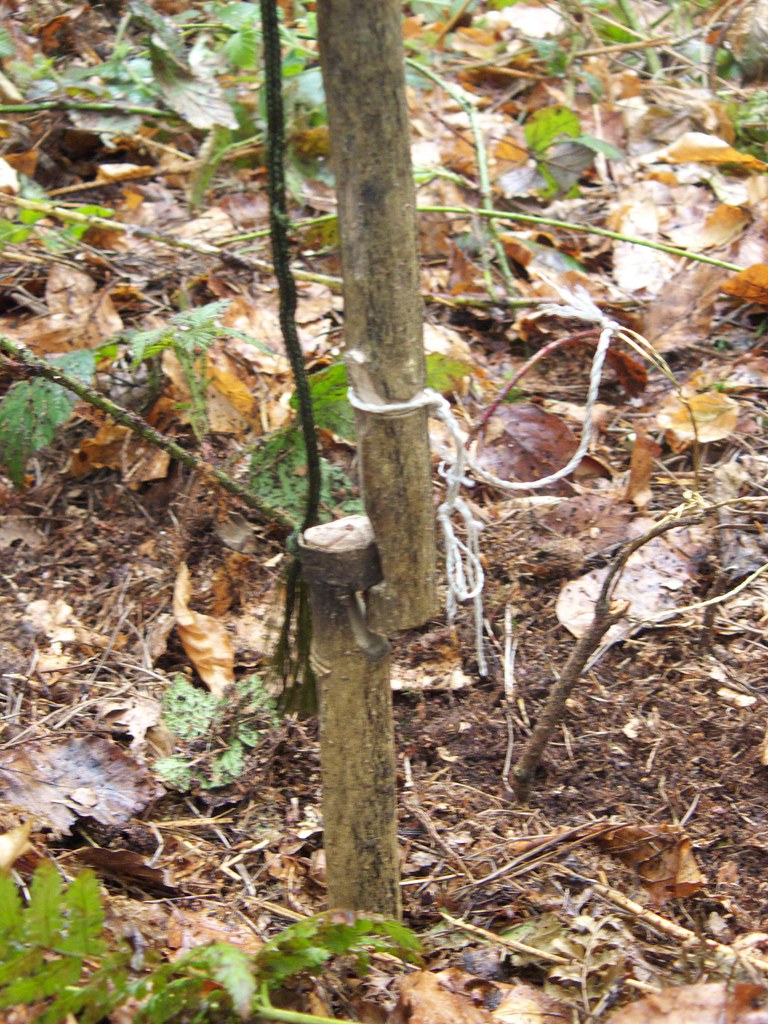
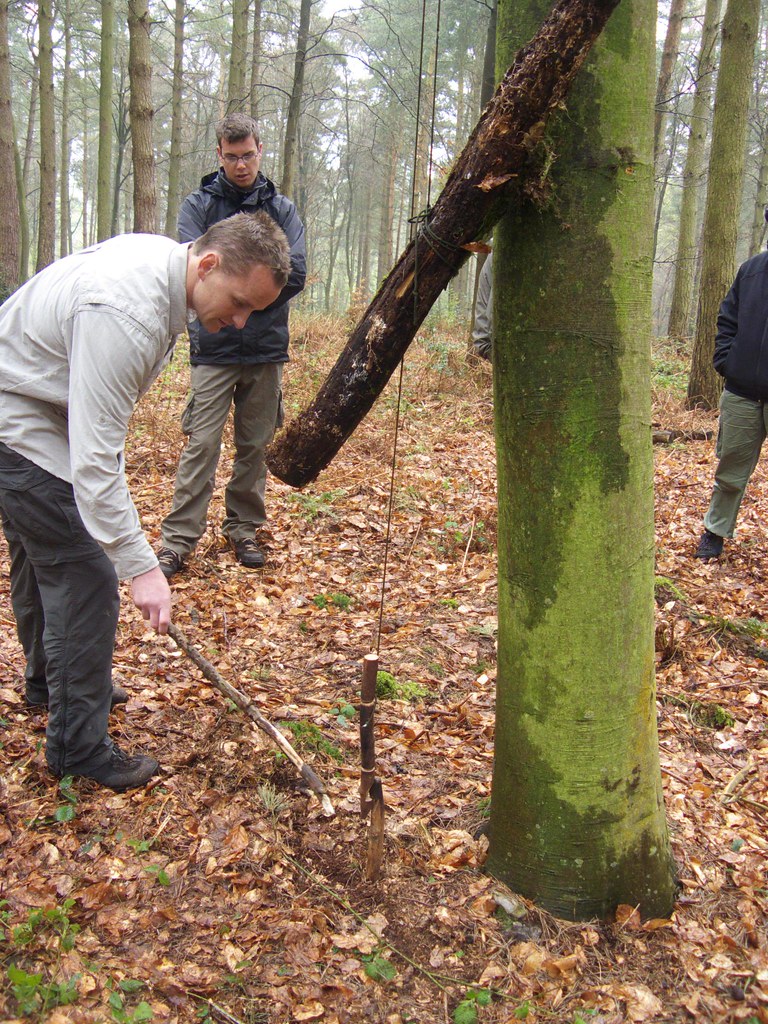
Then it was on to acquisition. We saw various ways of fishing, though it was pointed out that these are not legal as a fish could be stuck on a hook for many hours until you come to check it, so they are only to be used in real survival situations. If no hooks are available there was also the option to make a net (again from the ever-useful inner threads from some paracord): We also how to set up saw several snares, but just for demonstration purposes, we didn't leave them out to catch anything. Most of them use a hook mechanism like this to hold them in place: and some used a weight to fall on the catch at the same time as lifting it up: Here's a video of one in operation, but remember this is just a demo - if it was being done for real we'd have used a thicker and higher branch - the catch needs to be lifted high enough off the ground that a fox doesn't get it:
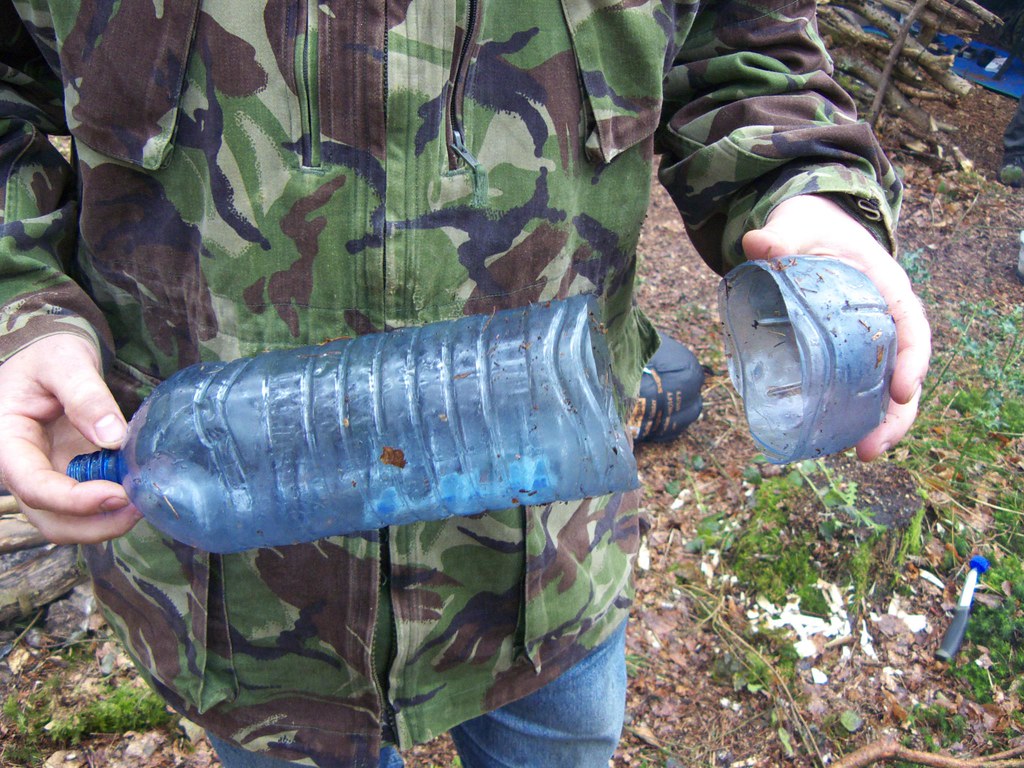
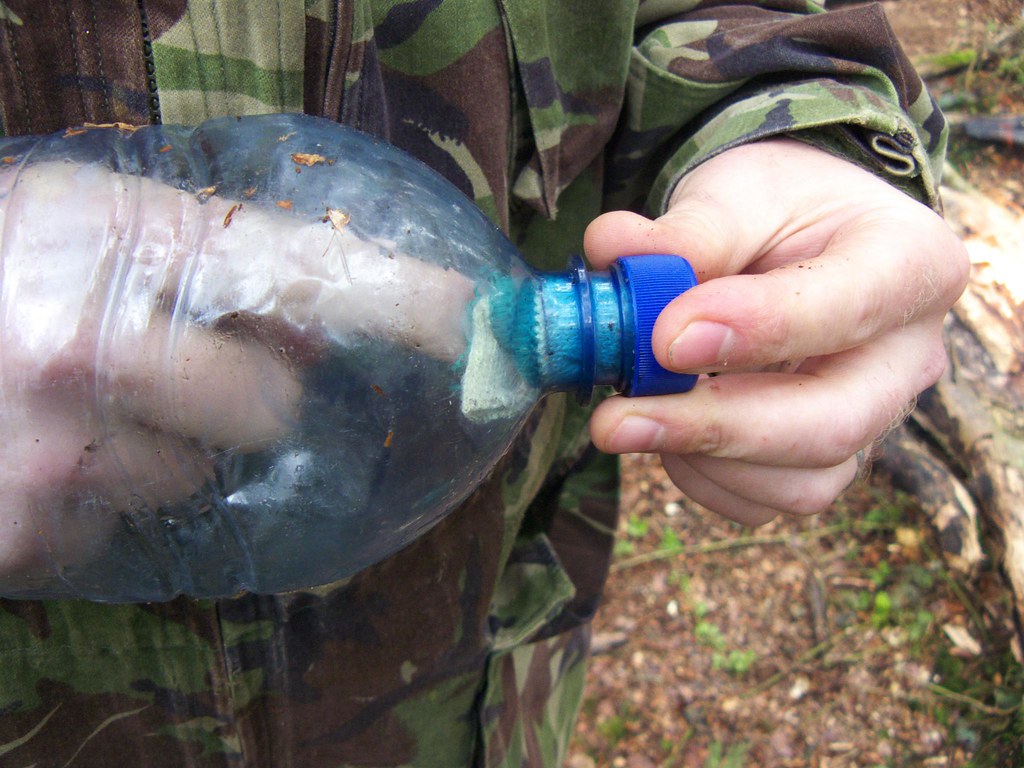
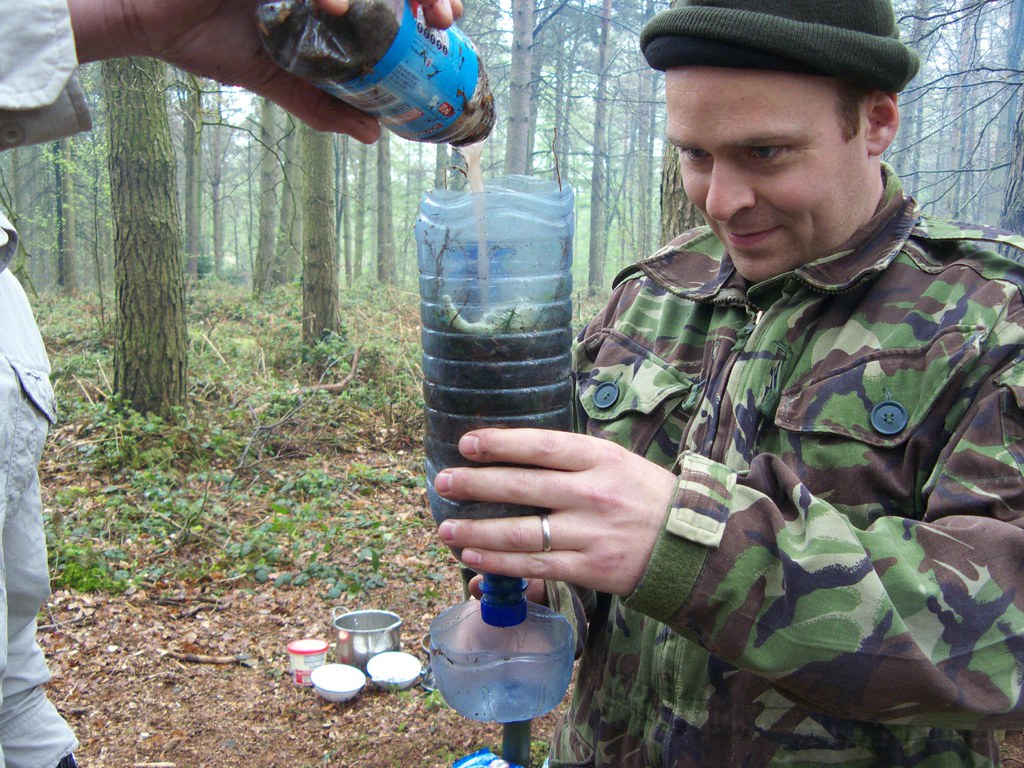
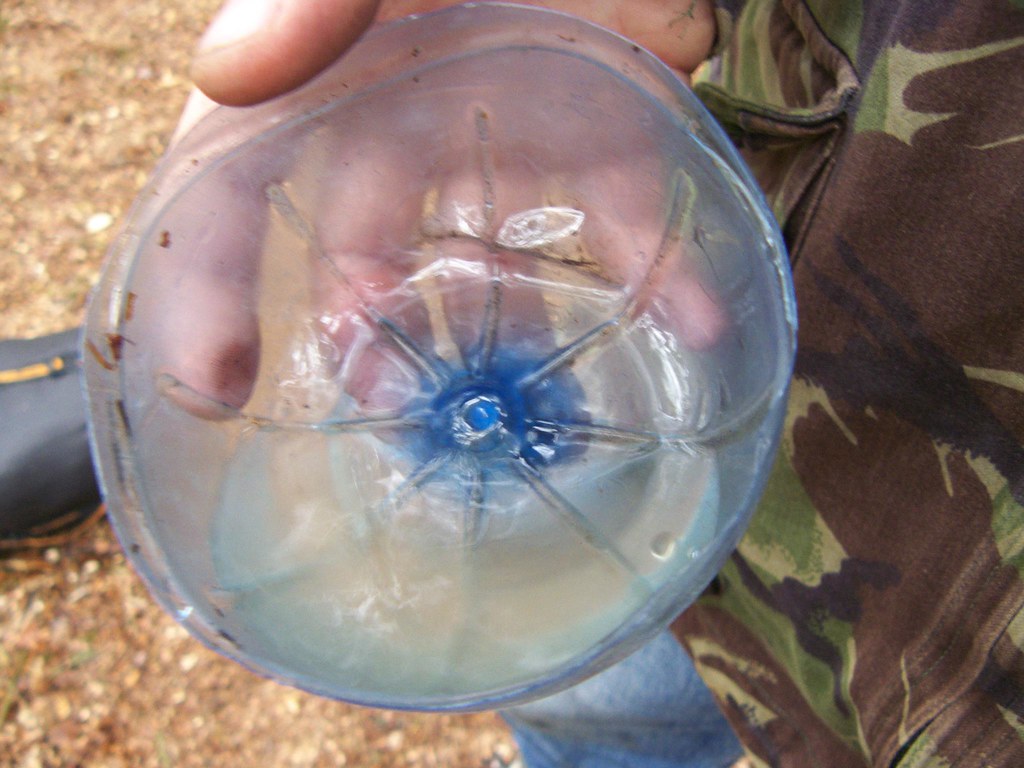
The we looked at water filtering using materials like ash, charcoal, leaves and moss. We used a spare water bottle: In went some muddy water: and it really did come out cleaner than it went in, though several passes would be required to get it properly clear: The last activity was navigation, where we learned how to accurately judge distances by pacing, even if you can't go in a straight line, using a compass and also how to precisely find North without a compass, using a stick and a cleared piece of ground! I'm not going to try and explain it here, you need to see it, but basically it's a bit like a sundial.
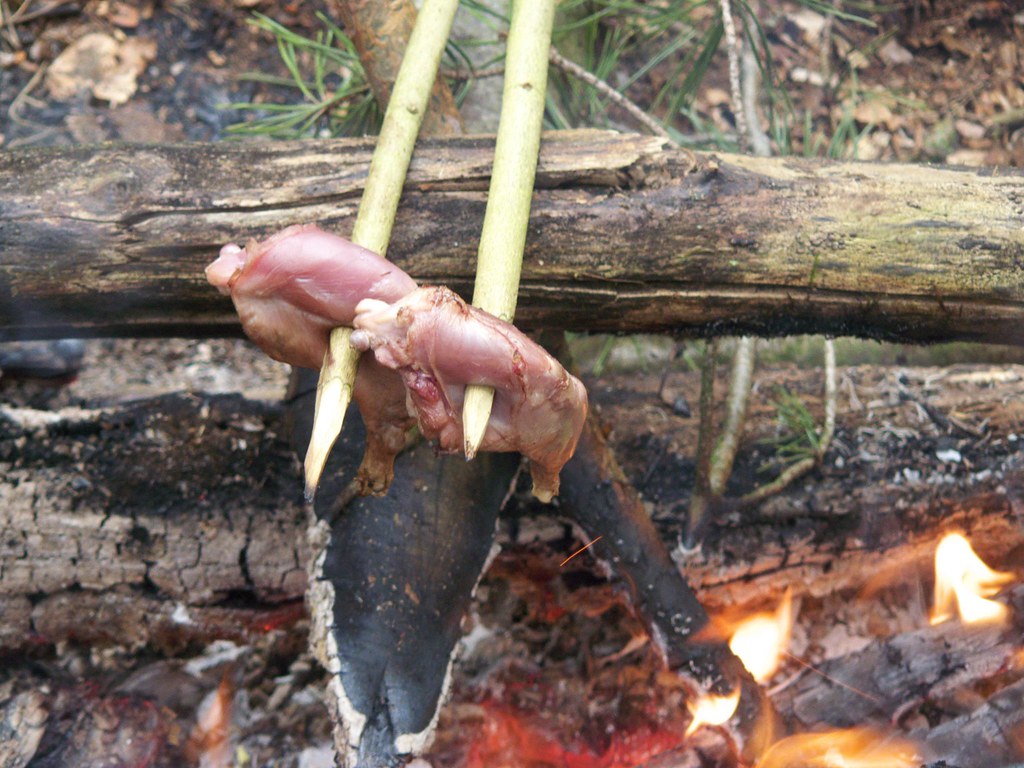
We finished up the weekend seeing how to gut a squirrel (which John had shot for us), but I'll spare you any pictures of that. Instead, here's the finished product roasting over the fire. It was quite tasty but tough, and John told us it would be better to stew it. Anyway, that's about it. There was a lot more detail of course, but I'm not going to try and put it all down here. We came away with a very nice Mora survival knife and a Web-tex survival kit, so we can carry on practising - I've already got a mini expedition planned in a few weeks time!
So, if you like the sound of it, and I strongly recommend it, contact John and book yourself in! www.landrock-training.com
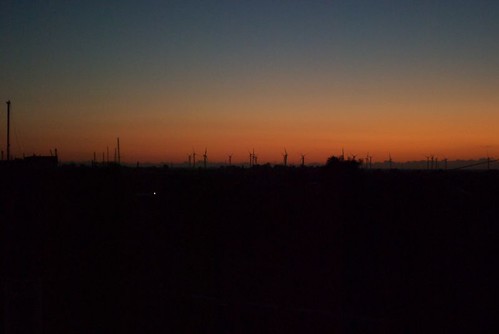
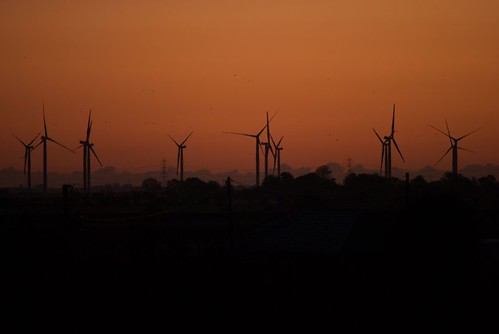
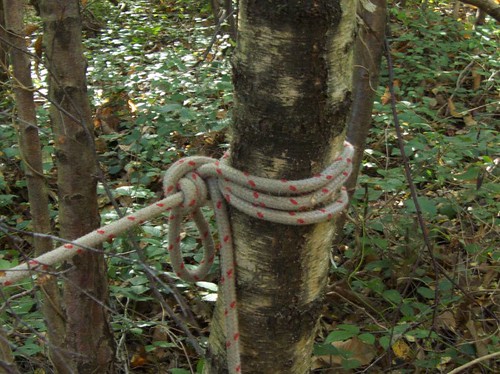
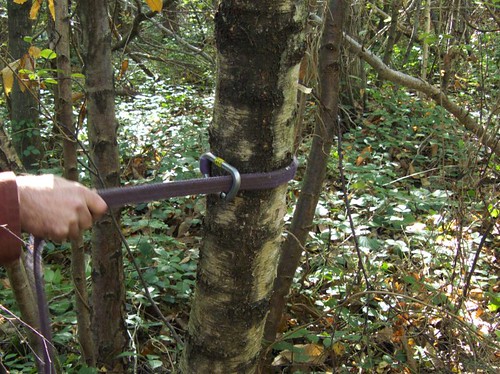
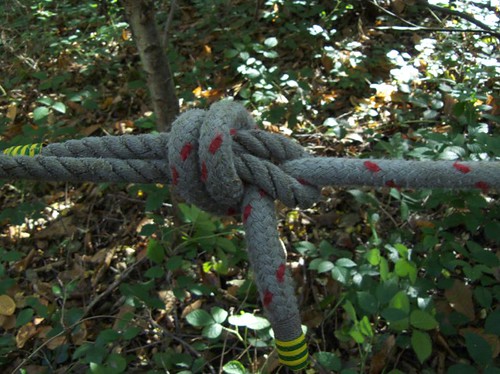
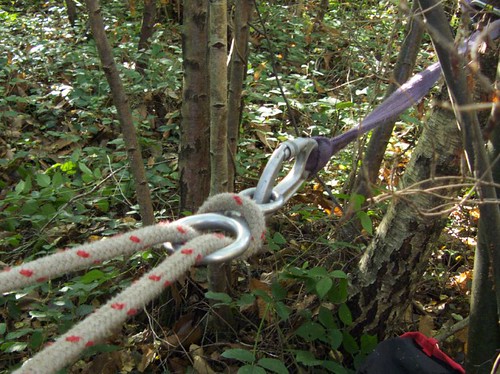
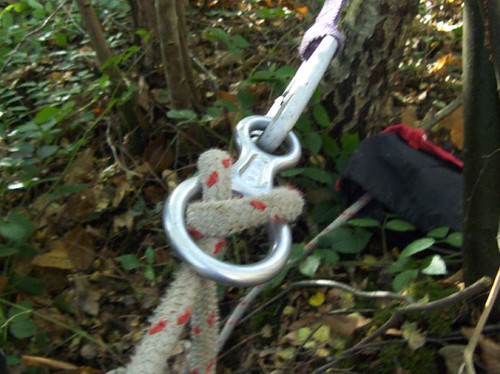
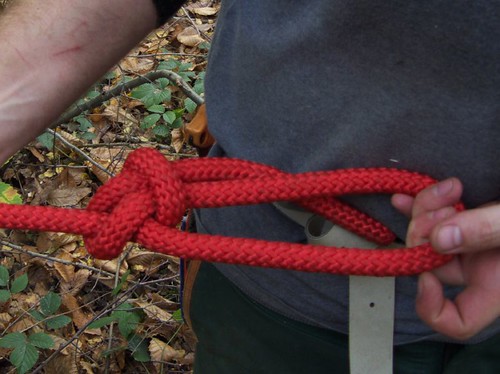
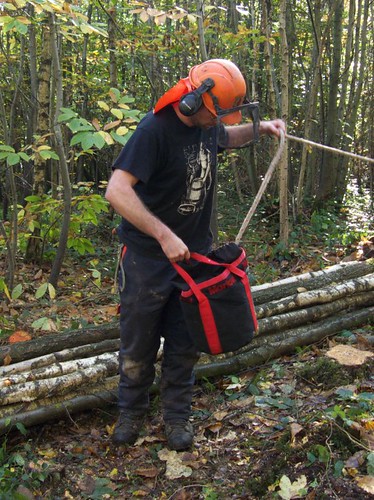
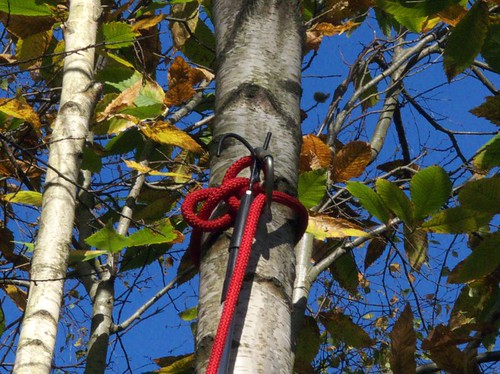
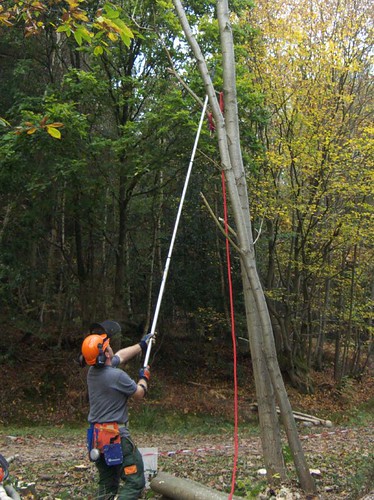
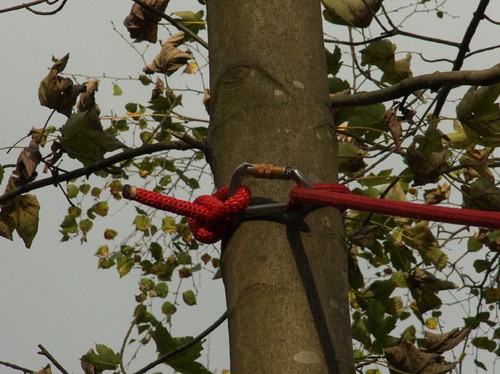
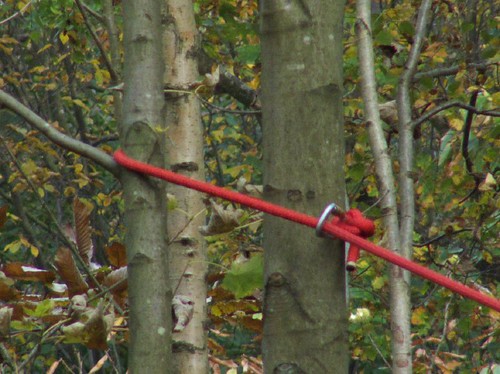
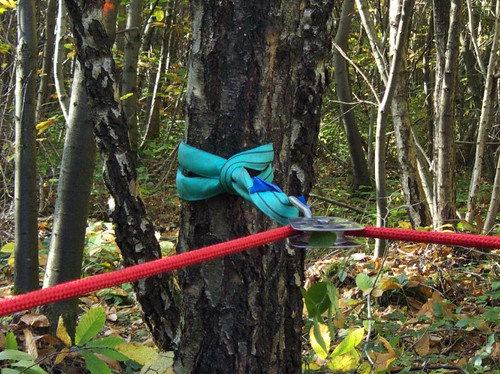
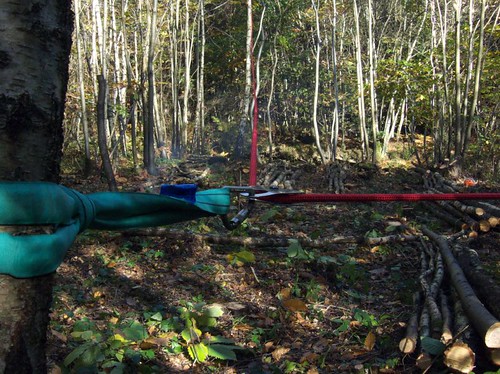
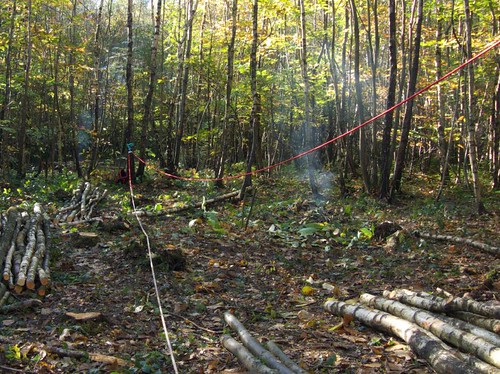
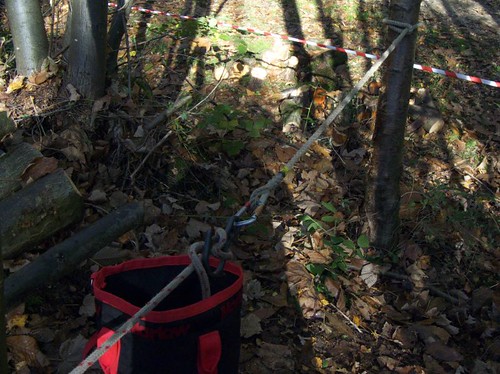
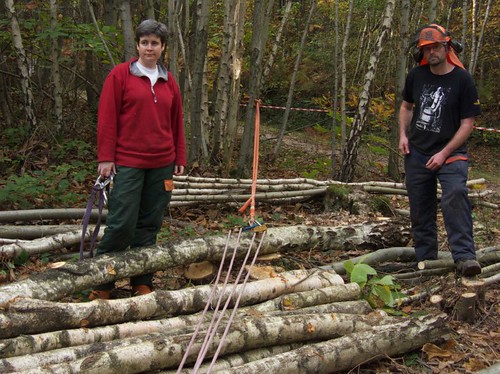
This was the final day, and I've got some videos of tree felling with ropes to show you. But first, I couldn't resist taking a couple of pictures of sunrise behind the Romney Marsh wind farm out of our window before we set off: We started the day with knots, and through the day had plenty of time to practise them. There were knots for tying off to trees as an anchor: and quicker ways of doing this: Knots for joining two lengths of rope, such as a Sheet Bend, or Double Sheet Bend in this case: Using a "figure of eight" at the anchor point to feed the rope through: and how to lock the rope off, which is useful if you're on your own and need to secure the rope while you go and put the felling cuts into the tree: Tying a bowline to attach a carabiner at the end of the rope: We also learned a neat trick to stop the rope getting in knots. Instead of coiling it, just pack it loosely into a bag, and then when you want to use it just walk with the bag and pay the rope out: When it comes to getting the rope attached to the tree, the most important tool is an extendible pole with a spike and downward-facing hook on the end: Ideally you use this to hook the rope over a branch: But if the tree has no branches within reach then you fasten the rope round it and slide it up: Once at the top you simply pull it tight (easier with a second person): This works for tying a pair of stems from a single coppice stool together as well, allowing you to fell them both at once: Rather than have the rope in a straight line (with you two tree lengths away), it's often more convenient to use an anchor tree with a pulley. This is especially useful if you are working alone, as you can have the final rope anchor near the tree being felled, in your safety zone. Here's a pulley set-up, making use of the slings for easy attachment to the tree: and the final anchor point: For larger trees you can use several pulleys to magnify the force you can apply, although you have to be careful to ensure that all the equipment is up to the required strength. We tried out a 5:1 pulley system, which allowed you to pull a tree over with two fingers! OK, time for some videos. I've set these all to high quality mode, so you might want to pause them and let the video load before playing, otherwise it may keep stopping.
Here's Paul felling a birch, using a single rope round a pulley and back to near the tree. Paul's felling while Tracy's on the rope:
Here's Paul again, this time felling a pair of sycamore stems together, and the rope system includes the 5:1 pulley set-up:
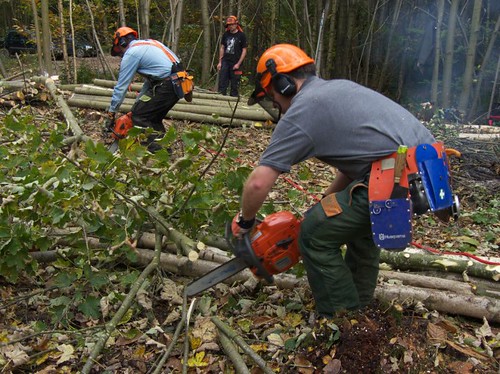
And finally, this is me felling a pair of chestnut stems. The first one sat back on my saw, and because two stems were roped together, it wasn't possible to pull the rope to free it. Paul came to the rescue with a pole.
Tracy felled an awkward sycamore as well, but I've not got a video of that - sorry!
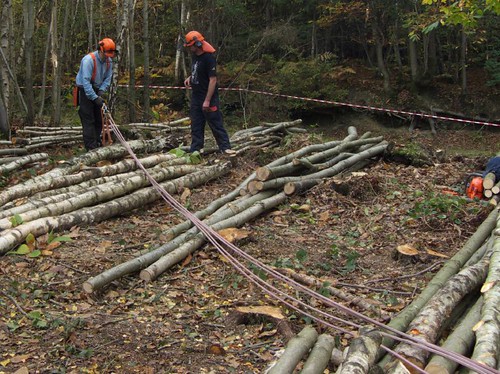
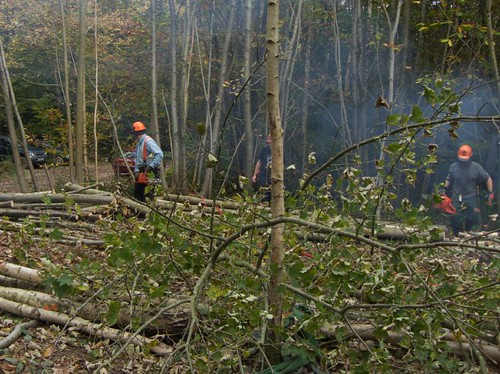
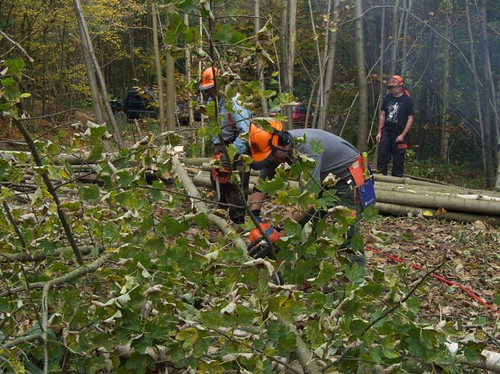
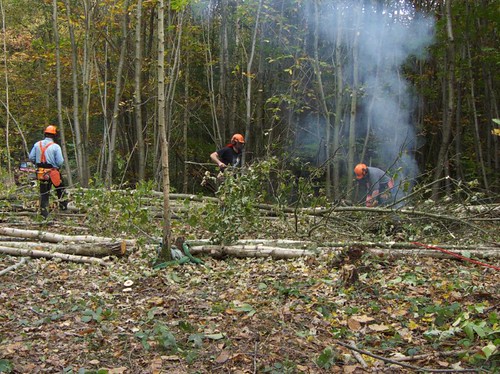
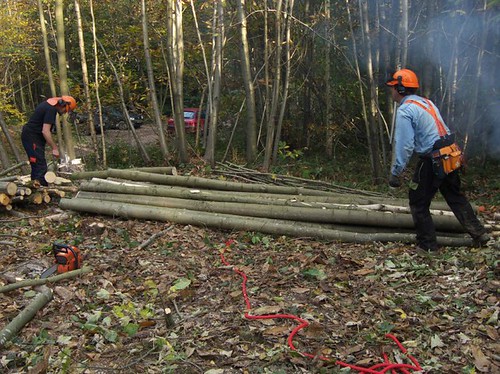
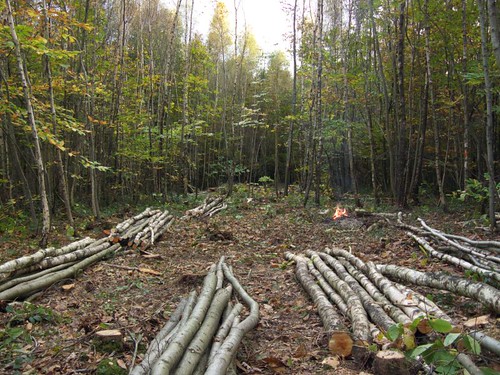
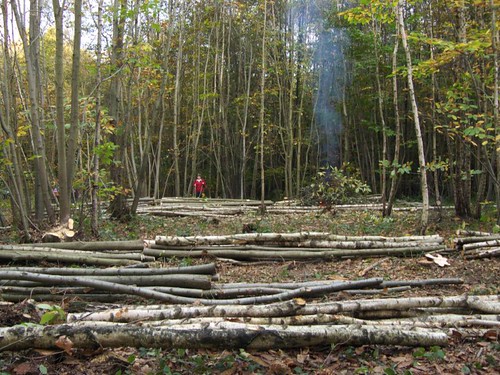
As we were working in a team for these trees, clearing up was pretty rapid: Here's some views of our work area at the end of the week. Looking from Paul's strip into mine: and back the other way. As you can see we almost joined up, just a few small trees left for the next group to fell:and the view from mine through to Tracy's: We were pleased with our progress, especially as we spent quite a lot of time watching, learning and talking.
All we need to do now is put it into practice in our own wood........