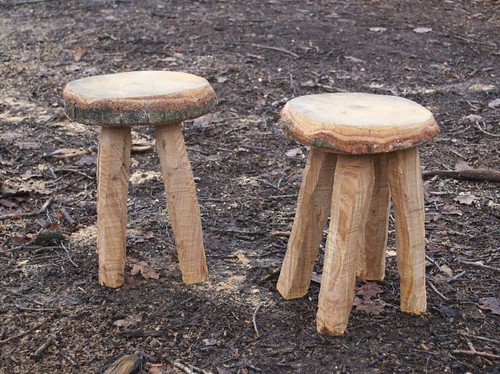
When I did my chainsaw training last year, one of the things David Rossney showed us was how to make a stool out of a short log, which could then be used to hold logs for sawing while upturned. Here's some step-by-step photos on how to do it. But first, here's what you end up with:
UPDATE TO THIS POST: I've made a video of this now, which you can watch here, then carry on and read the text below it...
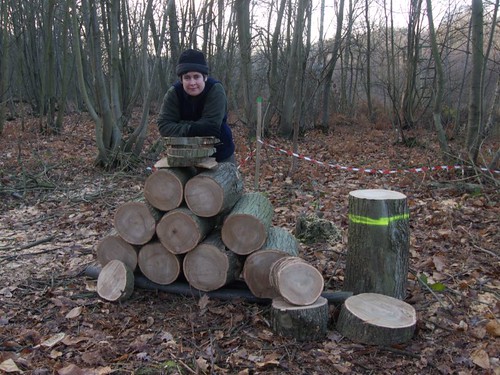
To start, get hold of some sufficiently large diameter logs. I got mine from a tree we felled back in January, which I sawed into suitable lengths after felling, so I could leave the logs to season for a while. Here's a picture of them after felling last winter:
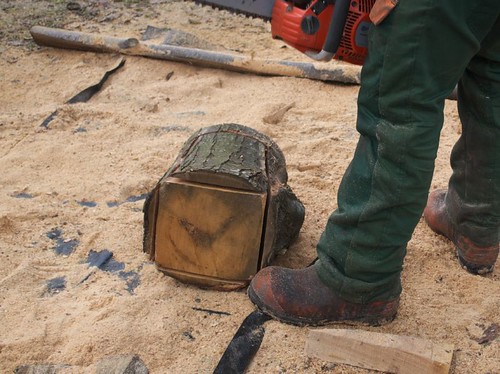
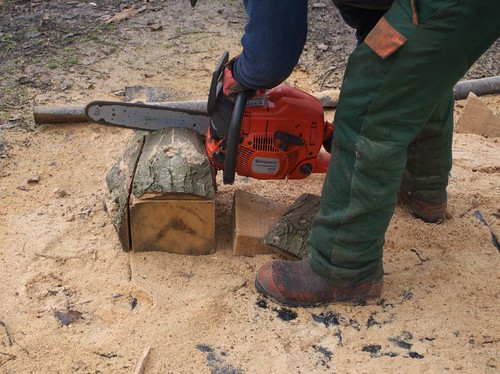
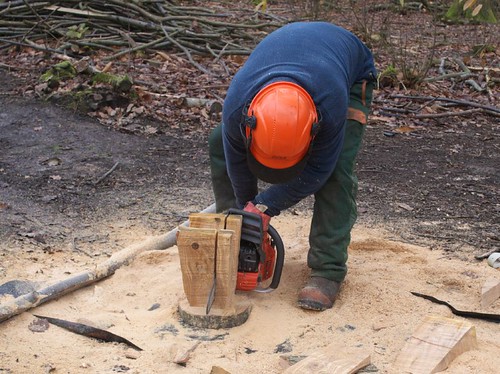
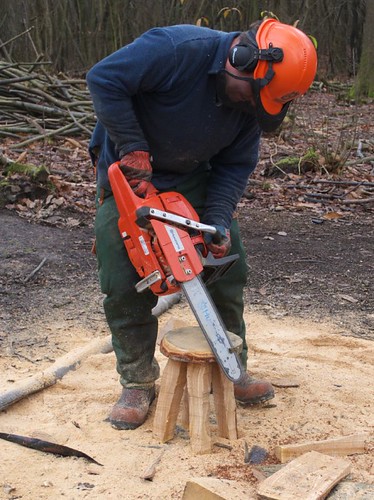
 Assuming the ends of your log are already flat and parallel (if they're not then re-cut them), then the first step is to put the log on its end on some flat ground, and put four gently sloping cuts in on the sides, leaving it looking like this:
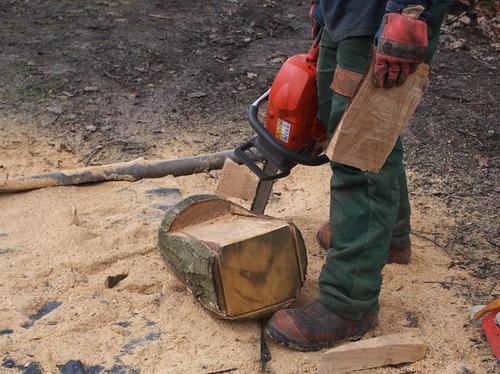
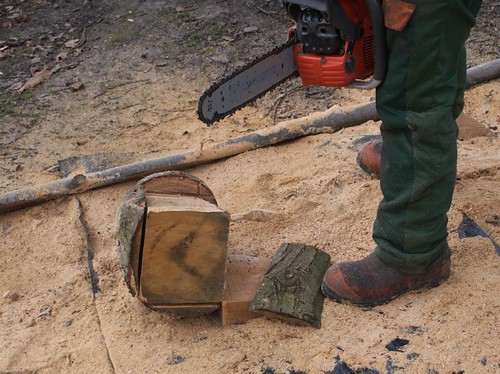
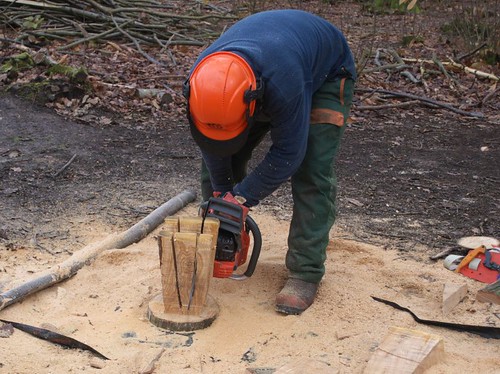
 Then cut around the top, a couple of inches from the end, allowing the slabs to fall of the fours sides. Make sure to leave enough thickness for the seat!


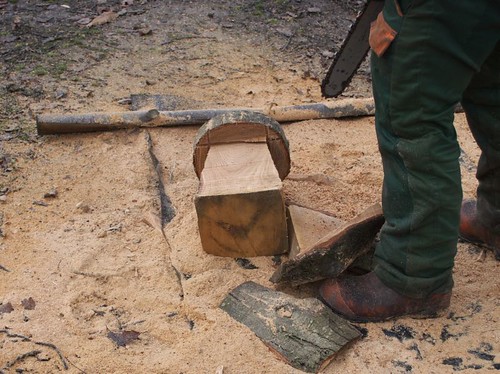
 Depending on what you're going to use the stool for, once all four sides are off you might want to tidy up the underside of the seat:
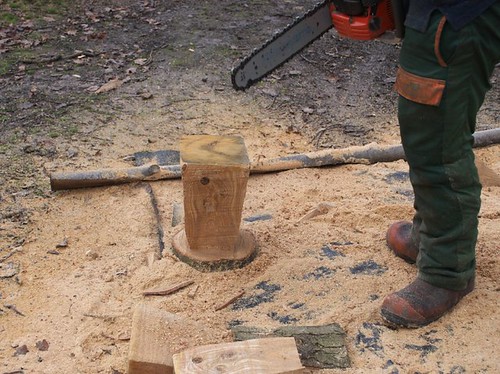
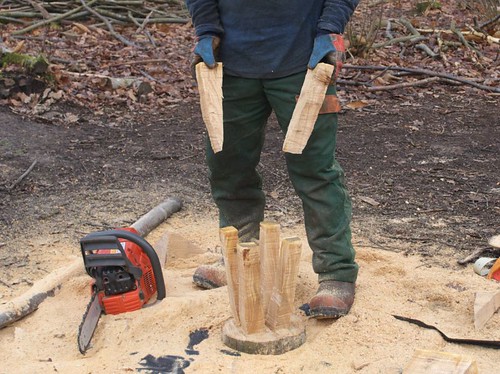
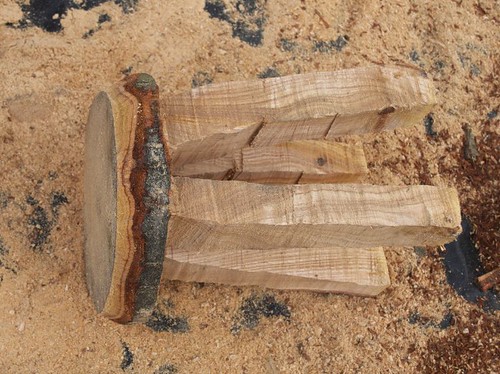
 Then, put the stool upside down, ready to cut the legs out:
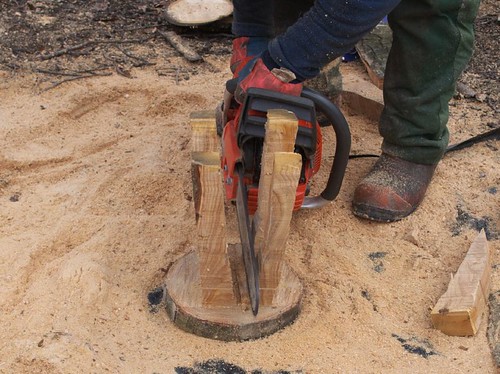
 Make a cut parallel to one of the sides:
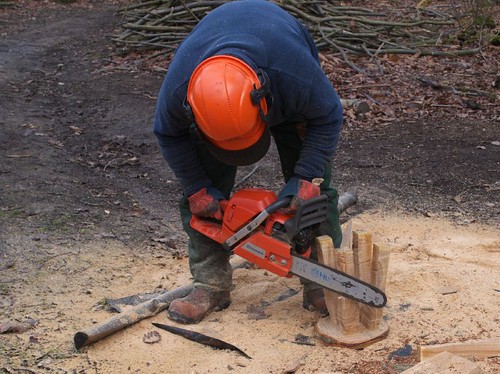
 and then a cut parallel to the opposite side, meeting the first cut at the bottom so that you end up lifting out a wedge of wood:
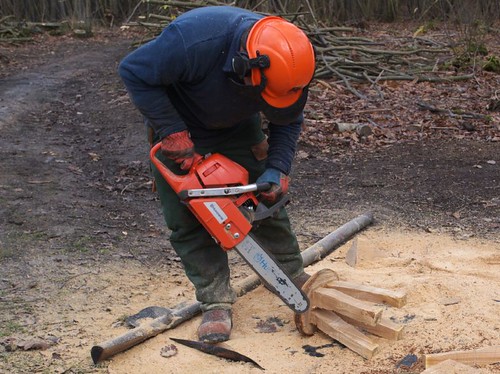
 Give the stool a quarter turn, and then do the same again:
 Don't worry if the cuts don't meet exactly at first. Just go in again and cut a bit more, maybe with a little twist to curve the cut slightly:
 Once they meet you'll have a couple more wedges:
 Again, if you're trying to make a neatly finished stool, at this point you can tidy up the underside of the seat, carefully!
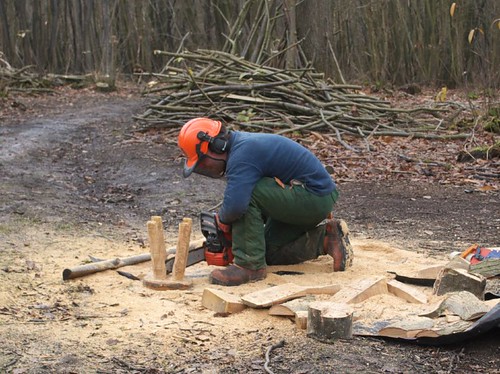
 The next step is optional, but it does make the stool look nicer. Stand it the right way up, and use a pushing chain (top of the chainsaw bar) to put a chamfer on the edge of the seat:
 After that, this is how the stool should look:
 For this particular stool I also chamfered the underside of the seat, to try and minimise the risk of splinters (it's going to a school).
 I also chamfered the corners of the legs. Again, this is just finishing touches, and optional:

 And here's the finished product:
 We took the stools down to a local school that is buying them from us this afternoon.
A few points:
- Your first stool may look a bit scrappy, it took me four or five before they started looking neat.
- Making these stools can make your back sore - try and get yourself in a comfortable position to minimise bending when possible.
- If the log isn't heavy enough then it will try to move around while you're cutting it. Treat your first stool as a practice to find cutting positions that keep the stool from moving. If you're going to put your foot on the stool be very careful to make sure that there's no way you can get the chainsaw bar anywhere near it! Even though you'll have safety boots on (won't you!?), you still don't want to cut them.
- It's gas guzzling work - making two stools used a whole tank of fuel.
- Start with a sharp chain, because there's a lot of cutting!
I'll do another post tomorrow on the other stuff we got up to today.
Mike
Click here to read the rest of this post.