Showing posts with label raised bed. Show all posts

Saturday, 2 May 2009

Building a raised bed from logs

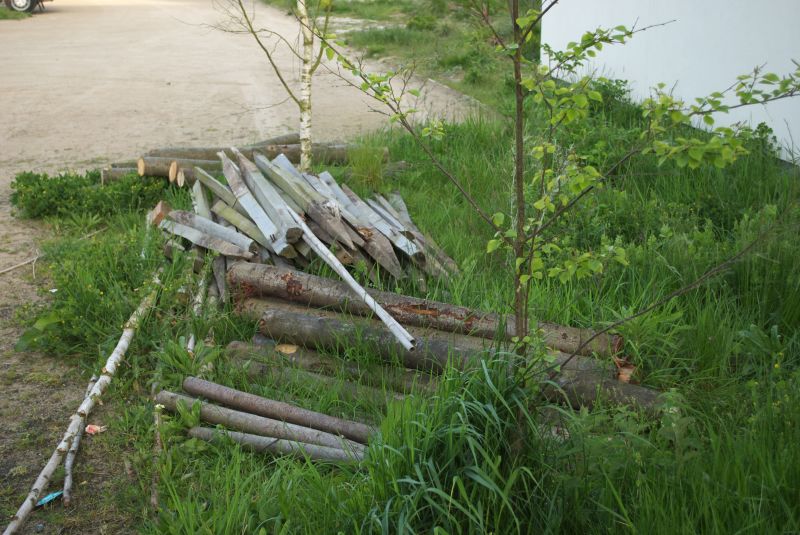
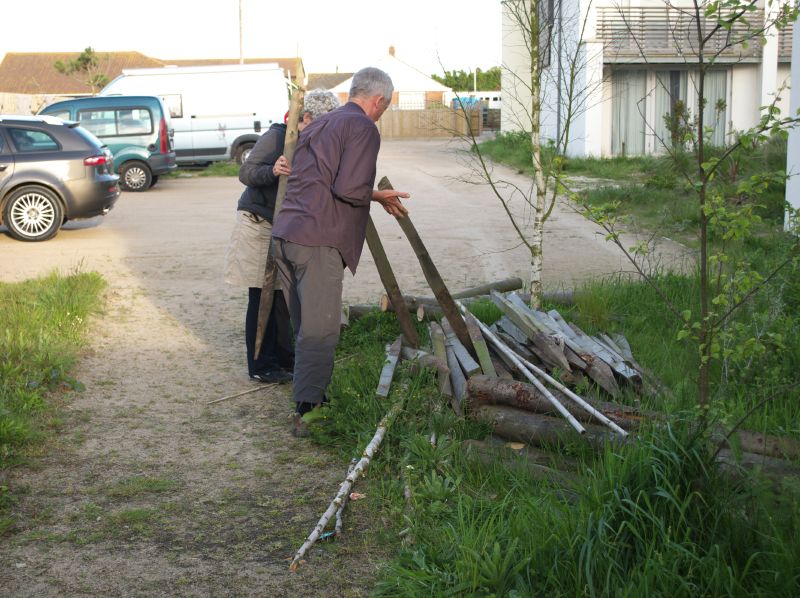
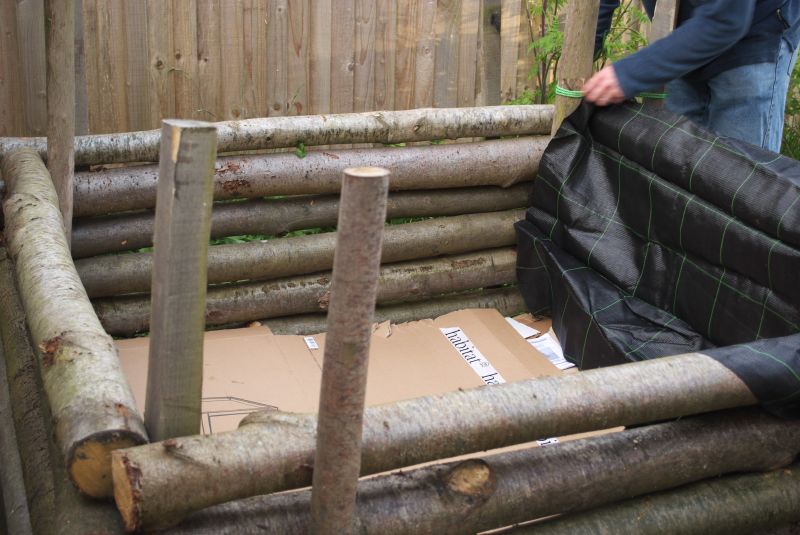
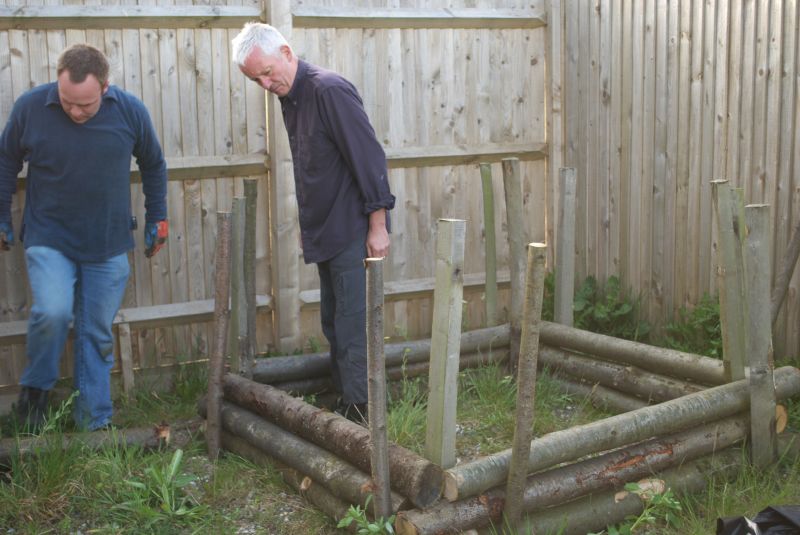
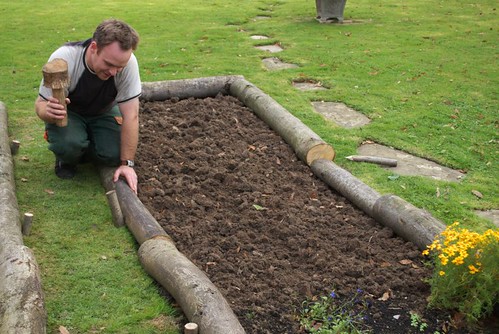
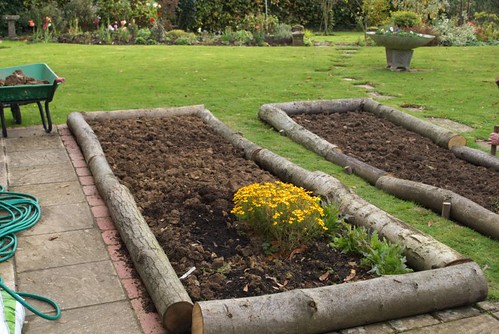
Last year we built a low raised bed for a customer, according to the way she wanted it. Since moving to our new place in Camber, we've got together with some of the other residents and decided to build a taller raised bed in the communal garden area for people to use. I'd cut some of the logs up a while ago, with help from my friend Jon, and we got some more on Thursday evening. So, last night, with the help of our neighbours John and Helen (here's Helen's website), we set about building the raised bed.

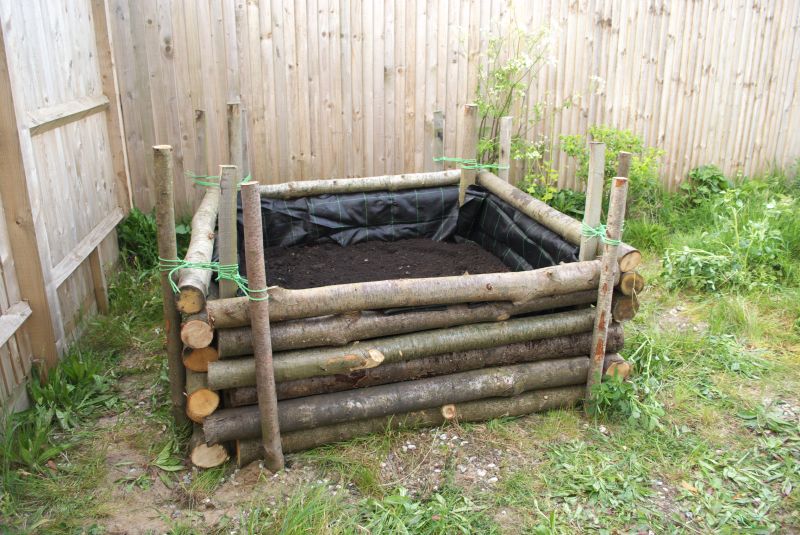
Here's the raw materials, some bags of topsoil I collected free in Rye via Freecycle:
stakes, some that we made and some left over from trees that had been planted nearby:
John and Helen got their hands dirty helping, Tracy was helping too, but she was doing the pictures so you won't see any of her.
We started by laying out four logs where we wanted the bed to go:
and then John and I got to work with the post driver:
Once the stakes were all in place we simply dropped logs in to build up the walls:
Then put cardboard in the bottom to reduce the chance of weeds coming up from underneath, and some porous membrane on the sides to stop soil coming through the gaps:
To finish we used rope to pull the tops of the stakes together and firm up the walls, then put in the soil. We still need to get some more soil, but it's looking good so far:
I'm pleased enough with this that I think we might try doing another somewhere, and try to get the logs a more even size so it looks neater. Not that appearance matters too much as long as it does its job!

Mike

Click here to read the rest of this post.

Friday, 24 October 2008

Raised beds and a new firewood method

Today was a day for delivering mostly. It was raining quite a bit, but dried up as the day went on fortunately. The first job was to deliver some logs and stakes to a customer to use for a raised bed:
Unfortunately the size of the bed had changed since we last visited, so we came past again on another trip in the afternoon and brought some more logs to fill the gaps. It works, but it's not as neat as I'd have liked - the log to the right is a bit small, so I might look for a fatter one to replace it:
Anyway, the stakes worked nicely and the customer was pleased with the end result:
Then it was back to the wood for lunch. While we were sat down we noticed this Red Admiral sunning itself high up an oak tree:
must be catching the last dregs of summer!

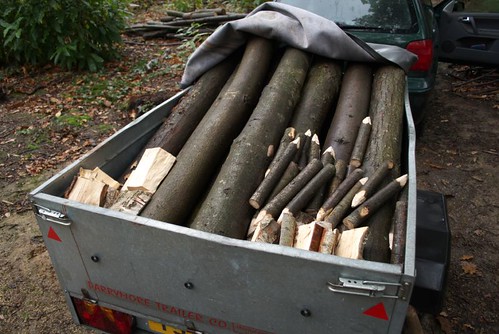
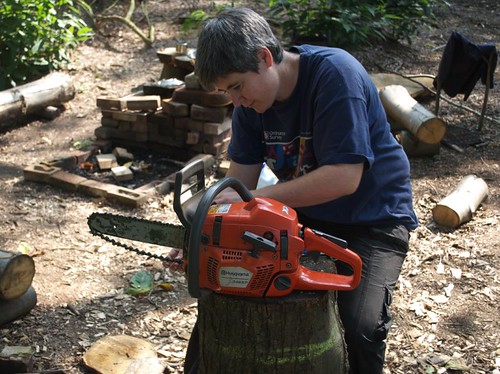
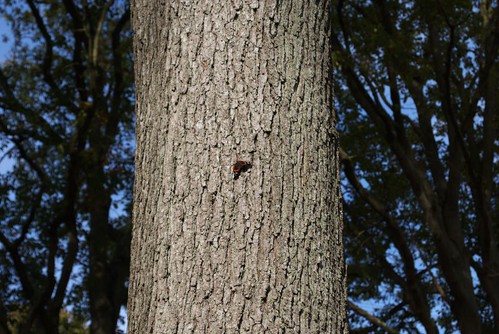
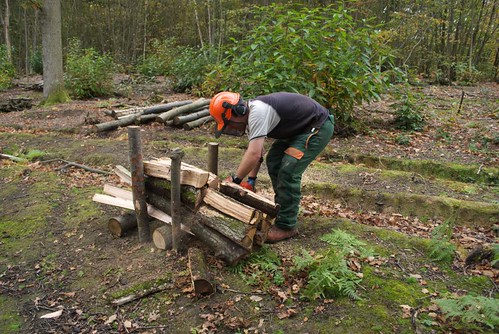
Tracy wanted to cut a tree down after that (I think she's missing the smell of burning 2-stroke fuel after last week's coppicing course), and there are plenty that need doing this winter.
Then she got on with loading the trailer with firewood for another customer. We cut this lot pretty small, as their fireplace isn't too big, and they were bone dry after being in the shelter for a couple of months. While she was doing that, I got to work on a more efficient way of producing firewood, that I hinted at in a previous post.

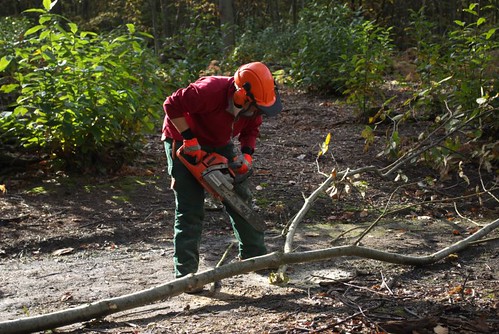
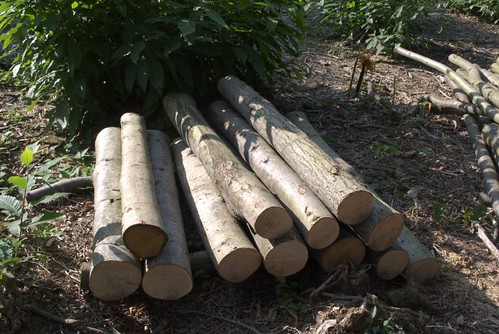
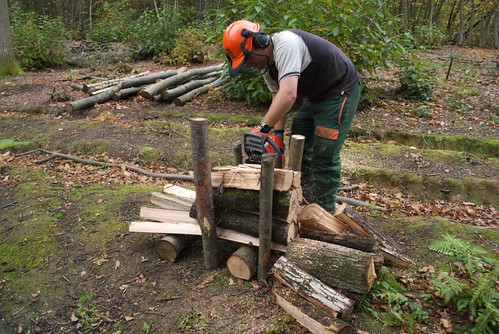
The idea is that you split the logs while they're still quite long, using wedges and a hammer. These logs were cut about 8 months ago, but this winter we'll split as we cut them, so they'll be much easier to do.
Then, having split them you stack them between posts, with rails underneath. The gap between the posts is chosen to be just a bit less than the length of the chainsaw bar:
Then, you simply saw through the whole lot in one go!
leaving them in a moderately ordered pile ready for loading into the trailer. After the first cut, you move back to the next posts and do it again:
It's quite a bit quicker than cutting the logs individually and splitting them with an axe, and it also allows you to be more consistent in the length of the logs. I still need to make a few adjustments to the position of the posts, etc., but it worked pretty well first go!

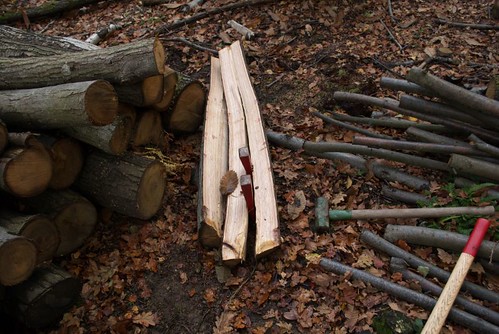
(update: there's a video of the process here)

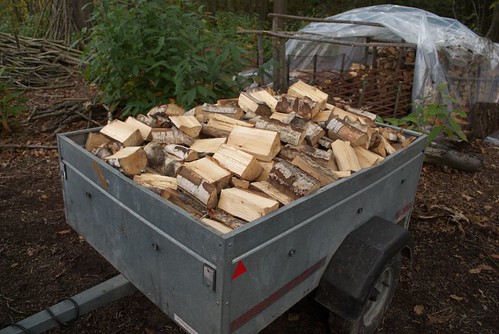
For the wood we cut this year, we're planning to split and stack, but then leave the stacks to dry, cross-cutting them to the lengths required the following summer. There's a particular way of doing that stacking, but I'll talk about that when we get to it...

Mike

Click here to read the rest of this post.

Monday, 1 September 2008
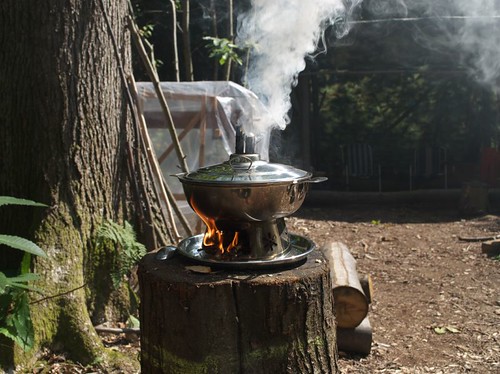
Cooking in the wood

On Saturday we were up in the wood to finish logging and splitting some birch, and took the opportunity to try out our new cooking device. Ever since seeing a "Mongolian hotpot" cooker at the Wood Fair last year (see a picture half way down this page), we've been looking for one. Well, we didn't find one, but what we did find was a fondue cooker at a boot fair for £2, and after a bit of persuasion with a hammer I managed to knock the heat spreader plate out of the middle of it to give a clear chimney up the centre. Here it is in use:
It works a bit like the Kelly Kettle we have, with the fire going up a central conical chimney, around which the food sits in a toroidal section for cooking:
We just used it to reheat chilli this time, but I think it would work for frying stuff too, as long as you stirred it frequently. We cooked the rice on the cast iron BBQ with a wood fire inside it:
After lunch Tracy sharpened her chainsaw (which she blames me for blunting!)
and I measured and cut up some four and five foot logs for a customer to use for making several raised beds to grow their veg in:
Tracy also took a wander round the cant we cut last winter to photograph the greenness that is spreading over the woodland floor:
Mike

Click here to read the rest of this post.