In an earlier post I was making a traditional charcoal kiln, but I also had a second oil drum, and today made that into a different kind of kiln I'd been told about.
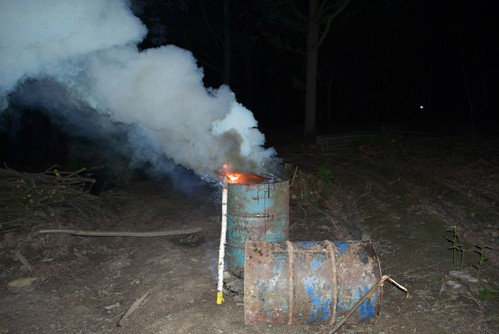
Step 1: cut the top off an oil drum, and make slots in the side near the bottom (I did four, equally spaced):
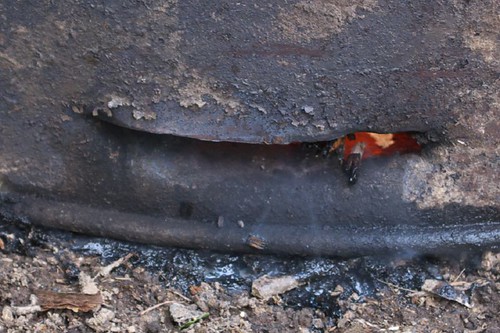

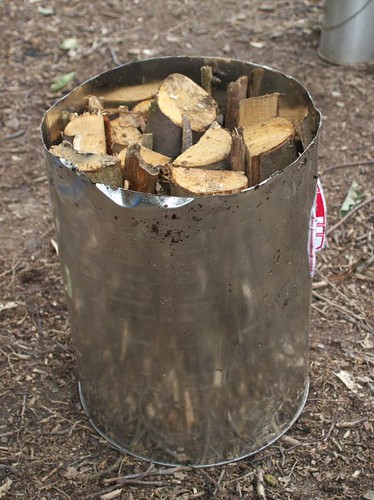
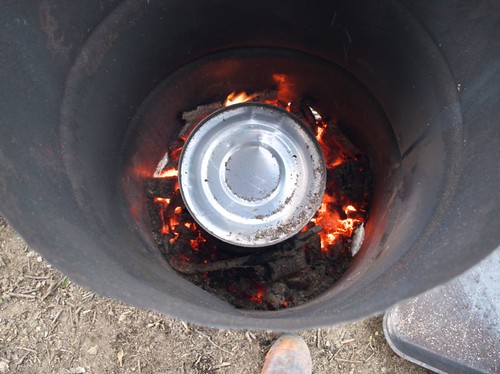
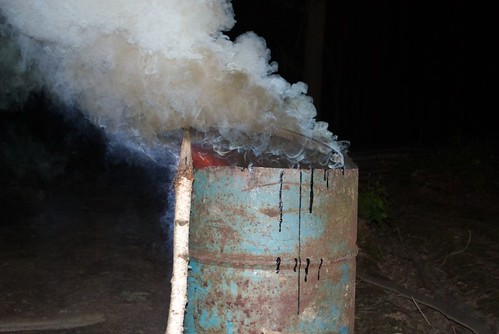
It should work better than a normal oil drum kiln (whole drum full of wood, lit and then sealed once the smoke turns blue), because the wood in the small drum will be heated and the volatile gases driven off, leaving the charcoal behind. There'll be no oxygen in the small drum, so the charcoal should not get burned up at all. Another advantage is that the fire in the larger drum can be made of twigs that aren't suitable for making charcoal, and the highly flammable volatiles driven off from the wood in the small drum will help feed the fire.
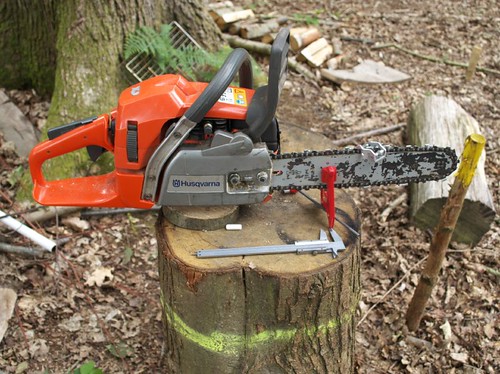
Tracy wasn't there with me today, so while the kiln was burning, I set about sharpening my chainsaw - this is much more pleasurable in the wood, rather than at the kitchen table! I mounted the saw on our chopping bock, using a neat little clamp:

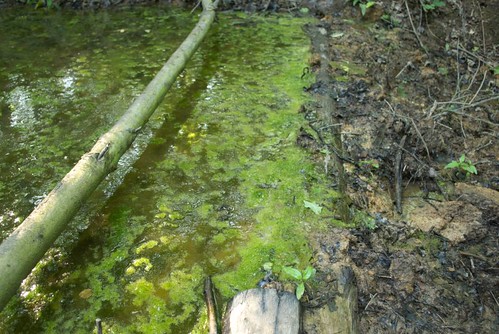
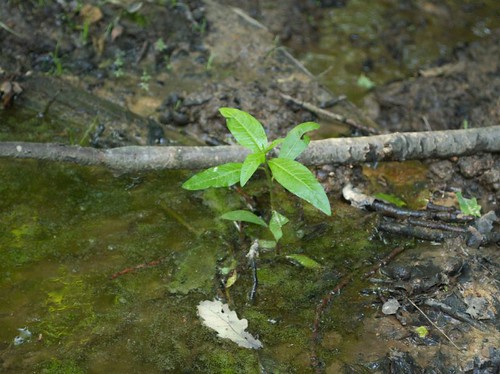
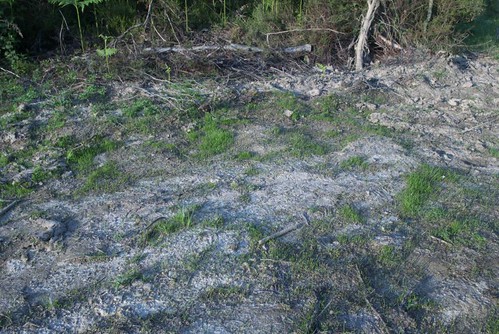
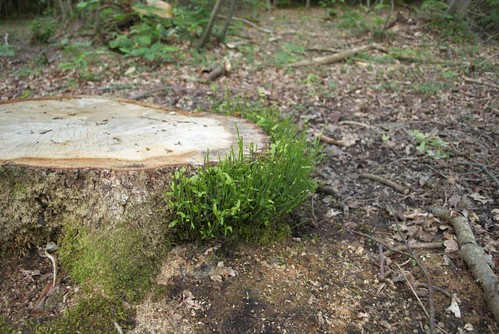
And finally, here's some pictures of stuff that's growing. First, the biggest fungi I've seen in a long time. No idea what it is (so we won't be eating it...), but it was growing on the base of an ash tree in Sweep Wood:

Mike
Saturday, 14 June 2008
Charcoal kiln test, and stuff that's growing


Friday, 13 June 2008
Ashden Awards Blog
We have launched a new blog for the Ashden Awards for Sustainable Energy, to bring news from our past winners and from the team on sustainable energy issues.
Visit it here: http://ashdenawards.blogspot.com/
Sunday, 8 June 2008
Making a charcoal kiln from an oil drum
Last night we started on making one of our charcoal kilns. I'm going to try two designs, the first is a basic one, cutting the top off the barrel and making a ledge for it to sit in. The base of the barrel has holes in it to let the air in while it is supported on bricks, then the bricks are removed and it can be sealed around the base to exclude the air once the charcoal is done. I'll do some photos when we use it...
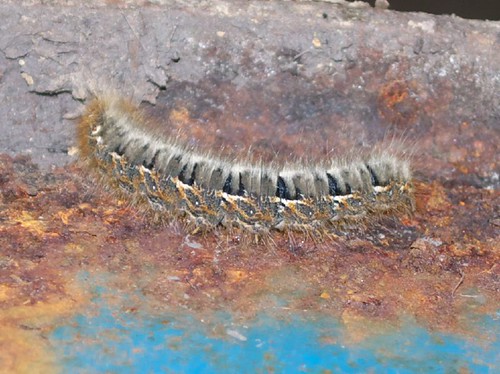
First though, we had to rescue a caterpillar that had taken up residence:
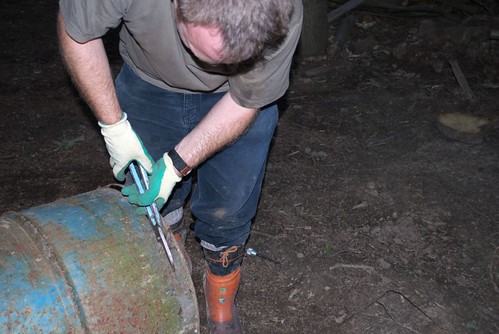
Then I set about cutting the top off, by drilling some holes to get started and then going in with a pair of tin snips:

finishing making the kiln
the results
Mike


Electric fence for slugs...
My friend Alex has made a solar powered electric fence to keep the slugs and snails off his vegetable patch! Apparently the first version caused small slugs to burst(!!!), but also drained the battery too much. There's a lower power version now, which is a bit more humane I think. All in all, a neat way of protecting your food without the use of chemicals! Read more about it on his blog:
http://seacourt.blogspot.com/
Mike
Saturday, 7 June 2008
A Wallis Grid
We went to an open day at the Woodland Enterprise Centre (the home of WoodNet) today. Tracy works for them part time, but for me it was just good fun!
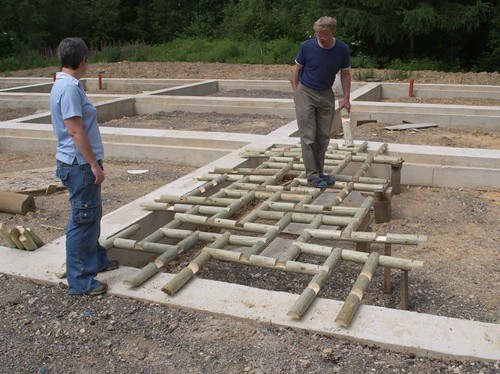
The most interesting thing we saw was Gervais Sawyer building a "Wallis Grid". Here's a little model: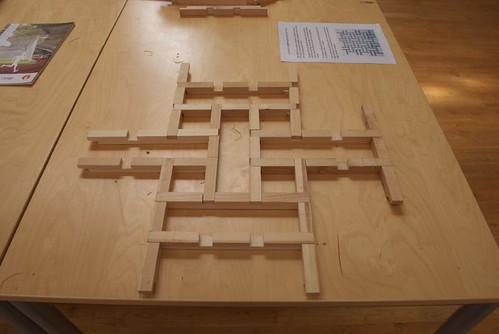
The design is named after John Wallis, about whom I found some info here:John Wallis was the Savilian Professor of Geometry in Oxford for just over 50 years around the second half of the 17th century. He was a most remarkable figure - probably the leading English mathematician of that era apart from Newton. His appointment to the Savilian Chair may have come about as a reward for deciphering intercepted Royalist dispatches during the Civil War.
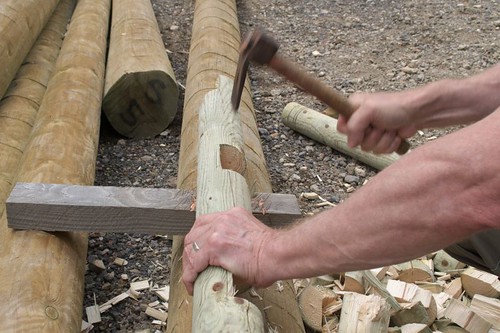
To make it, Gervais was sawing half way through poles in four places:
...
In much of his mathematical work, one can detect his interest in patterns of both symbols and numbers - with echoes of his skill as a decipherer. This interest in patterns is obvious in his single foray into structural engineering.
...
Wallis tackled a practical problem - how to provide a flat structure such as a roof to span a large square open space, using only wooden beams much shorter than the required span and only supported around the edges. He devised a repeating pattern of short but interlocking beams, which could be extended to span any sized space. Each beam within the body of the pattern is supported at its ends by other beams, and provides end supports for two other beams. All these internal beams are identical. The whole pattern is only supported around the periphery. The edge beams are shorter and each rest on an external support only at their outside end. Individually, these edge beams are also supported by the internal array at their inner ends. They themselves support the array at their centres. Overall, this is a clever but somewhat confusing arrangement of short interleaved structural elements, making up a repeating pattern.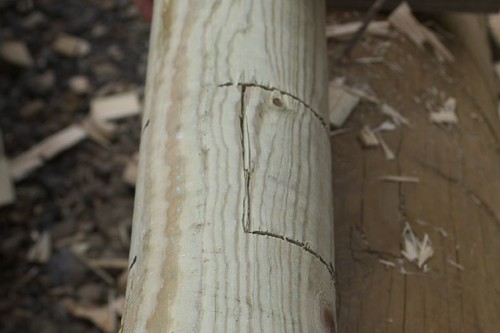


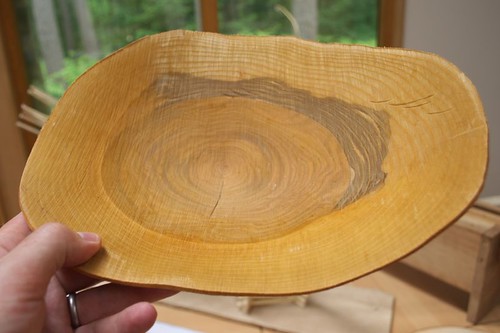
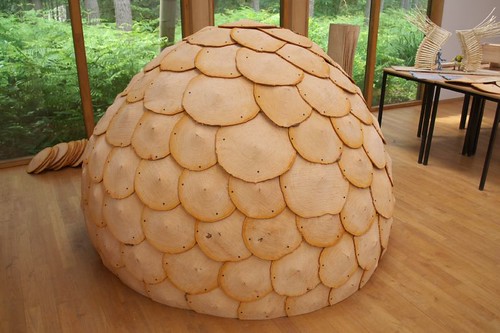
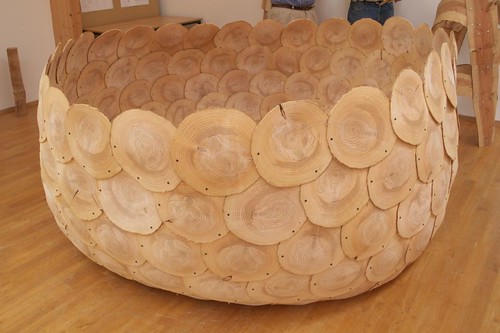
The other neat thing we saw was based on thin discs of wood. If you cut them thin enough (in this case done with a chainsaw mill), then as they dry they don't split but instead form domes: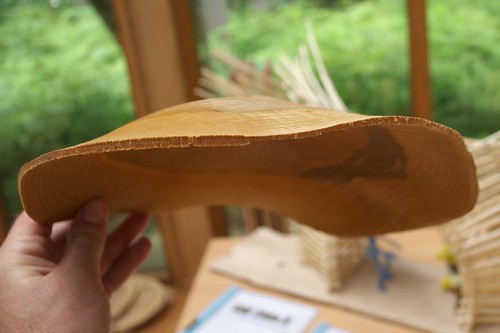
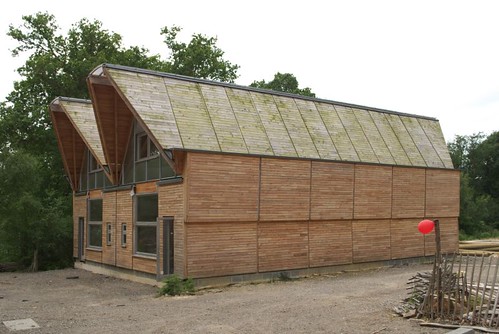
Of course there are more solid wooden buildings at the Woodland Enterprise Centre too, and they're just as impressive:
Mike