Showing posts with label building. Show all posts

Saturday, 31 March 2012

EWB Imperial - building a log bridge in the woods

Last weekend members of EWB UK from Imperial College London came down for what's become an annual camping trip to our woodland. As always, there was a project to get involved with - this time building a bridge over a stream that can support a vehicle! During previous visits they built a firewood shelter and a foot bridge, so this year was a step up in scale.

I made a timelapse video of most of the bridge building, it's about 7 mins long (it's in 1080p HD, so put it full-screen). Take a look, and then read the rest of the post to see the pictures and description.


Here's the full team that came down this year:
DSC_3710 EWB Imperial members

The bridge is needed to allow access to a new ride that I cut last winter. I saved some of the stems I'd cut to make parts of the bridge, and we felled a few others as required to complete it. The first steps were digging some foundations, which took quite a while:
DSC_3704 Building a log bridge

and peeling the long logs that were going to be used as the main supports:
DSC_3708 Building a log bridge

We put some chunky logs into ditches that had been dug on each side of the stream:
DSC_3718 Building a log bridge

and then got the main supports in place, bolting them down later on:
DSC_3723 Building a log bridge

In the centre of the stream we also drove in some stakes (see the timelapse video above), and I used the chainsaw to cut a notch in the top of them for the main supports to rest in:
DSC_3726 Building a log bridge

On top of the main supports went some crossbeams (all of this was Sweet Chestnut, by the way), and again I cut some notches for them to sit in:
DSC_3731 Building a log bridge

Then there was a lot of drilling and nailing...
DSC_3737 Building a log bridge

Some of it by hand:
DSC_3738 Building a log bridge

though we did have a solar panel and inverter on hand to recharge the electric drill:
DSC_3727 solar panel

DSC_3729 inverter and battery charger

Once that was finished, it was time to start making the ramps to lead on and off the bridge and also lay down some planks (the only bit of wood that was bought in for this):
DSC_3739 Building a log bridge

DSC_3744 Building a log bridge

The planks were also nailed down, and it was starting to look like it might be OK to drive on...
DSC_3746 Building a log bridge

Of course, there's a signature on the side of the bridge:
DSC_3747 EWB signature

We posed for a photo or two:
DSC_3754 EWB Imperial members

DSC_3753 EWB Imperial members

and then it was time to put it to the test...
DSC_3758 Car approaching log bridge

There were some creaking noises, but it was rock solid!
DSC_3760 Car on log bridge

A job well done - thanks to everyone who came from EWB Imperial to help with this!

Mike

Click here to read the rest of this post.

Sunday, 6 November 2011

Building a firewood store: part 2

Picking up from part 1, which ended with the firewood store at this stage:

DSC_8050 Building a firewood store

The next job was to put some cross beams on top of the stakes, but first we had to peel them:
DSC_8078

This actually makes quite a mess, so we decided we'd peel the roof slats at the wood before bringing them home.
DSC_8079

Anyway, after peeling, the chestnut cross beams were a really nice white colour, though that quickly fades.
DSC_8080

The cross beams were then drilled and nailed onto the stakes, ready to hold up the roof slats.
DSC_8130 Firewood shelter

Here's a pile of slats for the roof, which we've cleaved from chestnut poles and then peeled:
DSC_8205

We got them home using the roof bars on the car, which have proved very useful.
DSC_8290

Before long, the roof was taking shape...
DSC_8131 Firewood shelter

DSC_8133

We also brought back a lot of hazel poles:
DSC_8291

DSC_8315

These were then woven between the stakes to make walls that will keep rain out while letting air pass through so that the wood can keep drying over time:
DSC_8132 Firewood shelter

Going back to the roof slats though - the ends were often too thick to easily drill through to nail them down, so we used a side axe to shape each one of them:
DSC_8307

DSC_8311

This then left thinner ends that were much easier to work with:
DSC_8312

DSC_8314 Firewood shelter

OK, so here's the roof with all the slats on, and Tracy working on the final wall:
DSC_8375 Firewood shelter

Inside it looks like this, with pallets used for the floor - this will keep the logs off the ground, and allow air to pass underneath, so stopping them from getting damp and rotting:
DSC_8379 Firewood shelter

The store is actually separated into two bays by some shorter stakes, and we just zip-tied some more pallets to these to make a wall. The purpose of this is so that we can empty one bay first, then it can be refilled while the other bay is being used. This will make sure we are always burning hte oldest wood first.
DSC_8380

Here's an overhead view:
DSC_8383 Firewood shelter

And here it is with tarpaulins on the top:
DSC_8564 Firewood shelter

These are just zip-tied down:
DSC_8566

DSC_8568 Firewood shelter

But then over the top of them went some roofing felt - and I also proved the roof is quite strong. You'll notice we ran out of hazel, and used some old fence panels to finish the wall on one side.
DSC_8844

DSC_8846

So here it is finished, with lots of logs stored. We've used pieces of perspex we had spare to add some more rain protection at the front, though I don't think they're really needed as the roof overhangs quite a bit.
DSC_8992 Firewood shelter

We've been using wood out of the store for a few weeks now, and it's proved much better than the pile under a tarpaulin that we had to use last year!

Mike

Click here to read the rest of this post.

Friday, 2 April 2010

Engineers Without Borders build us a bridge!

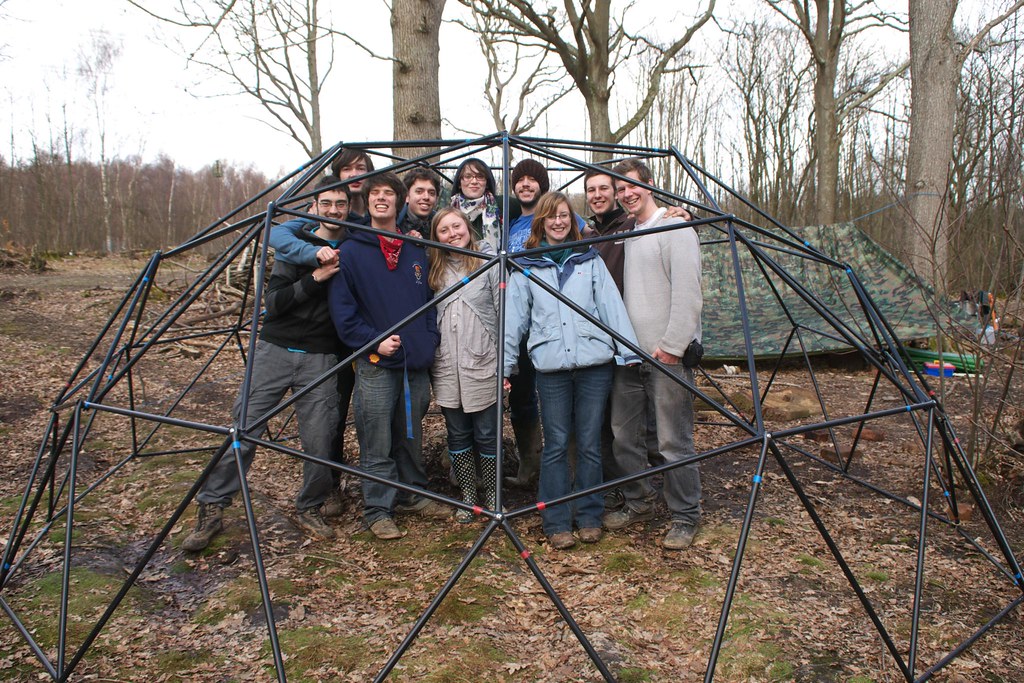
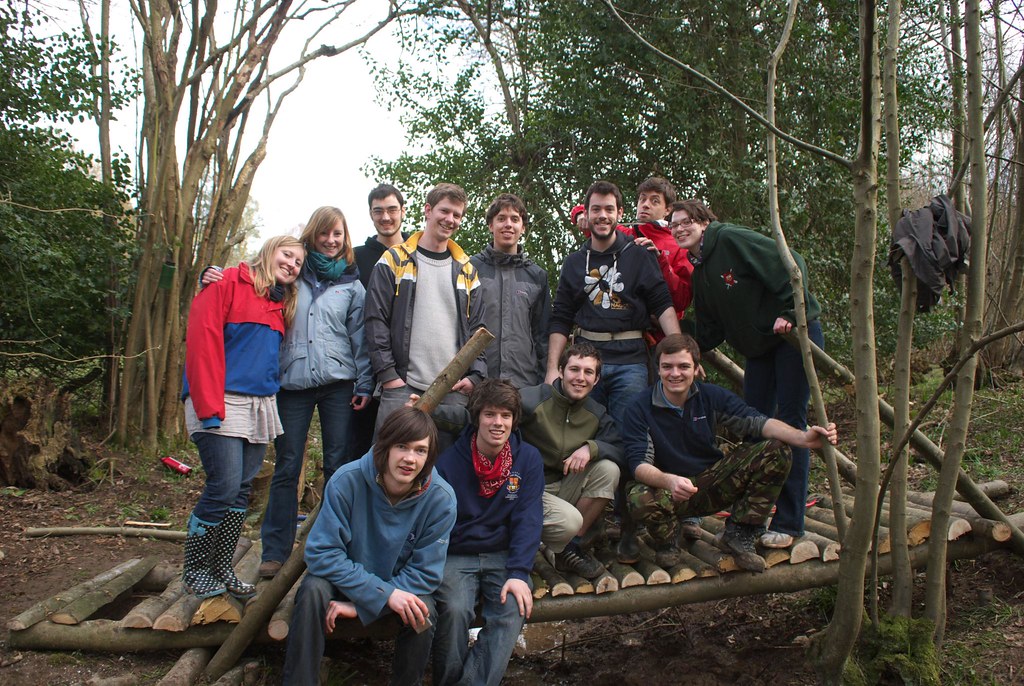
Last weekend a group of students and graduates from Engineers Without Borders (who I know through my work at the Ashden Awards) came and camped in our wood, the aim being to have a bit of fun, do some team-building and build a bridge. Being engineers, they didn't just bring a normal tent - they had a geodesic dome they'd built themselves!
Here it is with the cover off:
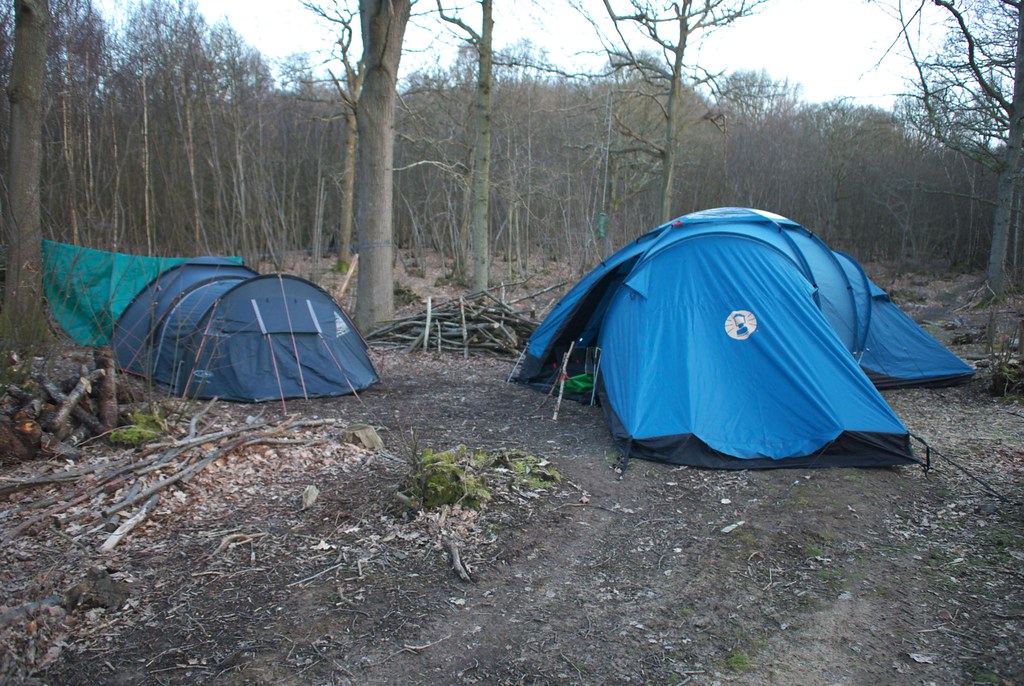
They did have a couple of more conventional tents as well:
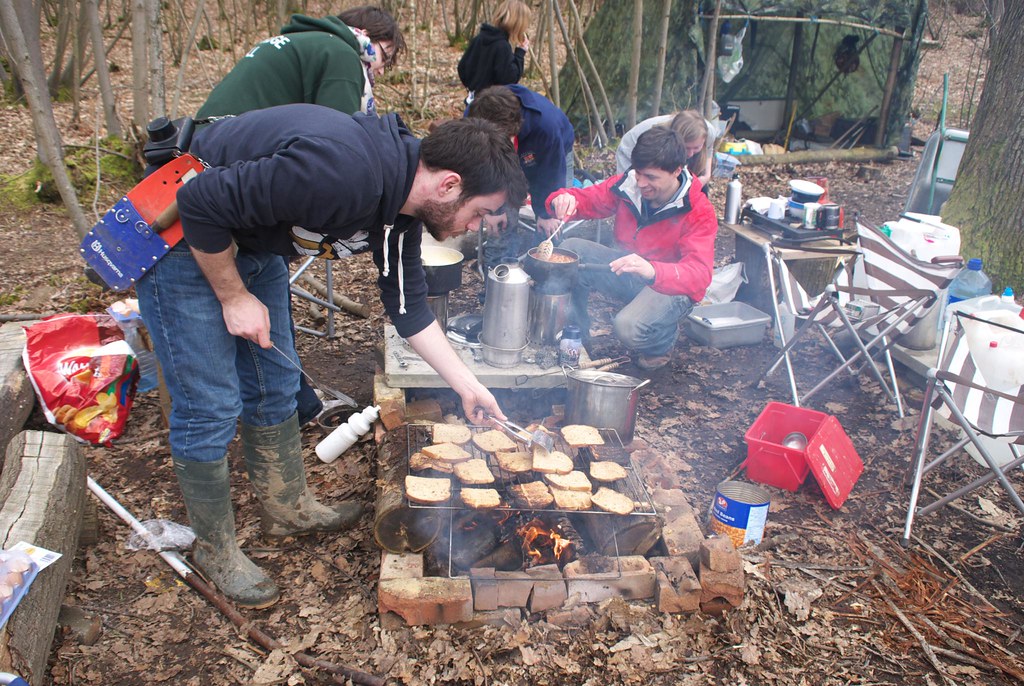
Anyway, like any camping trip a lot of time was just doing stuff like cooking:
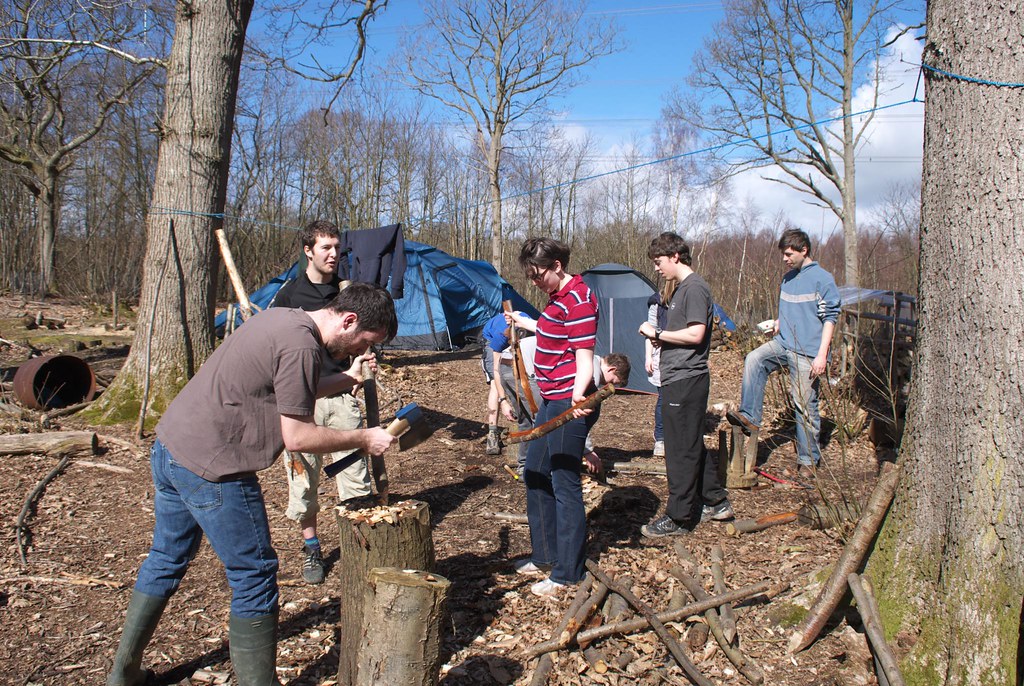
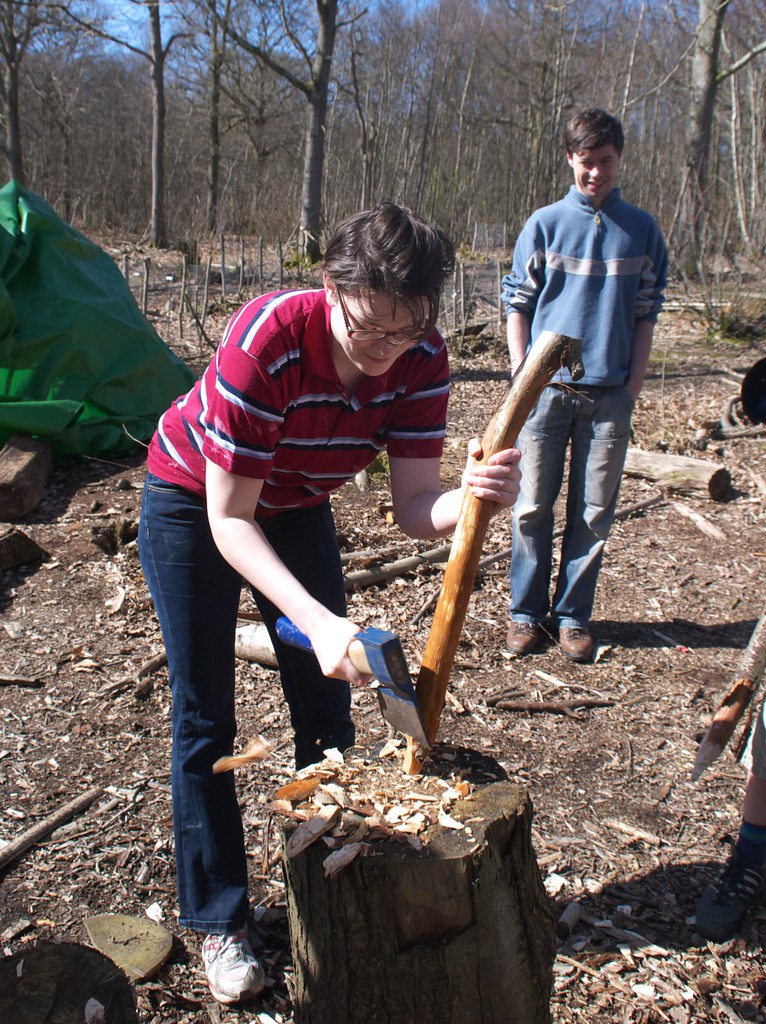
and trying out new tools:
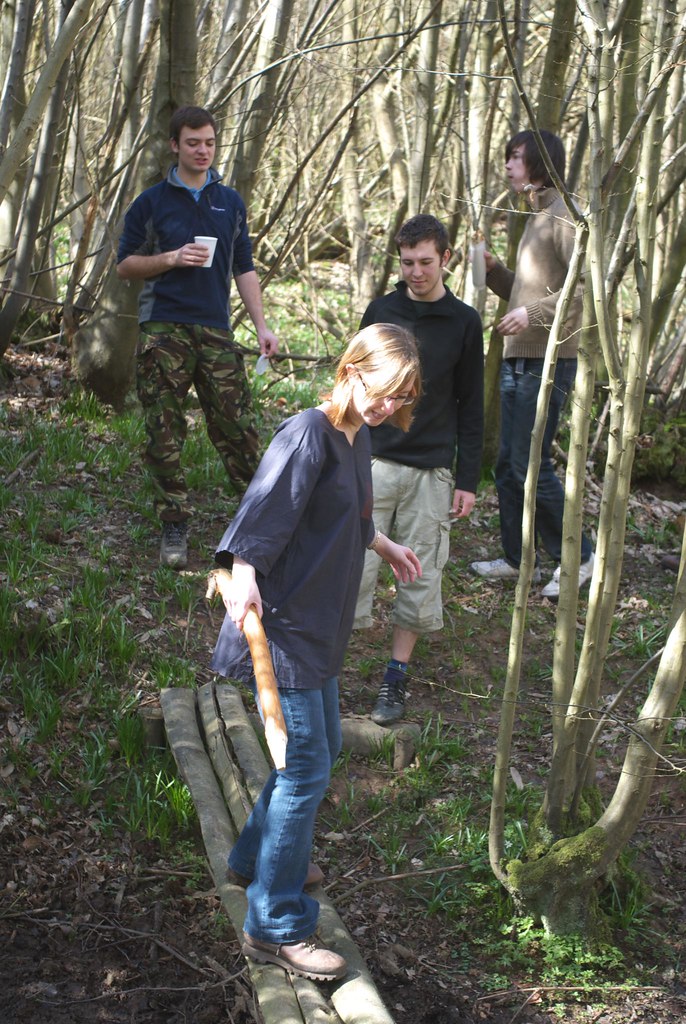
So, the bridge.... Well, here's the original bridge (over in Sweep Wood), which could only take one person at a time, and you had to be pretty steady on your feet!
We built this bridge about 18 months ago, but never really did enough to make it very good.

The engineers got to work testing scale models for a new one, some of which did not exactly inspire confidence!
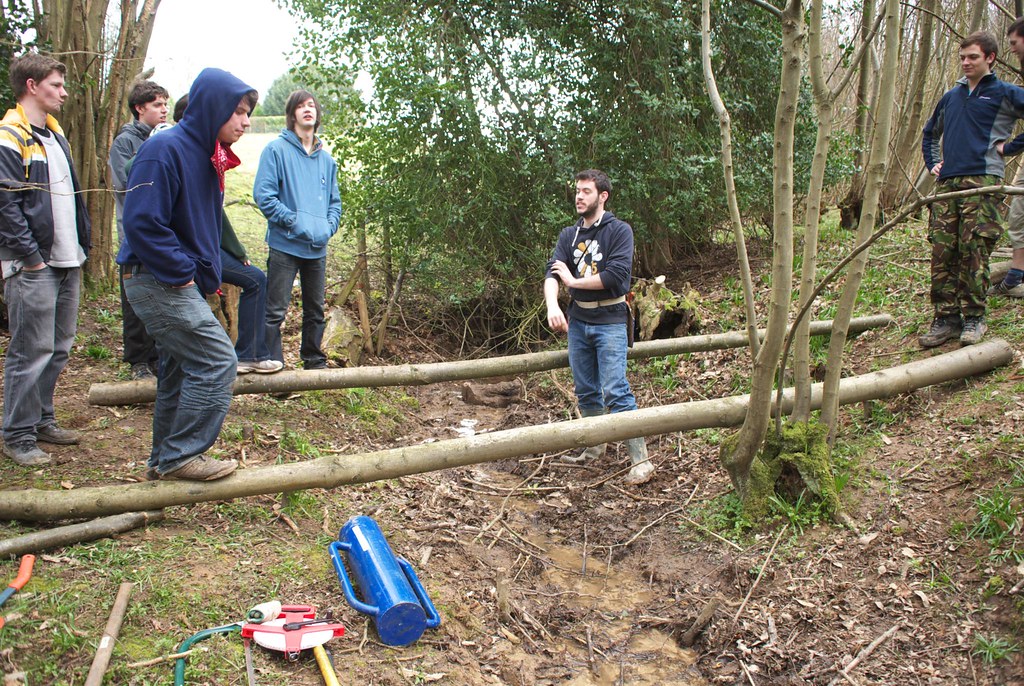
But not to worry, designs were adapted for the types of wood and tools available, and we all set off back to the stream. A couple of chestnut stems were selected to provide 5m straight logs, and I felled them with the chainsaw. The nice bit was I didn't have to carry them anywhere, as I had a whole team of willing engineers! :-) They were soon installed across the stream:
Then posts were driven into the ground to secure them:
Someone came up with the idea of using split pieces of chestnut to make rungs:
and by the end of the first day the bridge was in a state to walk on, although not finished. Also, unlike the old bridge, it could take more than one person at a time:
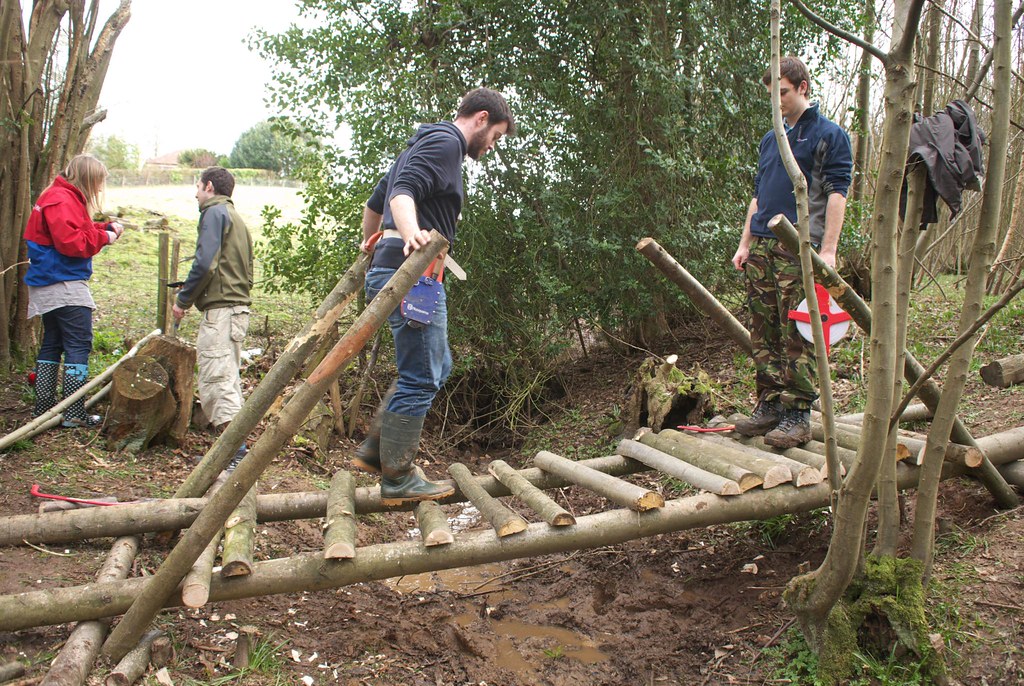
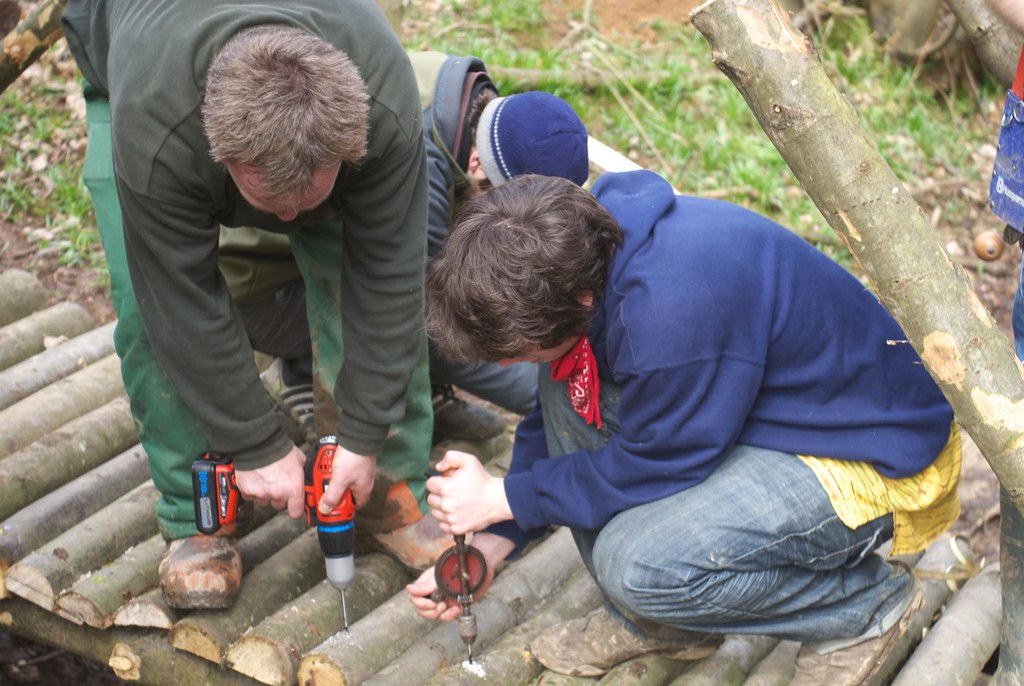
The next day saw a lot of drilling and nailing of the rungs:
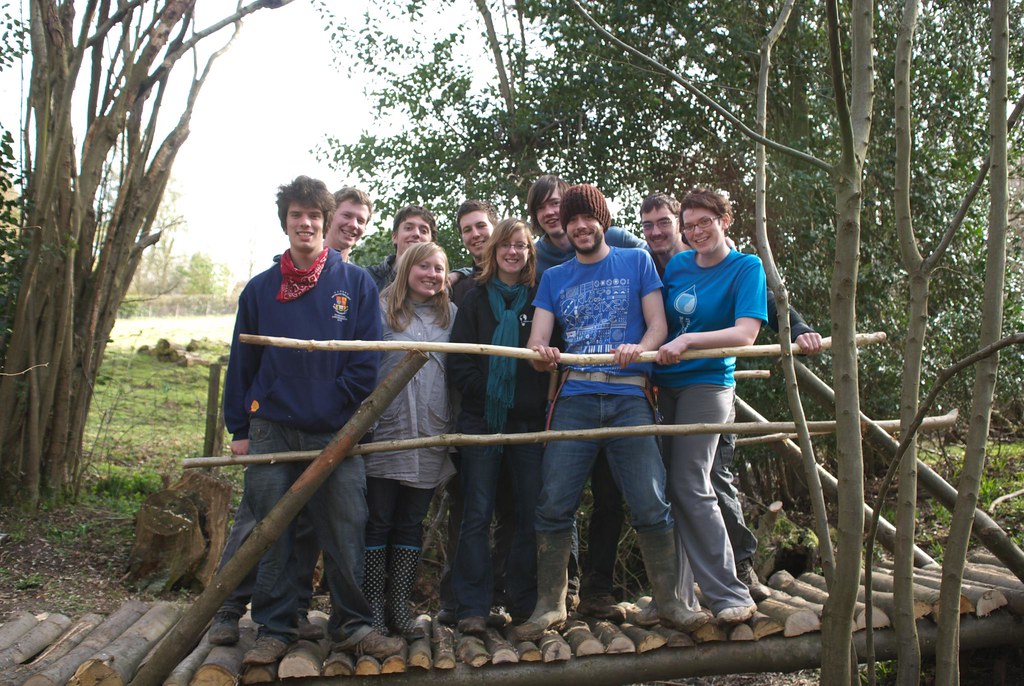
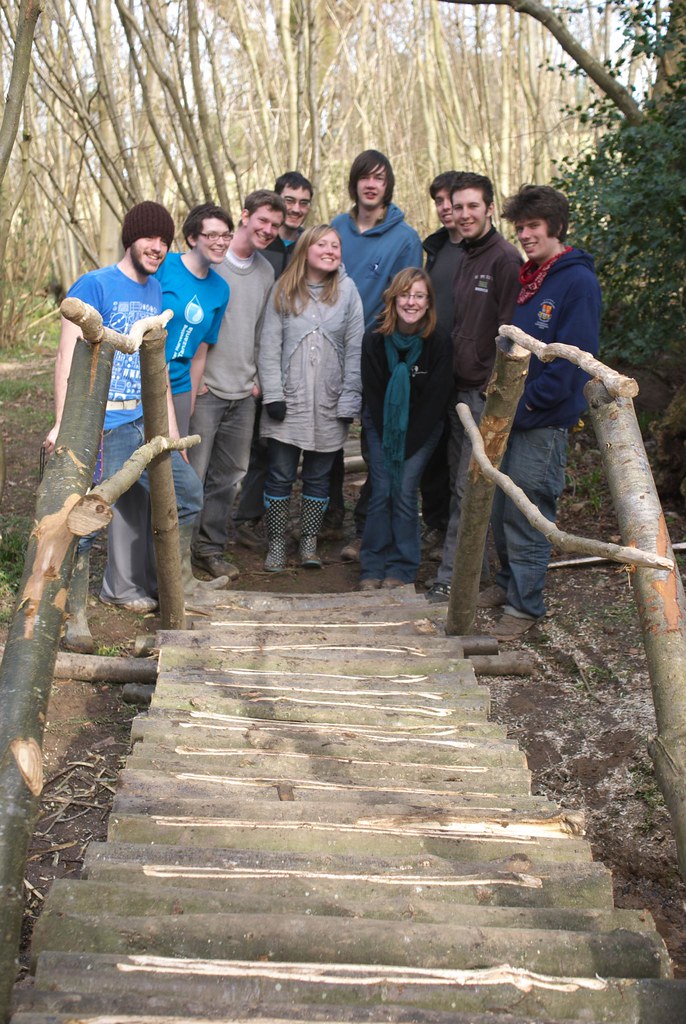
and by that afternoon the bridge was done, with the added feature of hand rails at two different heights!
I ran over some of the rungs with the chainsaw to roughen the surface so it doesn't get slippery in the rain:
and then everything was done.

I'm told everyone had a great weekend, and I'd like to thank everyone who came, and EWB-UK, for all their hard work! Some people worked so hard they fell asleep at lunchtime. Or perhaps that was to do with beer round the campfire the night before?
Mike

Click here to read the rest of this post.