Showing posts with label trailer. Show all posts

Tuesday, 2 December 2014

Moving towards winter in the woods

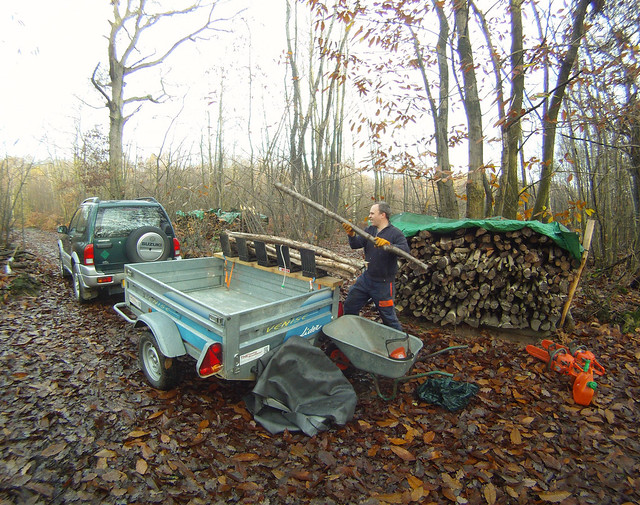
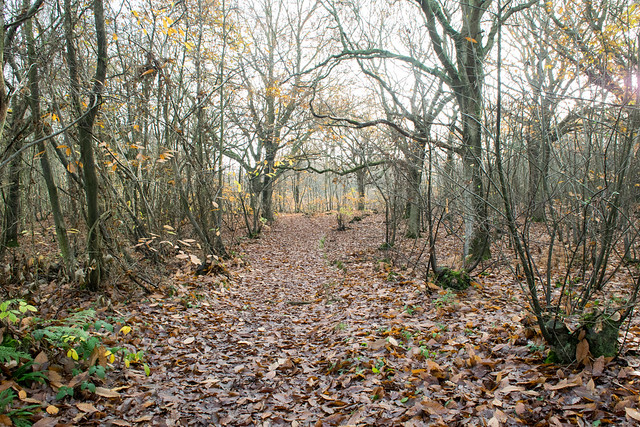
I was up at the woods this weekend after a few weeks' gap, and was struck by the shift from autumn towards winter... It's looking quite different there now:

DSC_2843


DSC_2844

I was there to do a job though, and got on with loading my Truncator:
GOPR09694

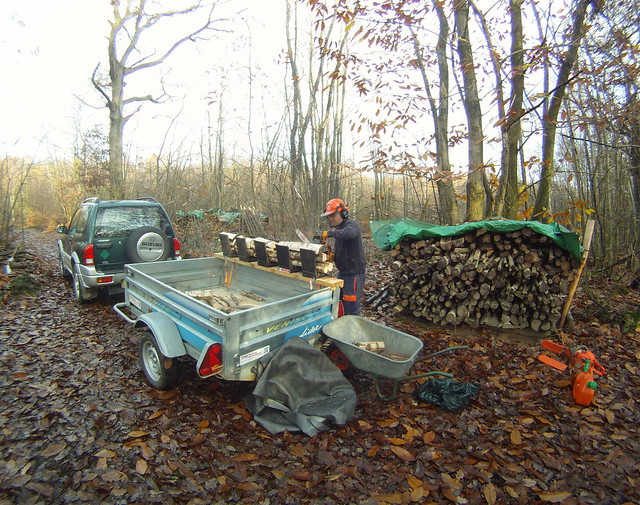
Sawing the logs:
GOPR09733

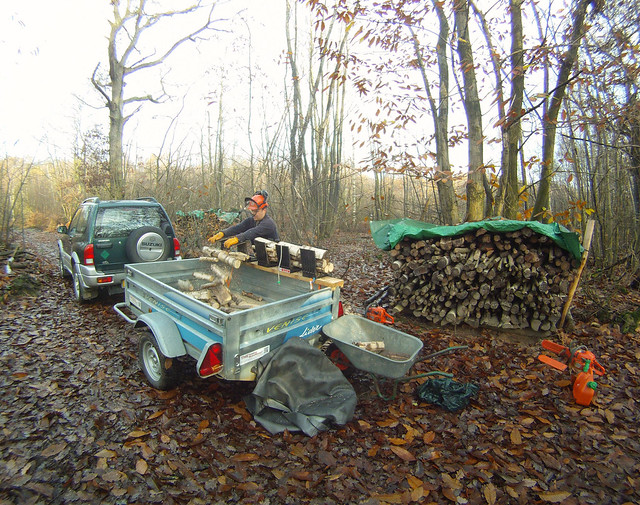
Tipping them into the trailer:
GOPR09735

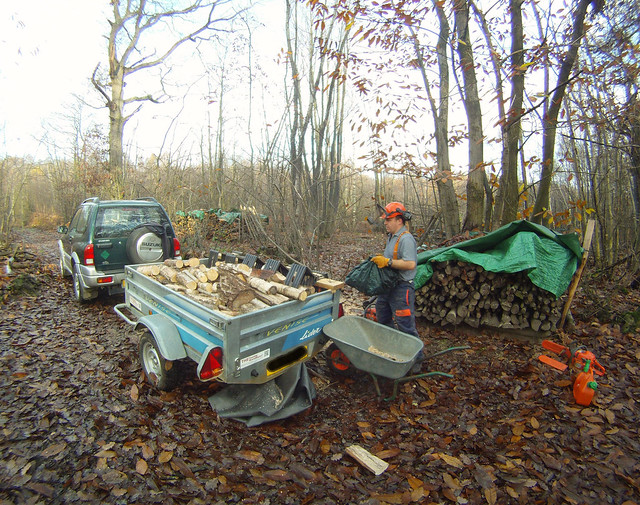
And repeating until there was a trailer full of logs to take over to The Pelham...
GOPR10127

It's a great benefit having the Truncator for jobs like this, and as you can see in the above photo, when the job is done you can simply cover the trailer and drive away without detaching it. I made a video last year detailing how it is set up and operated.

Mike

Click here to read the rest of this post.

Sunday, 20 January 2013

Snow in the woods Jan 2013

With the snow over the last few days, I did of course have to make a trip to the wood to see how it was looking! I'd been busy at a Recycle Swap Shop earlier on Saturday, and as I had the trailer with me for that, I collected some Holly we'd felled into the garden of a woodland neighbour and headed into the woods with it...

DSC_5533 logs and snow in the woods

There's a moderate amount of snow, but not as much as last winter:
DSC_5543 snow in the woods

DSC_5542 snow in the woods

DSC_5537 logs and snow in the woods

I got the Holly moved onto the stack of green wood, and split up the big lumps - looking forward to burning these heavy logs in a couple of years!
DSC_5539 logs and snow in the woods

Not sure we're going to get any more snow in the coming week or so, but there's still all of February...

Mike

Click here to read the rest of this post.

Thursday, 4 October 2012

Moving logs in the rain...

This week the weather has helpfully delivered sunshine on the days I've been working and rain on my days off for work in the woods... So yesterday, despite the rain, I took the trailer to the woods and got on with moving some logs.

This needs doing to get the logs in a place that's dry and windy, and under a tarp, so that they can continue to dry out. I went down to Alex's wood, where I did some work last winter, and collected four trailer loads during the morning and early afternoon, getting a bit damp in the process. One rack had shorter logs, which neatly fitted into the trailer:

DSC_4533 Trailer load of logs

Here's one of the racks I was emptying. As you can see, it was a damp and shady spot, so the wood is a bit damp still - but it won't be burned for another year or two, so there's plenty of time for it to dry out.
DSC_4530 Nearly emtpy log rack

For the first time (for an actual job, rather than testing it) I used the bridge that EWB students built in the woods back in March.
DSC_4536 Moving logs over the woodland bridge

The log trolley also came in handy, moving logs from a rack deeper inside the wood to the trailer, as there's still some tree stumps that prevent me bringing it further inside the wood at present.

There's still some more logs to move, but after that coppicing can start! :-)

Mike

Click here to read the rest of this post.

Sunday, 2 September 2012

Moving logs: new trailer and a modified log trolley

Well, after our old trailer died, we picked out a new one, and it's finally arrived! The neat thing about it is that the front, as well as the back, can be removed:

DSC_4525

It also has tie-down points on the floor, so we can lay ratchet straps in to secure the logs without bending the side walls:
DSC_4526

The result is that large loads of logs can be placed evenly across the axle, and everything works nicely!
DSC_4529

However, we now have an additional solution for moving logs as well. Some locations are hard to access, and you have to push the trailer backwards up a track, then reverse the car up to it before loading and driving out. So given that we now have a Stein Arbor Trolley, I paid a local engineering firm to make me an extra part for it, so we can pull it with the 4x4:


It will come in very useful in future I think!

Mike

Click here to read the rest of this post.

Saturday, 18 August 2012

The day our trailer died...

With the log store nearly full:

IMG_2380

we thought we'd get on and move some of last winter's logs to our storage area. All went well at first...
IMG_2379

But on the second load, there was a small problem:
IMG_2383

The logs had slipped back in the trailer while going over some bumps in the track, and as a result tipped the trailer back - but because the hitch stayed attached, the arm that connects it to the trailer bent:
IMG_2381

Meanwhile the back of the trailer got rather bent too...
IMG_2384

It's a shame, but we did only pay about £130 for it second hand, over five years ago, so it's done a good job while we've had it. As it was already a bit damaged in some other places, we decided that this was the end for it. We managed to get it straight enough to drive it to the nearest scrap merchant, where we got £8.40 for it.

We've picked a new one to buy, which will be slightly larger and also allow us to drop the front as well as the back, so that logs can be loaded more evenly in future...

Mike

Click here to read the rest of this post.

Sunday, 8 January 2012

Carry Freedom bike trailer review

Our latest purchase in our quest for sustainability and resilience to oil price spikes is a Carry Freedom Y-Frame Large bicycle trailer. As the manufacturer says:

"Our bicycle trailers make it easier to carry by bike. This makes bikes more useful more often, encouraging more cycling and makes society healthier. "
So, having bought one, I thought it would be good to write a review including video and photos. So let's start right away with the videos, and the photos will follow with more details. First, a review of how the trailer assembles and is used:

And here's a short video showing it in use bringing 50kg of logs back from the wood, towed by me on one of our electric bikes:

Right, onto the detail... Here's all the parts that come in the package:
Carry Freedom bike trailer parts DSC_1231
There you can see:
  • The load bed, already mounted on the frame.
  • Two 20" wheels.
  • The metal bar that connects the frame to the bike, and a pin to connect it to the frame.
  • Two quick release axles, of the type used in wheelchairs.
  • The hitch mechanism, which uses a flexible piece of red plastic.
  • Velcro straps for securing loads.
  • Rubber feet to put on boxes to be carried.
  • Instructions.
It's really simple to put together, as you'll have seen in the video above. The only thing you need to check is that you have enough spare thread on a solid rear axle, or a long enough skewer for a quick-release axle. You're also advised to limit the load to 50kg, rather than 90kg, if you have quick-release as it's not as strong - you can still pull 90kg, but you might need to replace the QR skewer a bit more frequently.

Here's a shot of the underside of the load bed, and you can see where the Y-Frame name comes from.
Carry Freedom bike trailer body DSC_1232

This design allows the bar connecting to the bike to go on either side, which can be useful in some circumstances. It connects by slotting in here, then the retaining pin is used to hold it there:
Carry Freedom bike trailer frame DSC_1234

Carry Freedom bike trailer frame DSC_1237

These are the axles, pressing the button on the right makes the bit that looks like a ball bearing at the other end withdraw, so it can slide through the wheel bearing and into the frame. If you're worried about the idea of an axle only supported on one side, don't be! These are the same kind of axles that are used in wheelchairs, so they are well suited to the purpose. About two thirds of the length of the axle actually sits snugly inside the frame, so it is well supported.
Carry Freedom bike trailer axles DSC_1233

This is the hitch mechanism:
Carry Freedom bike trailer hitch DSC_1235

The bracket on the left goes over the bike axle, while the red plastic slides into the bar that connects to the trailer and is secured with the screw you can see. Don't worry about it being plastic - it's very strong, yet flexible enough to allow normal movement while you're riding.
Carry Freedom bike trailer hitch DSC_1236

Here's the finished product:
Carry Freedom bike trailer DSC_1238

Carry Freedom bike trailer DSC_1239

One thing that's particularly cool is that it takes about 30 seconds to undo the hitch, take the trailer off and replace the securing pin, and literally 10 seconds to pop the wheels off the trailer so you can store it easily!

When it comes to using it, there are a few things to note, such as keeping the centre of gravity of the load as low as possible, and also slightly forward of the axle. You also need to tie the load down securely. I used two ratchet straps, but found there was still some movement on bumpy roads, and had to tighten them up. A strap going sideways would be a useful addition next time.
Carry Freedom bike trailer IMG_0400

When towing the trailer empty or lightly loaded, you don't even know it's there - so you have to be careful to remember not to get too near the kerb! Once I had 50kg of wood on the back, I certainly noticed it, even on the electric bike! Braking obviously takes longer, so you limit your speed where appropriate. But it doesn't feel unsafe at all, there's just some odd movements from time to time, though I think this might be more to do with how it interacts with an electric bike. I'll be trying it with my mountain bike as well soon, once the spare bike brackets arrive from the manufacturer (it comes with one, but you can order more), and I expect that'll be a lot harder going up the hills! But maybe that'll be my training for the next time I do the London to Brighton ride...

Mike

Click here to read the rest of this post.
Saturday, 8 October 2011

Finished moving last year's logs!

We've finally finished moving all of last year's logs away from the felling area!

DSC_8898

By moving them now, they're a lot lighter than when we felled them (they've seasoned, as we split or striped them straight after felling), and we've also avoided doing damage to the tracks, as they're dry. In fact, I'm not sure we'd even have made it up some of the hills if they'd been muddy!
DSC_8909

The trailer has worked very well for moving logs, as it's light enough to turn round and push up the hill rather than having to try and reverse it, and it takes our 2m logs no problem.
DSC_8901

My parents were visiting last week, and we had a lot of help from my Dad with the logs:
DSC_8895

DSC_8896

Tracy and I moved some other wood too, such as another big chunk of this Sycamore to use to make a table in the camp area (my brother and I moved one earlier too):
DSC_8907

There were also some logs to make into stools as well (see the timelapse video of one being made):
DSC_8911

We also had some longer logs that we wanted to move for use in future projects, and I found we could easily drag them along with the car, using a ratchet strap to fasten them to the tow bar:
DSC_8916

DSC_8919

DSC_8921

DSC_8923

They're all back at the camp now, ready for building stuff...
DSC_8991

Finally, we've also been busy taking logs home ready for the winter, and the firewood store is full! These are all 2-year old logs, so will be nice and dry.
DSC_8992 Full firewood store

Mike

Click here to read the rest of this post.
Wednesday, 1 June 2011

A quick update

We've been pretty busy recently, helping a friend move house and building a firewood shelter in our garden at home, so not a lot of time for photos and posting to the blog... I'll start writing about how we're building the firewood shelter shortly, but for now here's a few pictures from the woods, taken this weekend.

While collecting materials for the firewood shelter we got our Suzuki and a trailer all the way into Sweep Wood for the first time:

DSC_8053 Trailer full of Hazel

This included driving over the culvert, which worked just fine:
DSC_8077

The area we recently coppiced in Sweep Wood is growing very rapidly, despite the dry weather:
DSC_8058

There's another new plant there as well, Hogweed I think:
DSC_8054 Hogweed

The old Hornbeam pollards at the edge are recovering nicely - we'd like to lay this growth into a hedge in a few years:
DSC_8057 Pollarded Hornbeam

And there's another pollard, which we created to set up a bench for felling, and then left as a handy bird table to leave food on:
DSC_5080

now it looks like this, and will be an interesting looking tree soon I think:
DSC_8056 Pollarded tree

That's all for now..

Mike

Click here to read the rest of this post.