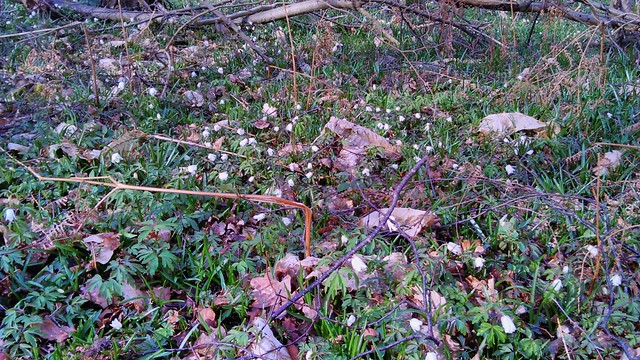
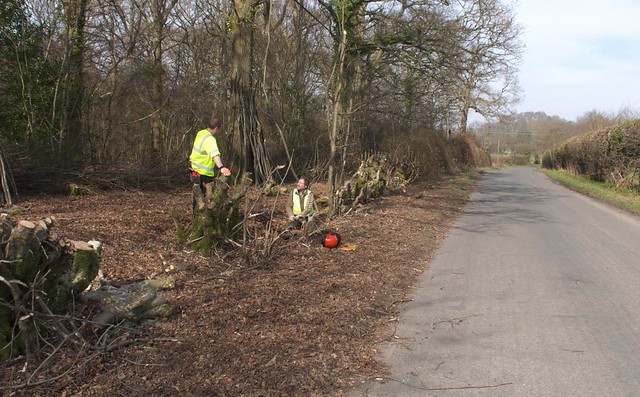
I've been out enjoying the sunshine, helping my friend Rich with some work in a bit of woodland near ours, cutting roadside trees and recreating a hedge there. We also had the help of Tom for a bit, another friend of mine. Here's the work site:
The tree cutting was all pretty straightforward, with the main challenge being the phone line the trees had grown round. But use of a long pole with saw or loppers on the end made it pretty easy.
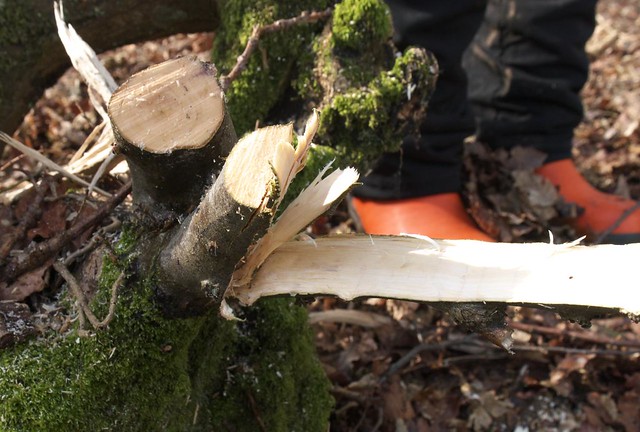
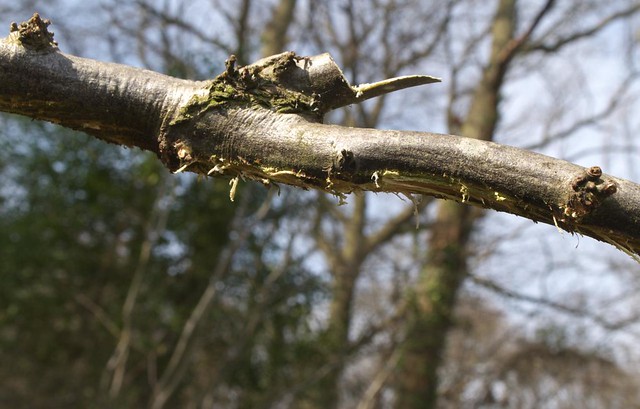
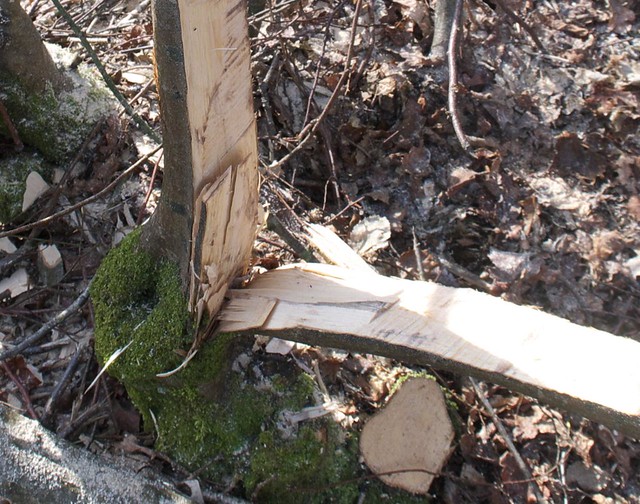
Rich showed us how to 'layer' a tree to fill in gaps in the hedge. This starts with a stem, which is cut most of the way through, making sure to leave both some bark and some sap wood - this allows the rest of the stem to stay alive. Rich used an axe to cut through the stem, though for a larger stem you could start with a chainsaw. This bit of the process is known as 'pleaching', and the cut stem is sometimes called a pleacher.
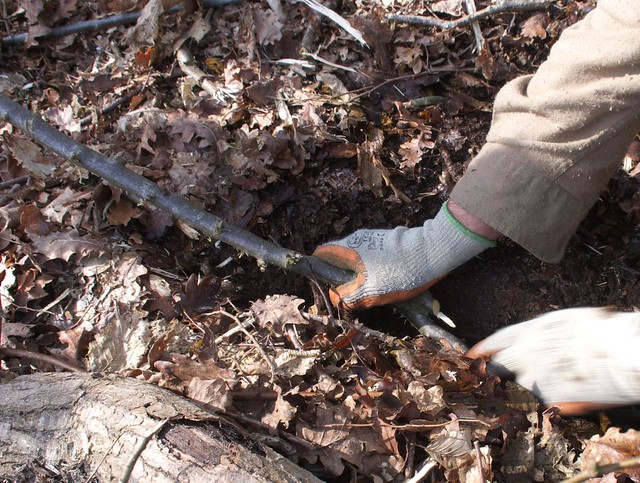
The idea is to cut it thin enough that the stem can be bent over to touch the ground. The bark needs to be scraped off the underside of the bit that will touch the ground:
You then scrape out a small hole, and put the pleached stem into it:
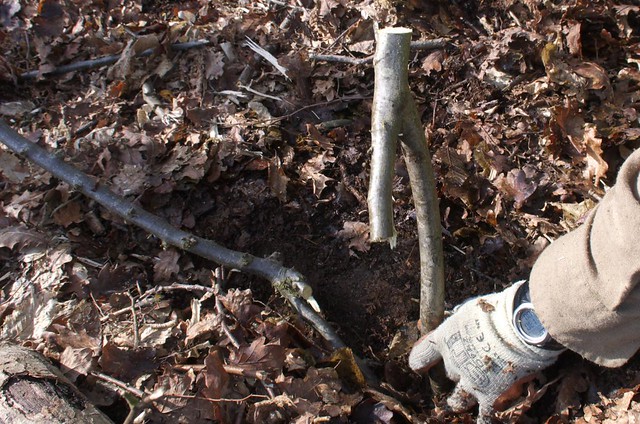
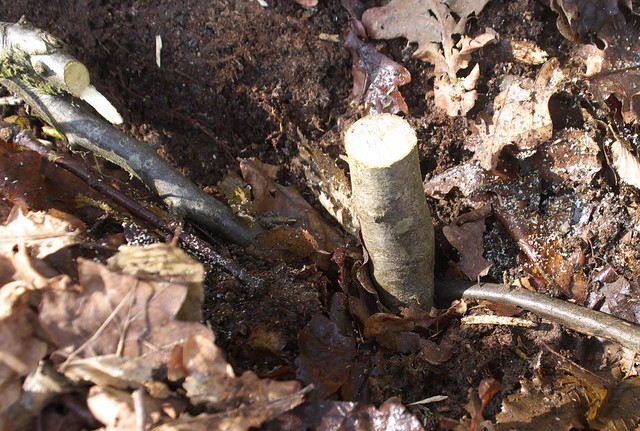
The stem is held in the ground by a wooden peg - in this case made from part of a forked stem:
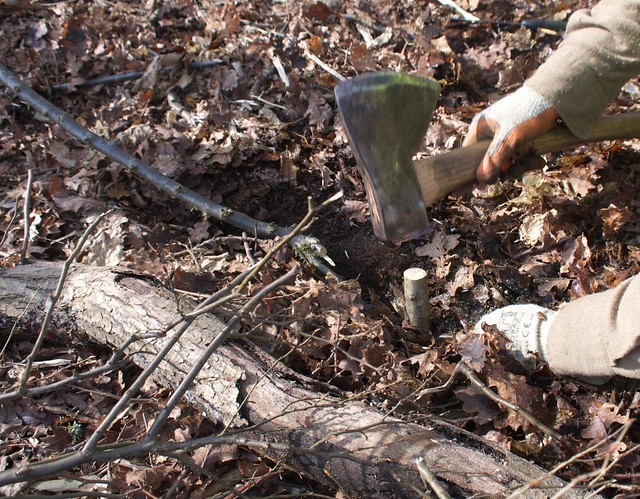
This is banged into the ground with whatever tool is nearest - an axe in this case:
This leaves the pleached stem securely fixed in the ground - where the bark was scraped off new roots will grow.
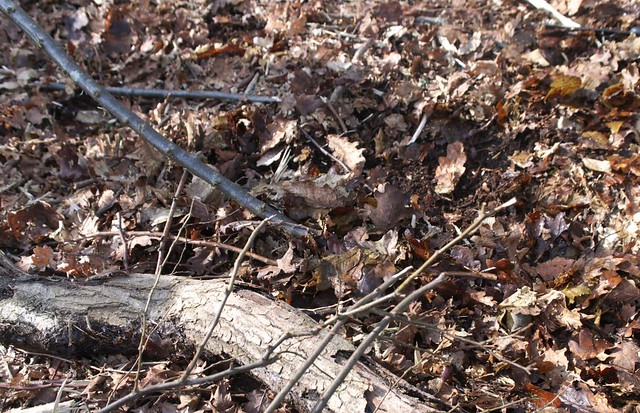
Finally you just cover it back over with some earth and leaves, and leave it to get on with it. As well as roots growing out of the scraped sections, shoots will also grow out of the side of the stem, as with a cut coppice stool. The idea is that after a period of time the bit of wood joining the pleached stem to the original tree dies off, leaving you a new independent tree (a clone of the original one).
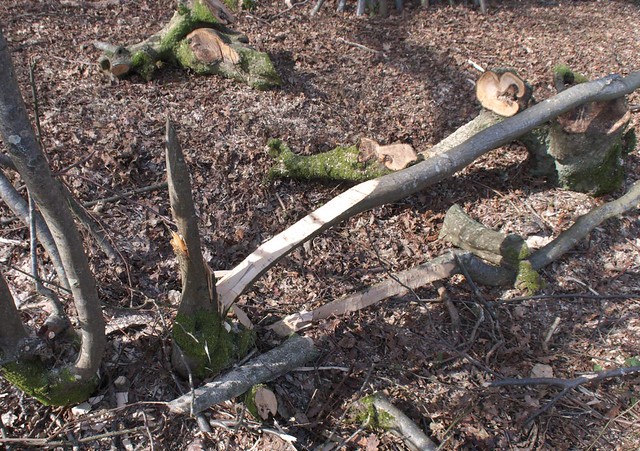
We also pleached some stems that weren't fixed into the ground - this is 'laying' a hedge, meaning that the stems are laid over on their sides. Again, new shoots will grow vertically from the stem, but in this case enough wood is left attaching it to the main tree that it will continue to be fed by it permanently:
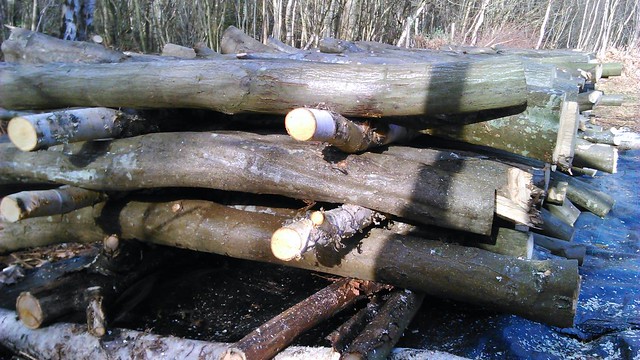
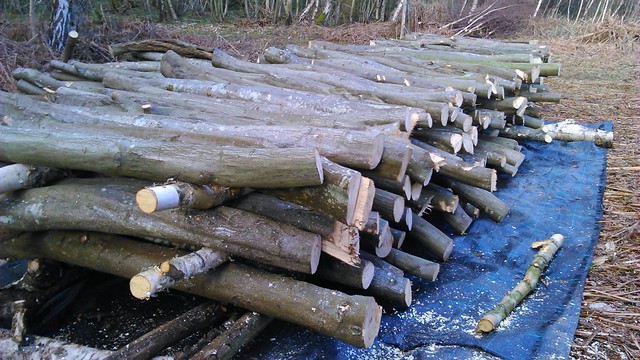
Here's the section cut so far - there's about the same amount again still to do:
Mike
Click here to read the rest of this post.