Saturday, 16 October 2010

Eco-refurbishment - insulating the loft

This is the latest part of our "eco refurbishment", insulating the loft. The existing insulation was between 2 and 6 inches, i.e. very unevenly distributed, and not thick enough. I wanted to upgrade it to 12 inches thick, but also have boards over the top so we could use the space for storage.

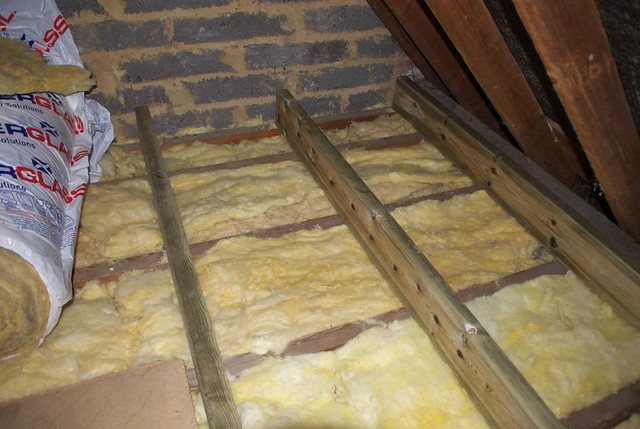
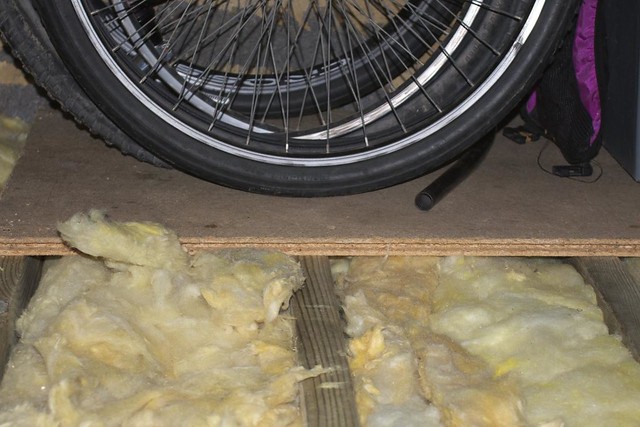
So, the first step was to top up the insulation between the joists to bring it to 6 inches throughout, and then screw down some more 2x6" joists at right angles:

insulating the loft

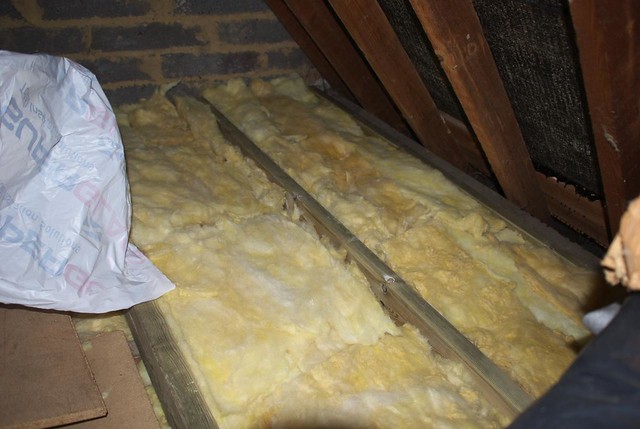
Step two was to insulate between these joists, so adding another 6 inches:

insulating the loft

The final step was to screw down boards on top, and replace all the random stuff we store up there:
insulating the loft

That's just one bit - I did it in sections so I always had somewhere to leave tools and sit while I was working. It was a pretty unpleasant job, being hot, confined and handling glass fibre. Cutting up the boards with a small circular saw made plenty of dust to add to all that as well! Let's just say I'm glad it's done and that the boards are now down over the whole floor.

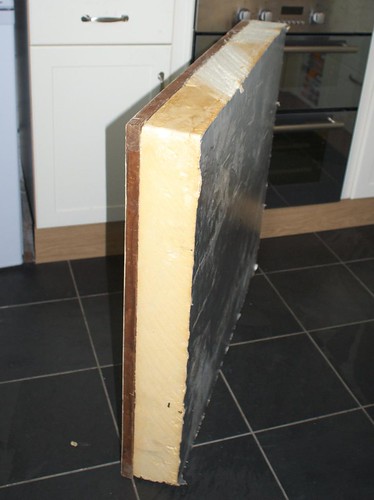
There was one last job, which was to insulate the top of the loft hatch panel, which is just a thin board nailed to a frame. Our friends John and Helen (of the Recycled House) gave us a spare piece of insulation board, which I glued and screwed onto the loft hatch panel:
DSC_4929

Although this is thinner than the glass fibre insulation, it should actually provide better insulation, as it's a more advanced material.

I do still need to put draught strip round the loft hatch, but that'll have to wait until I find it, as it went missing during the move!

Mike

Related posts:

Click here to read the rest of this post.

Friday, 15 October 2010

Eco-refurbishment - installing solar water heating

OK, I'm playing catch-up here, as our solar water heating has been in and working for a couple of weeks....

Solar water heating, or "solar thermal" as it's often called, captures the sun's heat using panels or tubes, passing it into a fluid - usually some kind of anti-freeze. This is then pumped through a coil in the hot water cylinder to transfer heat to it. I'll give some more details as we go...

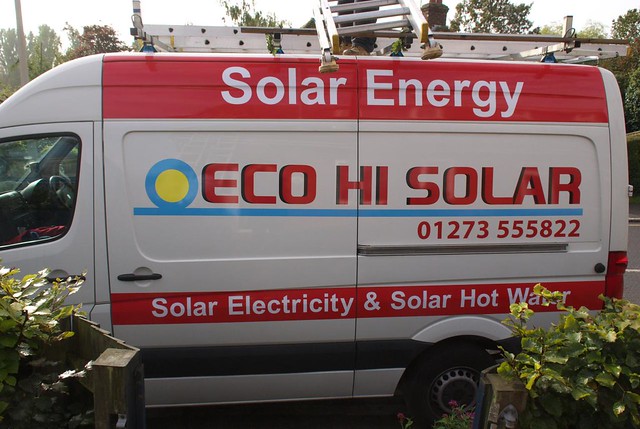
We had it installed by Eco Hi Solar, who are based near Brighton. I can thoroughly recommend them, they were very professional and efficient. Here's a little plug for them:

Solar water heating installation

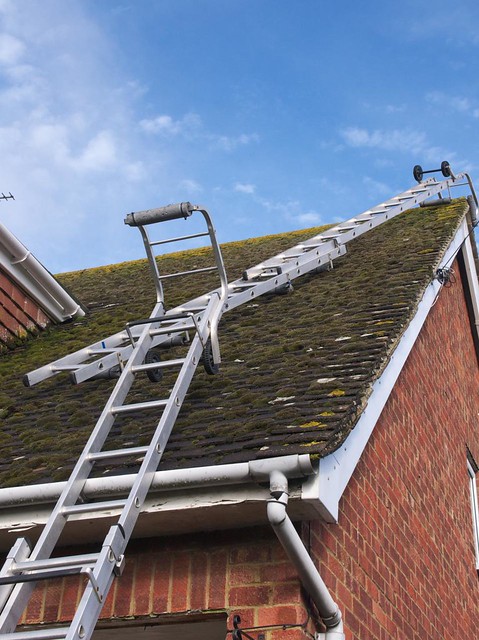
The installation took two days. The first job was to get up on the roof, which was interesting to see how they did it:
Solar water heating installation

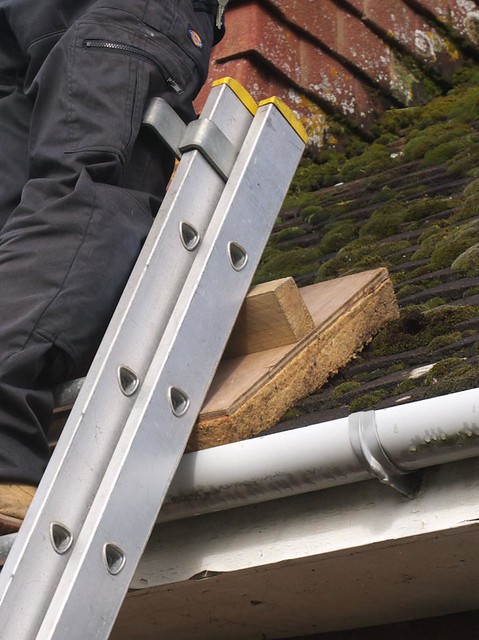
They had a neat wooden thing with a pad of foam on the back, to make sure that no tiles or gutters were damaged:
Solar water heating installation

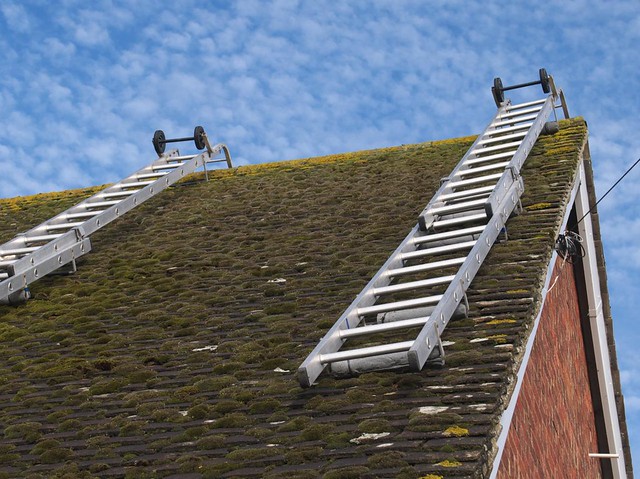
Before long there were two ladders in place:
Solar water heating installation

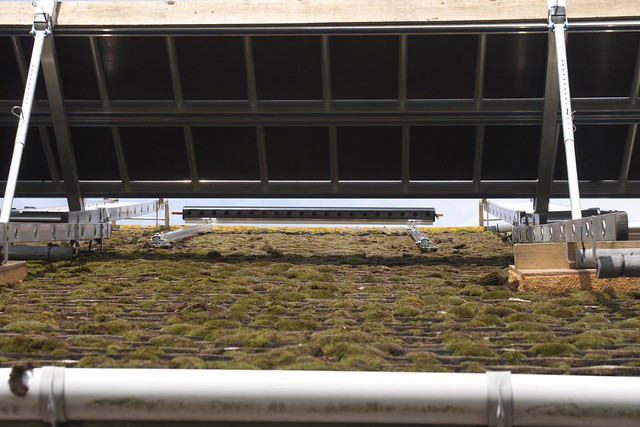
After which they installed a platform and fitted the manifold for the evacuated tubes:
Solar water heating installation

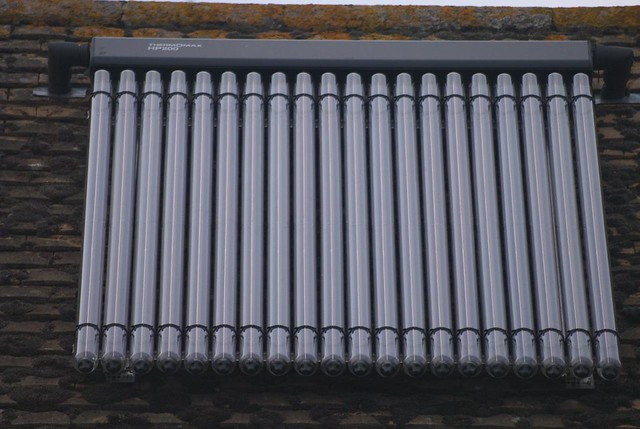
Here's a view of the tubes fitted into the manifold:
Solar water heating installation

We went for evacuated tubes rather than flat panels as the cost was about the same, but the tubes should work better in the winter. This is because they contain a partial vacuum, so reducing the heat loss when it's sunny but the air is cold. There's also the advantage that if a tube ever malfunctions, you can just replace them one at a time. The collector we used is a Thermomax HP200, which uses a heat pipe inside each tube to transfer heat to metal at the top of the tube, where water flows over it as it goes along the manifold, picking up the heat.

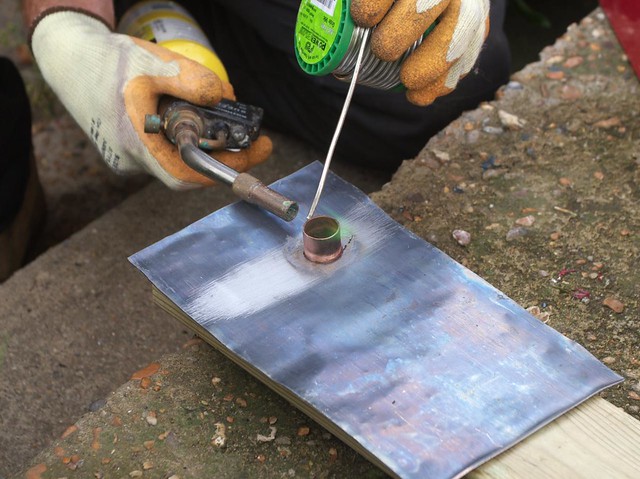
To connect through the roof, two lead panels were used to replace tiles, each with a small piece of copper brazed into it:
Solar water heating installation

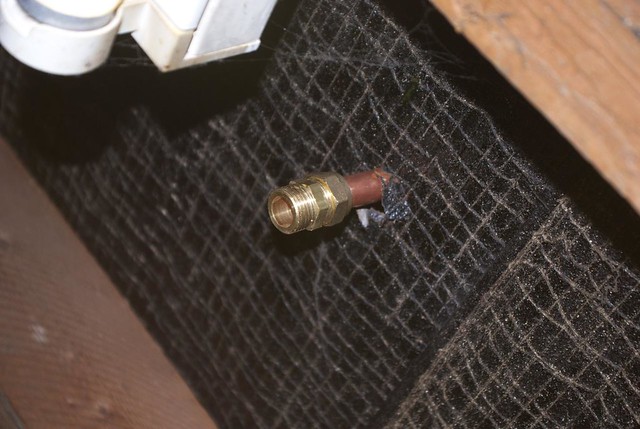
Once connected up, here's what it looks like on the inside:
Solar water heating installation

These pipes are then connected to the hot water cylinder using this flexible stainless steel pipe:
Solar water heating installation

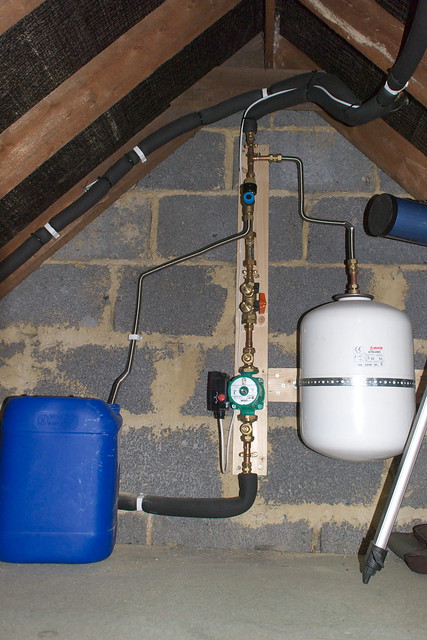
With the collector installed, the next job was in the loft, connecting up the pump, expansion vessel, overflow container and valves used for filling and pressurising the system:
Solar water heating installation

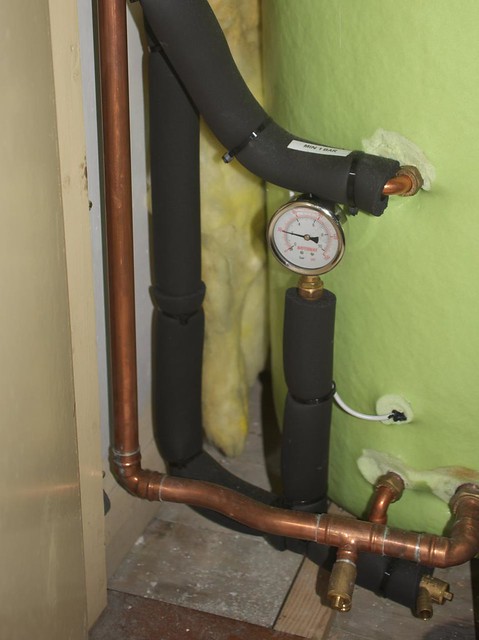
The pipes were connected to the cylinder in the bathroom, and then insulated:
Solar water heating installation

They installed a pressure gauge in the bathroom as well as upstairs, so I can easily see that the system is still working properly.

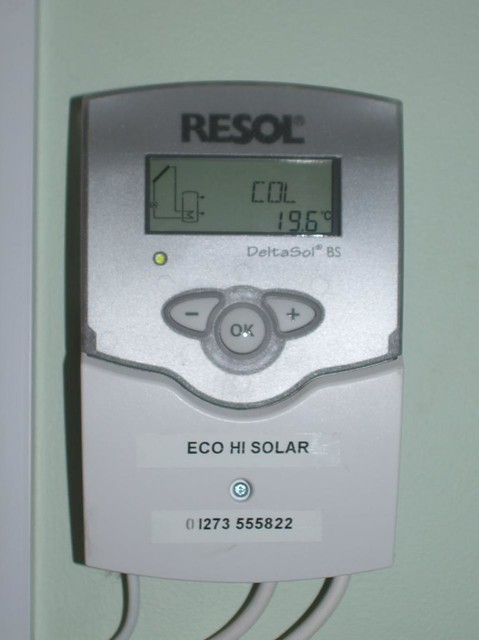
The final key piece of kit is the controller. This detects the difference between the temperature of the hot water cylinder and the collector, and decides when to turn the pump on and off. You need this to stop the water being pumped round when it's cold or dark, and the heat being lost through the collector. Our controller can run the pump an anything from 30 to 100%, depending on how sunny it is, so improving efficiency.
Solar water heating controller

Of course the other neat thing about the controller is it shows you the temperature at the bottom and top of the hot water cylinder, so we know exactly when we need to light the wood burner to add some more heat!

Mike

Related posts:

Click here to read the rest of this post.

Thursday, 14 October 2010

This week in the woods

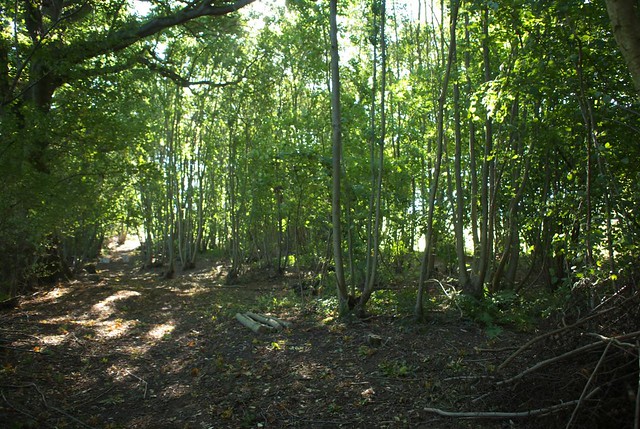
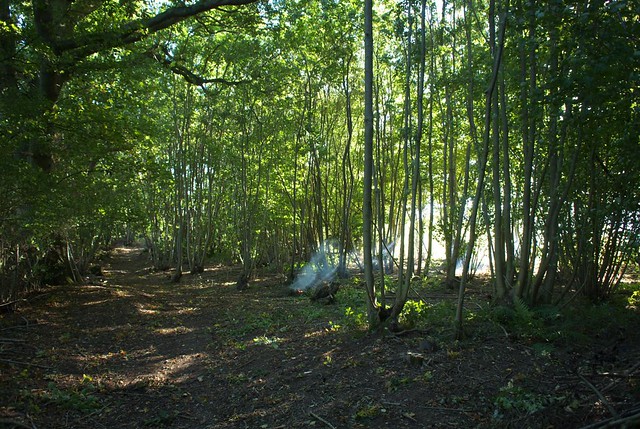
This week we started coppicing in earnest. We're working from the bottom of the strip between the two fields that border Sweep Wood, up to where we stopped last winter. Here's a view of the area, you can see where we'll be stopping by the light in the distance on the path:

DSC_4899

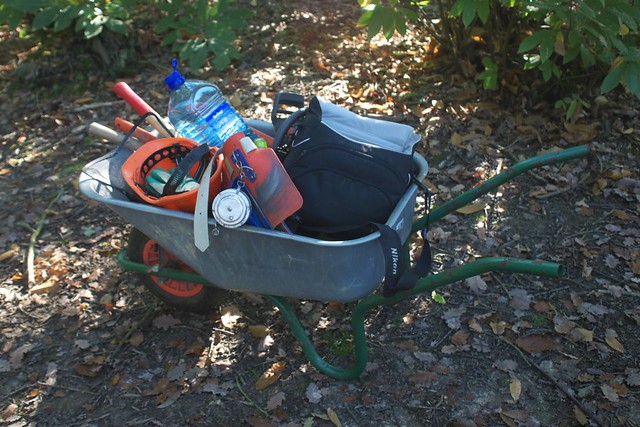
It's a bit of a walk from our camp, so a wheelbarrow comes in handy...
DSC_4897

Monday was really great weather, though I did get quite warm!
DSC_4896

We're burning some the brash to start with, though later on we hope to pile some of it up as dead hedges, to reduce the smoke pollution and leave some cover for wildlife.
DSC_4902

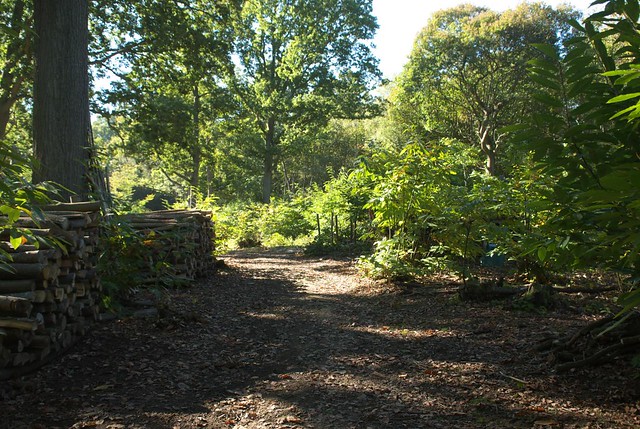
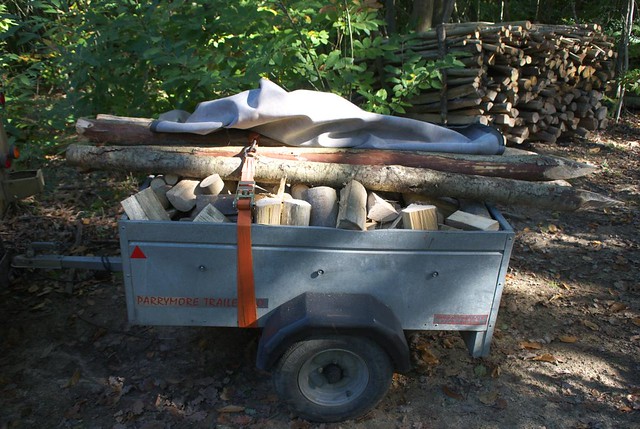
There were a few other jobs to do as well, such as collecting some logs and delivering stakes to a local allotment:
DSC_4895

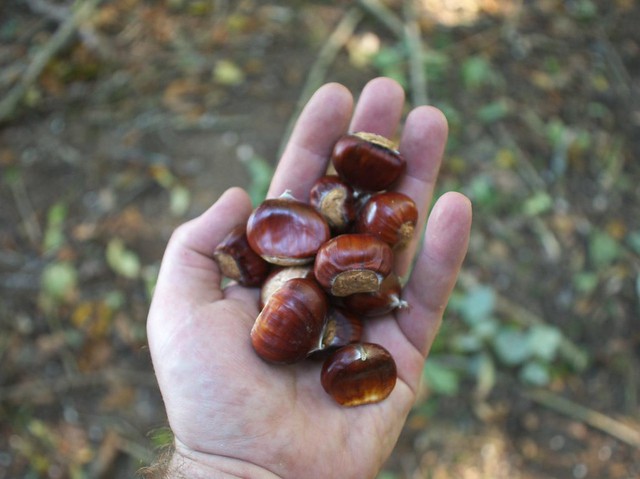
And of course it's now the season for chestnuts:
DSC_4901

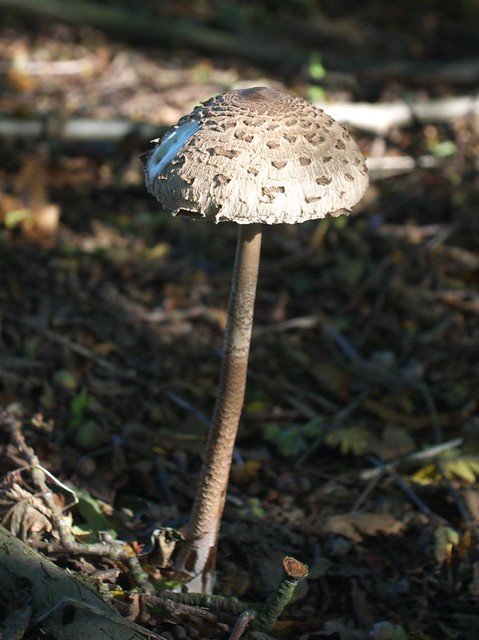
And fungi too, like this Parasol Mushroom (I think...):
DSC_4903

There'll be more posts on the work in the wood over the coming weeks, as we get back into the swing of it.

Mike

Click here to read the rest of this post.

Saturday, 2 October 2010

Start of coppicing 2010

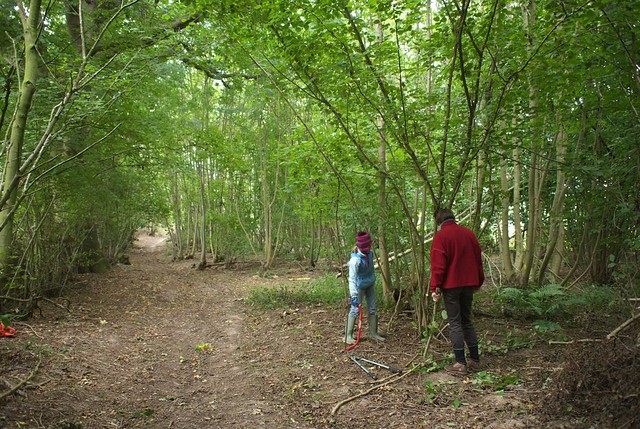
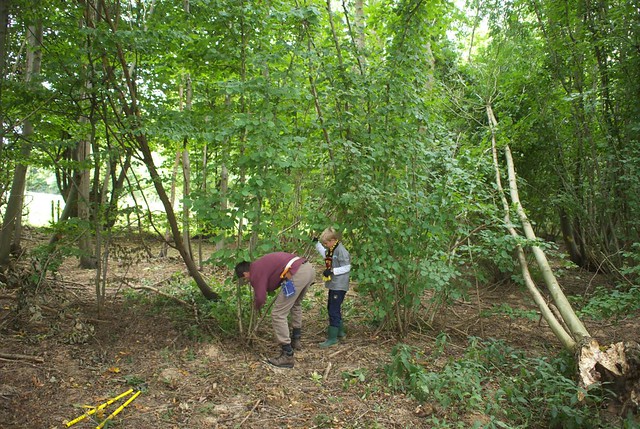
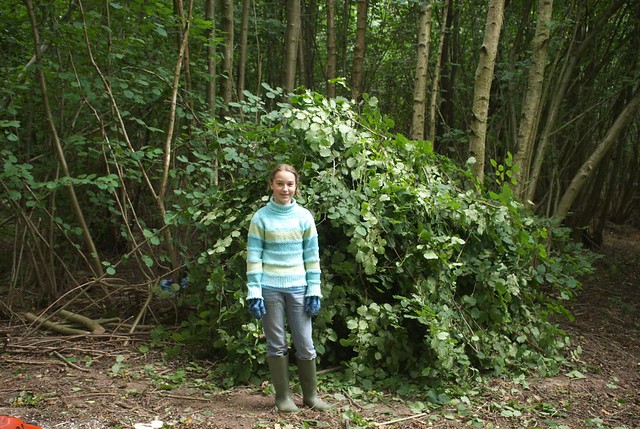
Last weekend our friends Dominic, Katharine, Ivy and Giles came up to the woods to try their hand at coppicing. We made a start to this year's work in Sweep Wood, working on some Hazel and also the windblown Ash you can see in the background below.

Coppicing in the woods

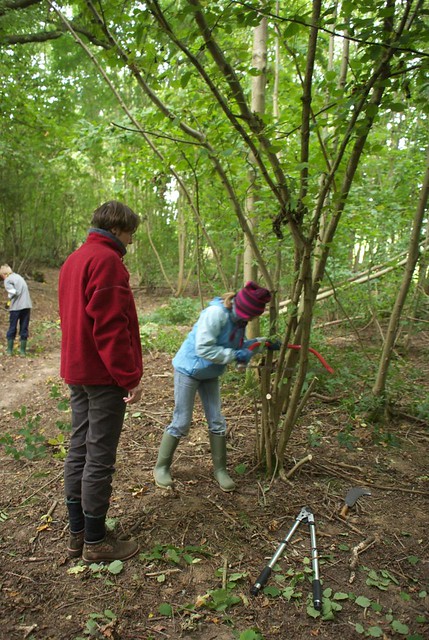
We split into two teams, mainly for safety reasons!

Coppicing in the woods

Coppicing in the woods

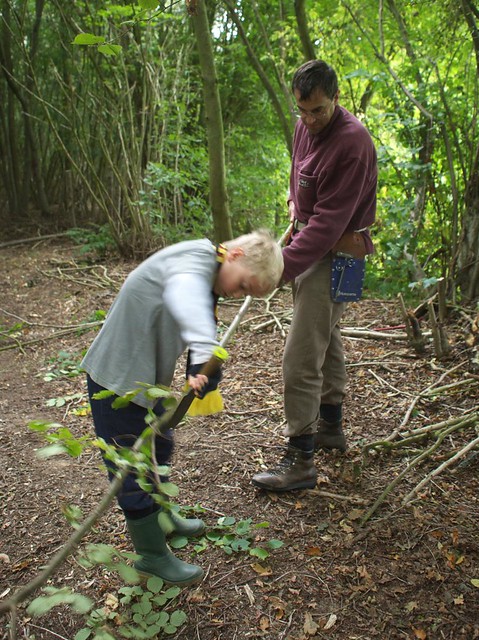
As well as felling the Hazel, we were also using billhooks to clean up the stems so they can be used for something later on.
Coppicing in the woods

There was quite a pile of brash after a couple of hours work:
Coppicing in the woods

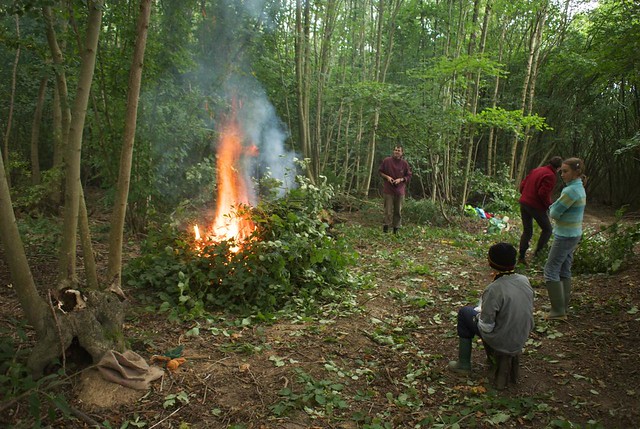
After lunch we burned it all up to make space for the next day of coppicing:
Coppicing in the woods

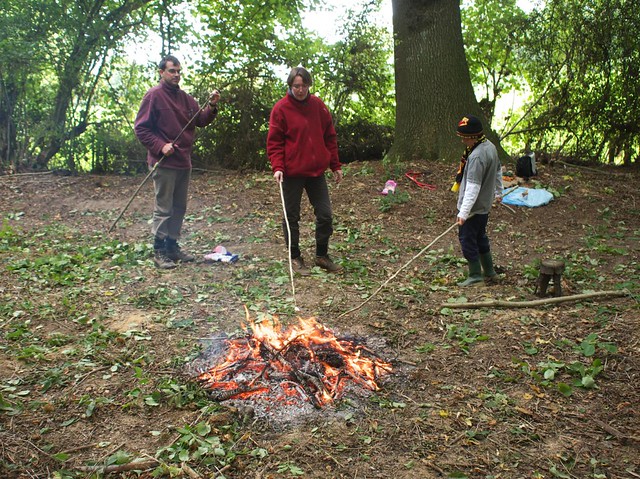
and took the opportunity to toast some marshmallows once the fire had died down:
Coppicing in the woods

I'm looking forward to getting up there again to do some more work, though things are pretty busy for the next week or so...

Mike

Click here to read the rest of this post.

Sunday, 26 September 2010

Eco-refurbishment - plumbing and testing the wood stove

This is a long post, but at the end of it the wood stove is lit!

The plumbing was quite an involved job, including:
- removing the gas boiler
- connecting up the wood stove
- running pipes from the wood stove to the connection to the hot water cylinder and the radiators (the gas boiler was on the other side of the house...)
- replacing the cold water tank and the feed and expansion tank in the loft (they were very old)
- replace the hot water cylinder for one that can take solar input as well as the wood stove.

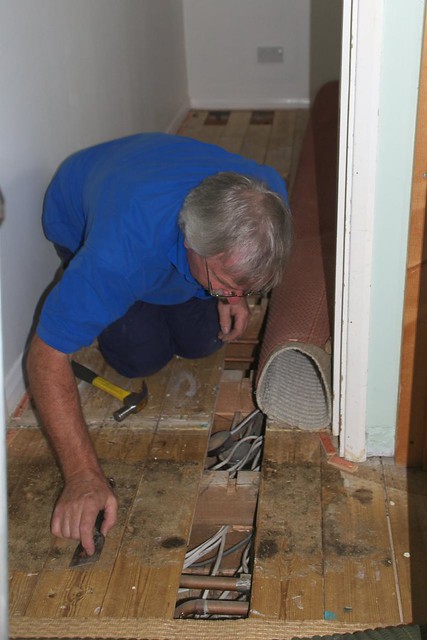
The plumbing company we used was CMS plumbing services, who have done a brilliant job. Here's Mick Rennells, taking up floor boards to lay in pipes for the stove connection:
plumbing in our wood stove

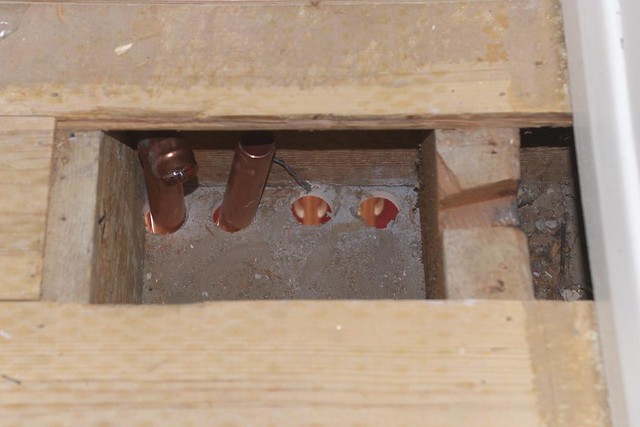
Slots were cut into the joists to take the new pipes:
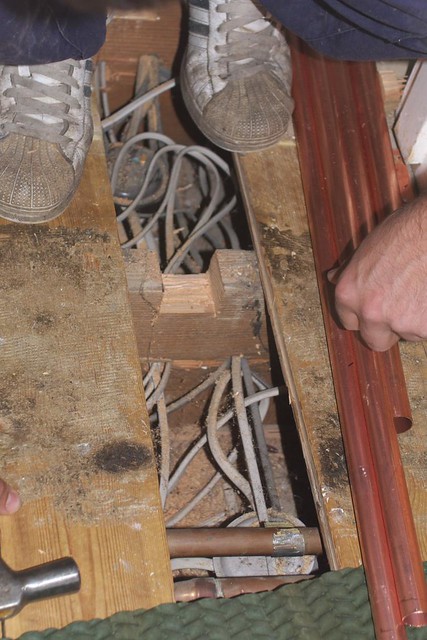
plumbing in our wood stove

A wood stove with a boiler needs a chunk of its hot water output to go via a "gravity circuit", or "thermosyphon". This works by the hot water rising, and cold water sinking, so that it will work without a pump. This is needed in case you load up the stove, then go to bed and the power fails, so that it doesn't overheat. For the gravity circuit to work well, it needs to use 28mm pipe, to get a good flow rate. Our gravity circuit connects to the hot water cylinder and the bathroom radiator. We have a second circuit too, in 24mm pipe, which connects to the rest of the radiators and uses a pump. Here you can see the two pairs of pipes, for the gravity and pumped circuits, running under the bedroom floor:
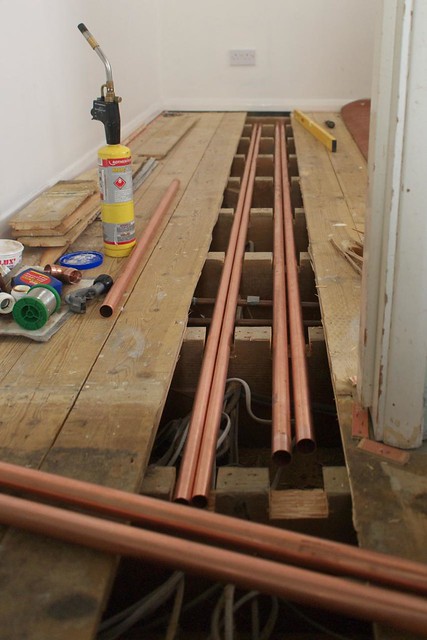
plumbing in our wood stove

To stop them squeaking when the floor boards move, they rest in small felt pads:
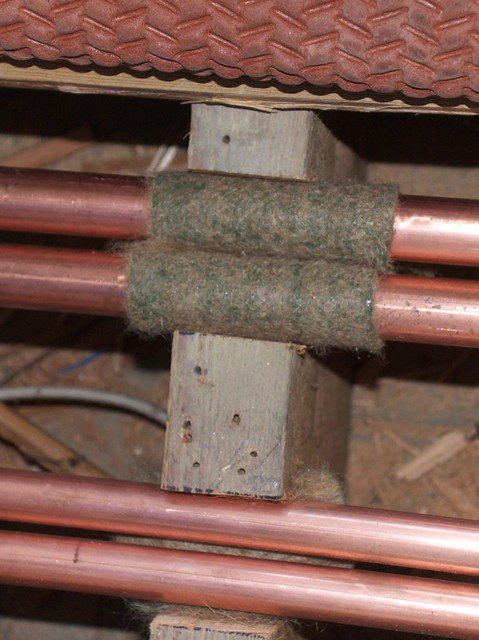
plumbing in our wood stove

While that was going on, pipes were also being put up the side of the chimney:
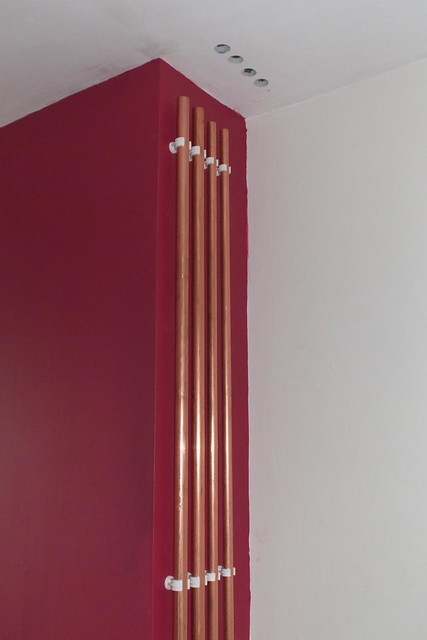
plumbing in our wood stove

Mick put elbows on the top of them:
plumbing in our wood stove

So that they could poke through the ceiling into the bedroom:
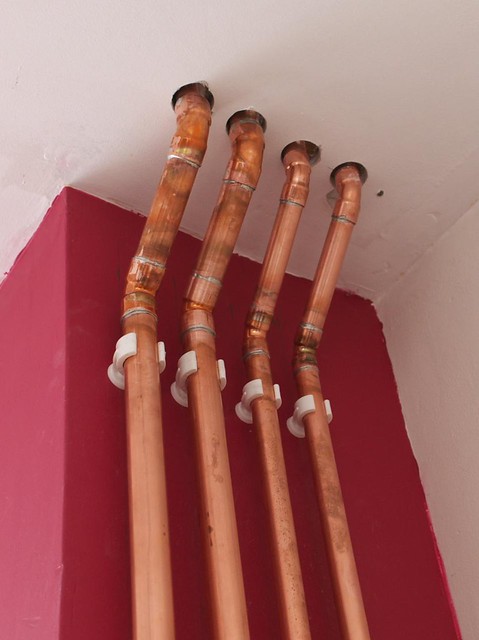
plumbing in our wood stove

plumbing in our wood stove

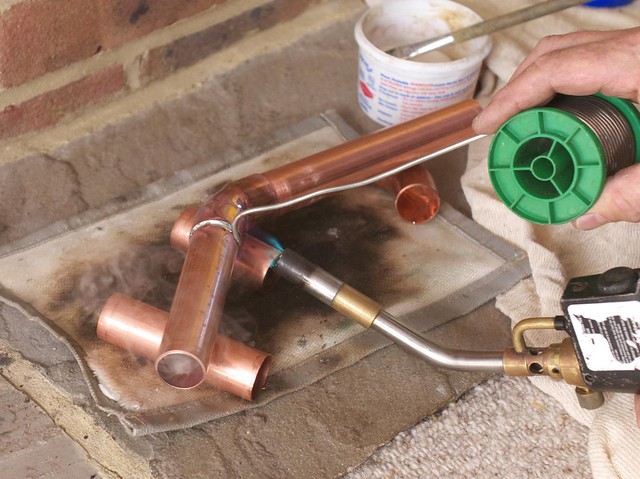
and then be connected up to the pipes already laid under the floor:
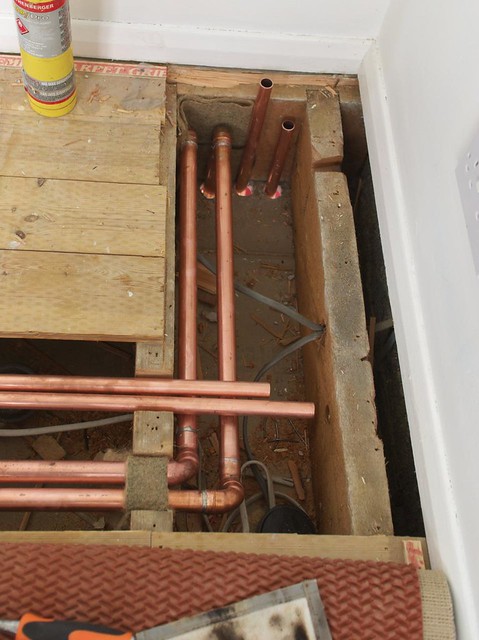
plumbing in our wood stove

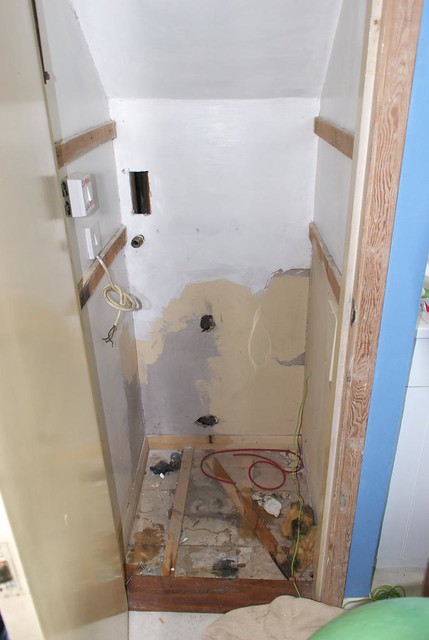
Meanwhile, the gas boiler was ripped out, gaining us a cupboard in the kitchen:
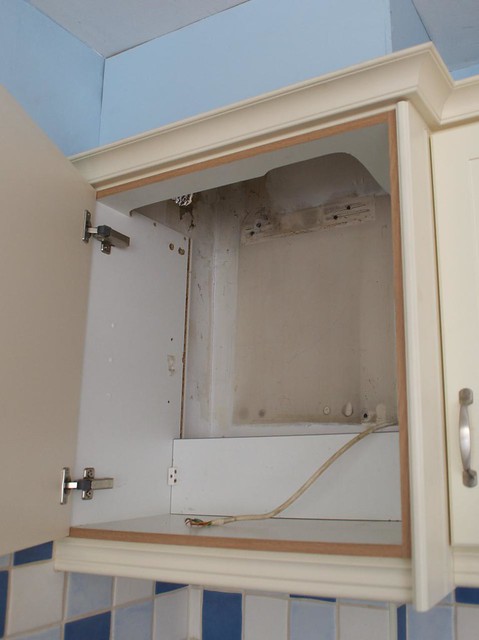
gas boiler removed!

The old hot water cylinder also came out:
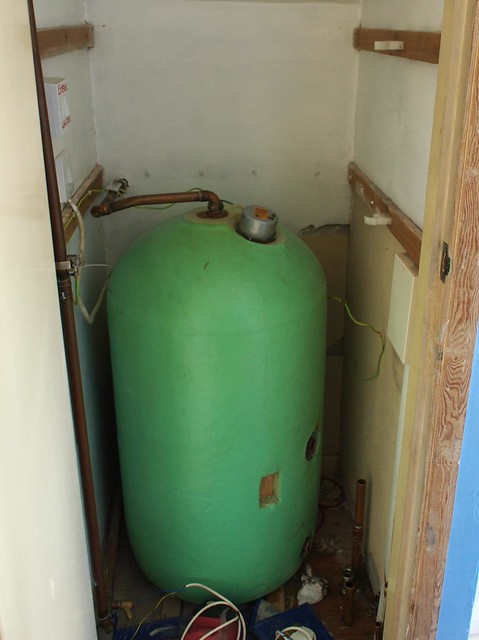
plumbing in our wood stove


plumbing in our wood stove

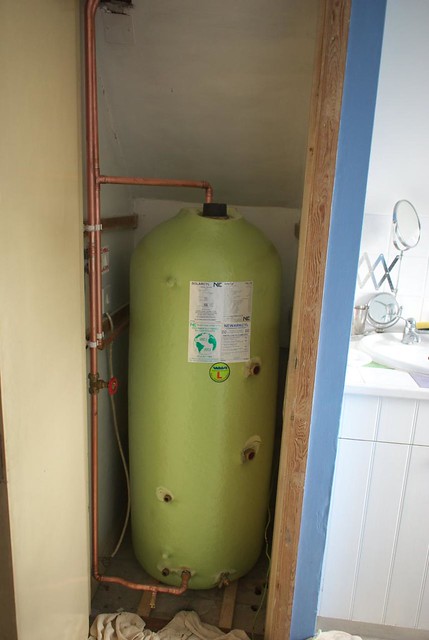
and the new one went in:
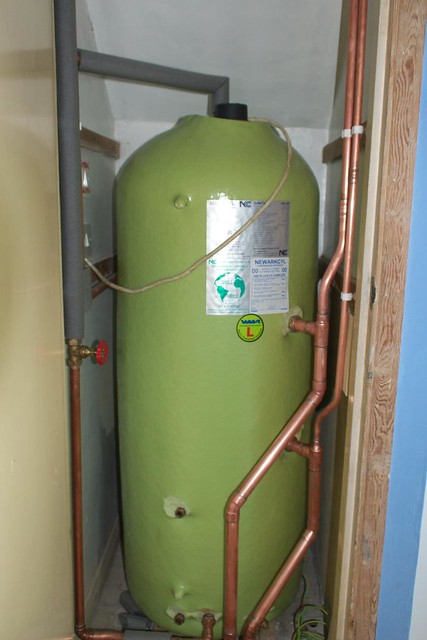
twin coil solar hot water cylinder

The new cylinder was specified by our solar water heating installer (who is coming soon). It has a 28mm coil at the top to match the gravity circuit for the stove, and a 15mm coil at the bottom that will take the input from the solar tubes. Here it is with the gravity circuit connected:
twin coil solar hot water cylinder

Up in the loft, the water tanks were changed. This wasn't essential for the wood stove, but when you look at the state of the old cold water tank, you can see why we did it:
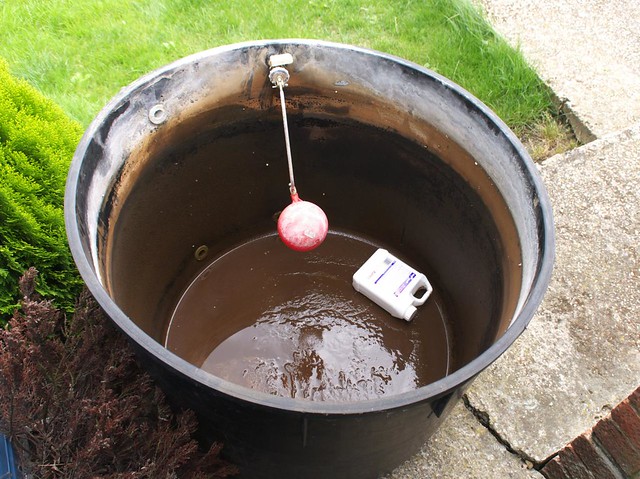
old cold water tank

See if you can spot which are the old pipes in the loft that hadn't come out at this point...
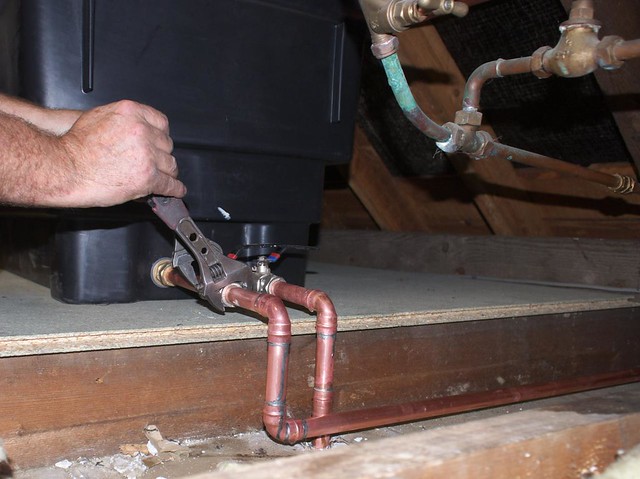
cold water tank

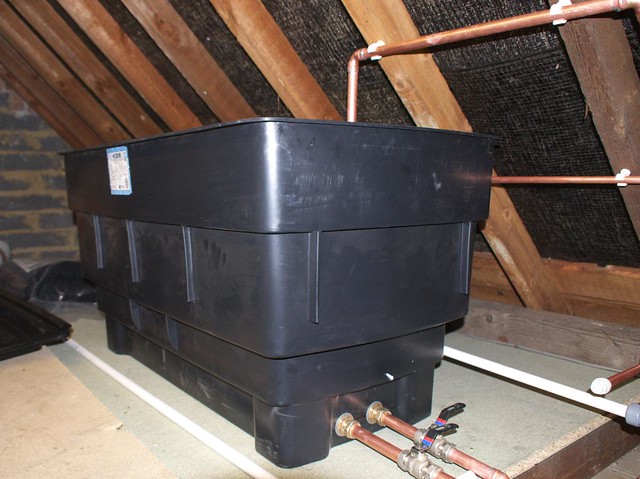
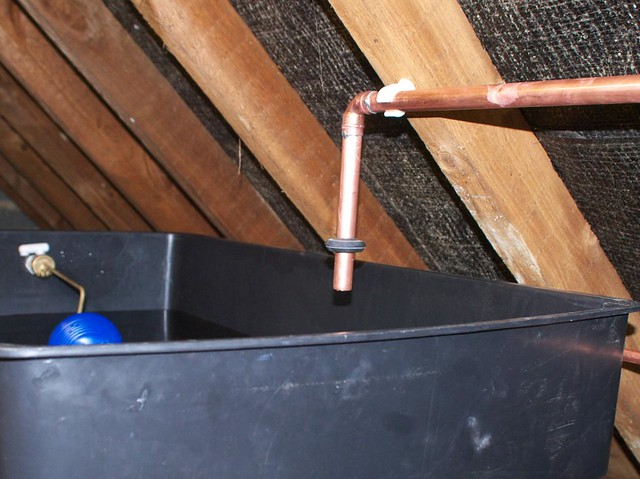
Here's the new tank in:
cold water tank

The pipe running over the top and into it is the vent from the hot water cylinder, in case we have the stove on too much and boil it!
cold water tank

A new feed and expansion tank went in as well - this is for the circuit heated by the stove, and contains anti-corrosion chemicals:
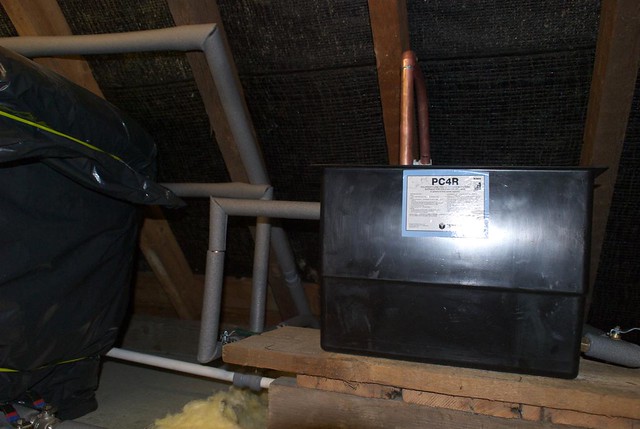
feed and expansion tank

Once the  water tanks in the loft were all finished, a disinfectant was used in the cold water one, and then lids went on them both and they were insulated. This means that the cold water from the bathroom tap will be potable.
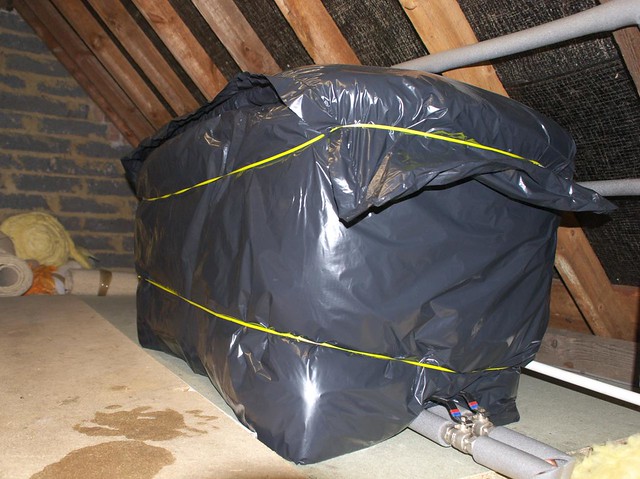
cold water tank

The last plumbing job upstairs was connecting the bathroom "heat leak" radiator. It's called this because it's purpose is to dump heat from the stove in case it is overheating and the power is off. It's connected in parallel with the hot water tank.
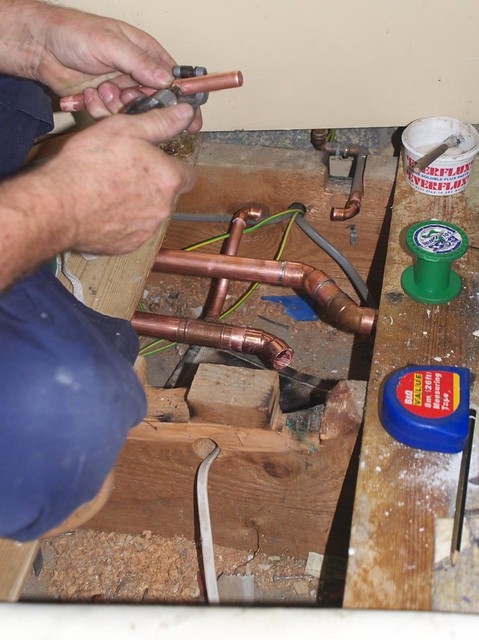
plumbing in our wood stove

Downstairs, pipes were put on the back of the stove before it went into the fireplace, though there was some guesswork involved as we weren't exactly sure where it would sit until it was in. The pipes may look complicated, but this is according to the stove manufacturer's instructions, and it's the fact that the stove has three boilers and two circuits to feed that makes it look like this!
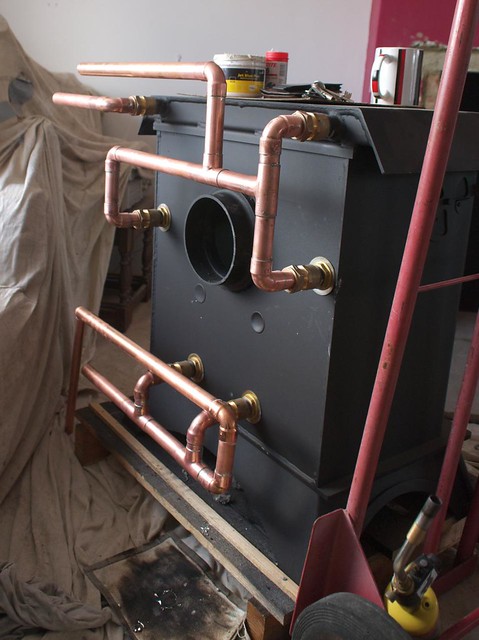
plumbing in our wood stove

Only minor changes were needed once the stove was in:
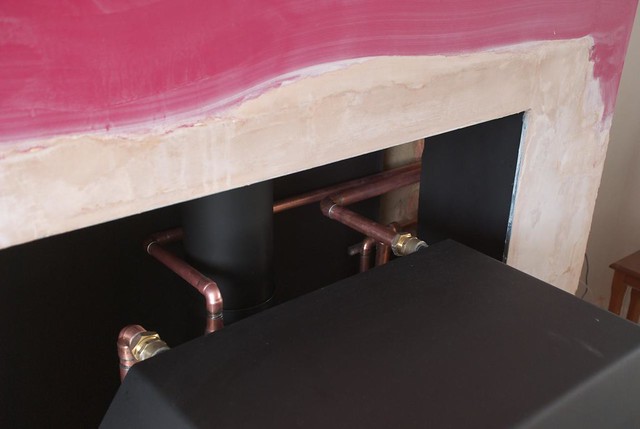
plumbing in our wood stove

and then the pipes appeared through the slot in the side of the fireplace, ready for connection to the rest of the system:
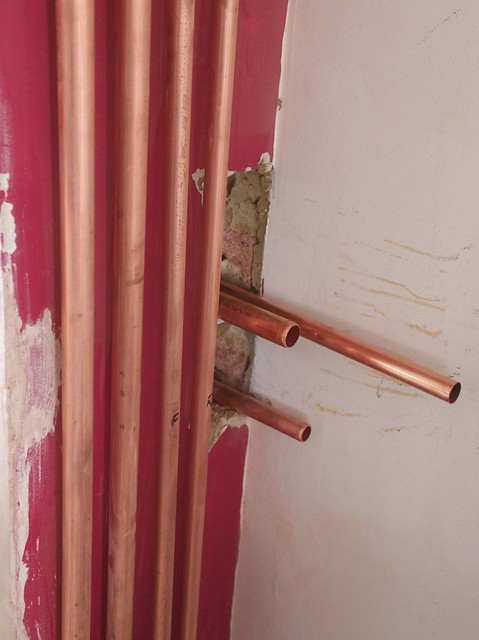
plumbing in our wood stove

These connections were made, with a pump in the return from the radiators. Then the electrical connections were added by our friend Chris, who's an electrician. There are two pipe thermostats, one to turn the pump off if the water's too cool (i.e. the fire's gone out), to avoid forming condensation on the boilers inside the stove, and the other to turn the pump on if the water's too hot (about 85C).
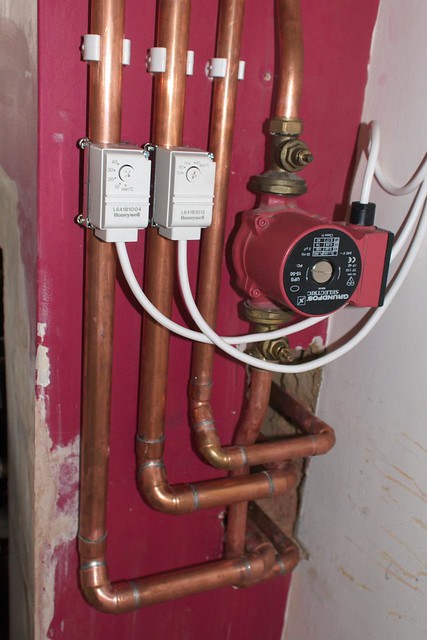
plumbing in our wood stove

We're just using a simple controller for the radiator pump:
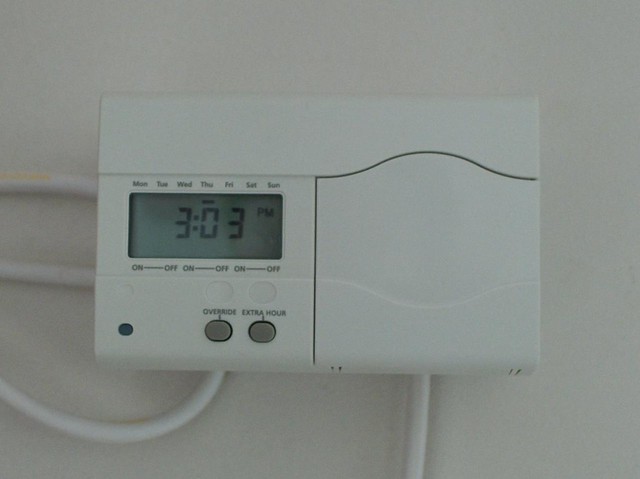
heating controller

With all this in place, it was time to commission the system!
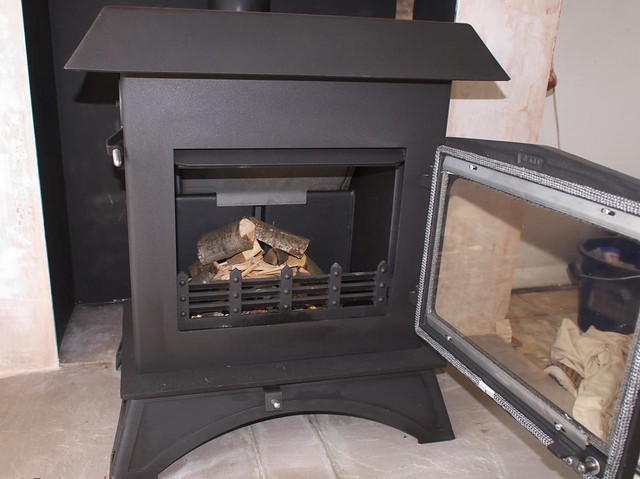
plumbing in our wood stove

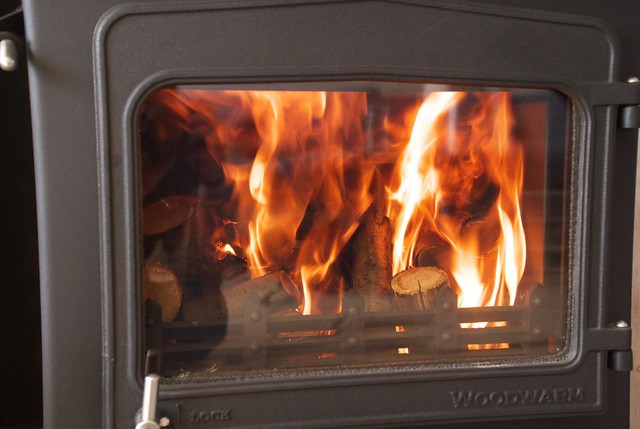
The fire lit beautifully:
plumbing in our wood stove

and within a few minutes, warm water was rising up the gravity circuit and into the hot water cylinder coil. We were also pleased to find that if we left the thermostatic valves open on the upstairs radiators, some heat transferred to them even without the pump on. Not the full amount you'd get with the pump, but not bad for free! Mick has told us this might happen, he just couldn't be sure as the pipes to the radiators were just left as they were when we started.

Anyway, we're very pleased to be heating the house with our own wood now, and look forward to getting the solar water heating in a few days. Better get off to the wood to cut some trees down, we're going to need the logs for the winter after next...

Mike

Related posts:

Click here to read the rest of this post.