Today was my first weekday off of the summer (I'm working 3 days a week till the end of July), so guess what - we went to the wood!
It was sunny, but windy, so the butterflies in our clearing weren't spending enough time on the ground for me to get any photos. I did get some of this dragonfly though: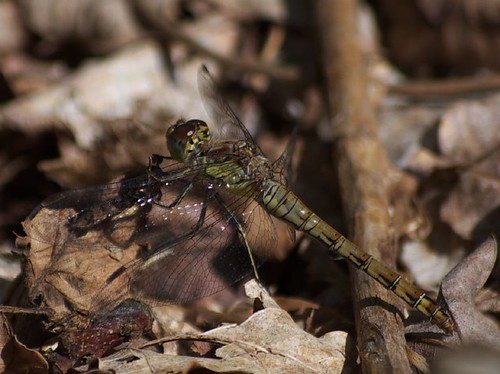
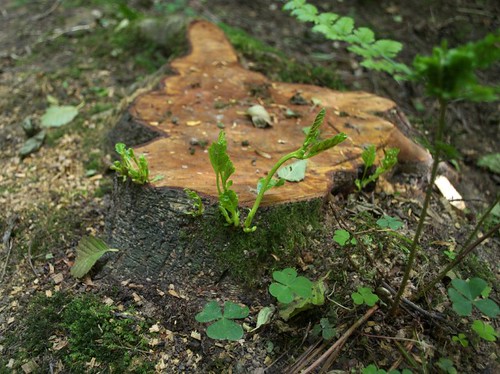
 We also saw that more of the oak stumps are sprouting, and some have avoided destruction by squirrels, rabbits and deer. We're wondering whether we should fence them in for a year or two to give them a chance to regrow.
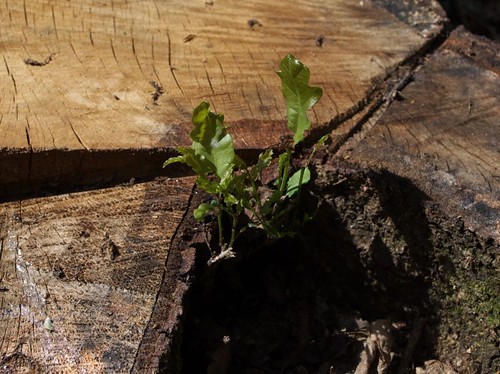 Over in Sweep Wood, the trees my dad so diligently felled in the footpath are trying to grow back:
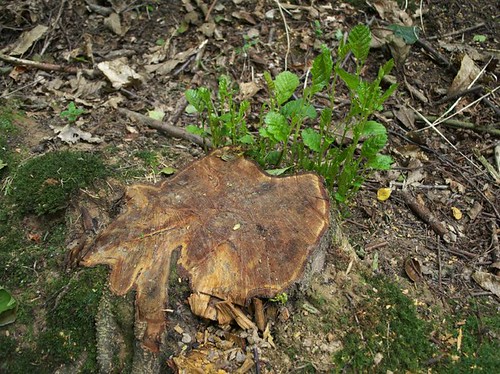
 In this case though, the regrowth will be removed every year, as they're kind of in the way! I know we could kill the trees by poisoning them, but it seems more environmentally friendly to just cut them back repeatedly.
Just outside our entrance the grass seed we put down is still doing OK, despite the dryness of the soil this week: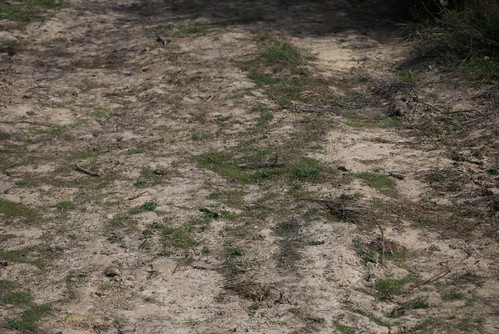 Despite the tractor damage done over the winter, there is still a lot of activity in the wayleave outside our wood. I saw loads of ants, and clearly this is keeping the green woodpeckers interested too, as there droppings are in evidence:
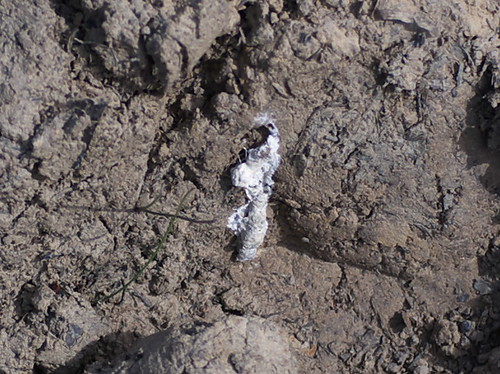 We saw a strange dropping as well, with a small bone in it. Any ideas?
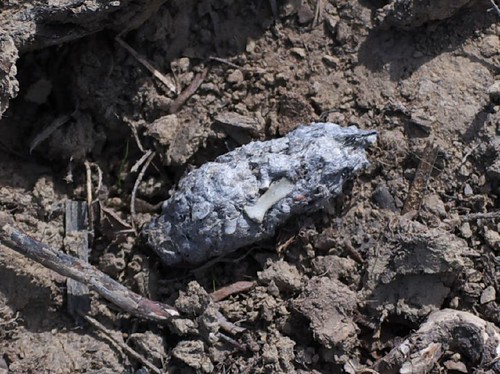 We weren't just taking pictures though - we also surveyed the trees along all the ride edges, as we're thinking of coppicing a strip either side of each ride this winter. This will require cooperation between us, Sweep Wood (easy, as my parents own it), and Grist Wood (who we're friends with). Fortunately, because the the multi-way split of the land that would be coppiced, no felling licenses will be needed - at least that's what the Forestry Commission told me when I called them today.
The advantage of coppicing the ride edges is that it creates "wildlife corridors" where there is more light and biodiversity. At the same time it helps dry out the surface of the rides, so improving access. After this initial cut, it should be possible to keep cutting these areas on something like a 3-year cycle. This will maintain the wildlife corridors and also yield material that could be good for walking sticks amongst other things!
We have a meeting in mid July with the other woodland owners in our patch who are interested in woodland management, and a professional advisor, to discuss plans for the woods, so we'll be checking out our ideas then before going any further.
Mike
Thursday, 26 June 2008
First day off

Romney Marsh wind farm
Just down the road from Rye a wind farm is being built by npower on Romney Marsh. We went down this afternoon to see how it was getting on. There are two turbines up so far, and a third one has the tower up but no turbine on it it yet: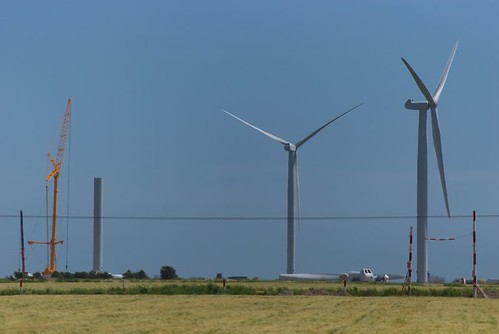 I'm delighted to see this going on. I know some people don't like the look of them, but I personally find them quite elegant. In any case, they're right next to a row of large pylons and near a nuclear power station, so you can hardly argue the view is pristine! ;-)
Mike
Wednesday, 25 June 2008
Photos from Rye Harbour Nature Reserve
We wandered along the side of the River Brede the other evening, and got lots of pictures of the wildlife. Here you go...
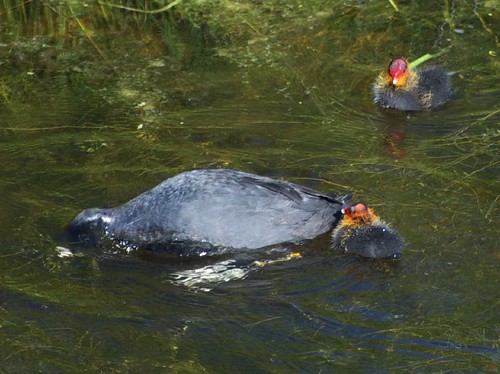
A coot, with its chicks in one of the reed-filled drainage ditches: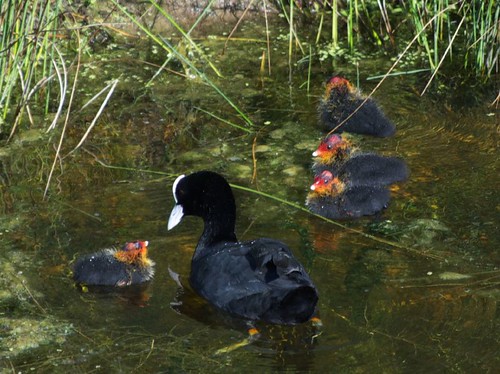

 A black-headed gull taking off
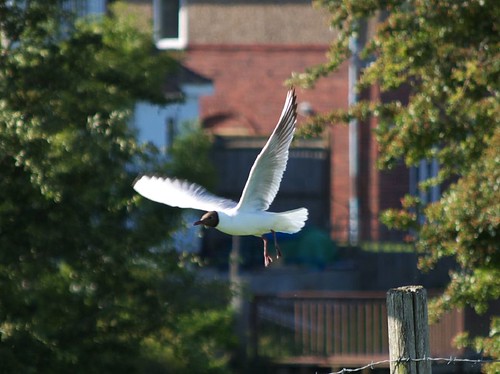 and one chasing another:
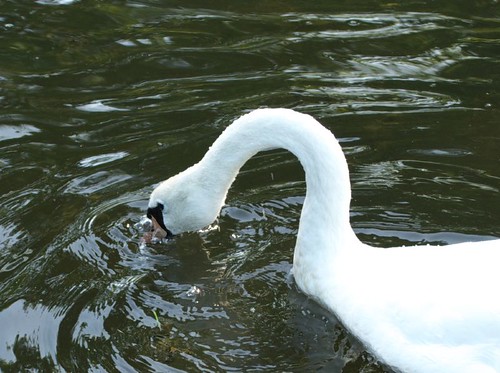
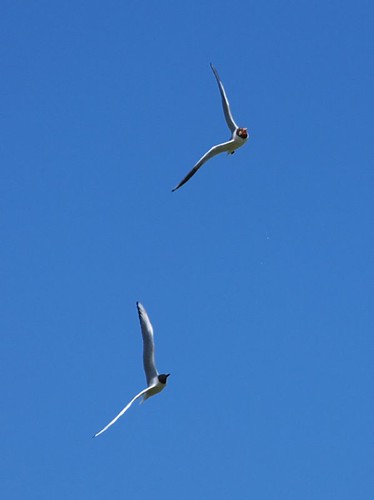 A sawn, searching for food on the bottom of the river:
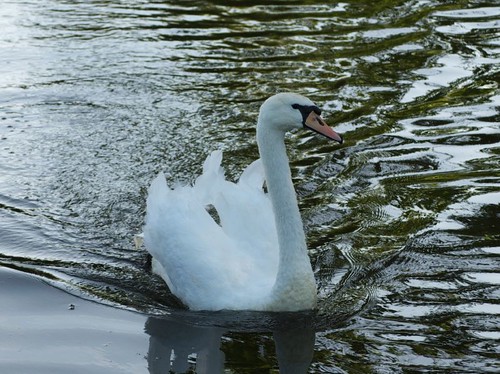


 One of the hundreds of lambs:
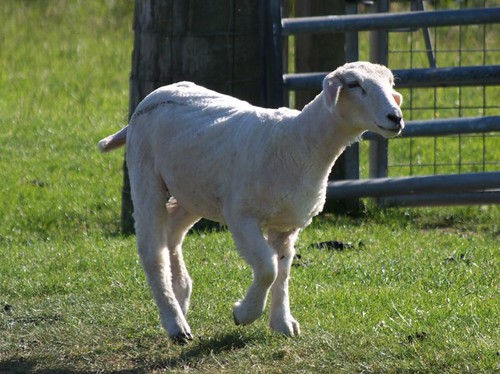 accompanied by numerous rabbits:
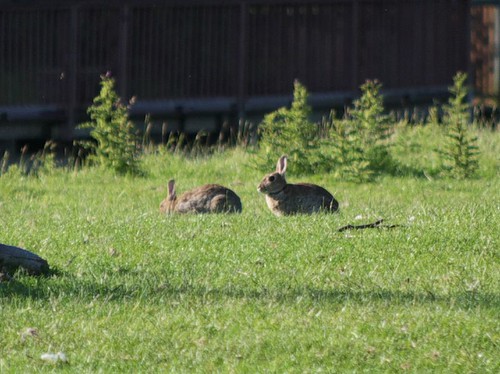 The view back to Rye:
 Mike
Mike
Monday, 23 June 2008
Woodland camping trip
So what would you expect with five men camping in the woods? Fire, beer, BBQ and shooting? You'll not be surprised then...
Our track repairs have stood up to the test, allowing us to drive the car and trailer right up to the clearing: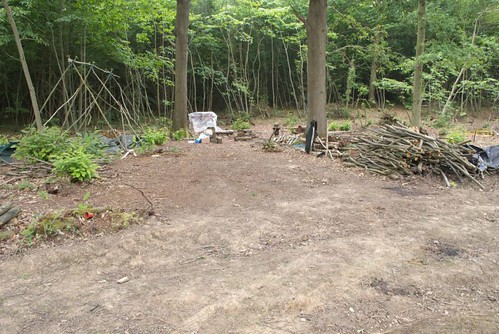 and as if by magic, a tent appeared:
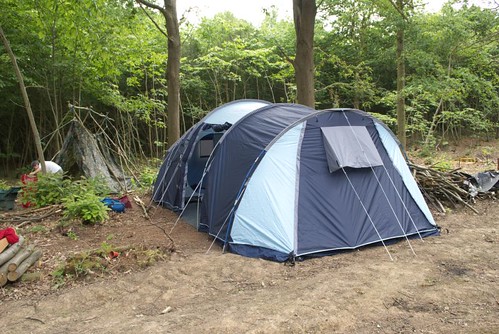 Well, actually, it took nearly an hour, with Tracy giving me a hand, as the lads were stuck in a traffic jam on the A21.... The view from the other end of the clearing gives some perspective - yes, this is a big tent!
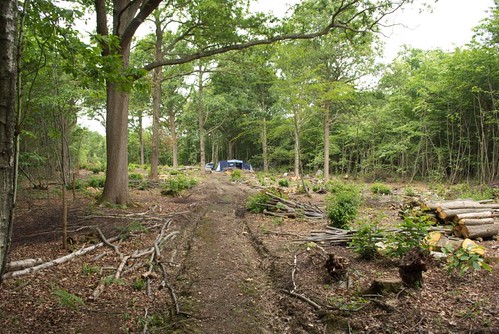 The lads soon arrived, and settled into their new home for the weekend:
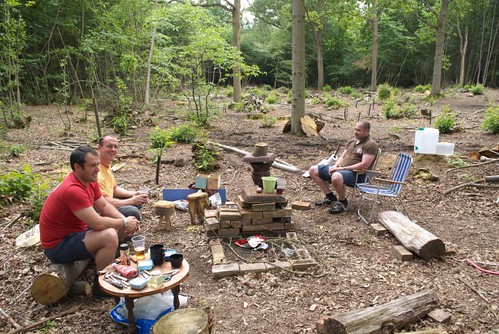 The sun also came out, and Andy looked like he wished he had more hair to keep him in the shade:
 while Phil got busy making what looked like a spear, though he assured us it was a walking stick, and wouldn't be used in defence against wild boar! ;-)
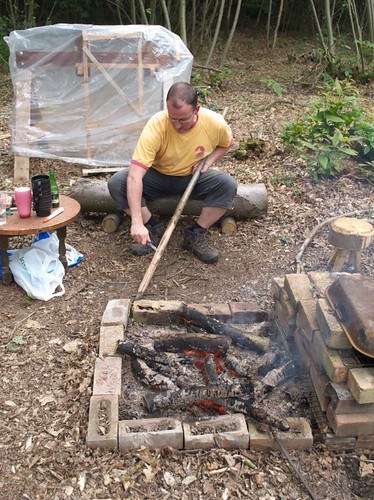 I fired up the BBQ in the usual way with a small wood fire in the base, then loaded up the charcoal made last weekend, which worked beautifully.
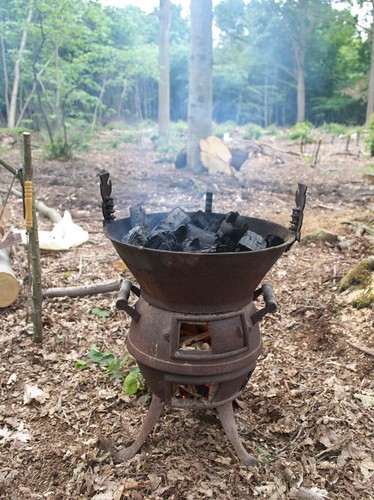 Of course, it wasn't long before the airgun came out for some target practice, shooting cans half way along the clearing:
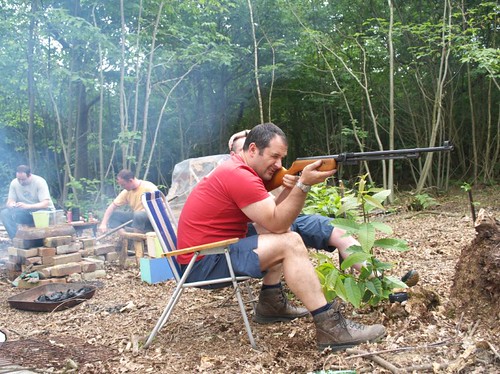
 Andy and Jon were the best shots, although in this case it looks like a dispute over scoring and a shortage of ammo led to a cruder form of combat:
There were some more wholesome activities too, such as log splitting to keep the fire going:
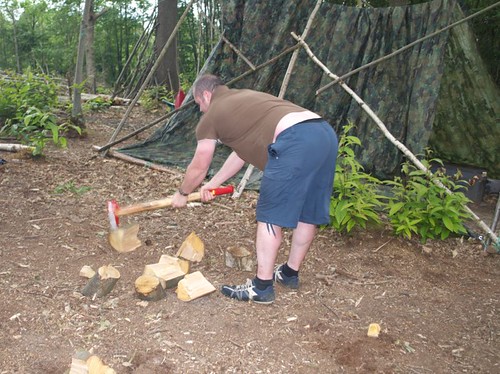
 I also cut up some logs with the chainsaw, ready for collection on Sunday morning by a customer. After this we all needed a rest.
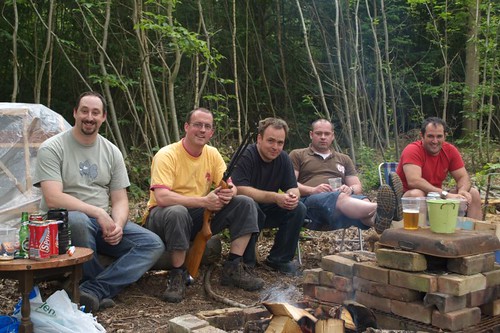 As the sun set, the obligatory fire was built up. Actually, we had three fires - the main one, the camp fire, and the charcoal kiln making another batch, but I always was a bit of a pyromaniac...
The new variation this time was adding some air to the fire through a steel pipe, though we quickly moved on from blowing down it to using one of the airbed pumps. 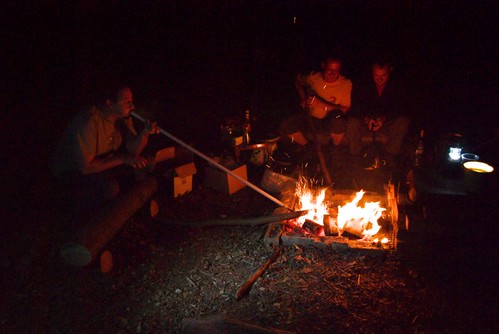 It got hot enough to soften glass, this wine bottle ended up flat by the end opf the evening, though sadly it cracked during cooling.
 To give you an idea of the heat generated though, here's the end of the steel pipe straight out of the fire:
 We also went out for a walk round the wood at about midnight, but made far too much noise to see anything interesting, though we did hear an owl that seemed to be following us - it was probably annoyed we were chasing off all its prey!
 Rich got a nice artistic photo of an oak in the dark though, it's inspired me to go up and try some night-time photography soon:
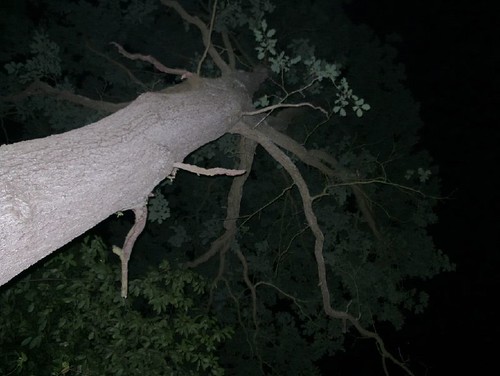 Well, that's pretty much it - we basically had a BBQ, some beers and a good laugh. Looking forward to doing it again some time.
I'm onto my summer work schedule now: 3 days a week, with August mostly off, so we should be up at the wood a lot more, and hopefully putting some interesting posts up on the blog...
Bye for now, Mike
A busy week...
Well, the week just past was the pinnacle of the year for my work with the Ashden Awards, so now I can relax a bit! To see what it was all about, check out the pictures of our Awards ceremony and our winners here:
http://www.ashdenawards.org/photos
We're also running a blog with news from our winners:
http://ashdenawards.blogspot.com/
I had four of the lads visit over Saturday night, camping in the woods. I'll update the blog with the pictures this evening....
Mike
Sunday, 15 June 2008
Charcoal results, and selling logs
Well, it worked! Here's the proof: When we had a look in the kiln most of the wood around the edge had burned up:
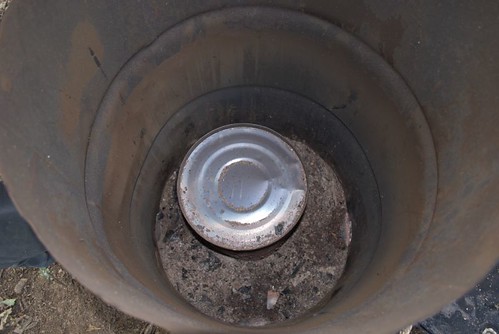 I carefully tipped the drum over and slid out the smaller one with the charcoal in it:
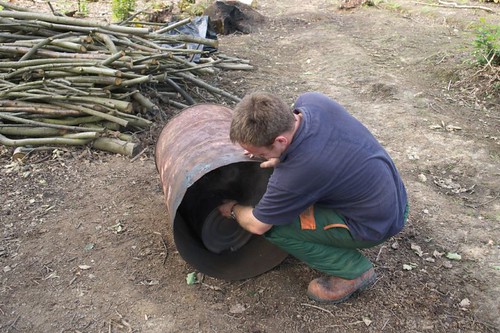
 Certainly made enough for a BBQ next weekend, and it'll be nice to cook on fuel made from our own sustainably grown wood, with zero transport distance, rather than imported charcoal made from a faraway rainforest...
The big job today though was meeting our latest customer. They turned up with a tractor and trailer, and took two 3-tonne loads away: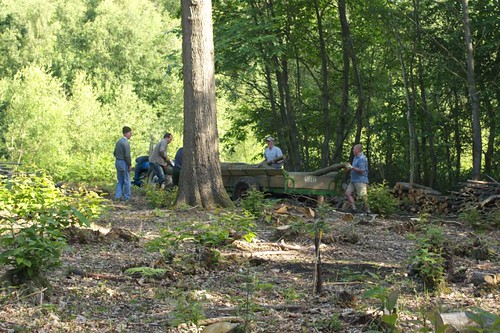

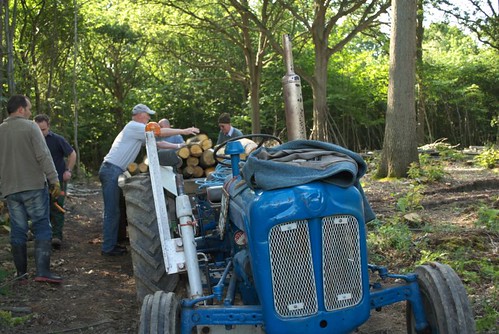 It'll be used to heat a nearby pub and a couple of homes in the coming winter. There's one more load to go some time in the next week or so.
Back to growing things.... grass has started to sprout in the rides inside the wood!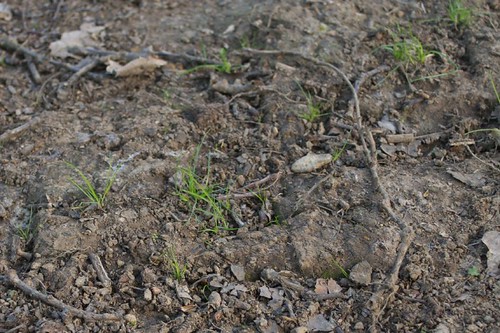 and the pond is almost luminous, it's so green:
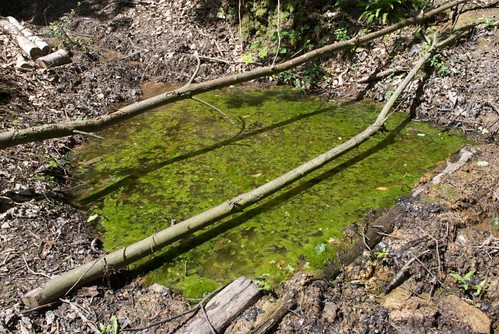 lots of bubbles again, trapped by the film on the surface of the pond:
 The film is thick enough for insects to walk on, and loads of flies have moved in. That's good, they can be food for dragonflies and other things.
 There's also a plant growing under the water - not sure yet if this is by accident, or if it really is an aquatic plant that got here somehow, perhaps on the foot of a deer or boar?
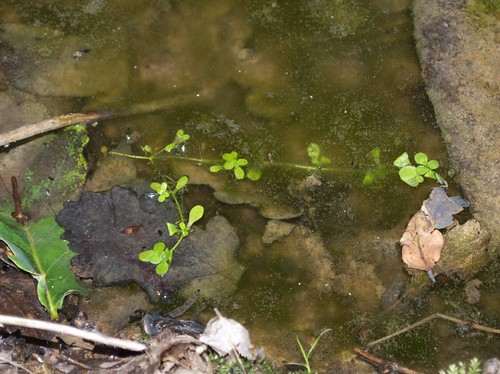 I'm in London a lot this week, so no more posts till Sunday now, when there will be lots of news from camping up there with my mates (hope the weather holds...)
Mike