Back in March 2011, some EWB students built a firewood shelter for us, and very good it is too!
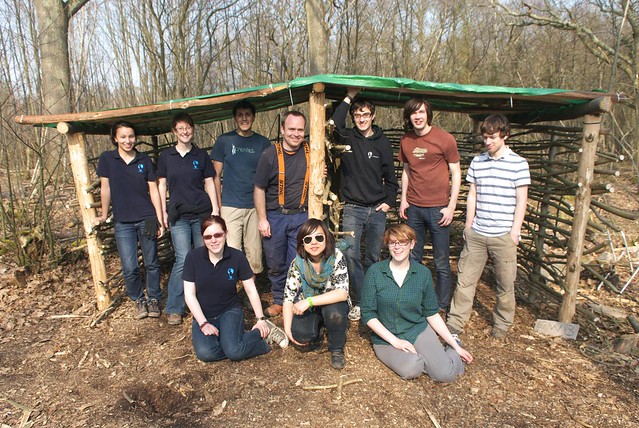
But when it was built, we did take a bit of a short-cut so it could be completed during their camping trip - we spaced the slats on the roof out, alternating them between the two sides, and used a tarpaulin to cover them. While this has worked reasonably well, the plan has always been to rebuild the roof in the style of our firewood shelter at home, and in the past week we finally got round to this...
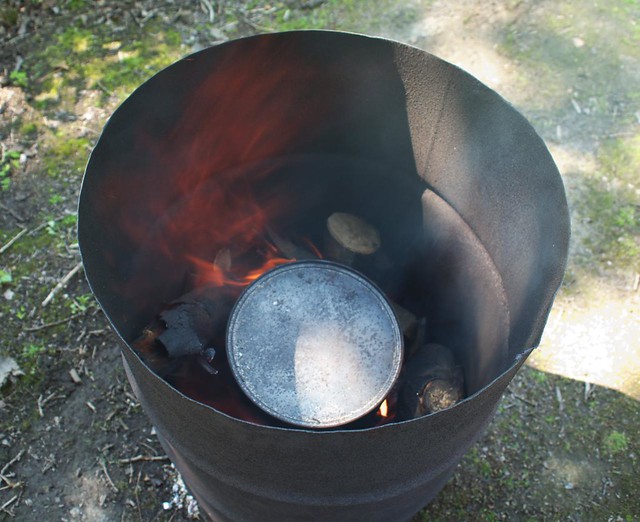
While we were doing it we also set a batch of charcoal cooking in the kiln, ready for some BBQs that are coming up:
The first step for the shelter was to remove the old roof - here it is in 60 seconds! The delay at the end is the last two slats, where we had to get 6" nails out...
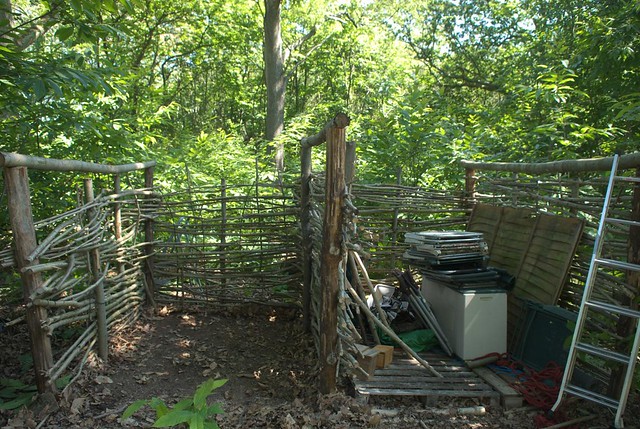
So then it looked like this:
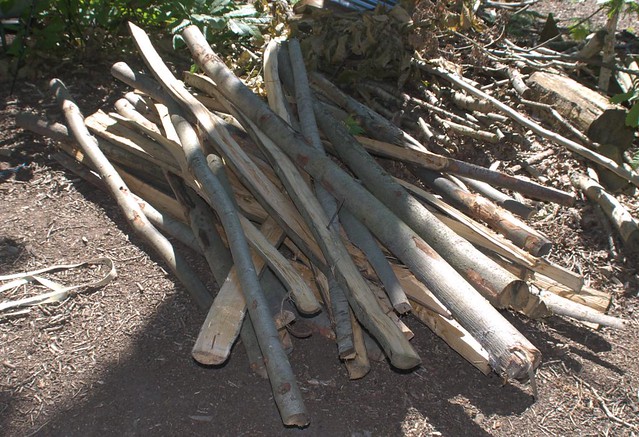
We also had a pile of new slats ready, to add to the ones we'd taken off the roof. They're all cleaved pieces of sweet chestnut:
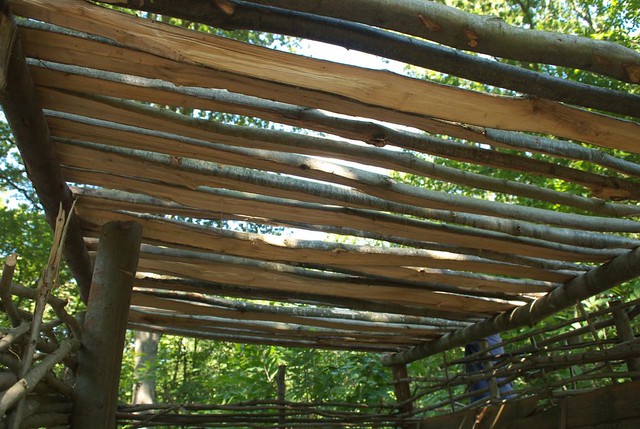
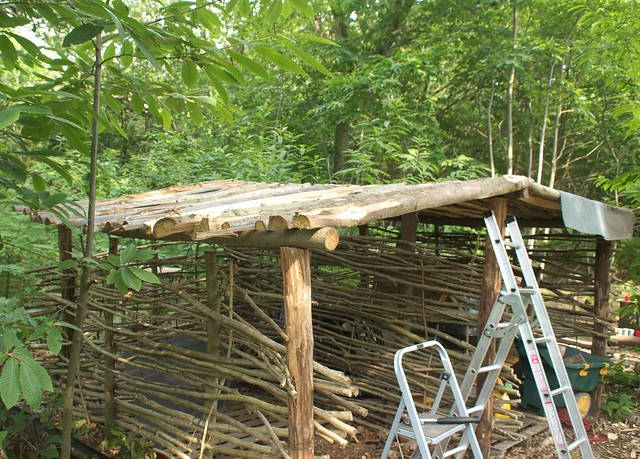
The previous layout of slats had them alternating, but the new one was to have them butting up against each other at the apex, with only small gaps between them on each side. We got one side done first:
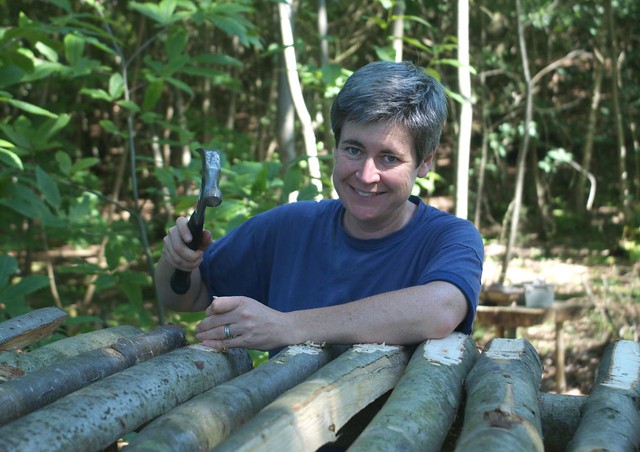
I did most of the drilling, while Tracy did hammering:
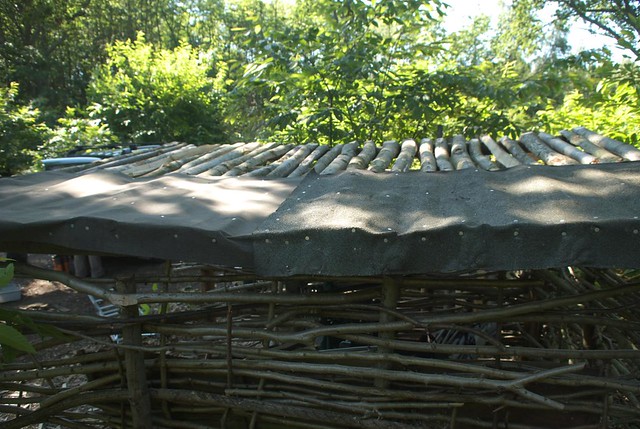
Then we used some surplus roofing felt to start making it waterproof:
The end of each slat was shaped using a side axe, to make sure it fitted nicely onto the roof spars, and was not too thick to drill through - here's a picture from when we built the one at home:
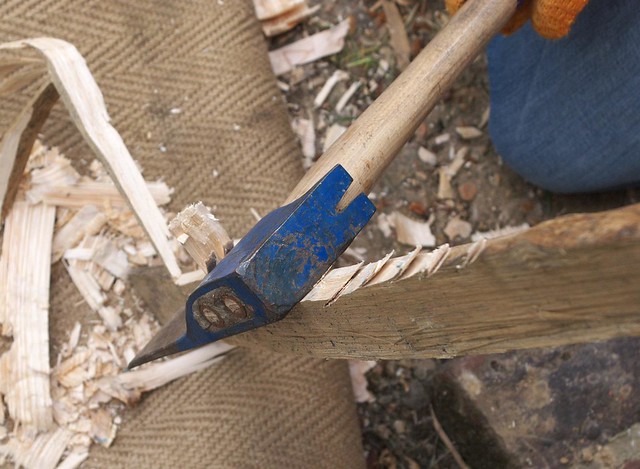
As a result there was a nice pile of wood shavings left, which we'll save to use for kindling this winter:
The next trip up saw the other side of slats completed and another strip of felt on the first side:
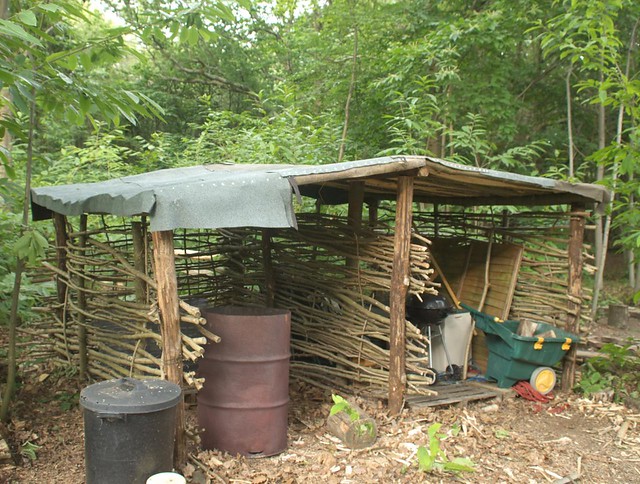
and a third day saw the job done (bar trimming some of the excess felt a bit):
We were assisted throughout by our little mobile solar PV power station, with the addition of a 12V-to-mains inverter to charge the cordless drill:

With the roof on it was then time to sort out the inside, so that one half is ready for firewood:

While the other has assorted odds and ends in it
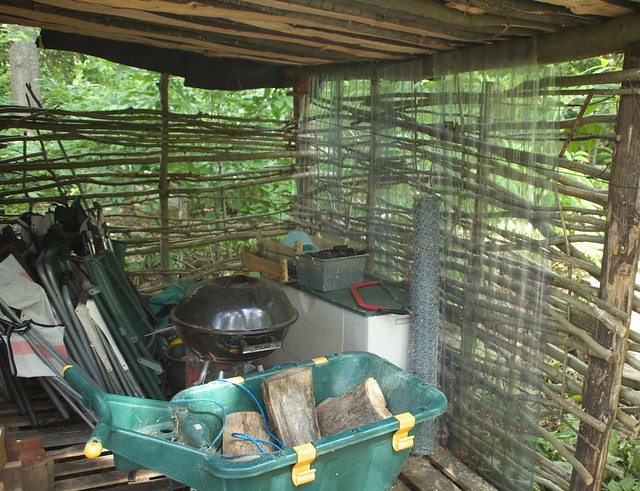
We used some old corrugated plastic to sort that wall out - the others will get more Hazel sticks stuffed into them until there's enough to keep the rain out.
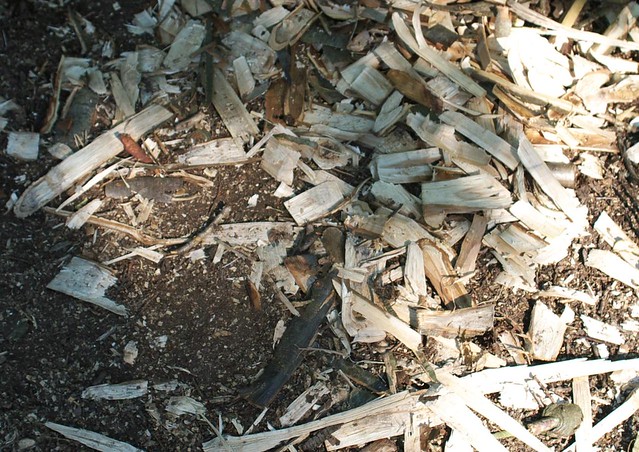
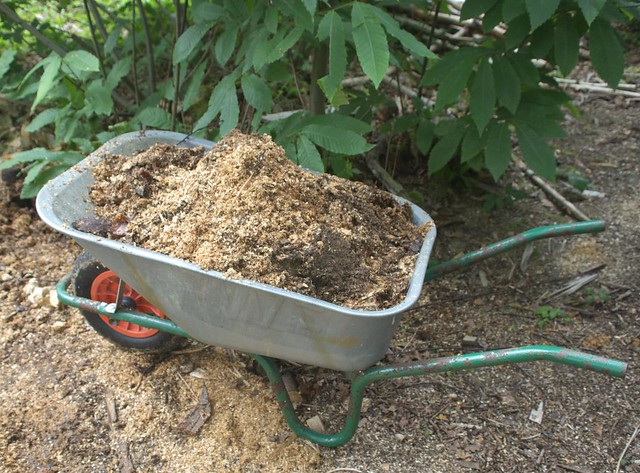
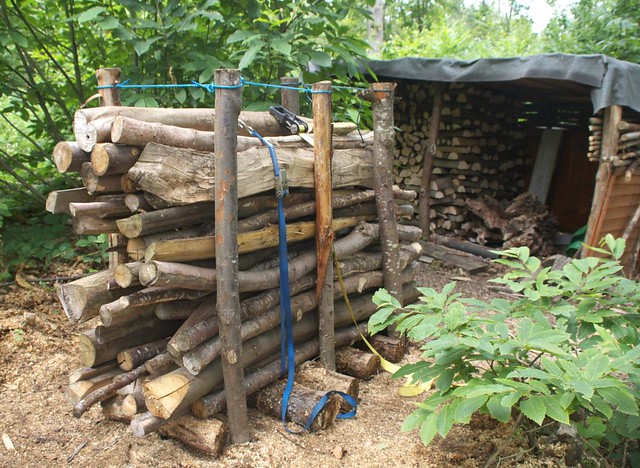
The other little job I was getting on with was rebuilding our firewood cutting rack, which had seen better days after three years of use. Having taken the stakes out I excavated the saw chips that were there, and was surprised at their depth!
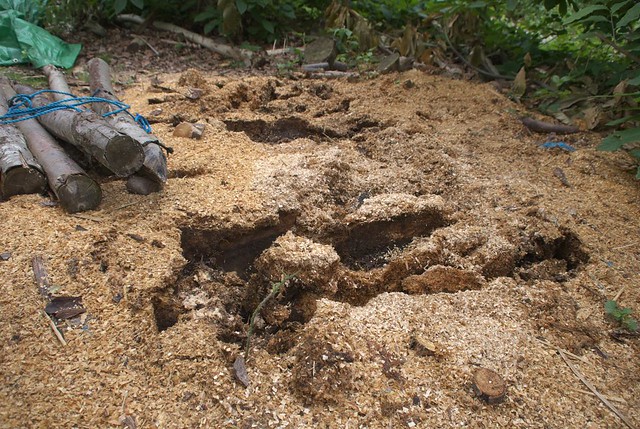
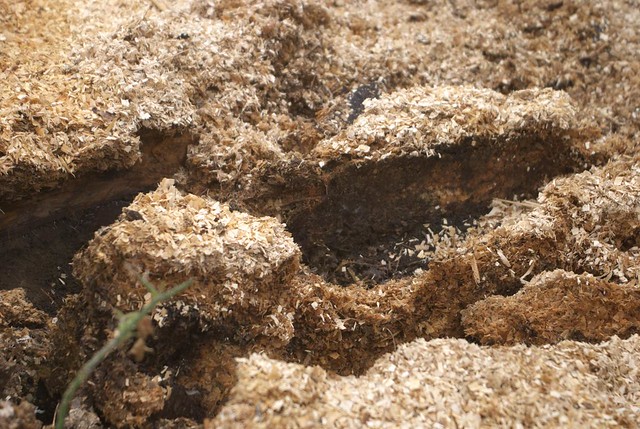
I actually got four wheelbarrows full out of there...
When rebuilding it I took account of the length of the logs we cut up (the yellow log painted on the ground is measured to fit our stove), and oriented the rack so we can get our log trolley close to it for easy loading.
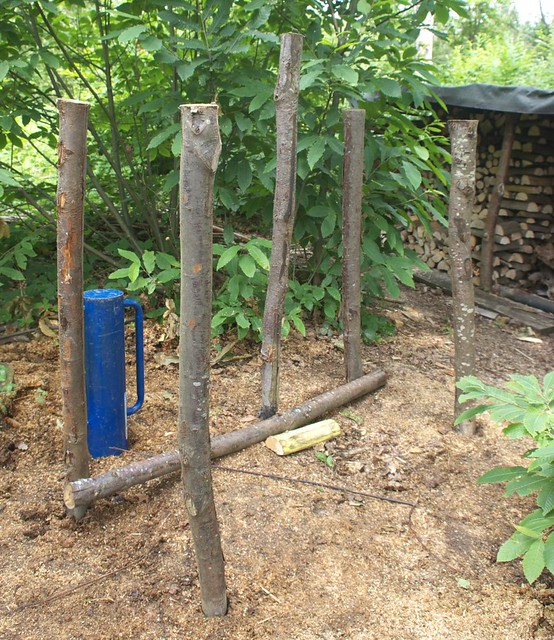
Not long after that it was full and ready to cut up:
If you've not seen this from a chainsaw's point of view before, check out this video I made a few months ago:
Mike

No comments:
Post a Comment