Showing posts with label drying. Show all posts

Wednesday, 30 March 2011

EWB students build us a firewood shelter

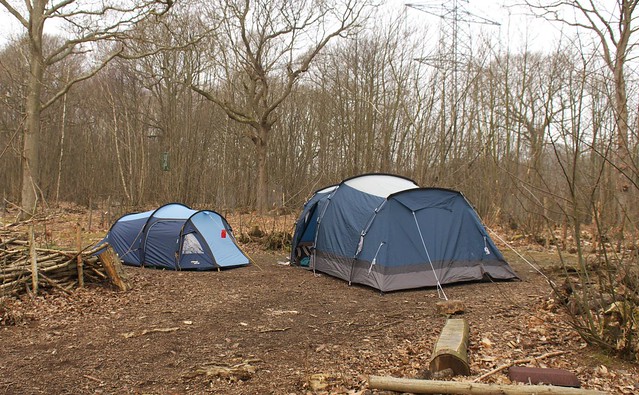
Last weekend we had a group of students from Engineers Without Borders UK (Imperial College branch) come to camp in the wood and also build us an additional firewood drying shelter.

EWB UK 2011 camping trip DSC_7117

DSC_7083

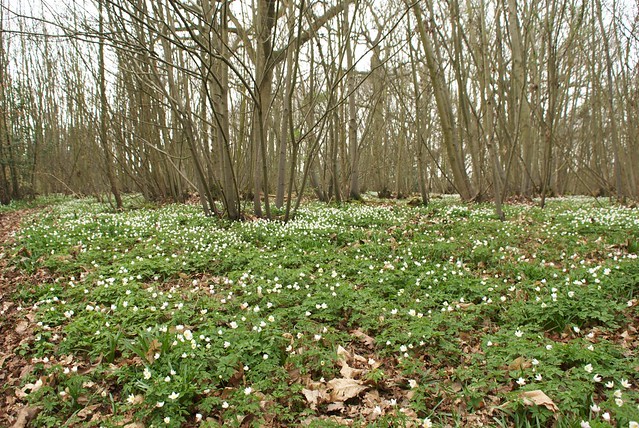
We started off with a walk round the wood to admire the Wood Anemones:
DSC_7084

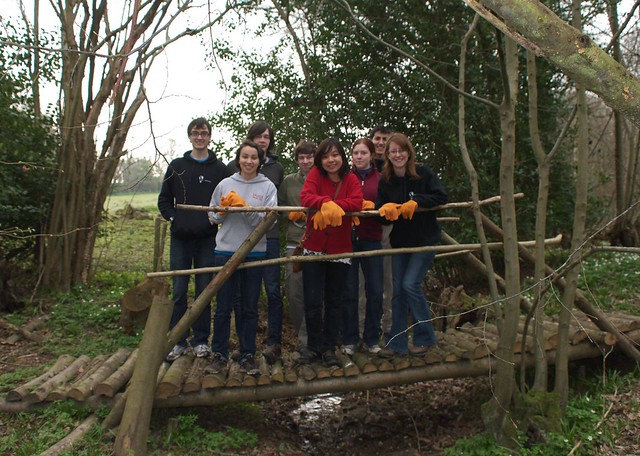
and also the bridge that EWB built last year in Sweep Wood:
DSC_7086

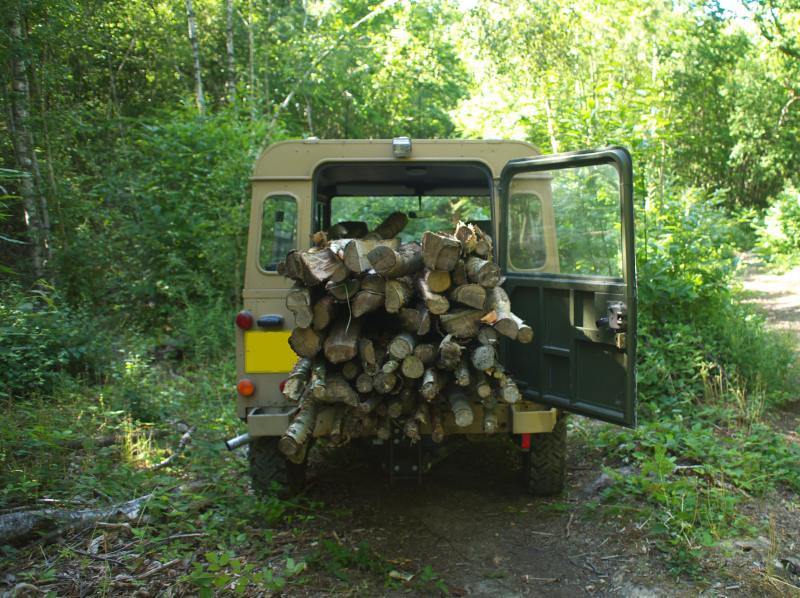
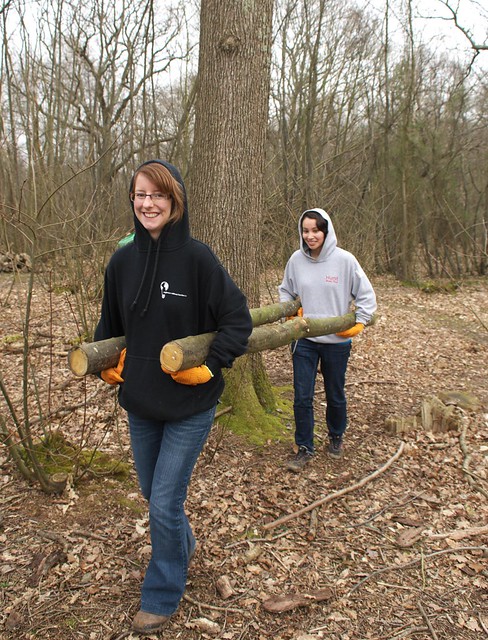
Then the first part of the shelter building started - carrying back some of the Sweet Chestnut stakes we'd made during this winter's coppicing:
DSC_7089

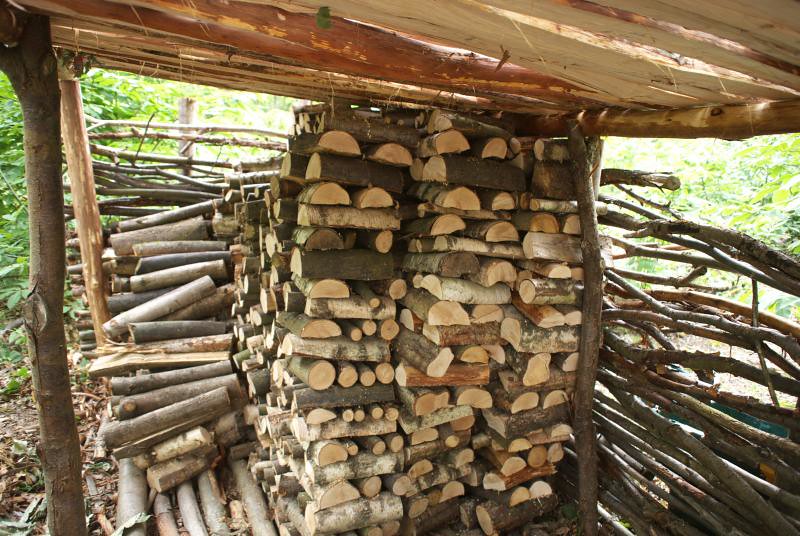
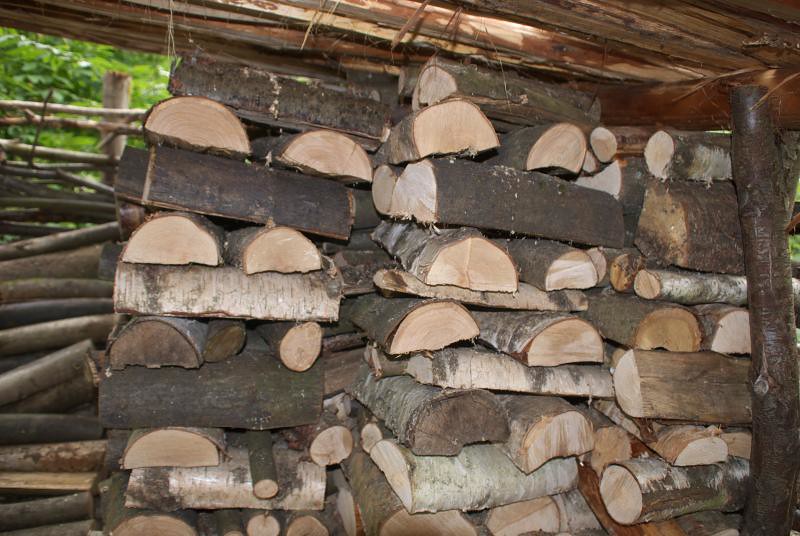
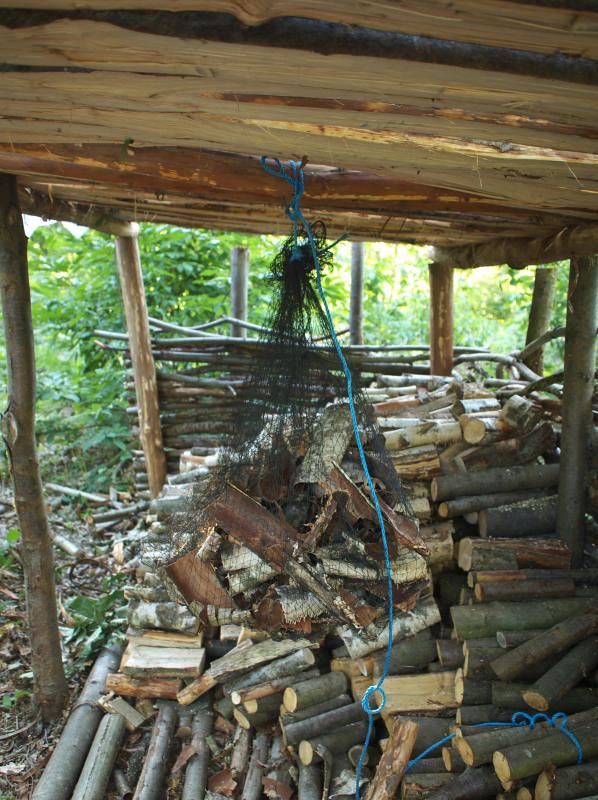
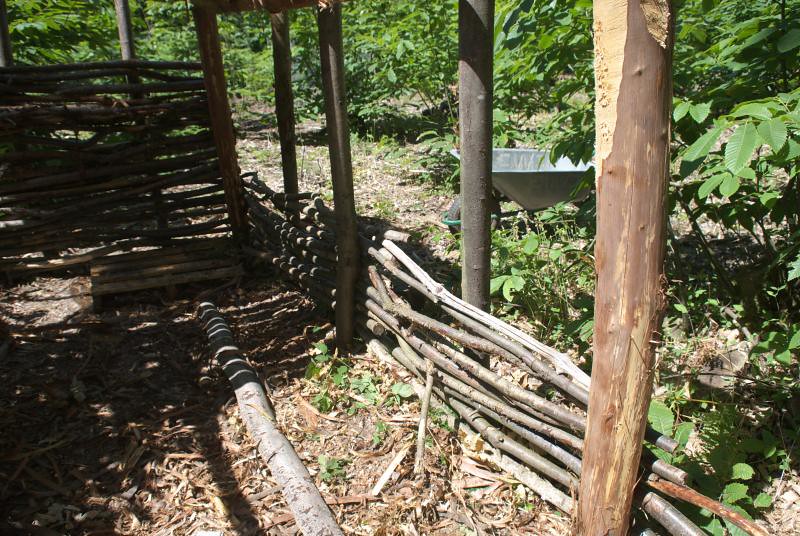
Before starting on the new shelter, we all had a good look at the old one, to see how it could be improved:
DSC_7090

Then an area was measured out so that the tarps we have would cover the roof:
DSC_7096

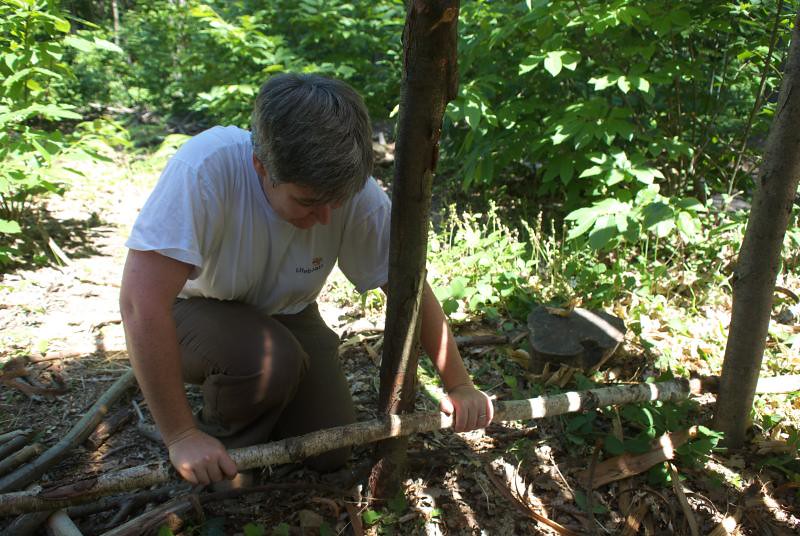
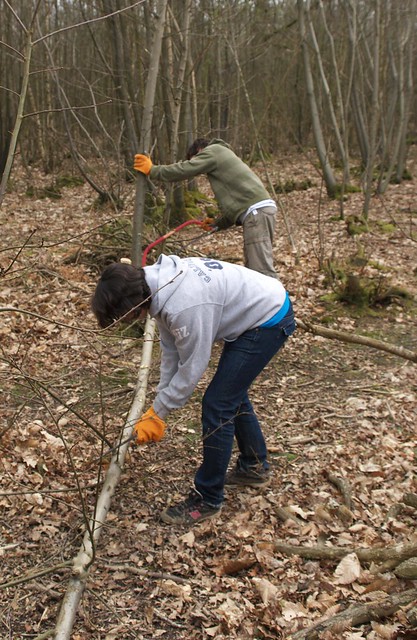
and work started on peeling the stakes, so they'll last longer in the ground:
DSC_7093

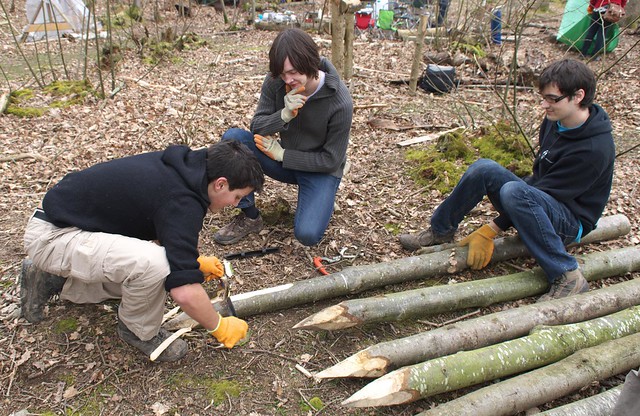
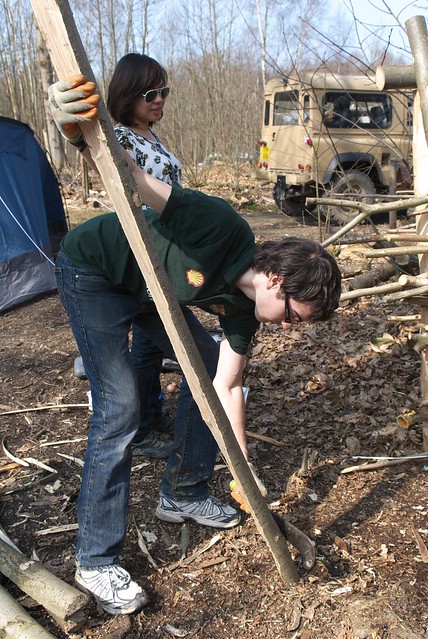
The stakes were put in with the post driver:
EWB UK 2011 camping trip DSC_7105

and then the rest of their length was peeled - this was easier to do once they were in the ground, which is why we'd only done the first bit earlier:
EWB UK 2011 camping trip DSC_7112

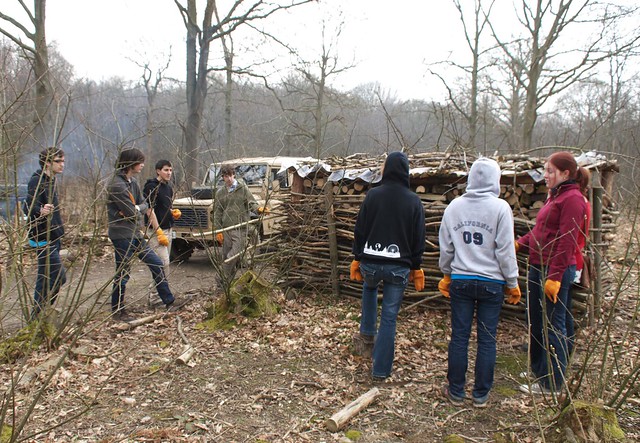
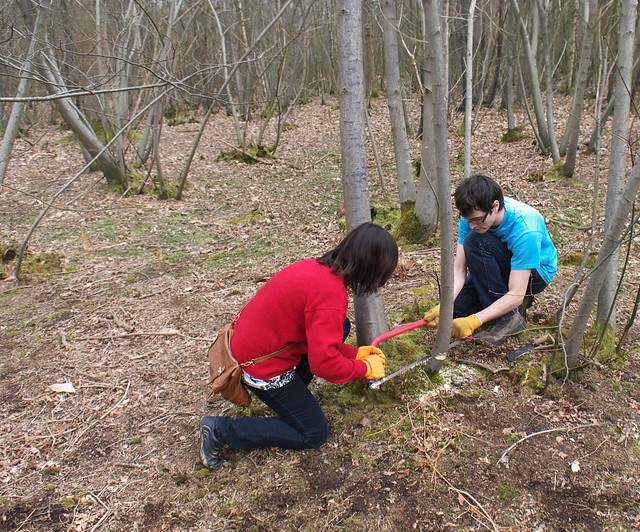
While all this was going on, some of the group was off felling small trees to use for stakes in the walls and also for roof slats:
EWB UK 2011 camping trip DSC_7109

EWB UK 2011 camping trip DSC_7108

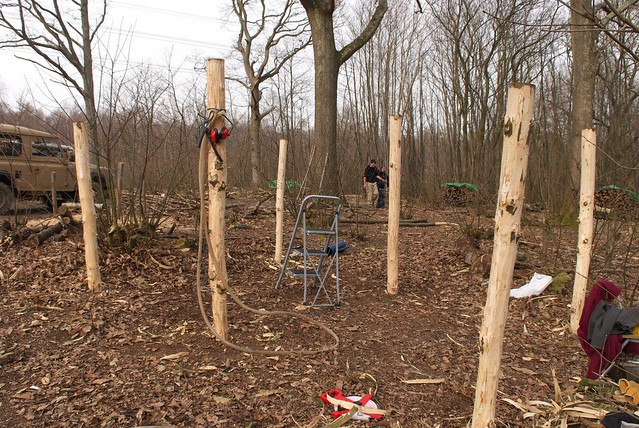
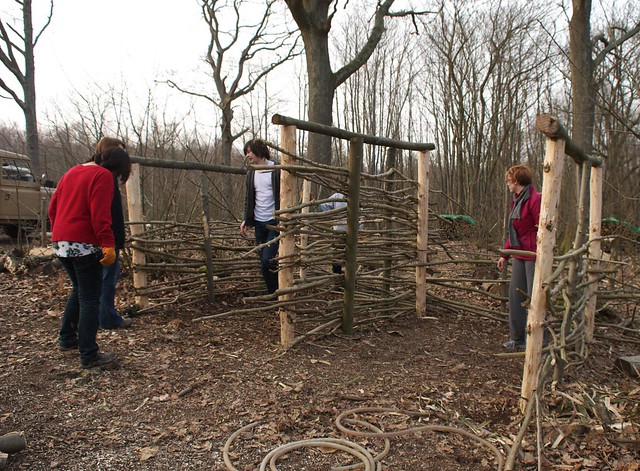
Before long the outline of the shelter was taking shape:
EWB UK 2011 camping trip DSC_7127

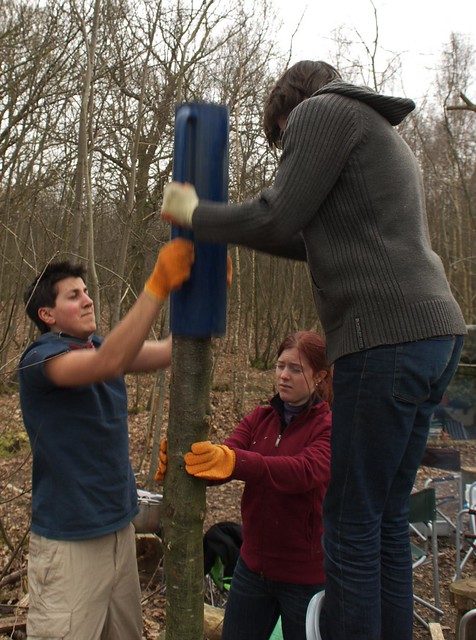
Because the ground was slightly sloped, but we wanted the roof to be level, we used an old plastic pipe with water in it to check the relative height of thet corner stakes:
EWB UK 2011 camping trip DSC_7114

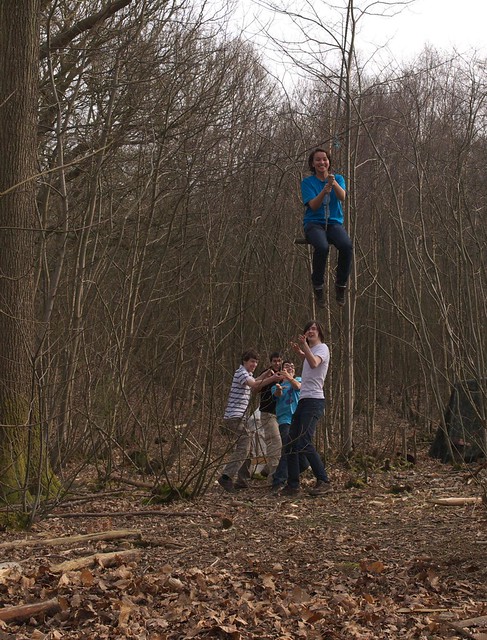
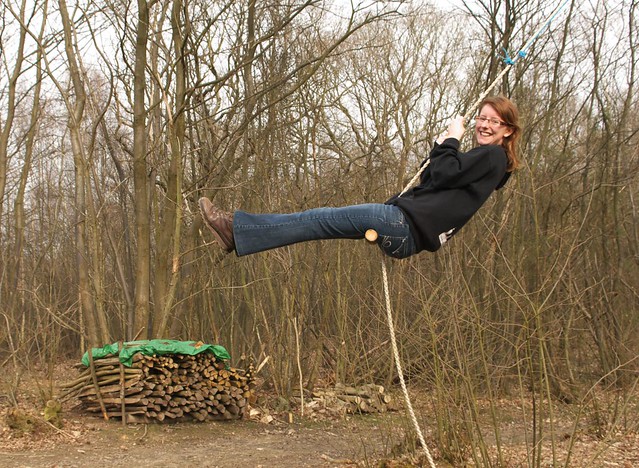
After all that work it was time for a break, and the rope swing was put into use...
EWB UK 2011 camping trip DSC_7119

EWB UK 2011 camping trip DSC_7126

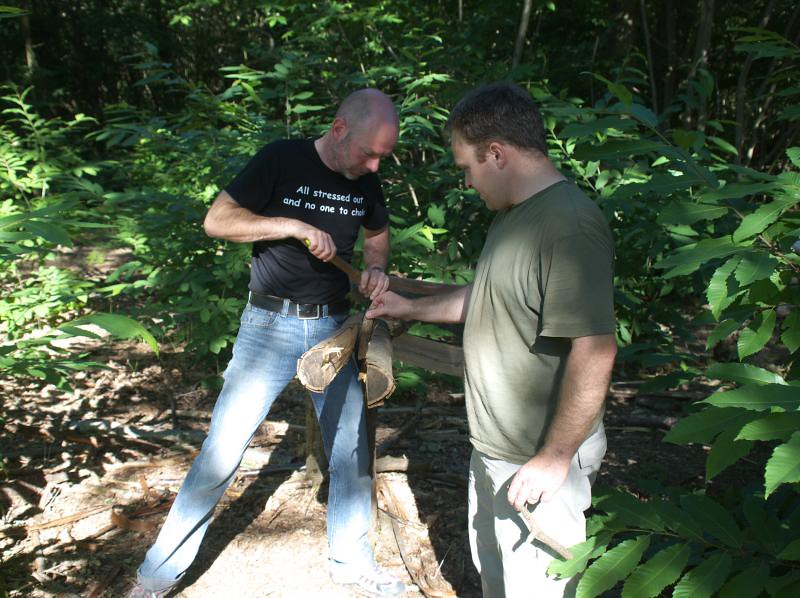
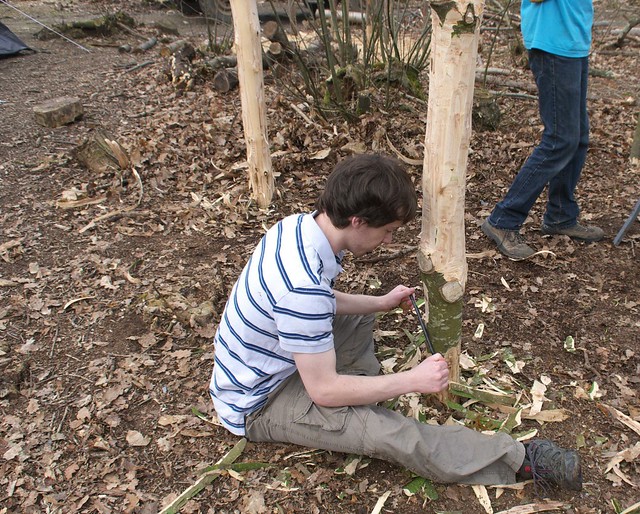
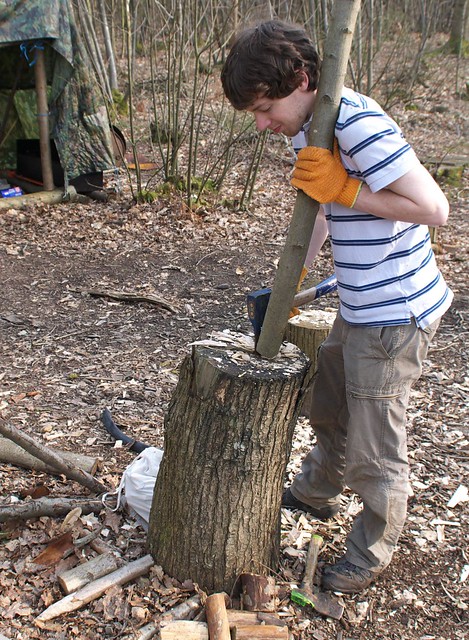
The trees that had been felled earlier were cut to length and sharpened with a side axe:
EWB UK 2011 camping trip DSC_7131

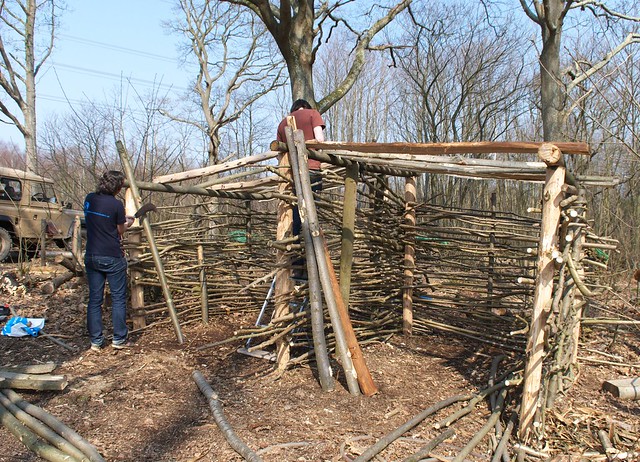
then these were used to create posts that Hazel rods could be woven in between to form the walls:
EWB UK 2011 camping trip DSC_7128

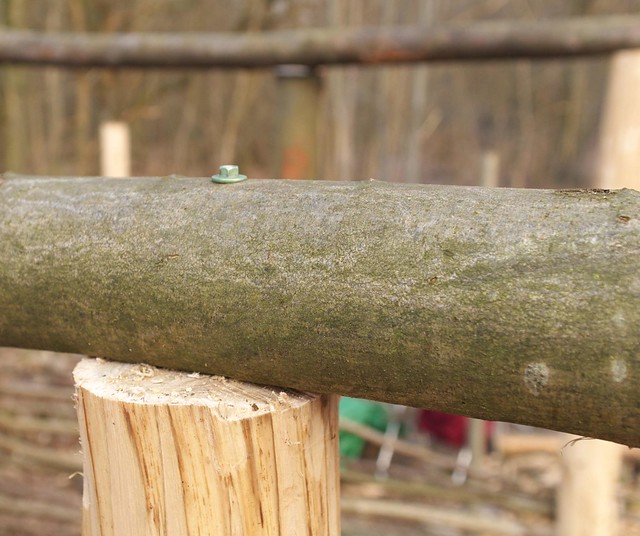
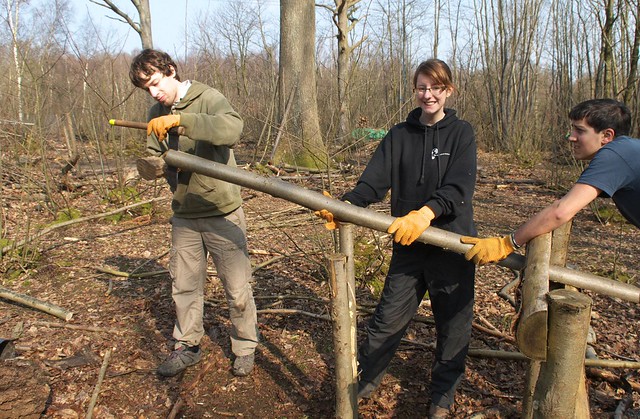
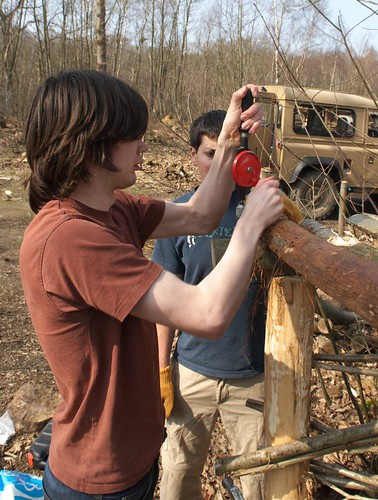
The longer poles to form the ridge and edges of the roof were flattened using a draw knife until they sat neatly on the posts, then they were bolted down:
EWB UK 2011 camping trip DSC_7133

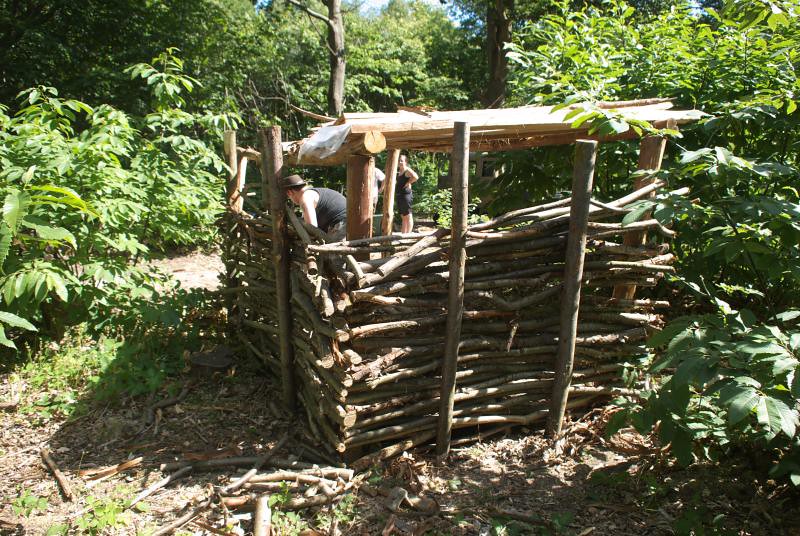
By the end of Saturday the shelter was really taking shape:
EWB UK 2011 camping trip DSC_7135

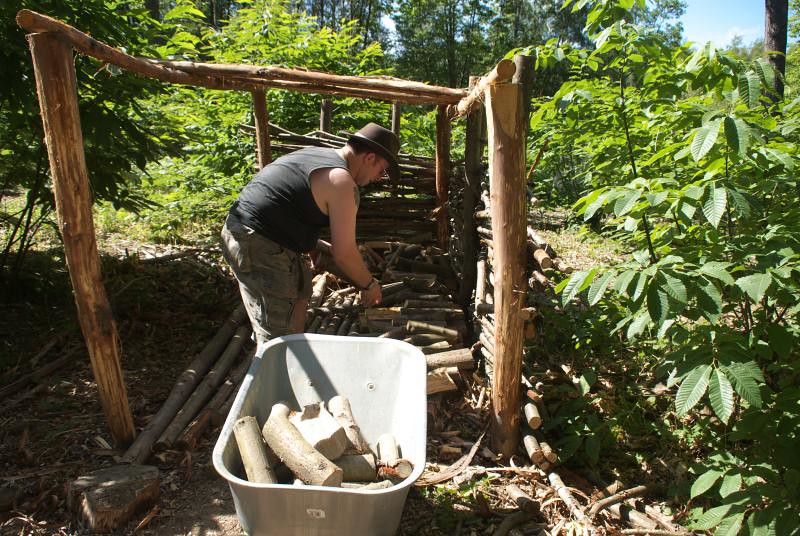
Sunday saw work start on using a froe to cleave the freshly felled chestnut poles to make slats for the roof:
EWB UK 2011 camping trip DSC_7136

EWB UK 2011 camping trip DSC_7139

Each of these then had to be smoothed with a draw knife or billhook to make sure it wouldn't tear the tarp later on:
EWB UK 2011 camping trip DSC_7142

The slats were then put on the roof:
EWB UK 2011 camping trip DSC_7149

with each being nailed in at the top to secure it:
EWB UK 2011 camping trip DSC_7146

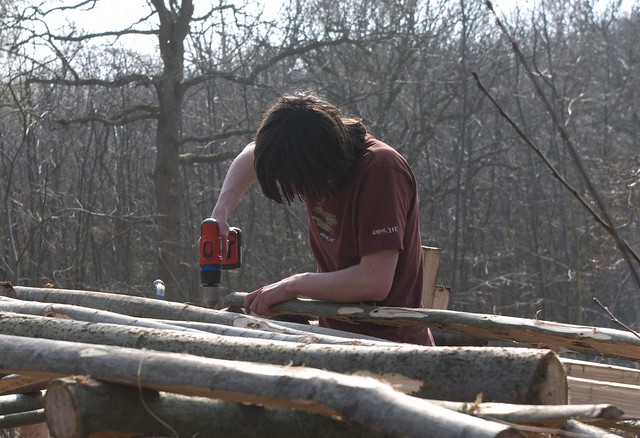
near the end the drill battery ran out, but fortunately I'd come prepared!
EWB UK 2011 camping trip DSC_7150

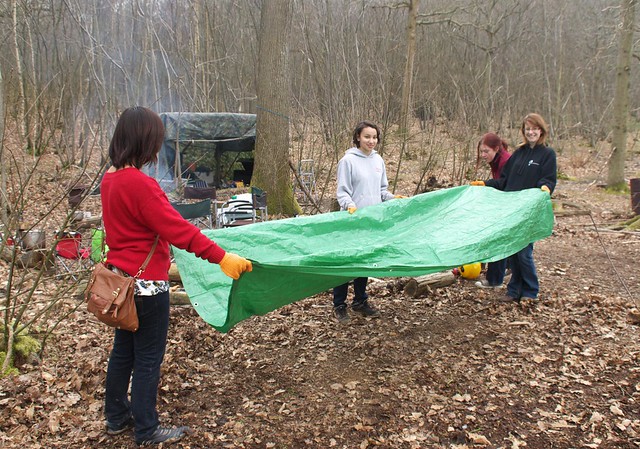
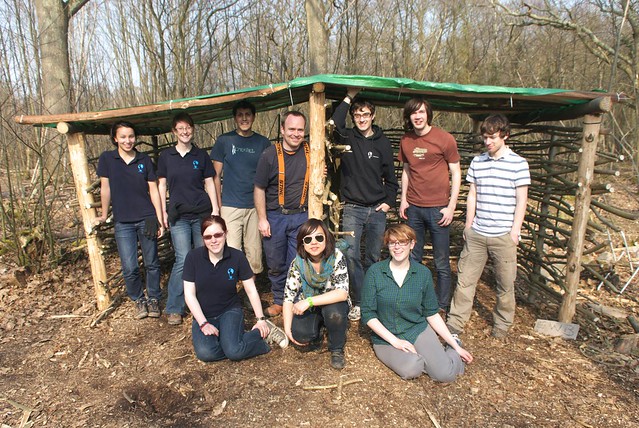
And finally, on went the tarps, fixed down with zip ties and paracord, just in time for a team photo before it was time to pack up camp:
EWB UK 2011 camping trip DSC_7154

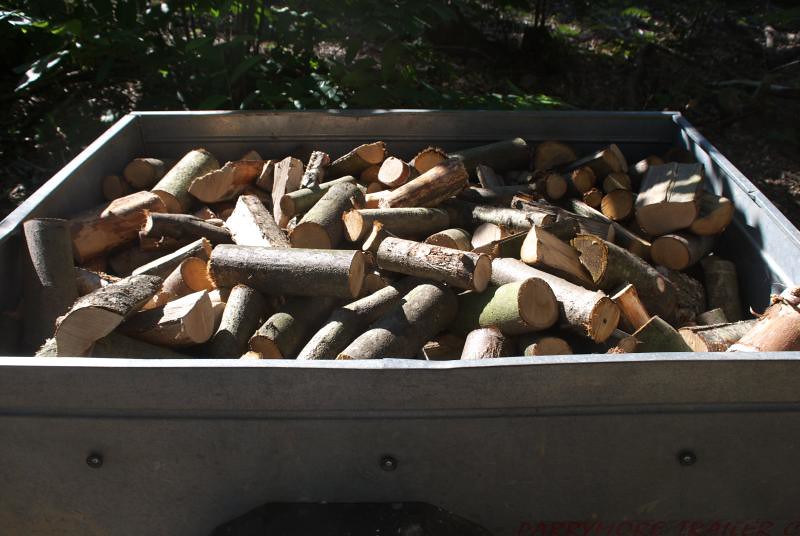
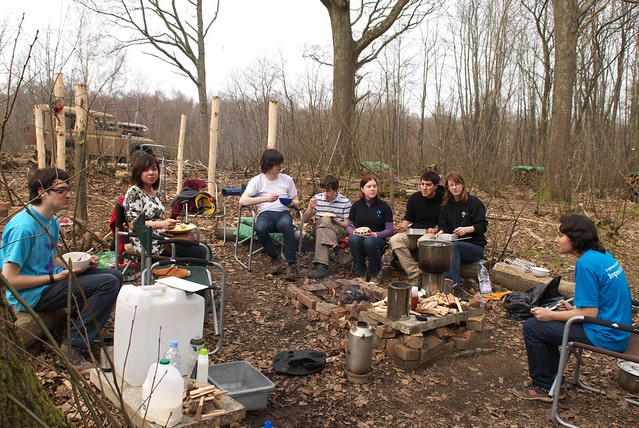
In case you were wondering, there was also some time for food, camp fires and beer!

Tracy and I are very grateful for all the help we received over the weekend - it would have taken us at least a week to get it done ourselves! Looking forward to another visit next year...

Mike

p.s. there are more photos than the ones in this blog, visit the set on my Flickr page to see the rest.

Click here to read the rest of this post.

Friday, 23 July 2010

Logs! Lots of logs!

It's been a busy couple of days for me in the wood. Tracy's still teaching this week, so I've been on my own, hauling logs around.

but there's definitely signs of progress:

You'll notice I've stacked logs at the end of the rows in alternate directions - this stops them spilling out sideways.

The really hard work has been fixing the track up though, but it's coming on nicely:

I've also put in a footpath sign at the junction, as since we moved the pile of logs from the end of our ride, we've had numerous lost walkers coming through the wood.


There's still a lot more to do - we need to be able to drive all the way to where we were felling last winter before the end of August!

Mike

Click here to read the rest of this post.

Sunday, 18 July 2010

A new improved firewood shelter (part 4)

A brilliant day to be in the woods! Lovely sunshine, but not too hot. Best of all, we've finished the roof on the firewood drying shelter! Andrew dropped in, so we made sure he got his hands dirty, cleaving some chestnut for the roof:
He got the hang of it nicely, but then again he has been practising with a froe making kindling already.
He also gave us a hand moving some logs after I'd cut them up, though some went into the trailer for delivery to a friend in return for a favour they'd done us.
I think the shelter looks pretty good now with its roof complete - all we need to do now is add a gutter for rainwater harvesting!
You might notice an extra support to the left - we thought the cross-bean was sagging a little, so we trimmed down a Y-shaped pole we'd saved nearly three years ago, thinking it would come in useful some time...
The shelter's also a handy place to suspend some birch bark to dry for fire lighting.
You can see the earlier construction of the firewood shelter in part 1, part 2 and part 3.

Mike

Click here to read the rest of this post.

Saturday, 17 July 2010

A new improved firewood shelter (part 3)

OK, I know this is taking us for ever, but work has been very busy for the past couple of months! You can see the start of the firewood shelter in part 1 and part 2.

The latest job was to make some walls for it. The walls of a firewood shelter need to keep rain out, but let wind in, so that the wood in there can season. I sharpened some stakes:
then we drove them in along the edges and fitted sticks in between them:
This should let some air blow through while keeping out the rain. We're just doing two walls for now, the third wall (on the near end) will be put in once the store is mostly full - after that we'll get wood in and out through the opening on the left.

Our friend Paul and his daughter Emily came up to help, and Emily drove the land rover through the wood with a pile of logs in the back:
I cut up a few logs in a rack:
and everyone gave a hand loading them into the shelter:
We might build the walls right up to the top later, and we still need to do some more on the roof.

Elsewhere in the wood, it's turning into a bit of a jungle!
and Tracy got some nice pictures of spider webs:
And what were Pete and Tom doing while we were working hard in the wood? They decided that the cage wasn't good enough any more, and that the sofa was the best place for a nap:
Also, Tom (the one with the white face) has learned to turn on our portable radio - a few times now we've gone out and left it on the table, only to find it turned on when we get back! We've caught him in the act since, so we know it's him rather than Pete.

Mike

Click here to read the rest of this post.