Sunday, 10 April 2011

More Bluebells in the wood!

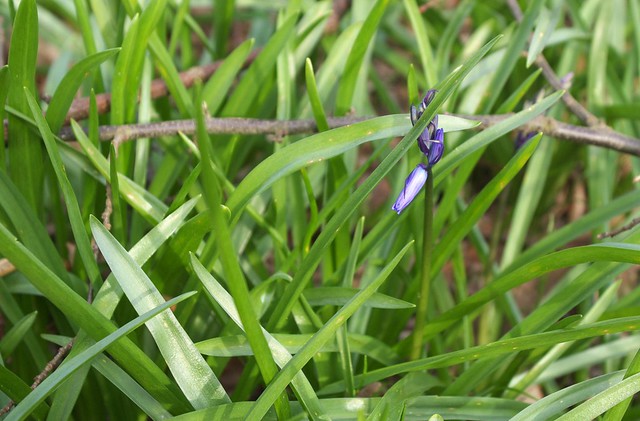
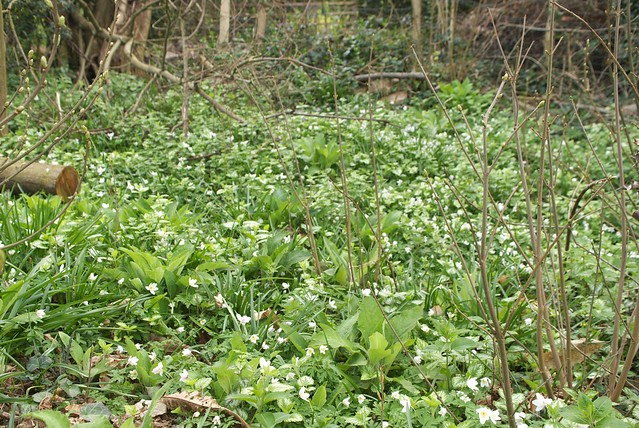
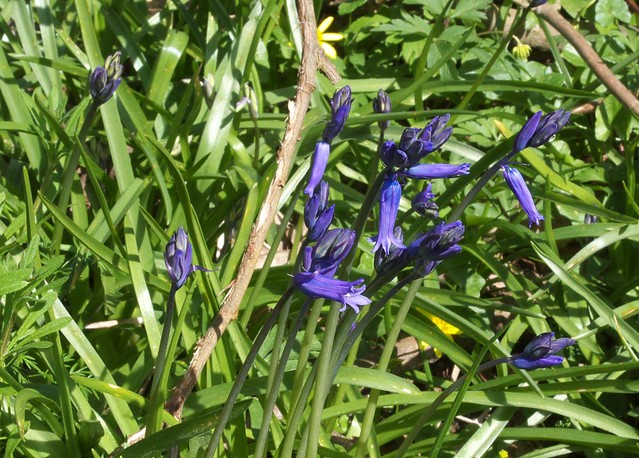
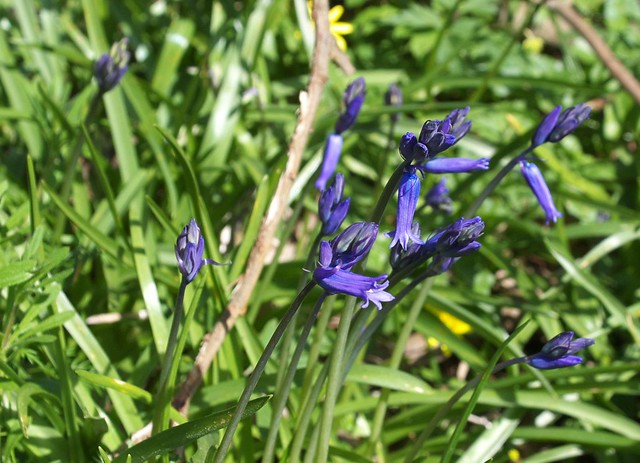
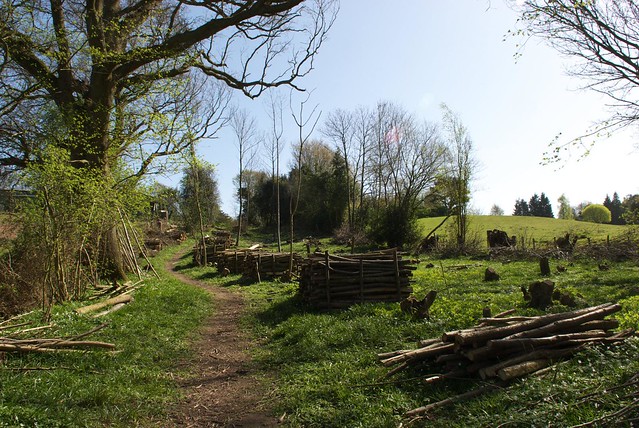
We went to the woods again yesterday, and saw that the Bluebells are steadily increasing in numbers.

DSC_7328

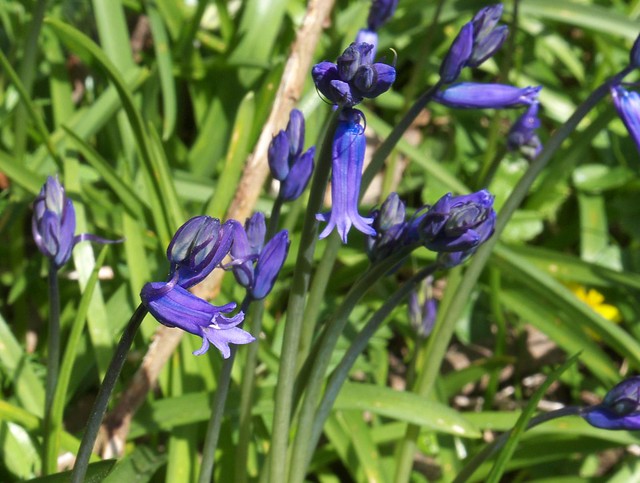
Experimenting with the camera again here - which do you prefer, background more or less blurred? The one with it less blurred used a smaller aperture (higher F number) and slower shutter speed, giving a greater depth of field so more of the Bluebells are in focus:
DSC_7325

DSC_7324

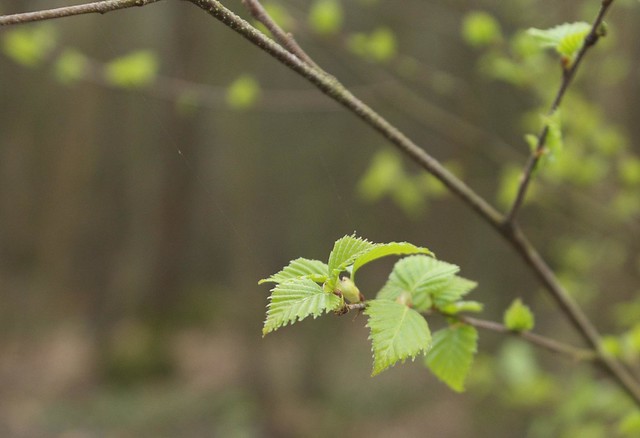
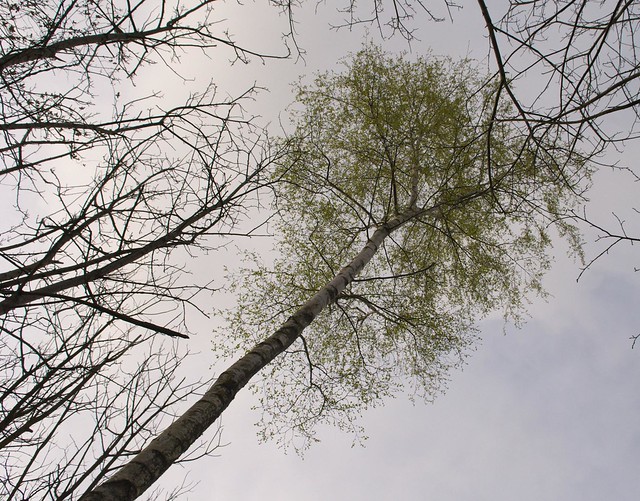
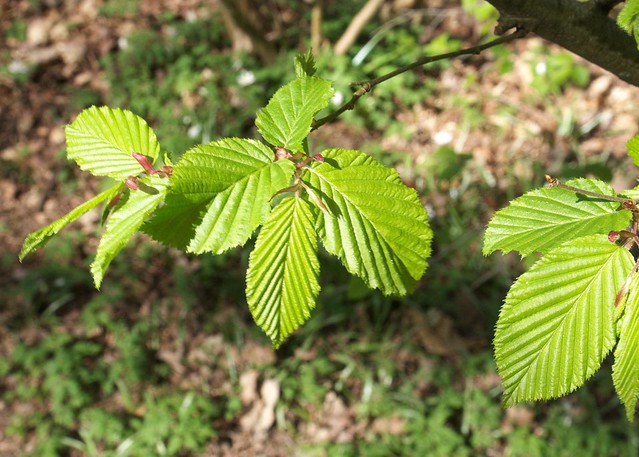
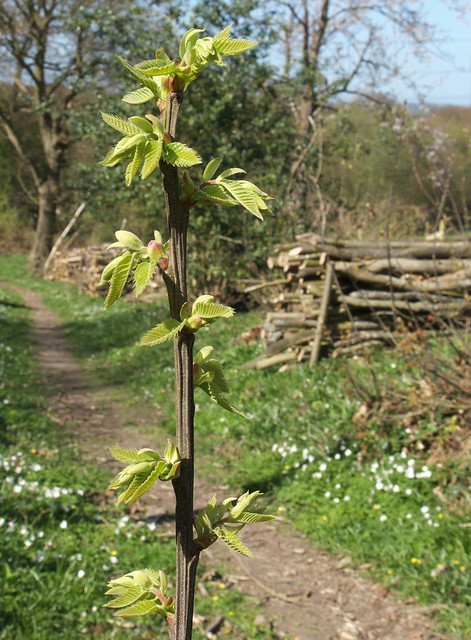
The trees have come on a long way in just a week. Here's how the Hornbeam looks now:
DSC_7321

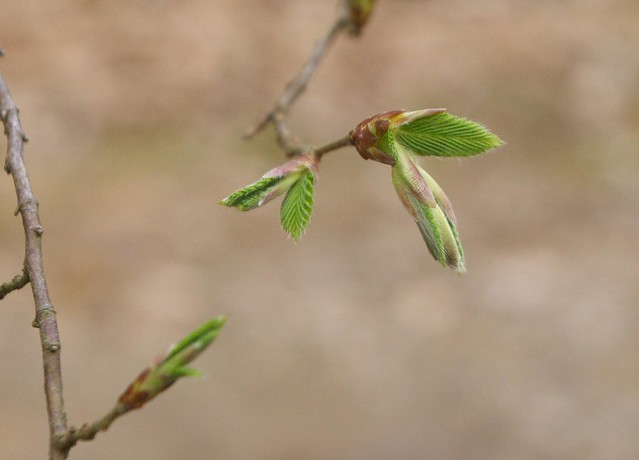
And here's some Sweet Chestnut:
DSC_7315

DSC_7337

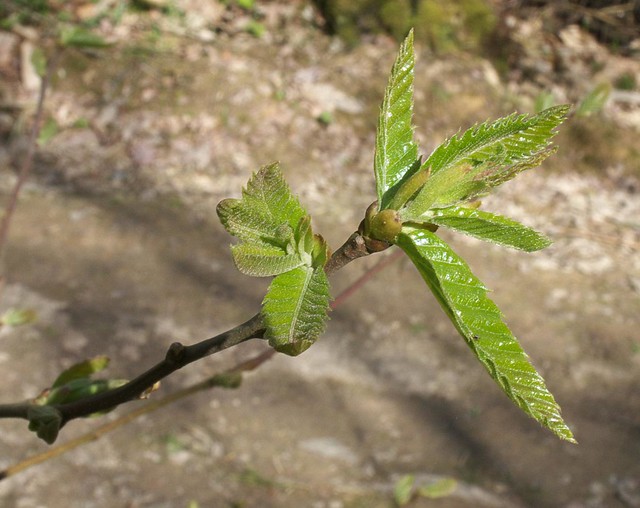
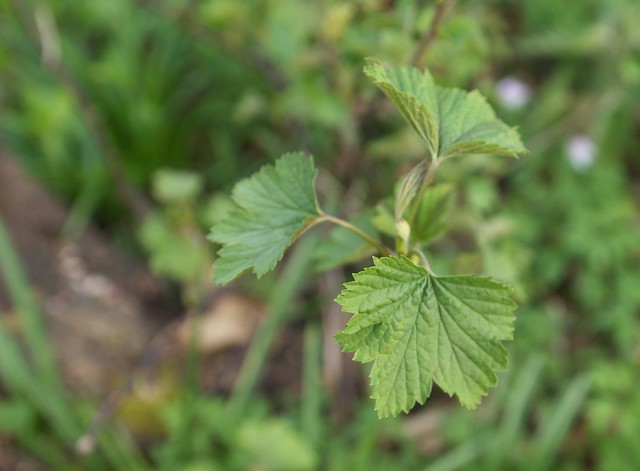
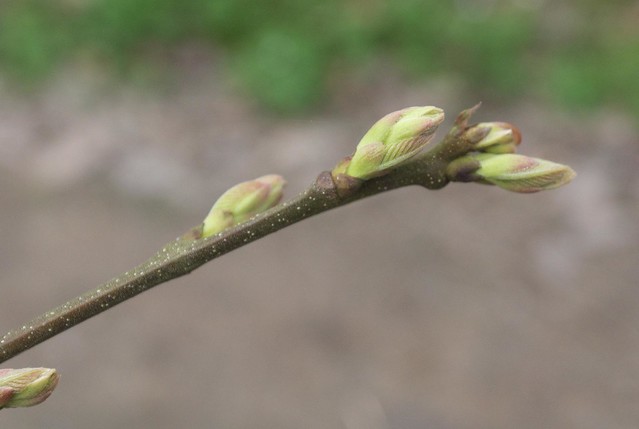
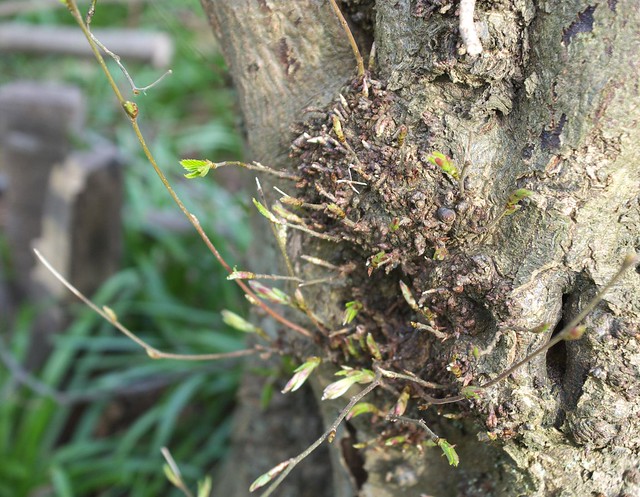
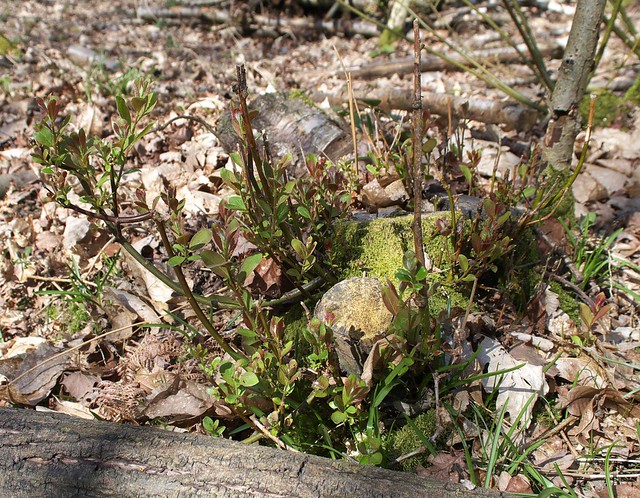
Also, here's a coppiced Sweet Chestnut just putting out its first shoots to recover from being cut a few months ago:
DSC_7331

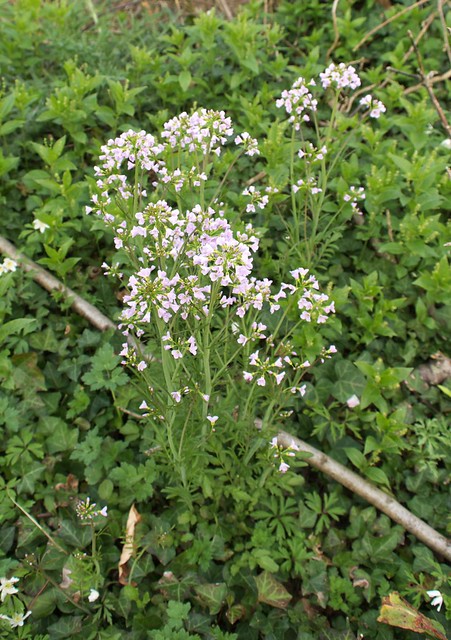
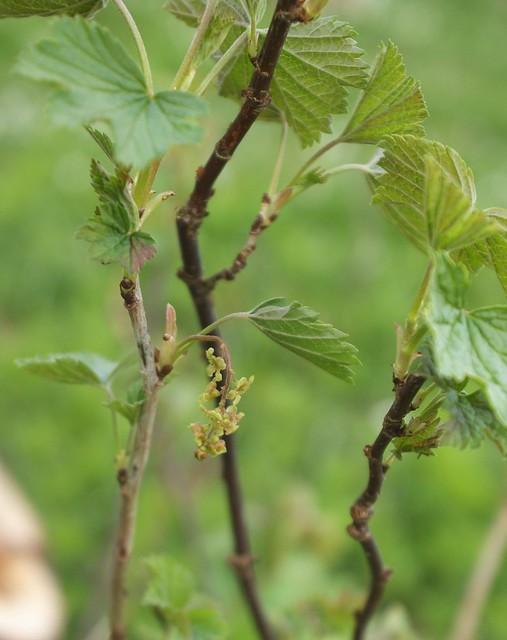
The Crab Apple near our camp is starting to flower:
DSC_7307

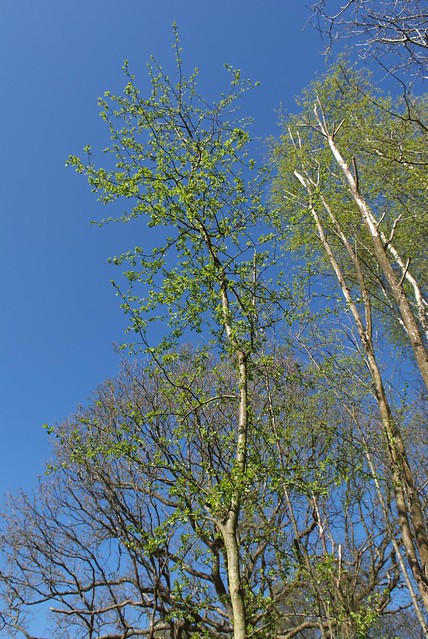
and the Hawthorn is greening up nicely:
DSC_7318

This is a tree (Alder, perhaps?) we cut some years ago, but it's been chewed by rabbits. It's still going to have another go at growing though:
DSC_7310

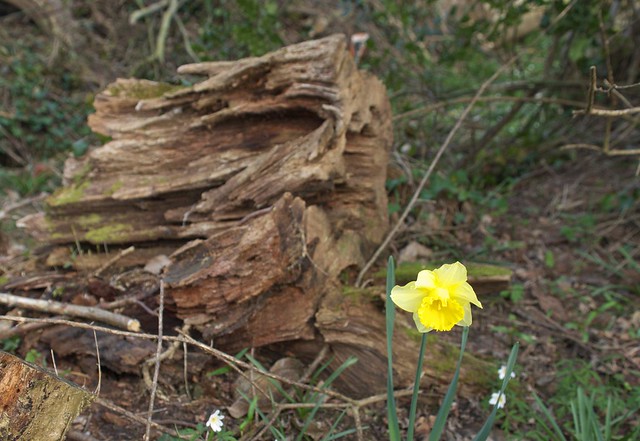
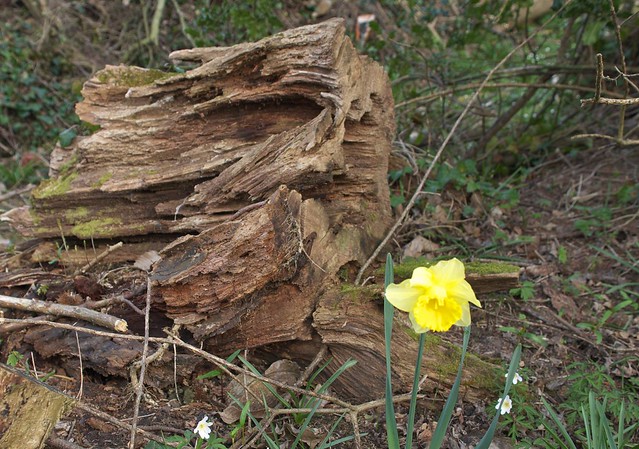
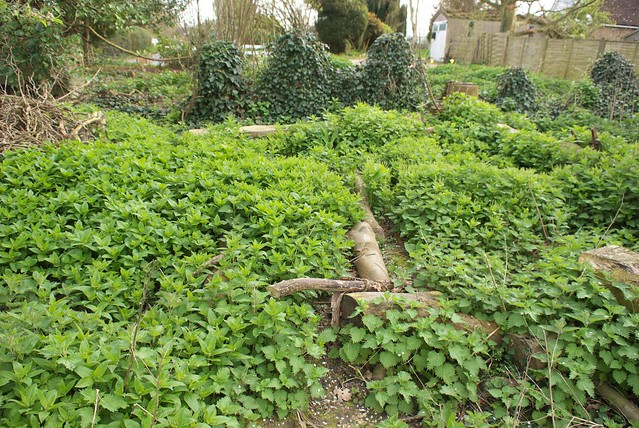
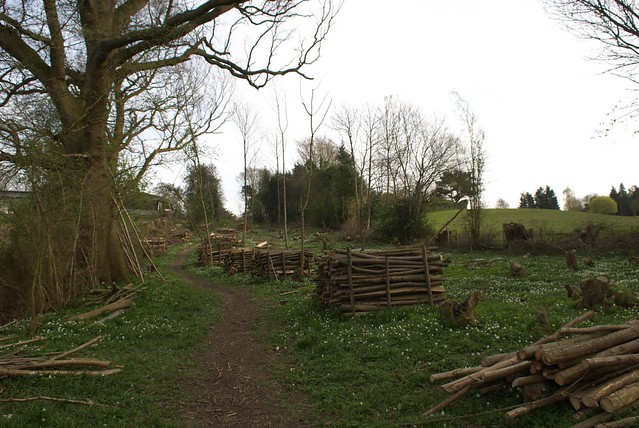
Just for comparison, so you can see the increasing greenery, here's a photo from a week ago and one from yesterday:
DSC_7255

DSC_7323

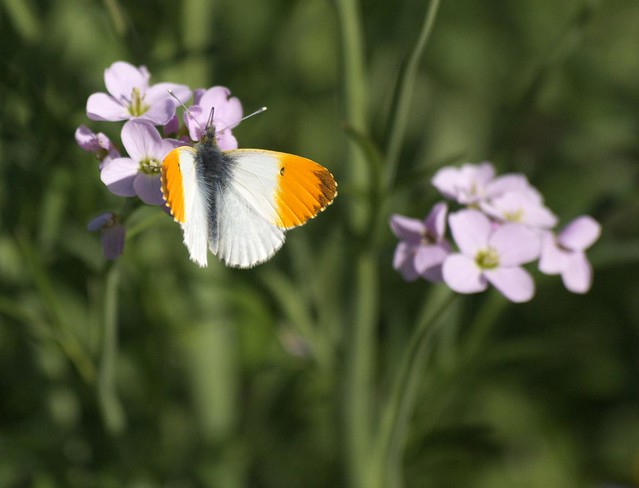
We also saw our first Orange Tip butterfly yesterday:
DSC_7338

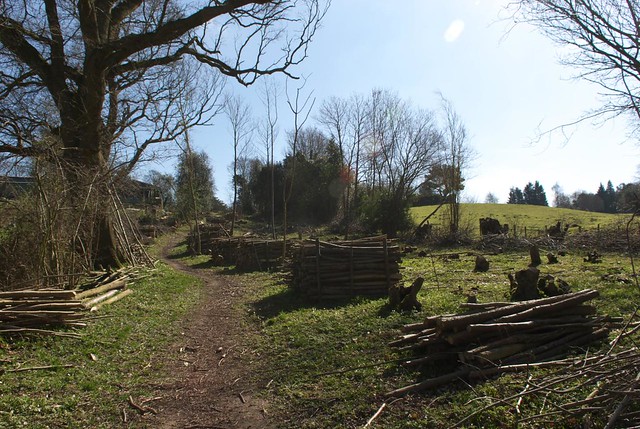
Of course, we couldn't visit the wood without doing a job of some sort. This time we took up a trailer load of pallets we'd collected from a local shop, to make a floor for our new firewood store:
DSC_7340

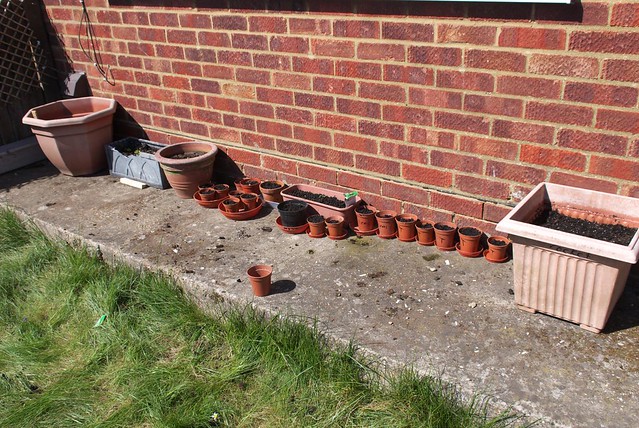
Tracy's been busy back at home too, planting out seeds:
DSC_7299

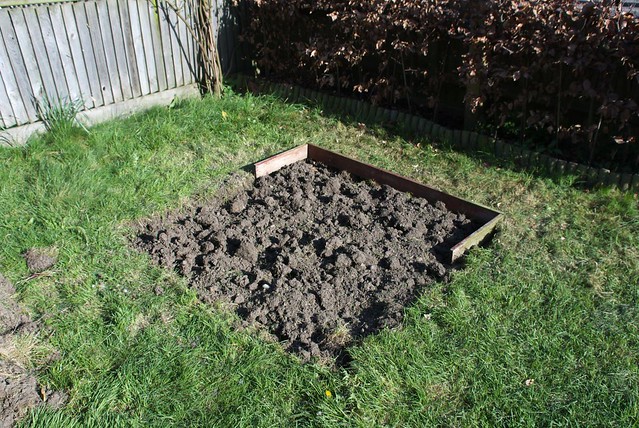
and preparing a plot for them to go into later:
DSC_7302

That's all for now. Hopefully the next post will have some pics of newborn lambs... more on that later!

Mike

Click here to read the rest of this post.

Friday, 8 April 2011

First Bluebell in the woods!

Last weekend we saw the first Bluebell in the woods!

DSC_7271
It's been a busy week for work, which is why I've only just got around to posting it here...

There's loads of other flowers out too. I tried some artistic photos of this daffodil and old log, one with the flower in focus, the other with the log in focus:
DSC_7274

DSC_7276

Wood Anemones are spreading fast. Compare this photo with one taken two weeks earlier:
DSC_7255

DSC_6935

Up the hill in Sweep Wood, where we coppiced just over a year ago, the ground flora is creating a low-level jungle!
DSC_7280

and at the very top there are Nettles and Dogs Mercury competing for light:
DSC_7284

There's also other odd things there, probably garden escapees:
DSC_7283

Further down in the hill, where we were working just a few months ago, there are some odd shrub-like plants, that I remember trying to avoid damaging while felling. I'll wait and see if they flower to try and ID them, but any suggestions welcome!
DSC_7260

DSC_7263

Moving onto the trees... Sweet Chestnut buds are on the point of opening:
DSC_7250

While Hornbeam is already out:
DSC_7239

and Birch is way ahead:
DSC_7244

DSC_7252

It's also nice to see shoots coming out on the coppiced Hornbeam, I expect the other species won't be far behind:
DSC_7272

Finally, I was pleased to get a couple of photos of a Greater Spotted Woodpecker, as it was a difficult shot - high up in an Oak with lots of twigs in the way:
DSC_7233

DSC_7224

There's not much longer to get photos of birds before the leaves hide them from view until the Autumn.

Finally, we cooked dinner on the woodgas campstoves, and sat by the fire until dusk.
DSC_7286

A very pleasant Sunday evening!

Mike

Click here to read the rest of this post.

Saturday, 2 April 2011

Eco-refubishment - installing off-grid solar PV (part 1)

Yesterday we installed our solar PV panels on the roof!

DSC_7183 Fitting solar PV

But let's start at the beginning... Our friend Rich came to help us do the work, as he's had past experience doing roofing work. We did a work swap, I helped him in his wood back in January, in return for his help yesterday. He also brought a lot of useful kit with him, like this scaffold tower:
DSC_7155 Fitting solar PV

The process started by removing some tiles to find where the rafters were under the batons, as the brackets needed to screw onto these for strength.
DSC_7156 Fitting solar PV

Having located these, we decided to grind a slot in the tiles so that they'd fit neatly round the brackets:
DSC_7158 Fitting solar PV

DSC_7161  Fitting solar PV

Then the brackets could be screwed down (with a small wooden spacer underneath to help them fit better):
DSC_7164 Fitting solar PV

and the tiles slotted back in:
DSC_7163  Fitting solar PV

Of course, it wasn't all that simple, as soon as you put any weight on the bracket it put pressure onto the tiles at a single point, and some broke...
DSC_7165 Fitting solar PV

To resolve this we used more spacers underneath, bent the brackets slightly and also used the grinder to thin the tile a bit at that point, giving more clearance for the bracket:
DSC_7174 Fitting solar PV

Here's the detail of how the rails fix onto the brackets:
DSC_7167 Fitting solar PV

And here's an interlocking piece of aluminium to join two rails together (we had two 2m rails). There's a couple of allen key bolts to lock it in place.
DSC_7177 Fitting solar PV

Then it was time to clamp down the panels. Here's a clamp with one panel in, and space for the next:
DSC_7172 Fitting solar PV

and here's one with both panels in and tightened up:
DSC_7169 Fitting solar PV

The first three panels in place:
DSC_7182 Fitting solar PV

And here's the finished set, with the solar thermal tubes higher up the roof:
DSC_7184 Fitting solar PV

The wires from the panels are zip-tied in place under the panels:
DSC_7185 Fitting solar PV

Then they all come down in a bundle to connect into a junction box:
DSC_7186 Fitting solar PV

That'll come in Part 2 though, where I'll explain the wiring system.


Mike

Related posts:

Click here to read the rest of this post.