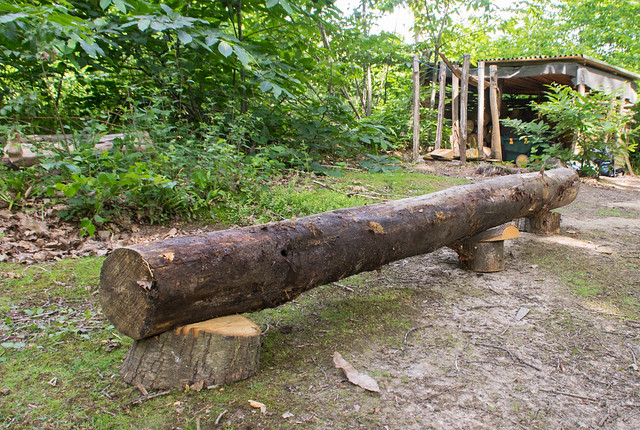
Having seen someone make a wooden bench using only a chainsaw and a sledgehammer, with no nails or screw, I thought I'd have a go, but making a table for use at the camp in the woods rather than a bench. As it was my first attempt I decided to use an old piece of sweet chestnut I'd had sitting around for a few years.
First I raised it up off the ground:
Then used the chainsaw to rip it down the middle, cross-cutting when I had a long enough section:
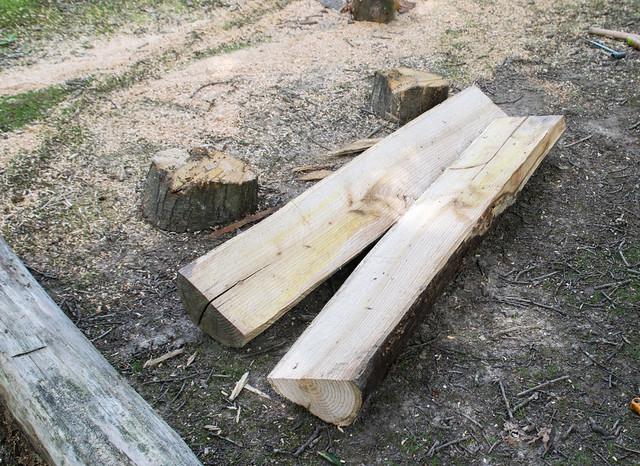
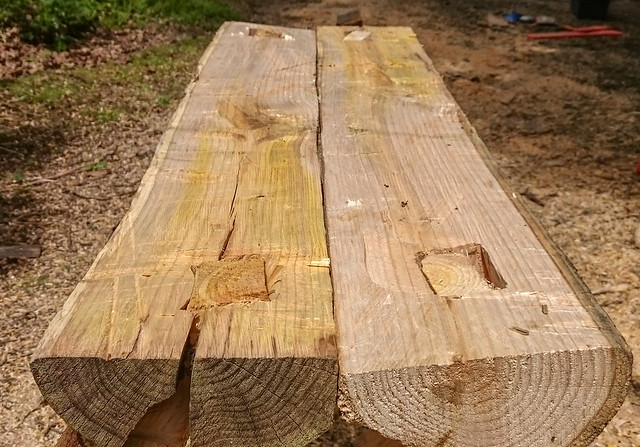
Then I put the two pieces side by side on some bearers. I flipped one of them round though, so that the combined width of the two of them is about the same all the way along.
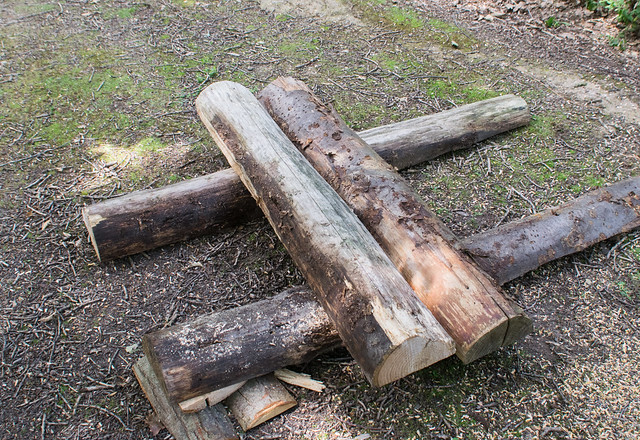
To get them to fit together nicely, I then used the chainsaw to rip along the gap between them, then push them together. Having repeated this a few times I got a nice fit:
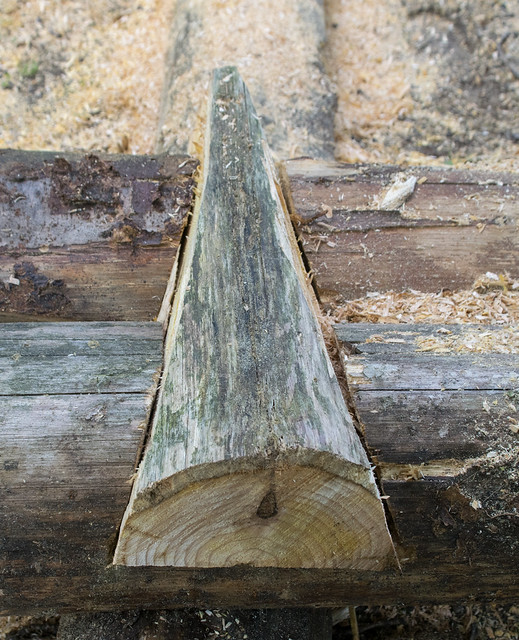
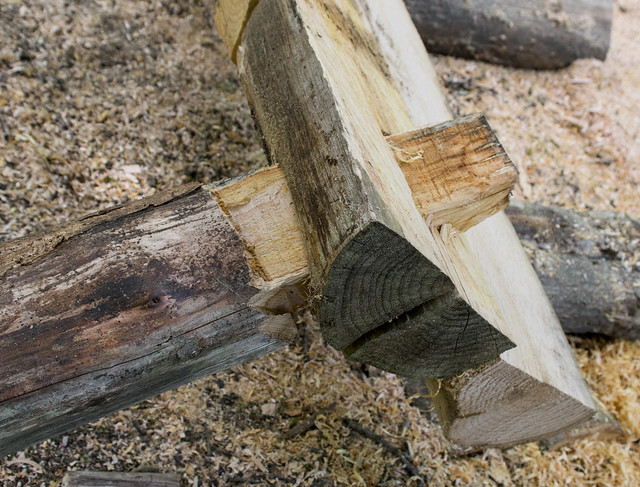
The next step was to make a 'dovetail joint'. I made two cuts with the chainsaw like this:
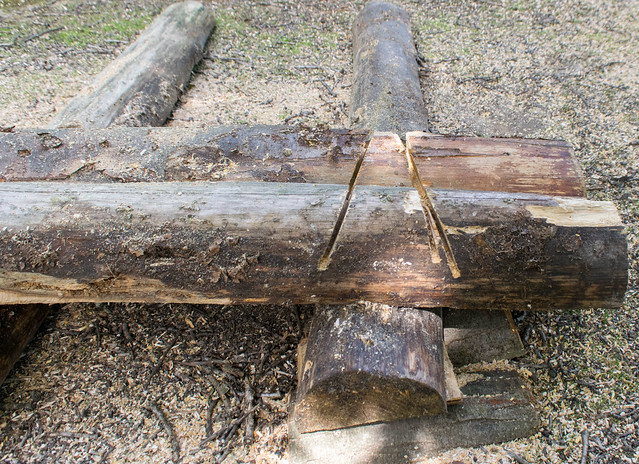
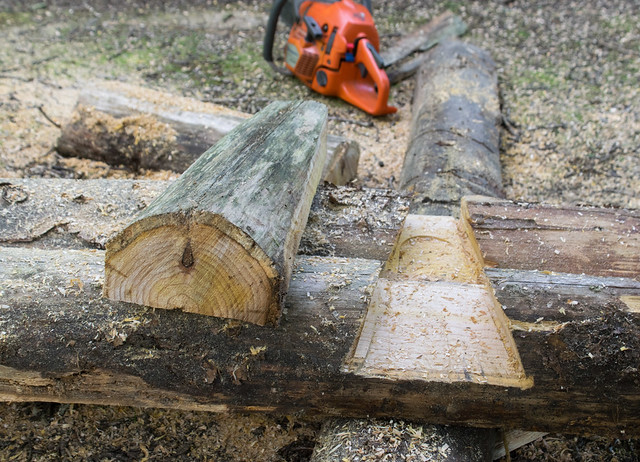
Then used a bore (or plunge) cut, followed by a bit more fiddling around with the saw to get it looking like this. You can see I've also used the saw to roughly shape a wedge of wood to go into the gap as well:
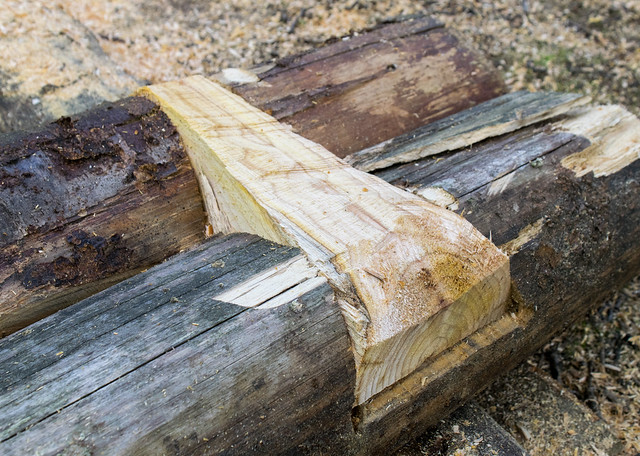
Having inserted the wedge into the gap, I then used the chainsaw to carefully rip along both sides of the wedge, taking care to take wood off the wedge rather than the table top logs.
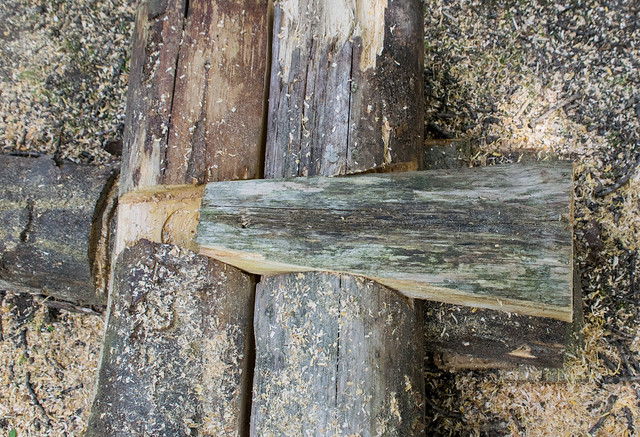
Having repeated that several times, the wedge now fitted nicely:
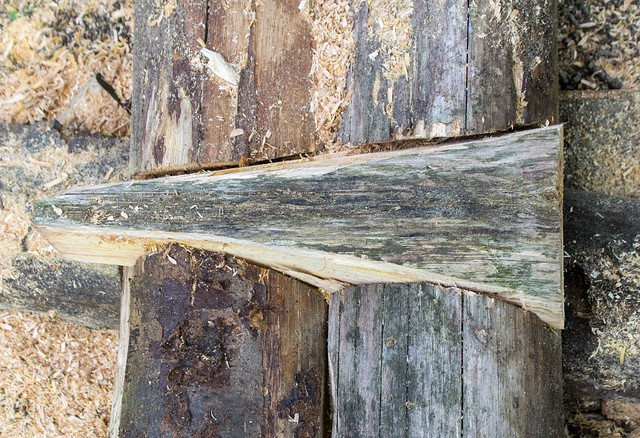
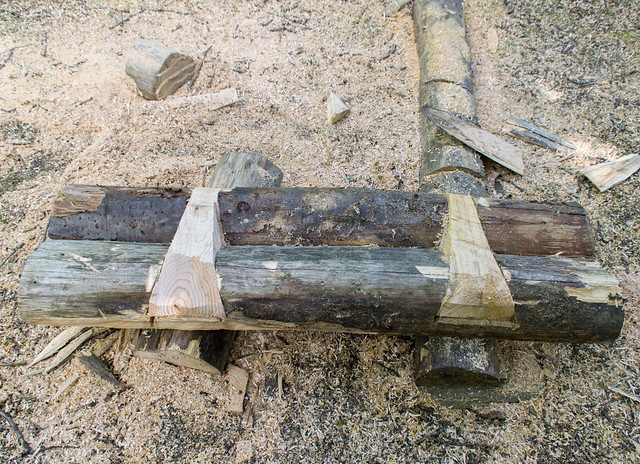
After using the sledgehammer bang it securely into place, I then used the chainsaw to trim off surplus wood, so it looked like this:
Then did it all over again at the other end:
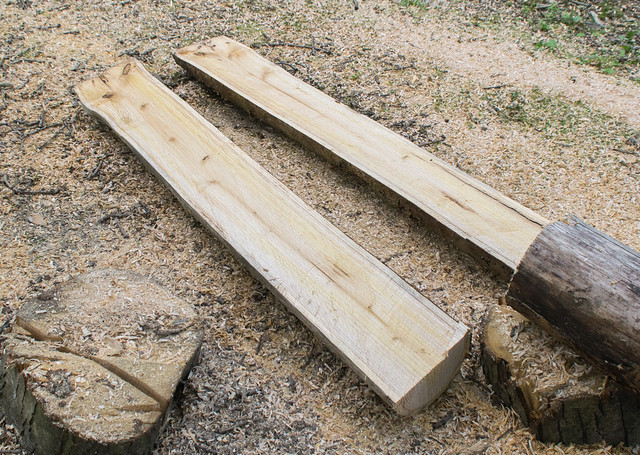
For the legs, I used the chainsaw to rip another log in half, and made four pieces like this:
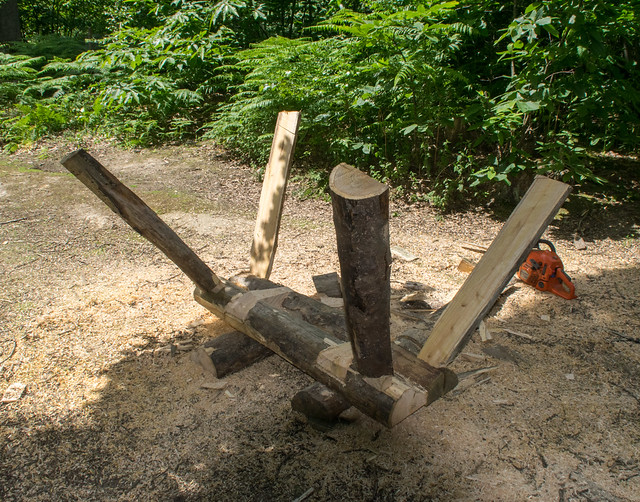
Then I used a bore cut with the chainsaw to make holes in the table top, trimmed the tops of the legs, and hammered them through the holes:
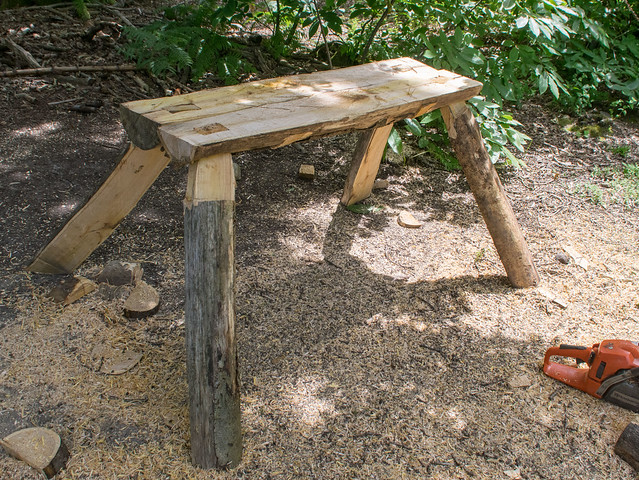
Here it is with four legs in place:
Of course, when I turned it over it was far from level!
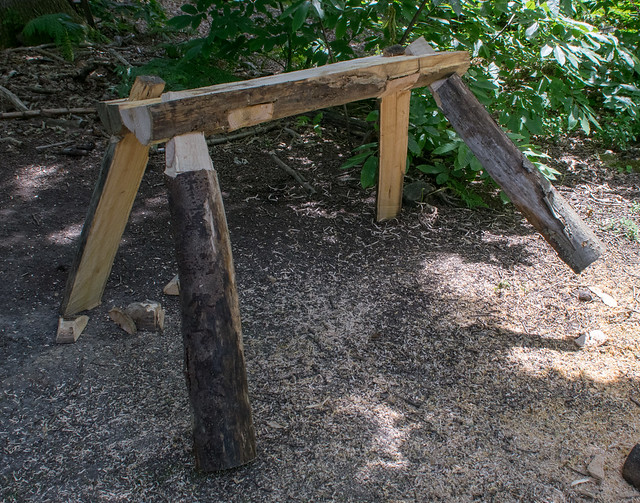
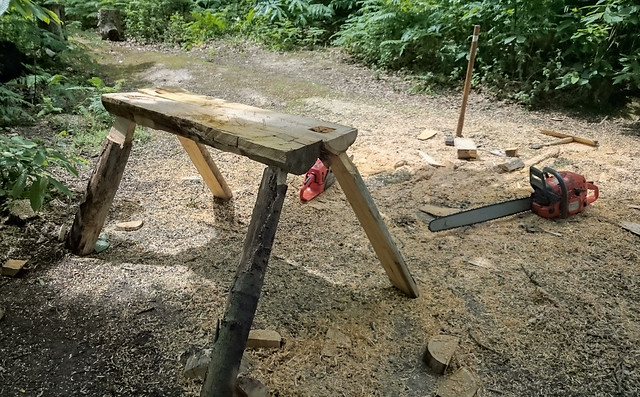
But a bit of trimming on the ends of the legs got that sorted:
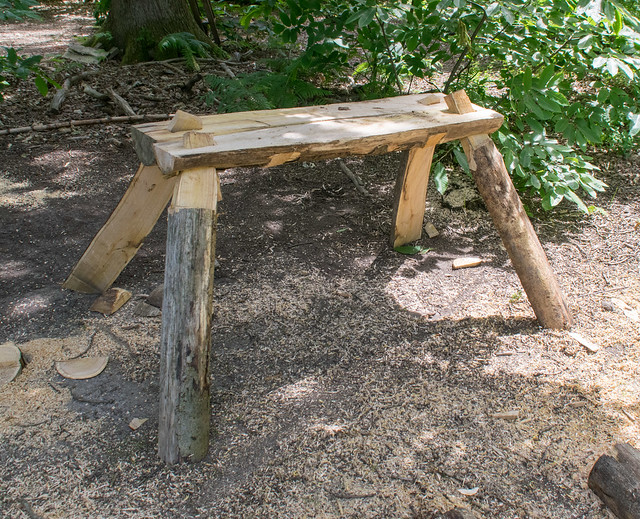
The final step was then to use the saw to cut off the bits of leg poking through the top, and tidy up any rough spots:
Next time I make one I'll video it...
Mike
Tuesday, 14 July 2015
Making a table using a chainsaw and a sledgehammer

Subscribe to:
Post Comments (Atom)
4 comments:
That's pretty neat, especially for the time and effort and tools involved. Will you oil it or anything, or just leave it as it's sweet chestnut and will last? How much sapwood is left on it?
Thanks.
Hi Bob. I'll leave it as it is, as it should be fairly durable, and is just for use at our camp site anyway. There's still sapwood on there, it would of course be better if it was only heartwood, but the log wasn't really big enough for that.
Cheers, Mike
Thanks.
One more question - when trimming the wedges and smaller pieces, how did you secure them so you could use the chainsaw on them? Some sort of vice? Wedged under bigger bits of wood? Just wondering the best way to chainsaw a small bit of wood safely.
Hi Bob,
I roughed them out as part of a longer piece of wood, then cross-cut it. In terms of trimming them to exact size, that's done with them in place - it'll make more sense when I make a video of it. This is the video which inspired me, though it's quite long: https://www.youtube.com/watch?v=Ba1q1mKyPu8
Post a Comment