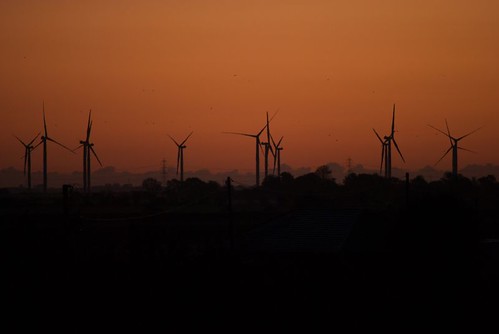
This was the final day, and I've got some videos of tree felling with ropes to show you. But first, I couldn't resist taking a couple of pictures of sunrise behind the Romney Marsh wind farm out of our window before we set off:
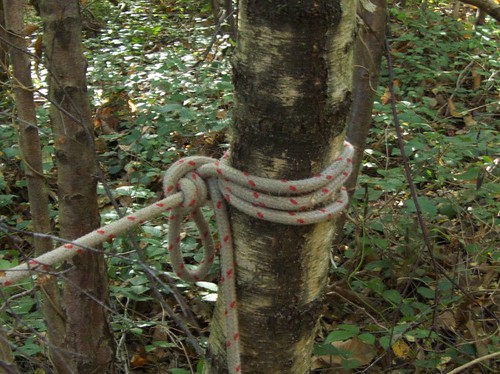
 We started the day with knots, and through the day had plenty of time to practise them. There were knots for tying off to trees as an anchor:
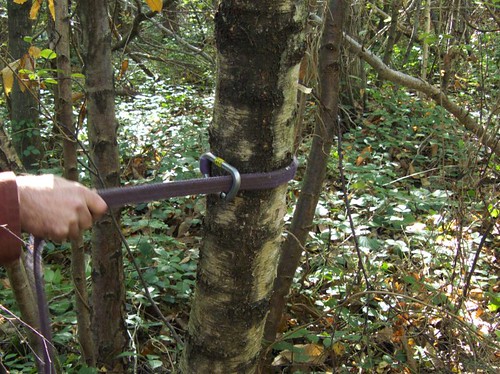
 and quicker ways of doing this:
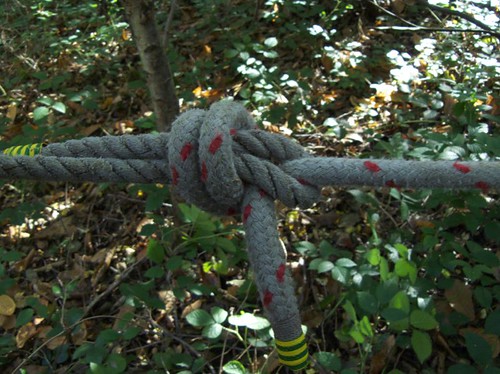
 Knots for joining two lengths of rope, such as a Sheet Bend, or Double Sheet Bend in this case:
 Using a "figure of eight" at the anchor point to feed the rope through:
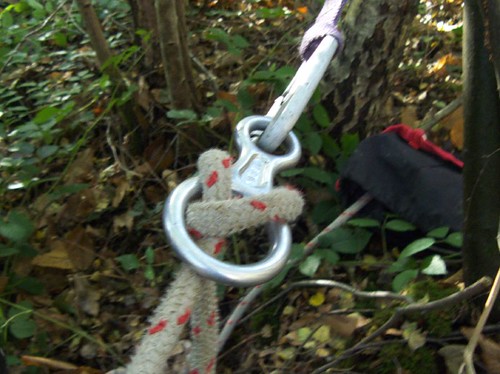
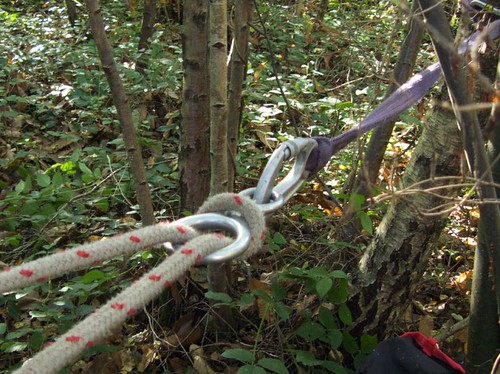 and how to lock the rope off, which is useful if you're on your own and need to secure the rope while you go and put the felling cuts into the tree:
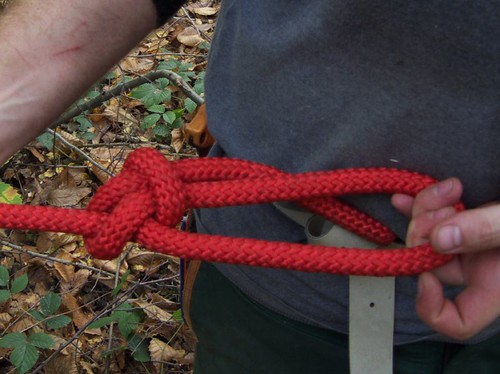
 Tying a bowline to attach a carabiner at the end of the rope:
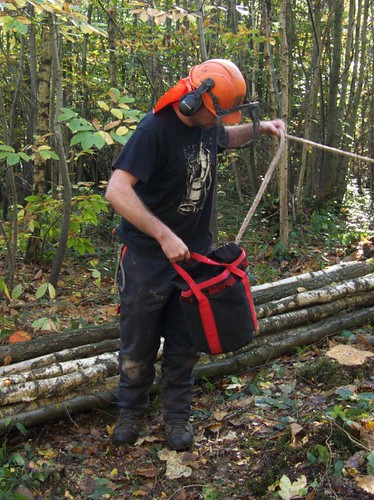
 We also learned a neat trick to stop the rope getting in knots. Instead of coiling it, just pack it loosely into a bag, and then when you want to use it just walk with the bag and pay the rope out:
 When it comes to getting the rope attached to the tree, the most important tool is an extendible pole with a spike and downward-facing hook on the end:
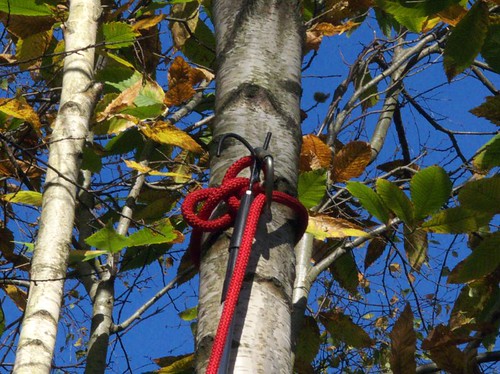 Ideally you use this to hook the rope over a branch:
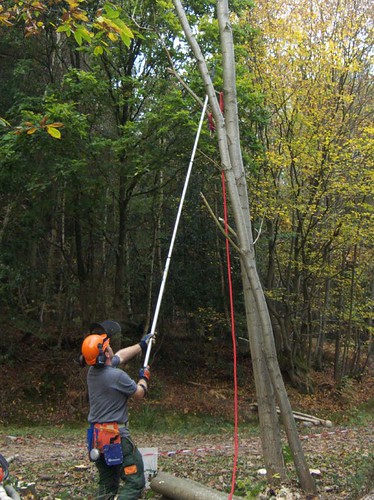 But if the tree has no branches within reach then you fasten the rope round it and slide it up:
 Once at the top you simply pull it tight (easier with a second person):
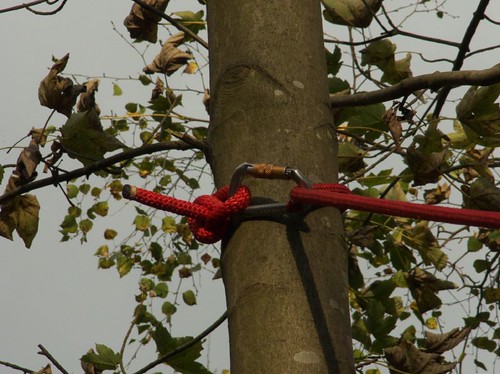 This works for tying a pair of stems from a single coppice stool together as well, allowing you to fell them both at once:
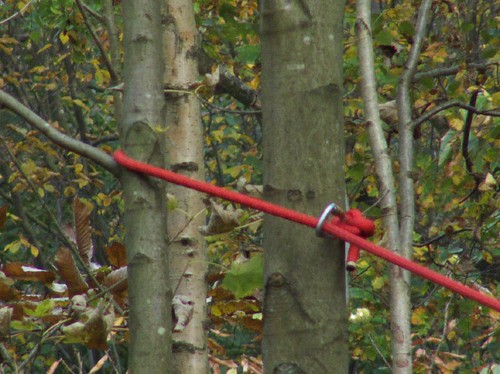 Rather than have the rope in a straight line (with you two tree lengths away), it's often more convenient to use an anchor tree with a pulley. This is especially useful if you are working alone, as you can have the final rope anchor near the tree being felled, in your safety zone. Here's a pulley set-up, making use of the slings for easy attachment to the tree:
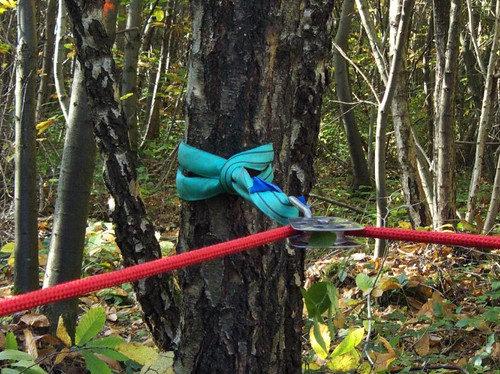
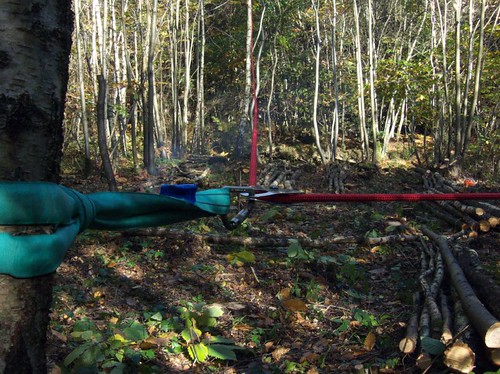
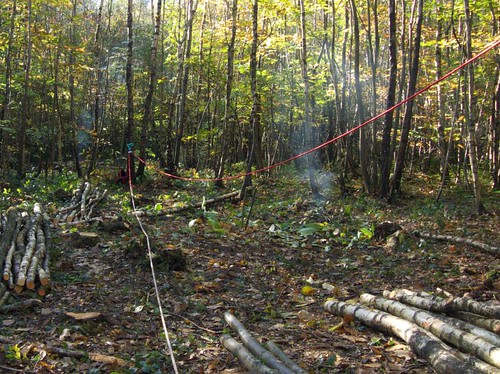 and the final anchor point:
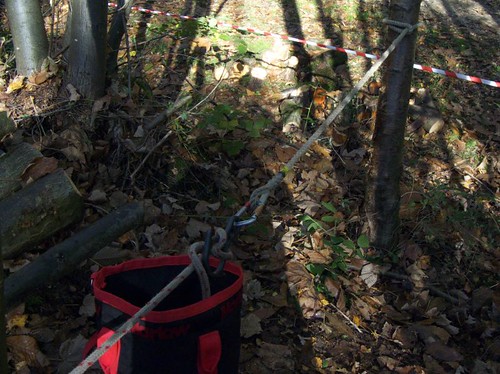 For larger trees you can use several pulleys to magnify the force you can apply, although you have to be careful to ensure that all the equipment is up to the required strength. We tried out a 5:1 pulley system, which allowed you to pull a tree over with two fingers!

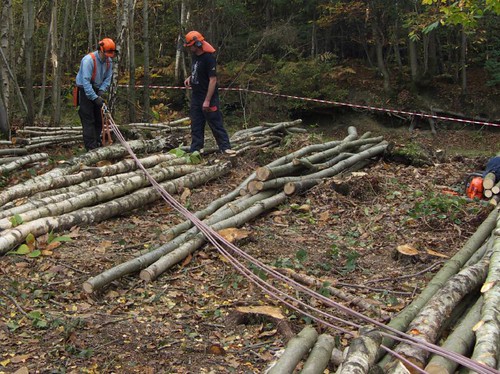

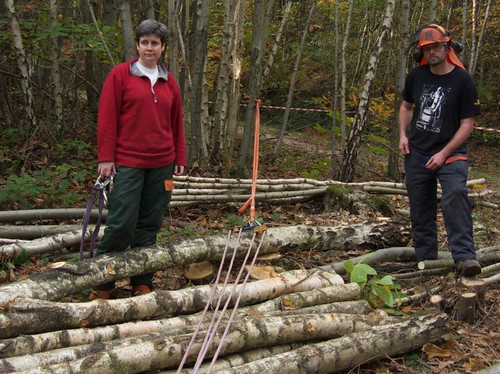 OK, time for some videos. I've set these all to high quality mode, so you might want to pause them and let the video load before playing, otherwise it may keep stopping.
Here's Paul felling a birch, using a single rope round a pulley and back to near the tree. Paul's felling while Tracy's on the rope:
Here's Paul again, this time felling a pair of sycamore stems together, and the rope system includes the 5:1 pulley set-up:
And finally, this is me felling a pair of chestnut stems. The first one sat back on my saw, and because two stems were roped together, it wasn't possible to pull the rope to free it. Paul came to the rescue with a pole.
Tracy felled an awkward sycamore as well, but I've not got a video of that - sorry!
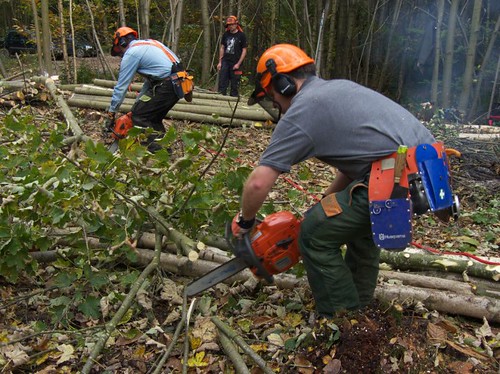
As we were working in a team for these trees, clearing up was pretty rapid: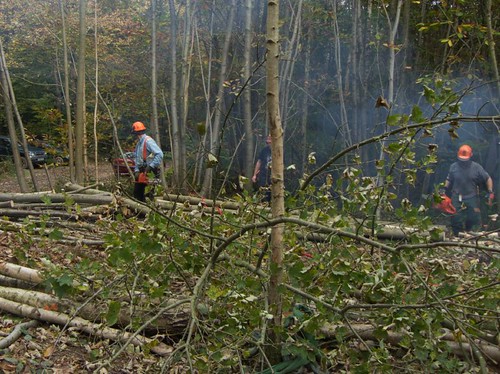
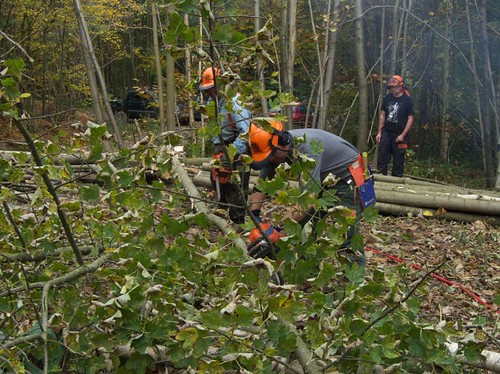
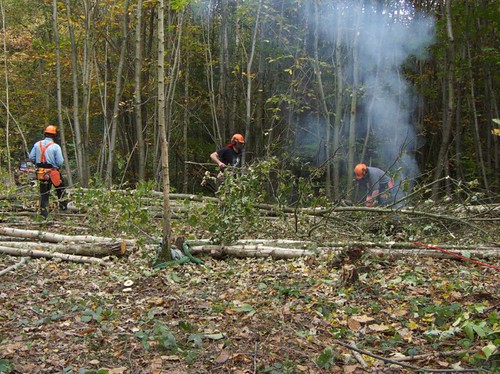
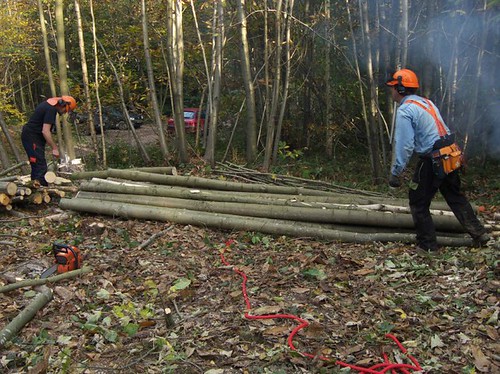
 Here's some views of our work area at the end of the week. Looking from Paul's strip into mine:
 and back the other way. As you can see we almost joined up, just a few small trees left for the next group to fell:
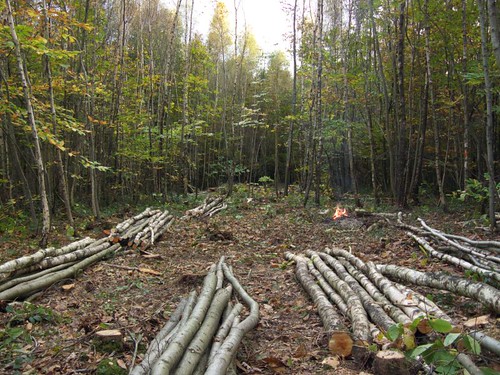 and the view from mine through to Tracy's:
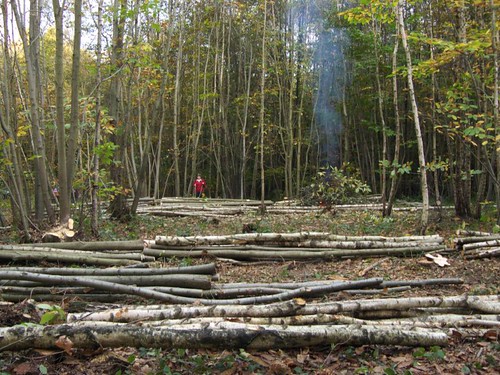 We were pleased with our progress, especially as we spent quite a lot of time watching, learning and talking.
All we need to do now is put it into practice in our own wood........
Mike
If you missed the other posts, Day 1 is here, Day 2 is here, Day 3 is here and Day 4 is here.
Saturday, 18 October 2008
Coppice Harvesting course - Day 5


Thursday, 16 October 2008
Coppice Harvesting course - Day 4
We started today with David demonstrating several different felling techniques. One of them was called the "Danish Pie", as David first saw it in Denmark and they referred to part of the cut as a "pie slice".... Anyway, it's basically a cross between a boring cut and a split-level cut, allowing you to simultaneously avoid the tree splitting and get a felling lever in before the final cut. It also looks really nice! The key is that you do a boring cut, and then bring the saw out backwards but leaving a corner intact, which you then undercut after putting in a felling lever. The video will probably make more sense:
We also looked at how to safely sever a root plate from a windblown tree. We could only find trees that had blown down years ago, so they were not "lively", but OK for a demo. It's simple really - you just do a step cut, with the final cut on top, allowing the root plate to fall back. In some circumstances you need to reverse it though, and if the root plate is going to fall forwards you obviously need to be further from it! Here's the one David did: and me practising on one (they were both easy ones really)
 The one David did also gave an opportunity to demo a winch in use. 2000kg slings were used to attach to the butt, as low as possible:
 and the other end to a tree, higher up so that the winch is lifting the butt slightly from the ground to enable it to slide more easily:
 Then out it comes...


 The rest of the day we carried on working our strips, with David giving us extra tuition to improve our technique as we worked.
Tracy felled some larger trees today, using boring and split-level cuts - she's getting good! Here she is tidying up a stump: My strip has almost joined with Paul's now, you can see the thin line of trees behind my fire:
 Looking across from my strip into Tracy's gives you an idea of the area we're coppicing. We're pleased with the progress, especially as we spend a lot of time watching demos and learning, etc. Also, there are a lot of smaller stems which take a lot of time to process...
 Tomorrow's the last day, using ropes to bring the trees alongside the ride back into the wood.
Mike
If you missed the other posts, Day 1 is here, Day 2 is here, Day 3 is here, and Day 5 is here.
Wednesday, 15 October 2008
Coppice Harvesting course - Day 3
Today it was raining :-(
(apologies in advance for poor photos: the light was low and I didn't have the SLR)
We carried on regardless, but perhaps a bit slower as things are slippery. We tend not to wear gloves when it's raining - the reason is that they get wet and slippery with slime from the trees, and then you can't grip the saw properly. But without gloves you can wipe your hands clean on your trousers or shirt, and get a proper grip.
To get some shelter we set up a tarpaulin, and we also had a hot meal, which is especially nice on a day like today. Here's the shelter: Lunch was a venison casserole - Paul brought the venison, David brought the veg and spices, and we brought rice to be added at the end of cooking.
 We cooked using a part of an old stove that David had found a while ago. It acted a bit like a chimney and wind shield, and with embers from one of our fires did a good job of cooking a delicious meal:
 In between the heavier spells of rain we carried on with the work. The strips Tracy and I are working have now joined up (obviously we had to co-operate to work safely on this bit). You can see my section behind Tracy's here:
 Tracy was pleased to get some practice in doing split level felling cuts, and felled this large sycamore:


 An interesting thing we learned today is that sycamore wood is composed of very short fibres, and so is not as strong as, say, chestnut. The result is that during felling the trees are much more liable to break, and the hinge never stays attached as the tree comes down; both factors which need to be accounted for when planning the felling.
Tomorrow we get on to using ropes in felling trees. Thankfully the weather is forecast to be much better!
Mike
If you missed the other posts, Day 1 is here, Day 2 is here, Day 4 is here, Day 5 is here.
Tuesday, 14 October 2008
Coppice Harvesting course - Day 2
We continued with our work on the course today, extending the strips we were working and practising landing trees on the "benches" and processing them efficiently. If you missed Day 1, the blog post is here.
Tracy took some photos of me dealing with a tree from start to finish. In the first picture you can see the log I was using as a bench yesterday (nearer to me in the picture) is now on the ground, and I've swapped it for a larger log, which happened to end up in the right place after felling a tree.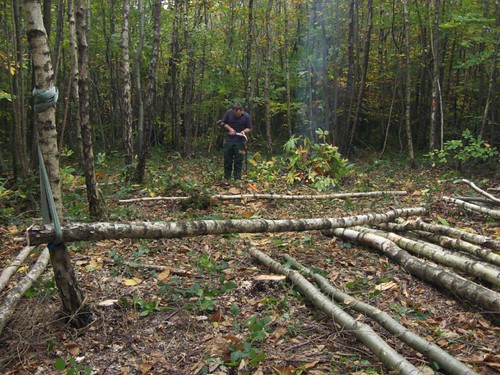 This new bench is nearer to the other end of the strip I'm working, as I'm going to fell a tree that's near the fire. It's also a larger log, so will be stronger and take bigger trees landing on it.
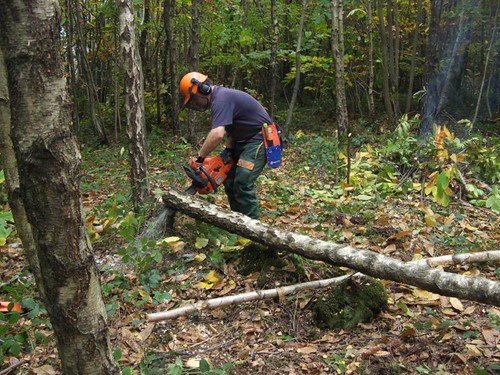
A quick look at the tree determined that it just needed a standard felling cut, nothing fancy.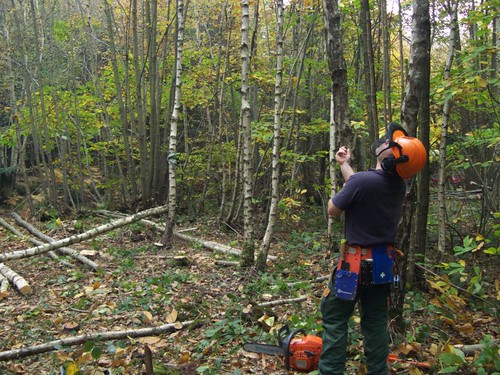 So I set about putting the gob cut in
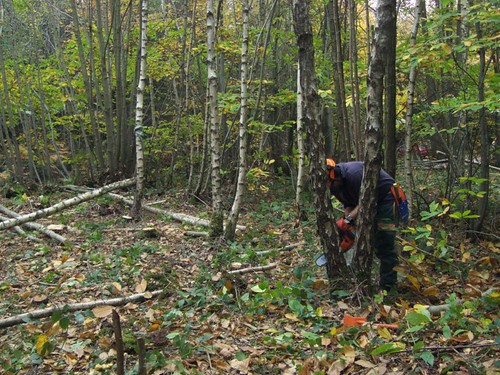 and then came round the other side (because of the other stem in the way) to put the back cut in
 The tree didn't fall immediately, and rather than cut the hinge away to nothing (which would a bad thing!) I put the felling lever in and gave it a heave
 It shifted easily and I made a prompt exit, just in case it got a bit lively at the butt end - it didn't, but better safe than sorry!
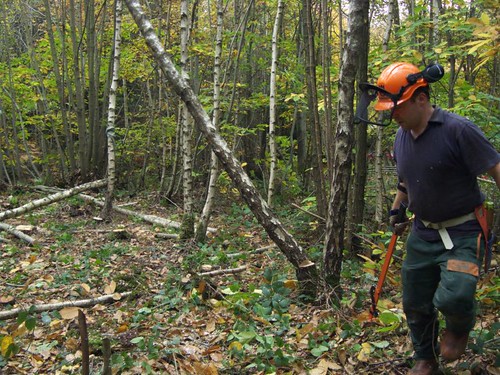 The tree hung up slightly
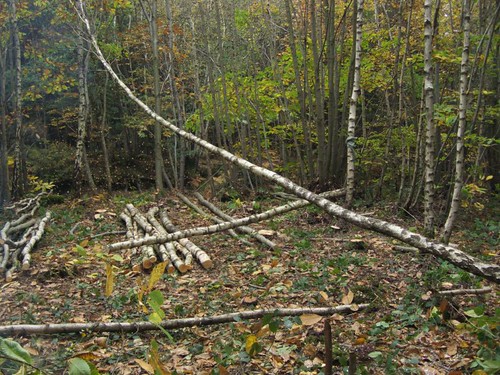 but a gentle push from the side brought it down onto the bench
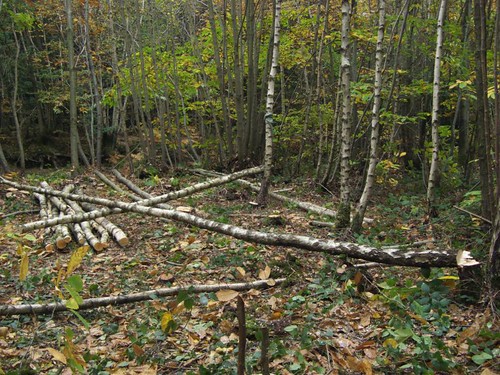 After severing the tree from the stump
 I was then able to cut off a 16-foot log. The tree was felled in such a position that this log would only need moving a few feet to join the nearest log pile.
 The next step was to drag the top of the tree back over the bench, which is relatively easy as it slides over the bench quite well.
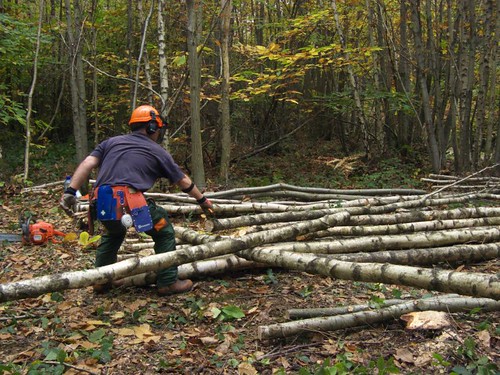 This brought it near the fire, and then I proceeded to sned the branches:

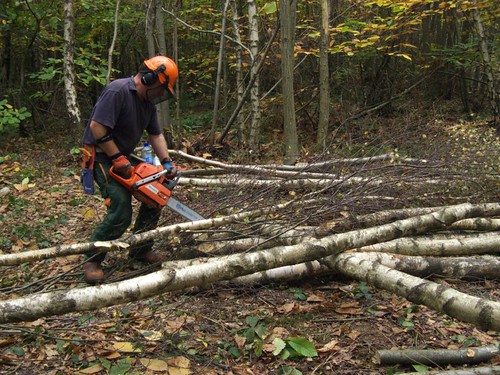
 After that it was easy to move the branches to the fire, along with the top of the stem.
These trees aren't huge, as you can see, but it is still worth learning and using these techniques as it allows you to work much faster. The same techniques apply equally well to larger coppiced trees too, and then the emphasis on minimising movement of logs and trees saves even more effort.
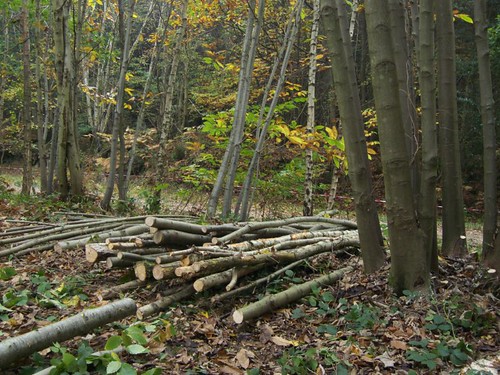
I didn't get to photograph Tracy working, but here's a couple of pictures of her work area. As you can see she's been moving on to larger trees than she's been used to: and has built up a good pile of logs:
 We also covered some other felling cuts today, which were revision for me and Paul but new for Tracy, such as boring cuts and split-level cuts (links go back to old blog posts with videos).
The lunchtime entertainment including target shooting (at a bit of cardboard) with David's air rifle, which he always has with him for squirrel control.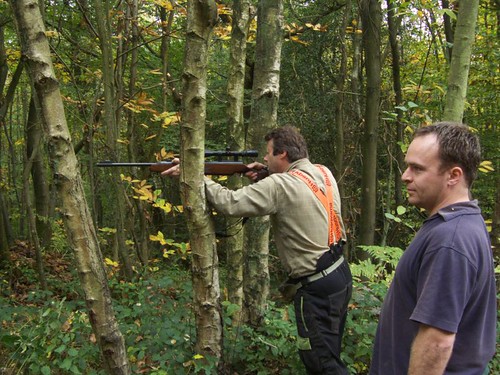
 Tomorrow Tracy and I will be working to remove the trees between our two strips, prior to doing some work with ropes and pulleys at the end of the week.
Mike
If you missed the other posts, Day 1 is here, Day 3 is here, Day 4 is here, Day 5 is here.


