Friday, 8 April 2011

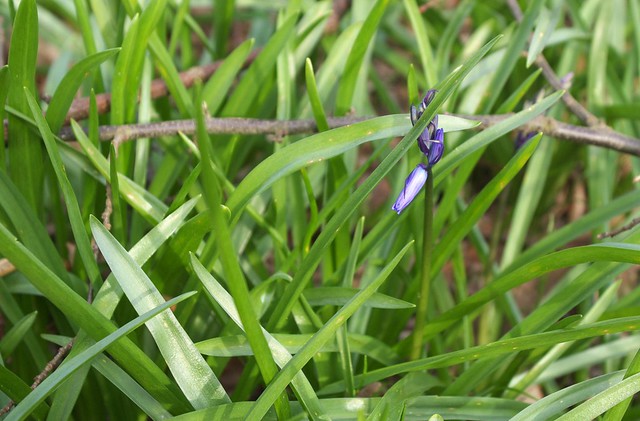
First Bluebell in the woods!

Last weekend we saw the first Bluebell in the woods!
DSC_7271
It's been a busy week for work, which is why I've only just got around to posting it here...

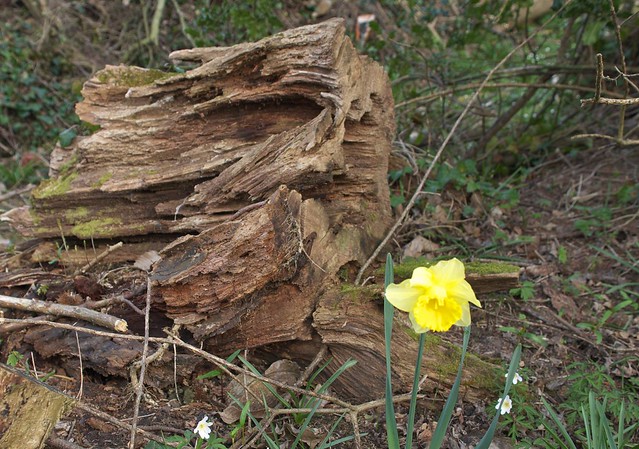
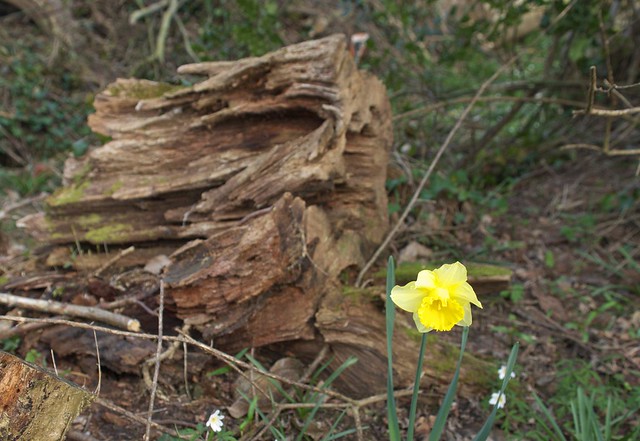
There's loads of other flowers out too. I tried some artistic photos of this daffodil and old log, one with the flower in focus, the other with the log in focus:
DSC_7274

DSC_7276

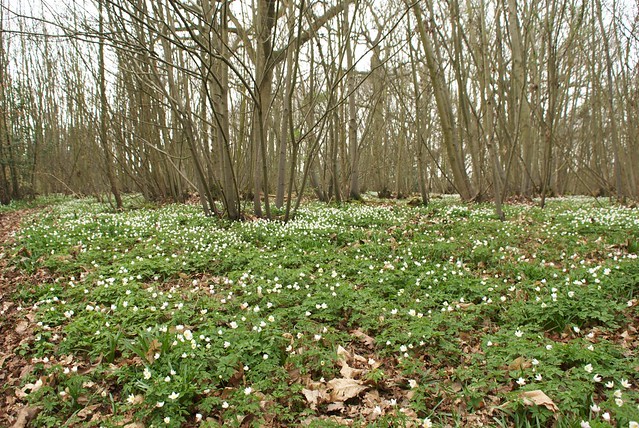
Wood Anemones are spreading fast. Compare this photo with one taken two weeks earlier:
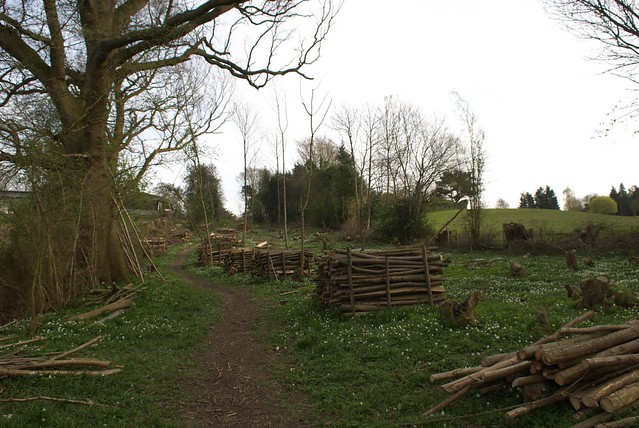
DSC_7255

DSC_6935

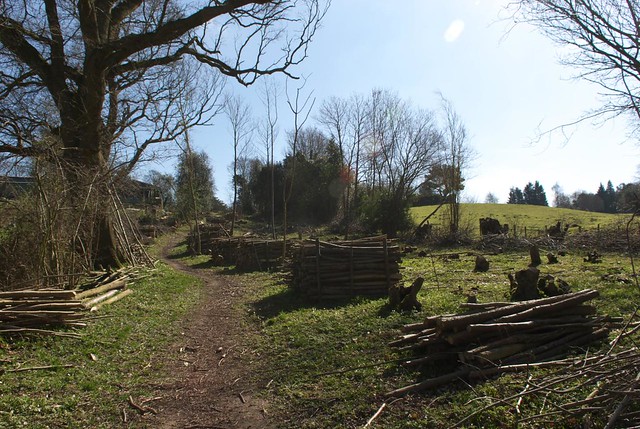
Up the hill in Sweep Wood, where we coppiced just over a year ago, the ground flora is creating a low-level jungle!
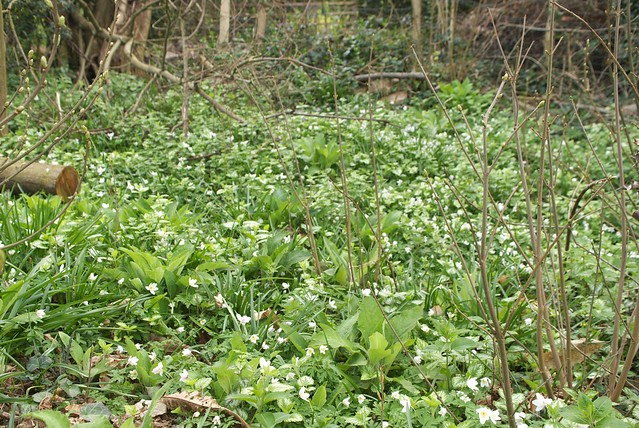
DSC_7280

and at the very top there are Nettles and Dogs Mercury competing for light:
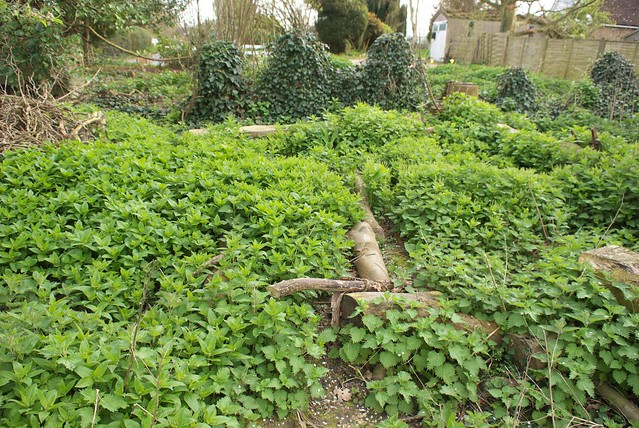
DSC_7284

There's also other odd things there, probably garden escapees:
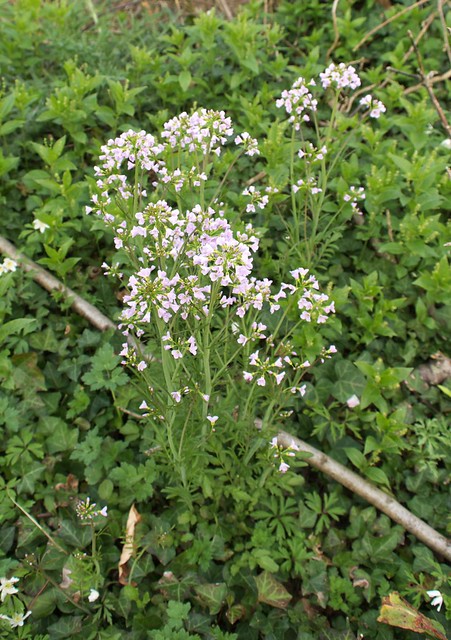
DSC_7283

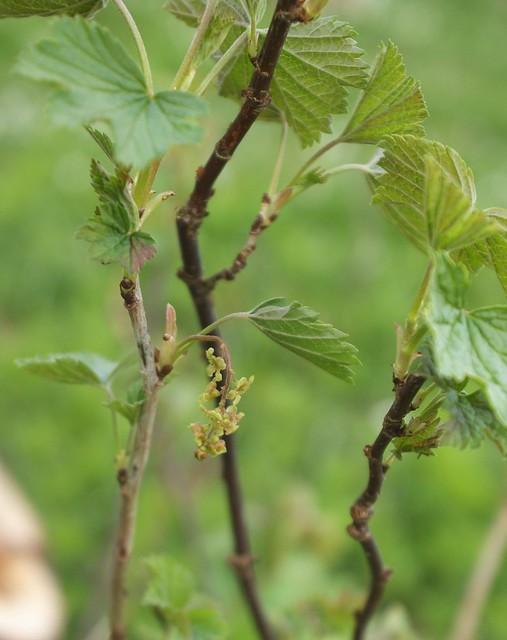
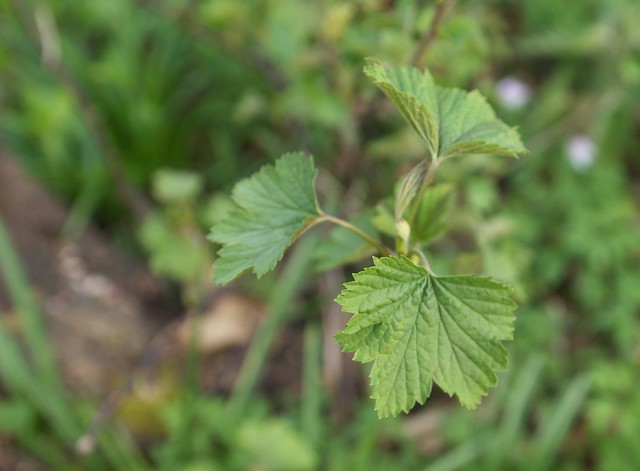
Further down in the hill, where we were working just a few months ago, there are some odd shrub-like plants, that I remember trying to avoid damaging while felling. I'll wait and see if they flower to try and ID them, but any suggestions welcome!
DSC_7260

DSC_7263

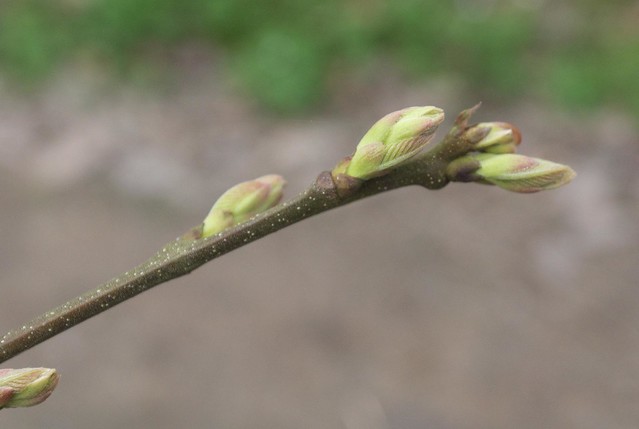
Moving onto the trees... Sweet Chestnut buds are on the point of opening:
DSC_7250

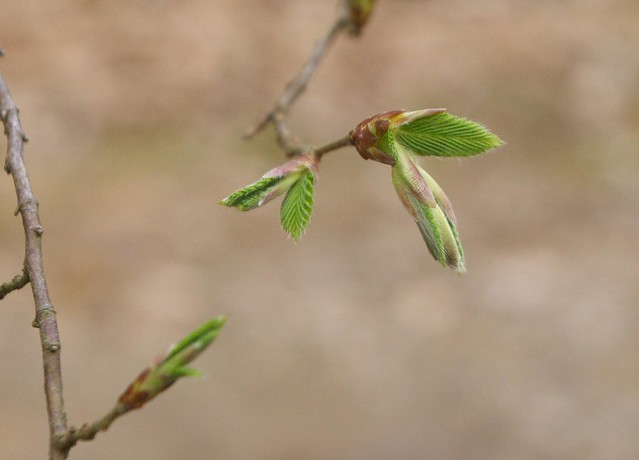
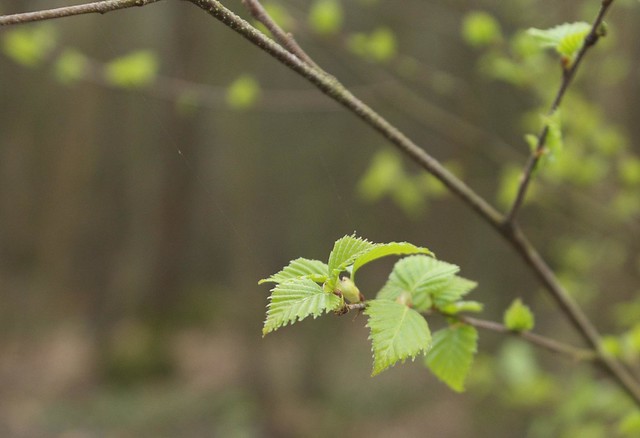
While Hornbeam is already out:
DSC_7239

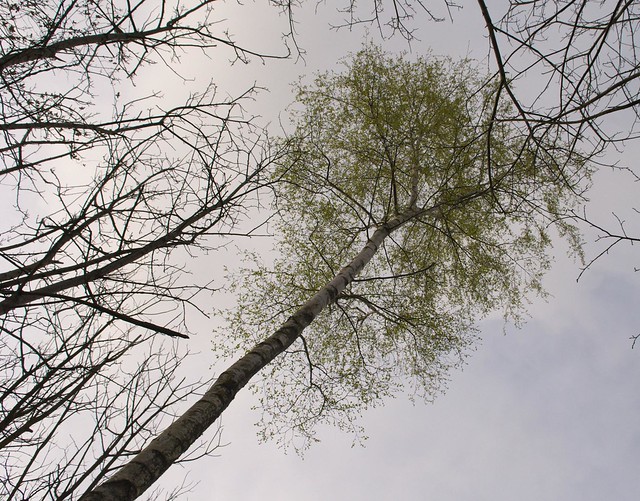
and Birch is way ahead:
DSC_7244

DSC_7252

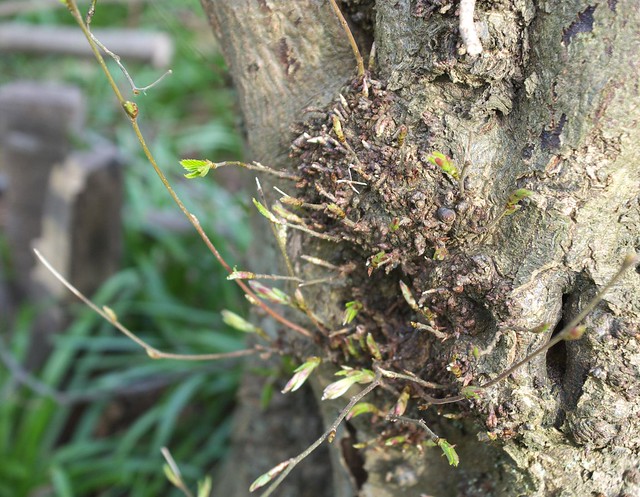
It's also nice to see shoots coming out on the coppiced Hornbeam, I expect the other species won't be far behind:
DSC_7272

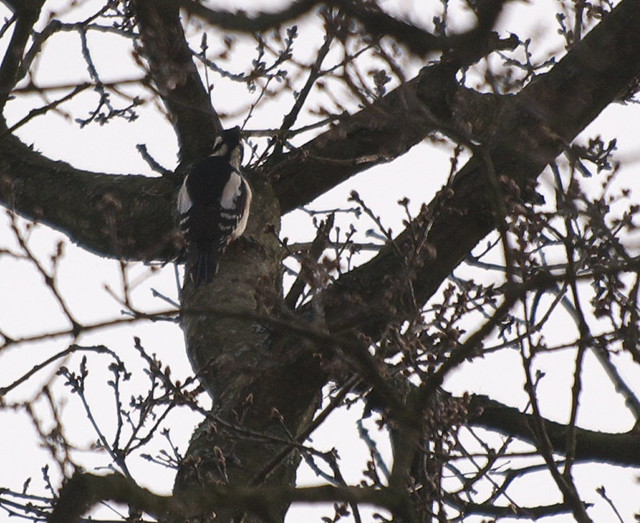
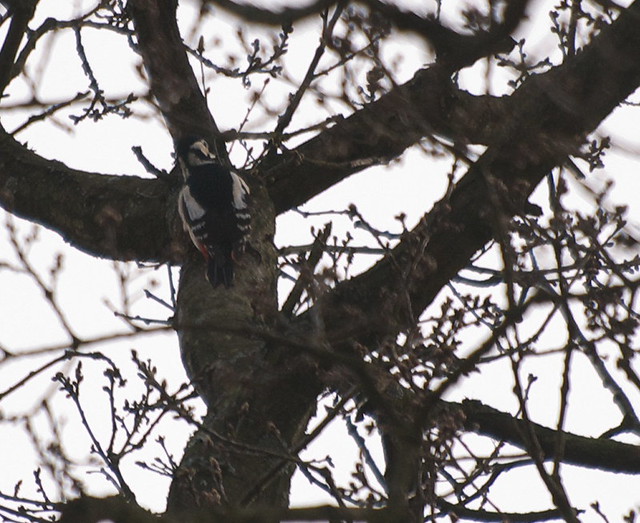
Finally, I was pleased to get a couple of photos of a Greater Spotted Woodpecker, as it was a difficult shot - high up in an Oak with lots of twigs in the way:
DSC_7233

DSC_7224

There's not much longer to get photos of birds before the leaves hide them from view until the Autumn.

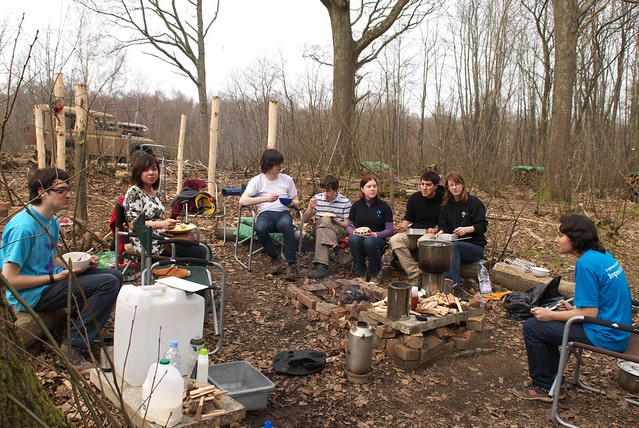
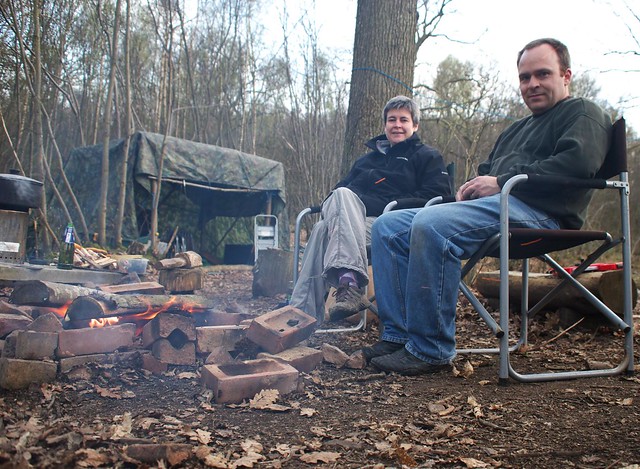
Finally, we cooked dinner on the woodgas campstoves, and sat by the fire until dusk.
DSC_7286

A very pleasant Sunday evening!

Mike

Click here to read the rest of this post.

Saturday, 2 April 2011

Eco-refubishment - installing off-grid solar PV (part 1)

Yesterday we installed our solar PV panels on the roof!

DSC_7183 Fitting solar PV

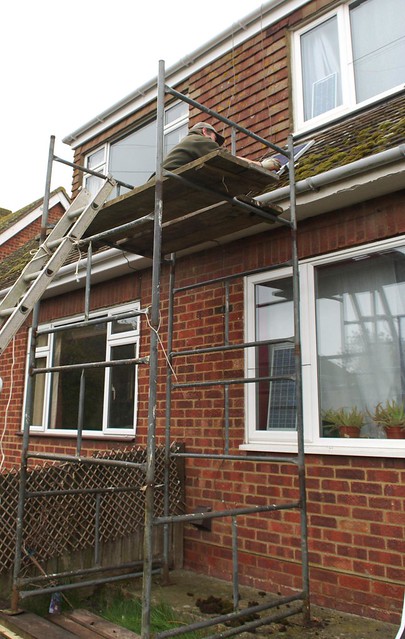
But let's start at the beginning... Our friend Rich came to help us do the work, as he's had past experience doing roofing work. We did a work swap, I helped him in his wood back in January, in return for his help yesterday. He also brought a lot of useful kit with him, like this scaffold tower:
DSC_7155 Fitting solar PV

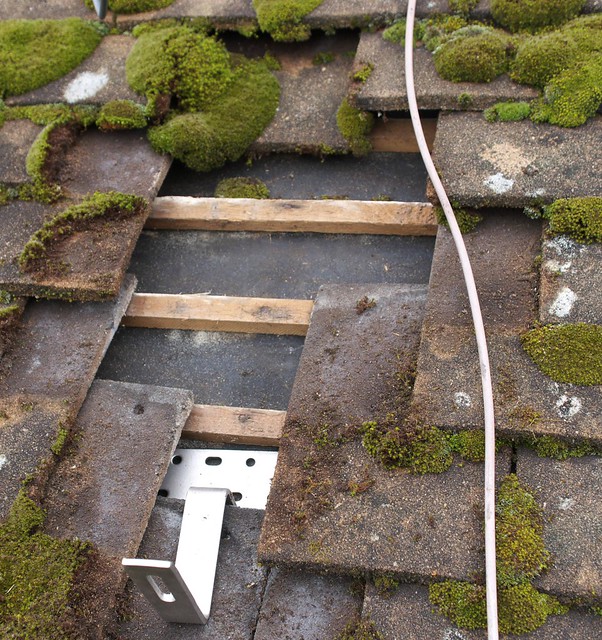
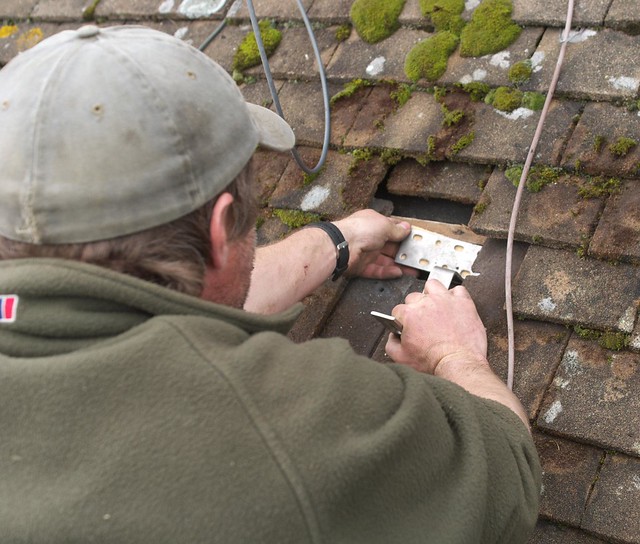
The process started by removing some tiles to find where the rafters were under the batons, as the brackets needed to screw onto these for strength.
DSC_7156 Fitting solar PV

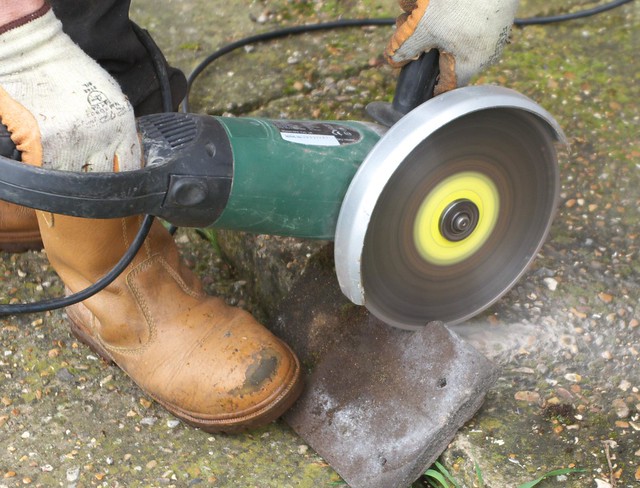
Having located these, we decided to grind a slot in the tiles so that they'd fit neatly round the brackets:
DSC_7158 Fitting solar PV

DSC_7161  Fitting solar PV

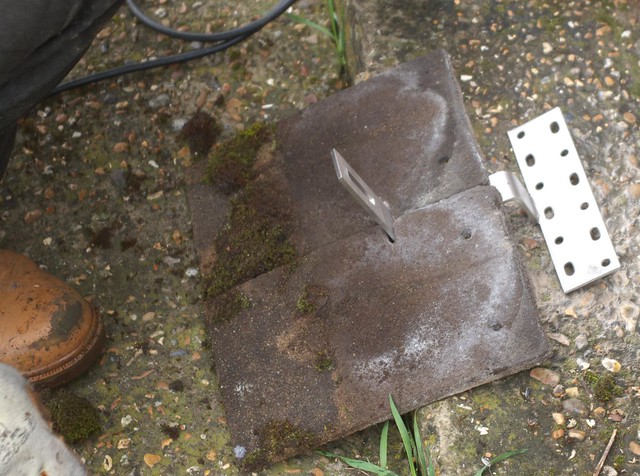
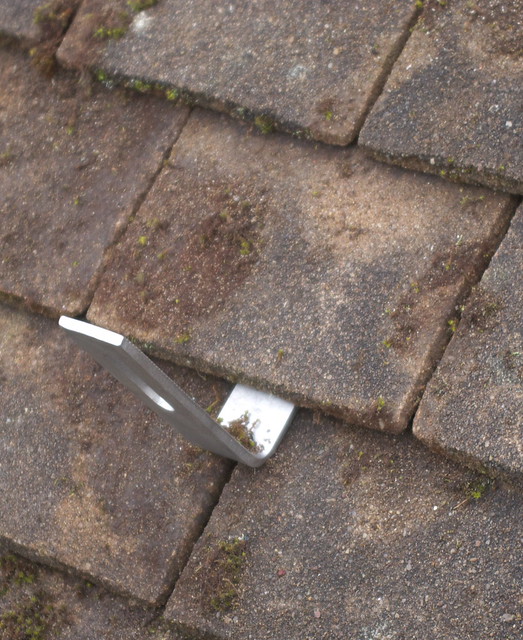
Then the brackets could be screwed down (with a small wooden spacer underneath to help them fit better):
DSC_7164 Fitting solar PV

and the tiles slotted back in:
DSC_7163  Fitting solar PV

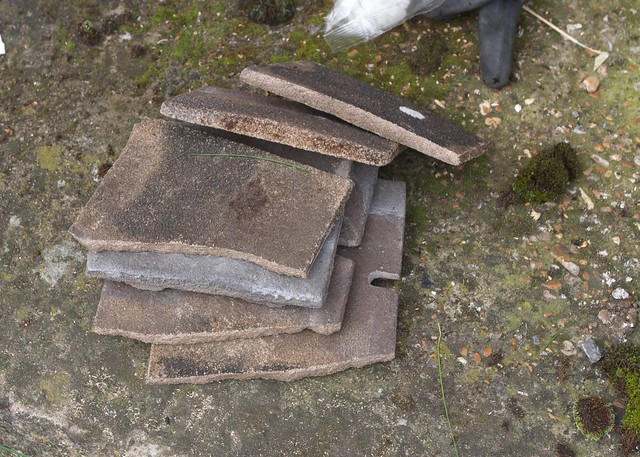
Of course, it wasn't all that simple, as soon as you put any weight on the bracket it put pressure onto the tiles at a single point, and some broke...
DSC_7165 Fitting solar PV

To resolve this we used more spacers underneath, bent the brackets slightly and also used the grinder to thin the tile a bit at that point, giving more clearance for the bracket:
DSC_7174 Fitting solar PV

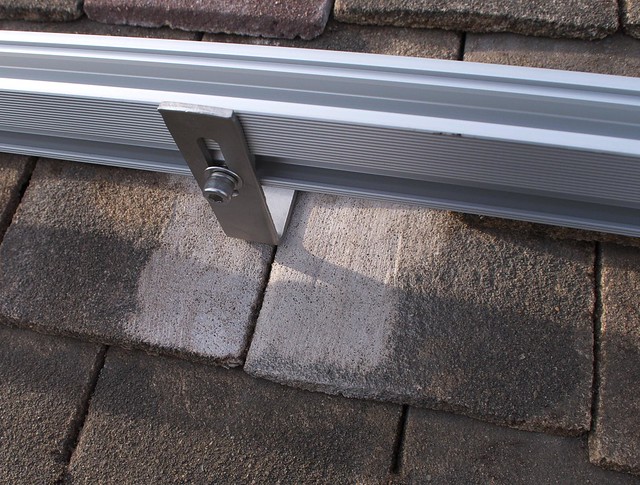
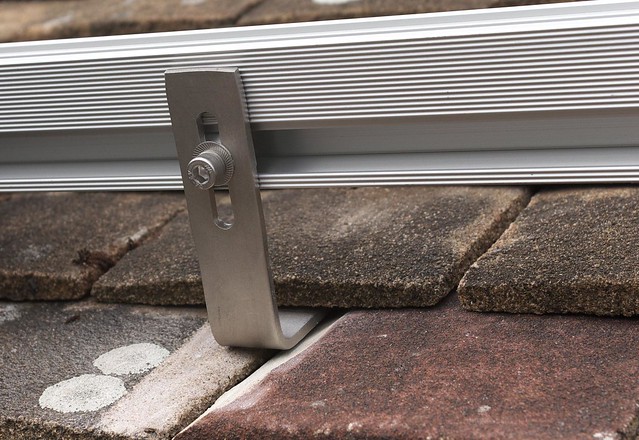
Here's the detail of how the rails fix onto the brackets:
DSC_7167 Fitting solar PV

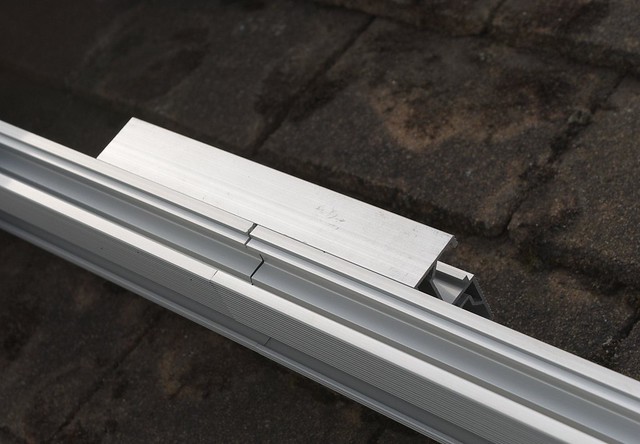
And here's an interlocking piece of aluminium to join two rails together (we had two 2m rails). There's a couple of allen key bolts to lock it in place.
DSC_7177 Fitting solar PV

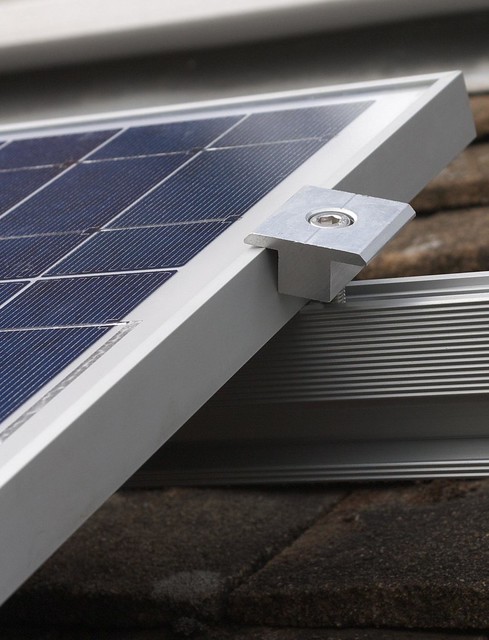
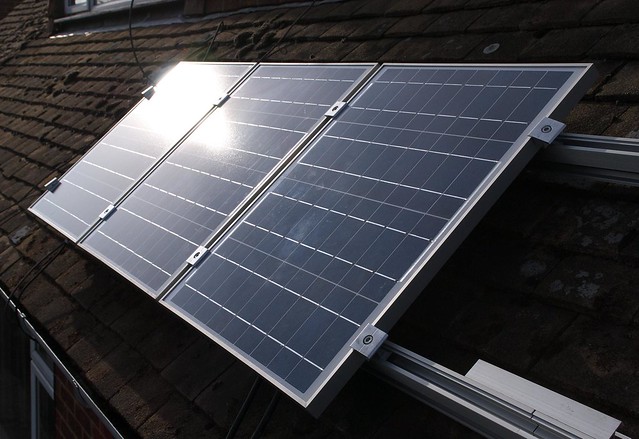
Then it was time to clamp down the panels. Here's a clamp with one panel in, and space for the next:
DSC_7172 Fitting solar PV

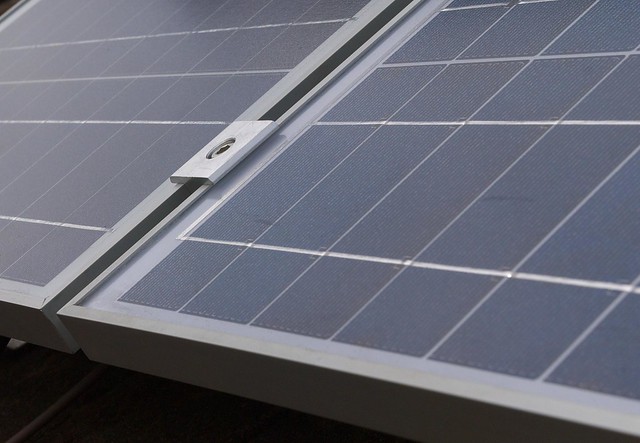
and here's one with both panels in and tightened up:
DSC_7169 Fitting solar PV

The first three panels in place:
DSC_7182 Fitting solar PV

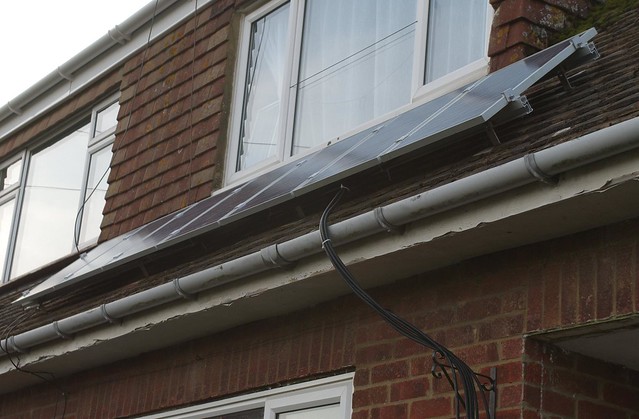
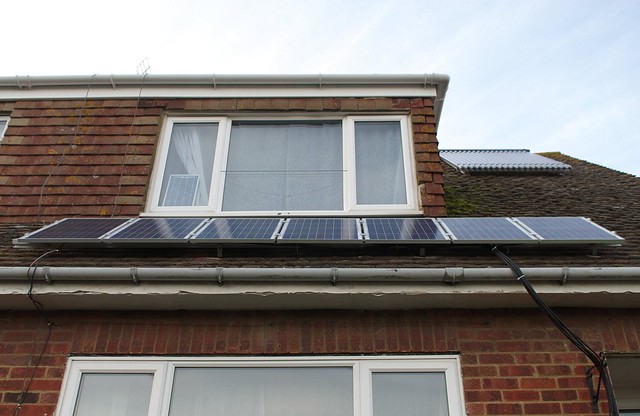
And here's the finished set, with the solar thermal tubes higher up the roof:
DSC_7184 Fitting solar PV

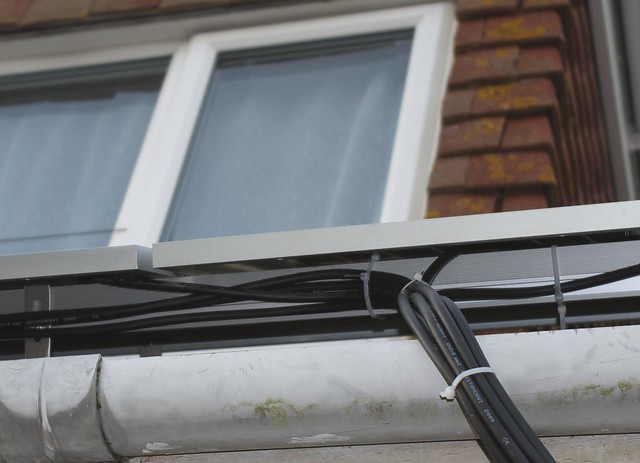
The wires from the panels are zip-tied in place under the panels:
DSC_7185 Fitting solar PV

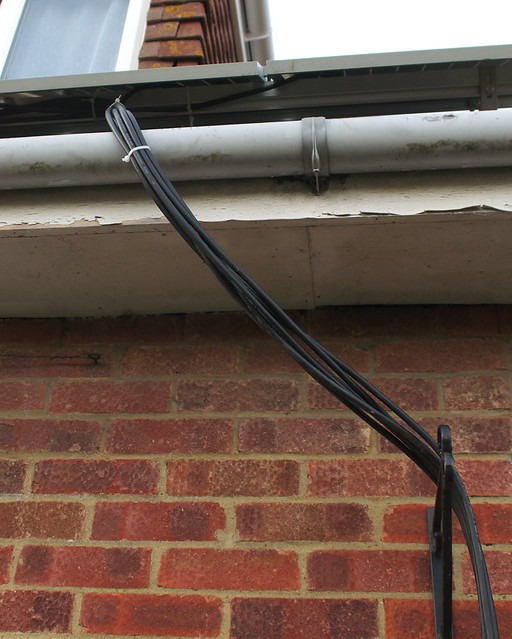
Then they all come down in a bundle to connect into a junction box:
DSC_7186 Fitting solar PV

That'll come in Part 2 though, where I'll explain the wiring system.


Mike

Related posts:

Click here to read the rest of this post.

Wednesday, 30 March 2011

EWB students build us a firewood shelter

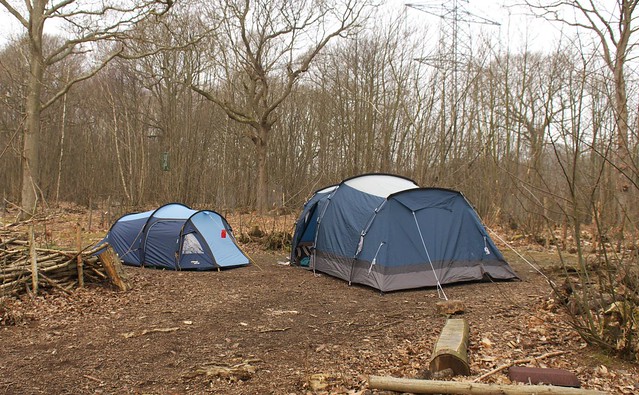
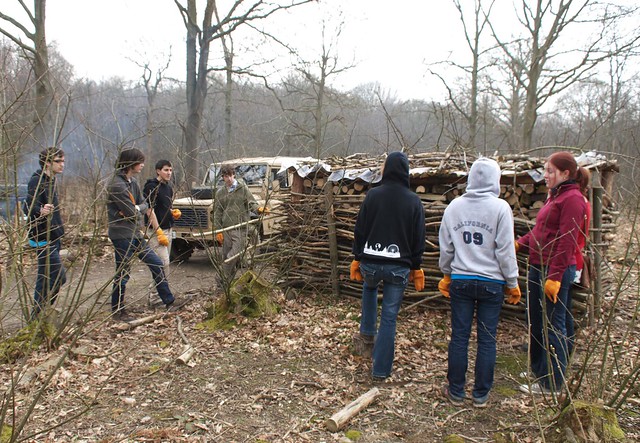
Last weekend we had a group of students from Engineers Without Borders UK (Imperial College branch) come to camp in the wood and also build us an additional firewood drying shelter.

EWB UK 2011 camping trip DSC_7117

DSC_7083

We started off with a walk round the wood to admire the Wood Anemones:
DSC_7084

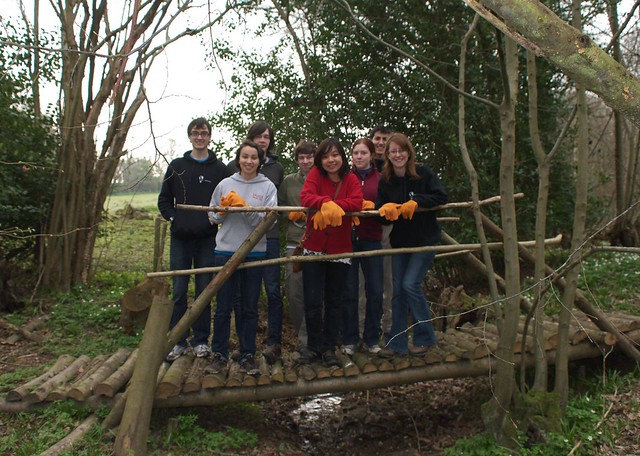
and also the bridge that EWB built last year in Sweep Wood:
DSC_7086

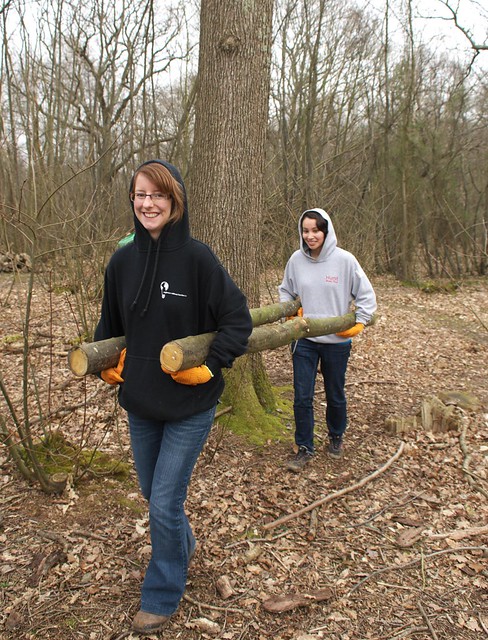
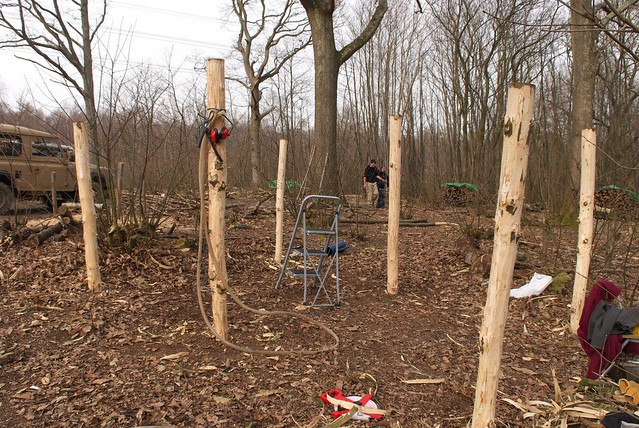
Then the first part of the shelter building started - carrying back some of the Sweet Chestnut stakes we'd made during this winter's coppicing:
DSC_7089

Before starting on the new shelter, we all had a good look at the old one, to see how it could be improved:
DSC_7090

Then an area was measured out so that the tarps we have would cover the roof:
DSC_7096

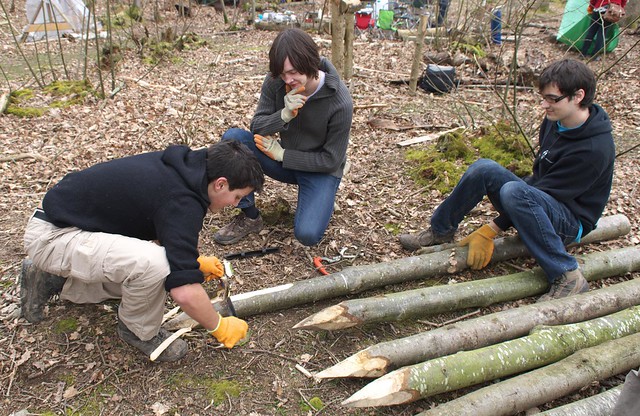
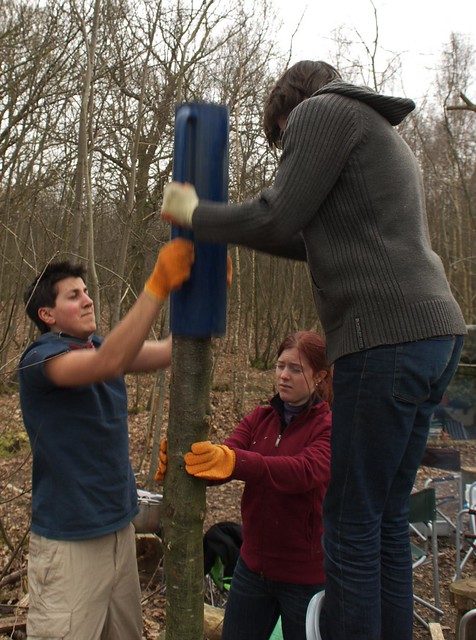
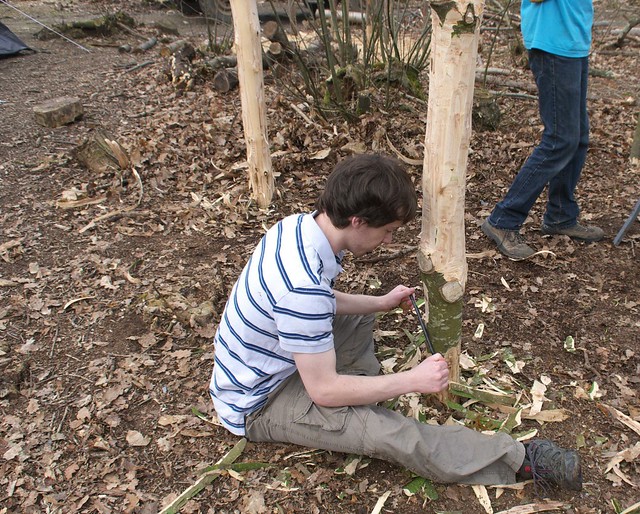
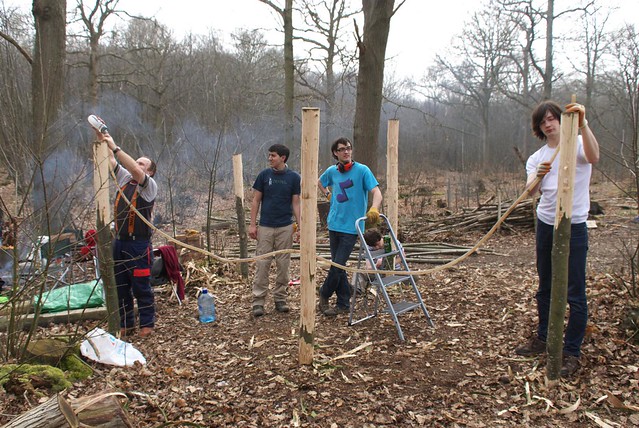
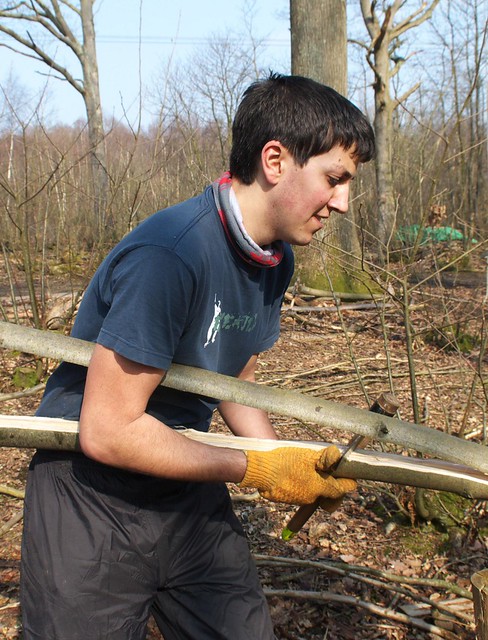
and work started on peeling the stakes, so they'll last longer in the ground:
DSC_7093

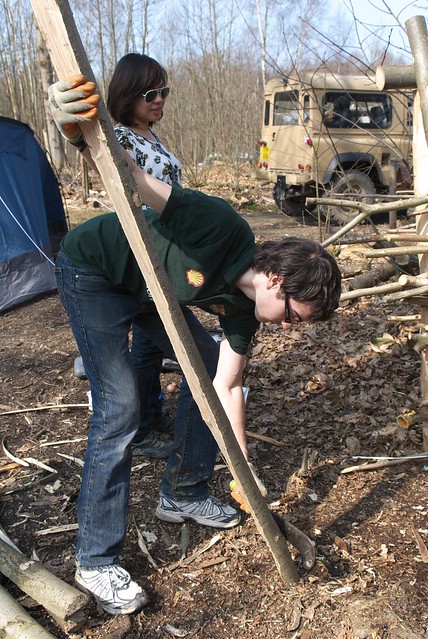
The stakes were put in with the post driver:
EWB UK 2011 camping trip DSC_7105

and then the rest of their length was peeled - this was easier to do once they were in the ground, which is why we'd only done the first bit earlier:
EWB UK 2011 camping trip DSC_7112

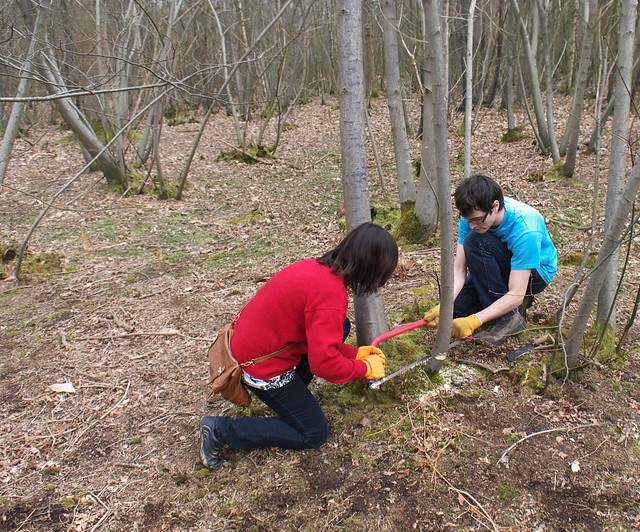
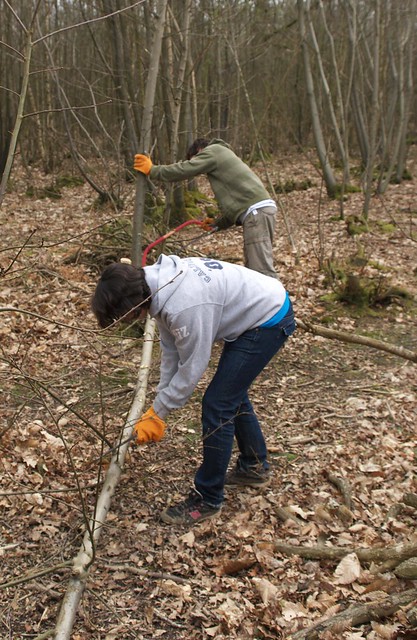
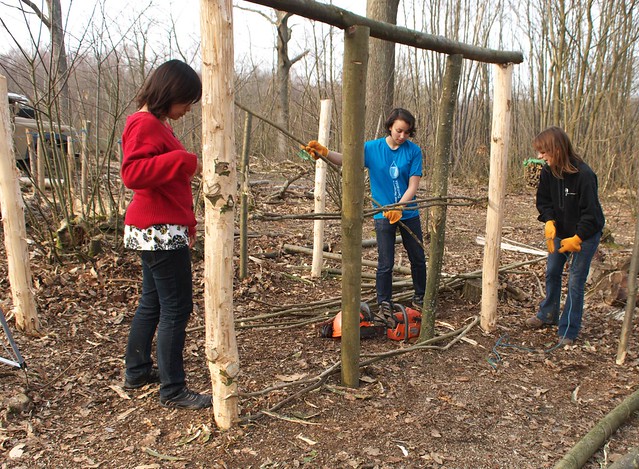
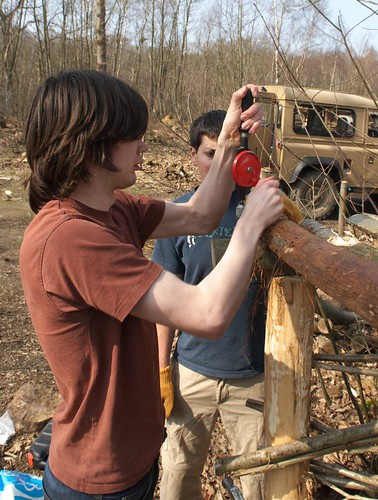
While all this was going on, some of the group was off felling small trees to use for stakes in the walls and also for roof slats:
EWB UK 2011 camping trip DSC_7109

EWB UK 2011 camping trip DSC_7108

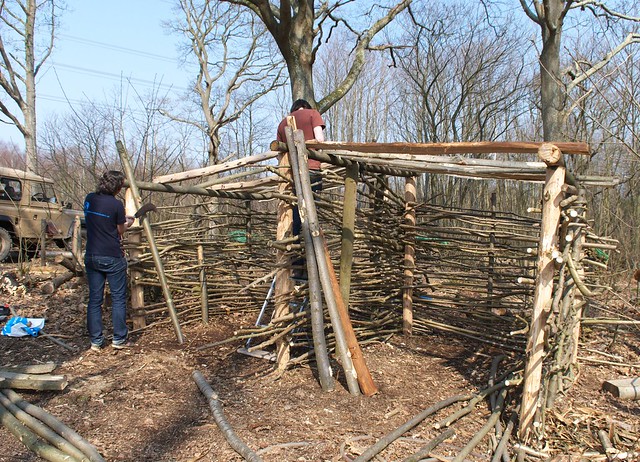
Before long the outline of the shelter was taking shape:
EWB UK 2011 camping trip DSC_7127

Because the ground was slightly sloped, but we wanted the roof to be level, we used an old plastic pipe with water in it to check the relative height of thet corner stakes:
EWB UK 2011 camping trip DSC_7114

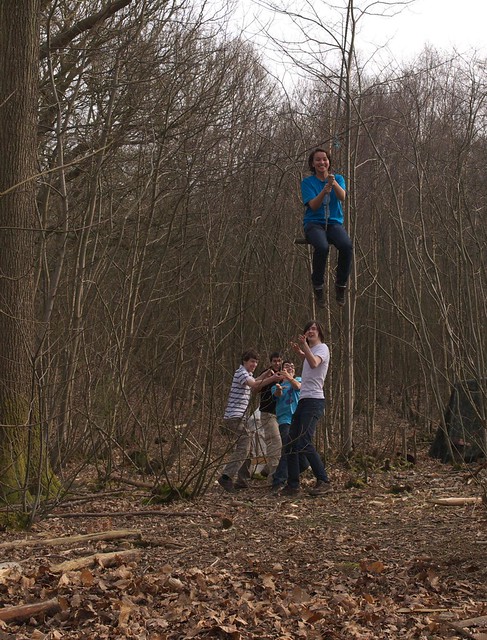
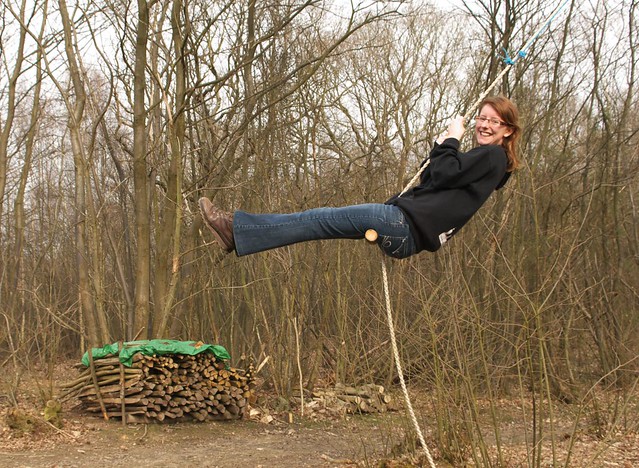
After all that work it was time for a break, and the rope swing was put into use...
EWB UK 2011 camping trip DSC_7119

EWB UK 2011 camping trip DSC_7126

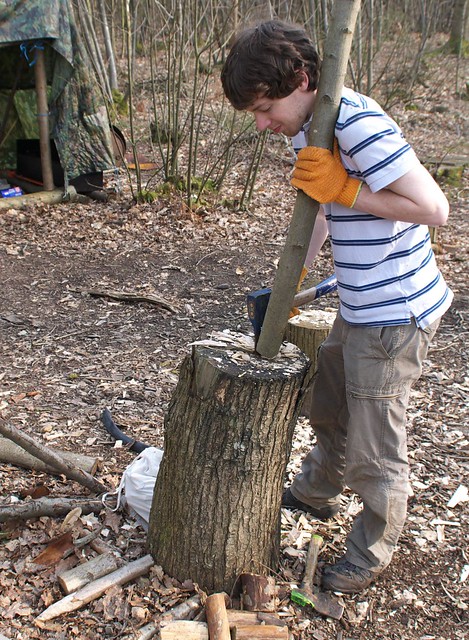
The trees that had been felled earlier were cut to length and sharpened with a side axe:
EWB UK 2011 camping trip DSC_7131

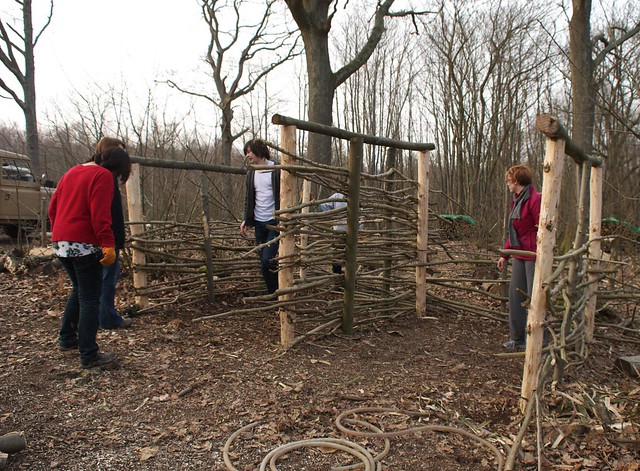
then these were used to create posts that Hazel rods could be woven in between to form the walls:
EWB UK 2011 camping trip DSC_7128

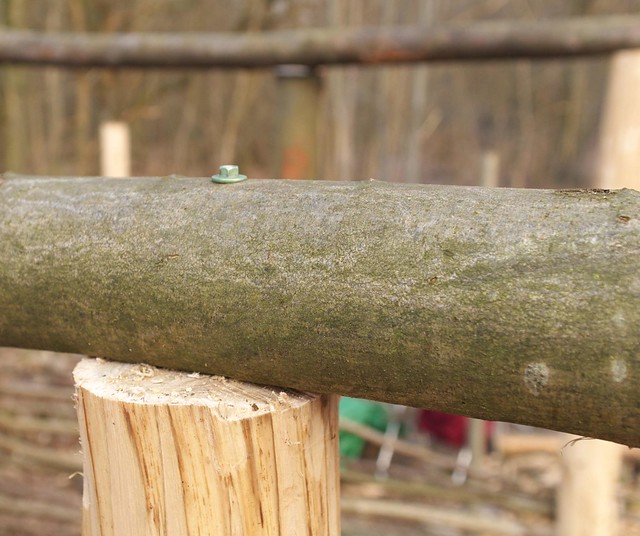
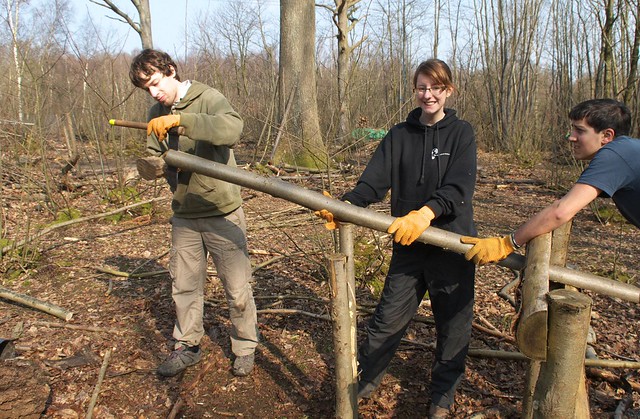
The longer poles to form the ridge and edges of the roof were flattened using a draw knife until they sat neatly on the posts, then they were bolted down:
EWB UK 2011 camping trip DSC_7133

By the end of Saturday the shelter was really taking shape:
EWB UK 2011 camping trip DSC_7135

Sunday saw work start on using a froe to cleave the freshly felled chestnut poles to make slats for the roof:
EWB UK 2011 camping trip DSC_7136

EWB UK 2011 camping trip DSC_7139

Each of these then had to be smoothed with a draw knife or billhook to make sure it wouldn't tear the tarp later on:
EWB UK 2011 camping trip DSC_7142

The slats were then put on the roof:
EWB UK 2011 camping trip DSC_7149

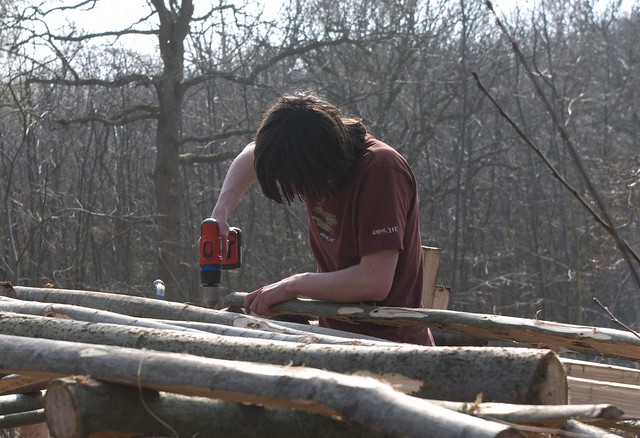
with each being nailed in at the top to secure it:
EWB UK 2011 camping trip DSC_7146

near the end the drill battery ran out, but fortunately I'd come prepared!
EWB UK 2011 camping trip DSC_7150

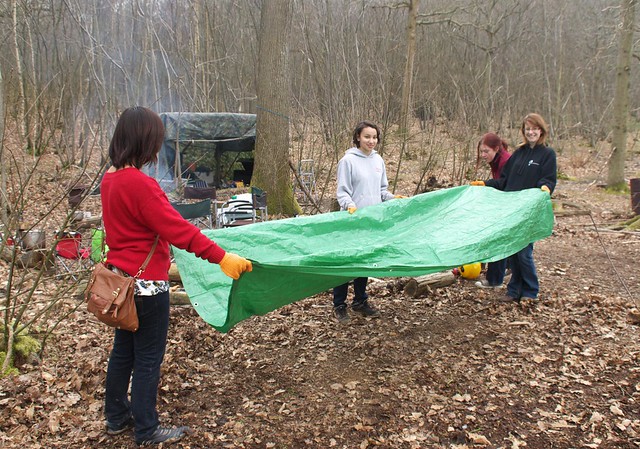
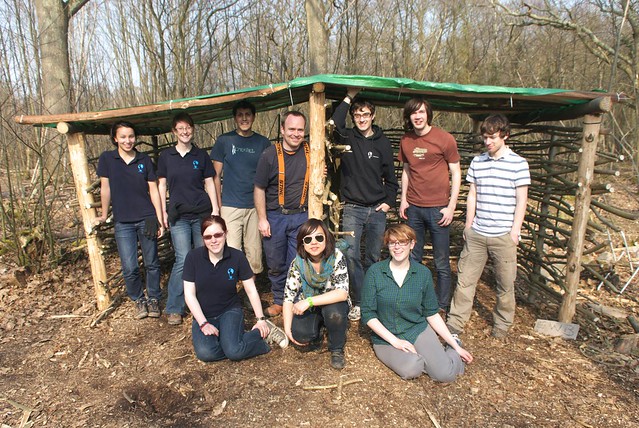
And finally, on went the tarps, fixed down with zip ties and paracord, just in time for a team photo before it was time to pack up camp:
EWB UK 2011 camping trip DSC_7154

In case you were wondering, there was also some time for food, camp fires and beer!

Tracy and I are very grateful for all the help we received over the weekend - it would have taken us at least a week to get it done ourselves! Looking forward to another visit next year...

Mike

p.s. there are more photos than the ones in this blog, visit the set on my Flickr page to see the rest.
Click here to read the rest of this post.